


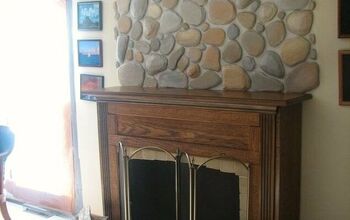
Lay Bricks in an Old Fireplace Hole in the Wall
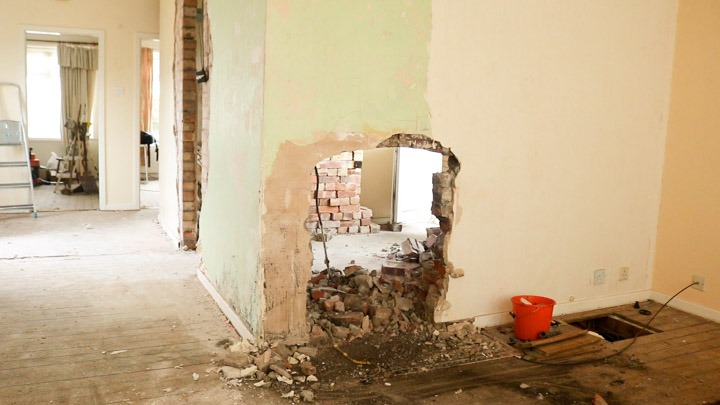
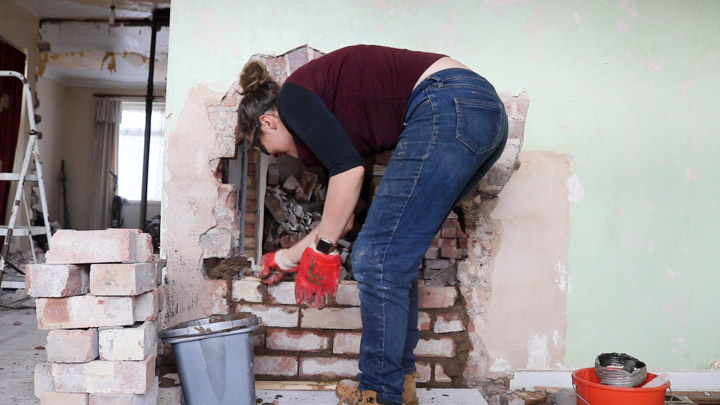
Here’s how I had to lay bricks to cover up the old fireplace hole after knocking out the chimney and chimney breast. However, if you still have a chimney breast, please read the notes as the method is different.
You can find the entire step by step here: http://thecarpentersdaughter.co.uk/renovations/lay-bricks/
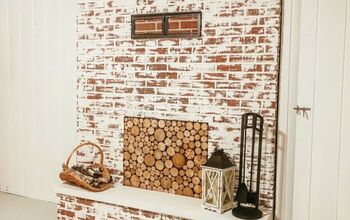
The finished wall which will be soon plastered.
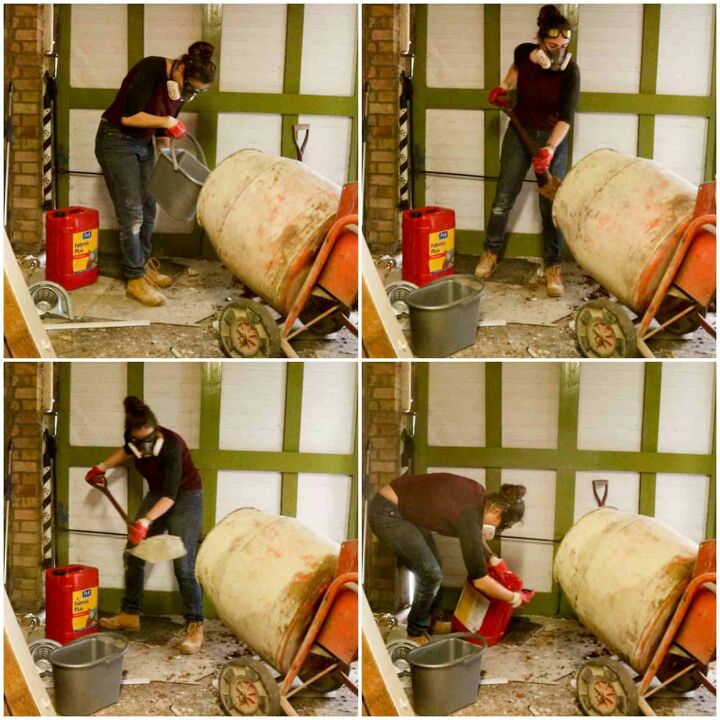
After sweeping all the debris away from the hole in the wall, I started mixing the mortar: 4 parts building sand, 1 part cement with a cap ful of plasticiser and water.
Note I'm wearing safety gear as cement is dangerous to breath in and burns when comes in to contact with skin. Also, wear goggles and steel toe cap boots.

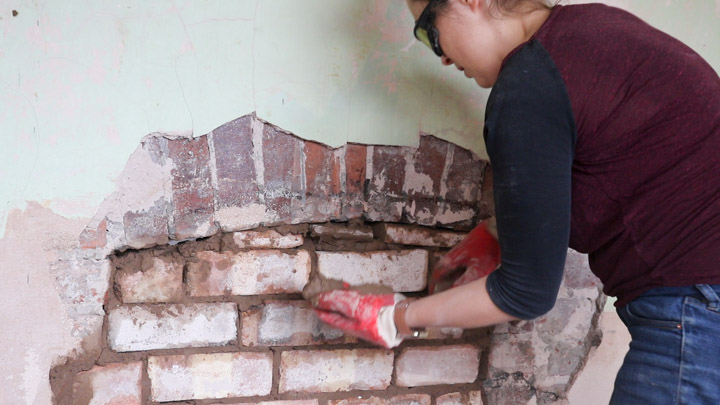
Then lay a bed of the mortar on the floor and place your bricks in a row, making sure you also put mortar in between. The bricks must flow with the rest to create the same "running bond".
Note the first row of bricks are facing down (with the "frog" indent facing down).
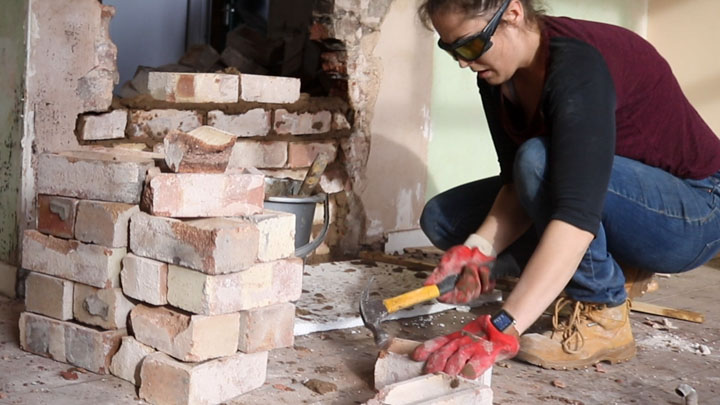
Any bricks that need cutting, I would wear safety goggles and hammer the ends to chip off bits from the brick.
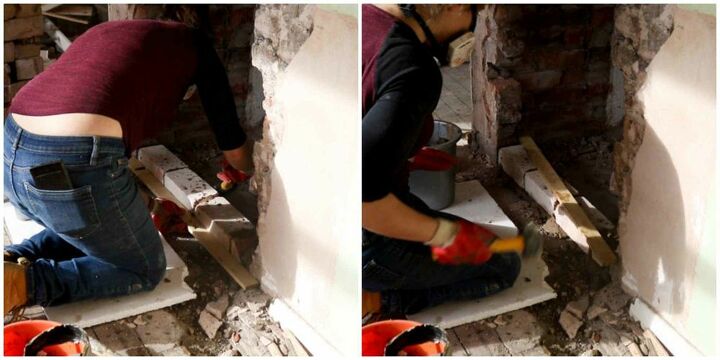
To ensure straight, hold a straight wooden batten against the side and tap from behind the bricks to ensure they're inline with the existing ones.
Then add the batten on top to ensure the top is level with the rest too.
Keep repeating, but also ensure you put plenty of mortar in the notches as above too before slotting the bricks in.
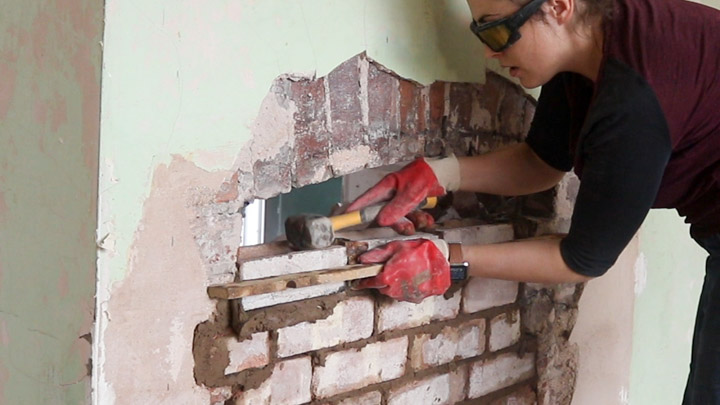
As you get towards the top, it'll get tighter. So above, I'm gently tapping them down with the side of a club hammer.
For the super narrow areas, add plenty more mortar, then slot in slimmer bricks and cram with more mortar too.
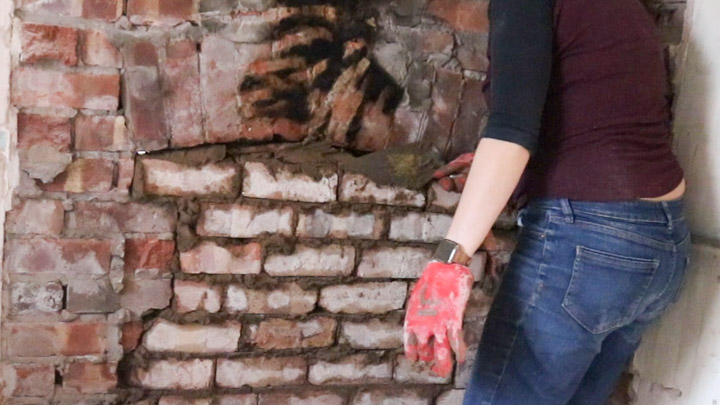
Fill any gaps you see. And then remove any protruding bits of mortar before they set.
This is important because it will be easier to plaster over.
For more help, you can find extra notes in my blogpost here:


Frequently asked questions
Have a question about this project?