


Make a Corkboard World Map

by
Daniel
4 Materials
$20
4 Hours
Easy
I love maps and my walls have gone too long without one. One fun aspect about maps is to mark all your favorite places with pins, or places you have or plan to visit.
A cork map would be great, but there is one major challenge, cork is typically expensive! However, there are ways around buying expensive craft store cork.
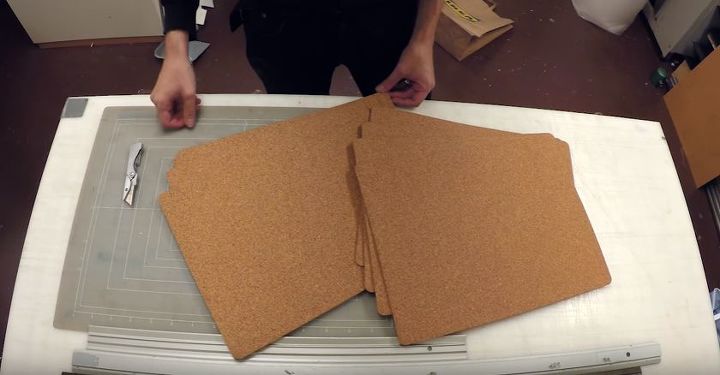
At IKEA I found a pack of four cork placemats at a very reasonable price. Purchase two packs, a total of eight placemats. Take out some spray glue, a thin piece of plywood or MDF, a staple gun, your pins, and a world map. We'll get to where to find one in a minute. You'll also need some clear tape, sticky back plastic, and a carpet knife or box cutter.
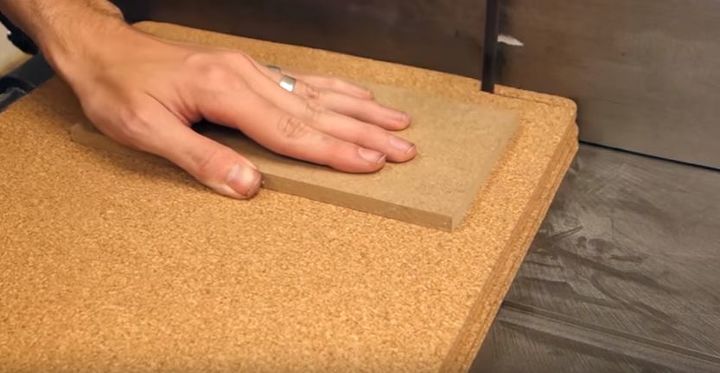
After arriving home, I unpacked the cork placemats and cut off the rounded corners, leaving completely rectangular pieces of cork. The mats themselves are a bit flimsy so they need to be attached to a sturdier backer, like a thin piece of plywood. Glue the mats of cork on the plywood. See how this is done in the video below.
Glue the cork two layers thick, to give some depth for the pins to sink into, and weigh down the cork with something heavy while the glue dries.
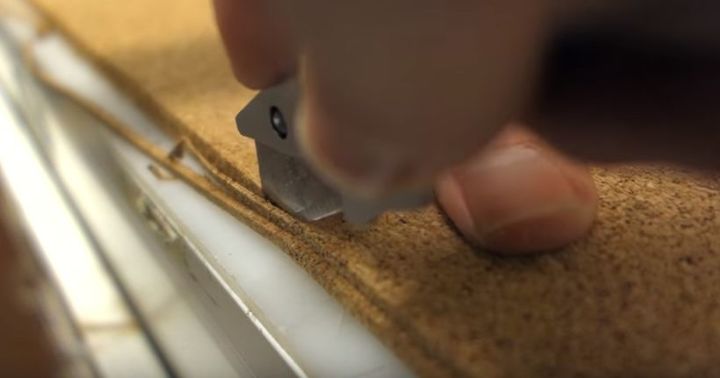
Break our your carpet knife and start trimming the edges to match the size of the underlying board.
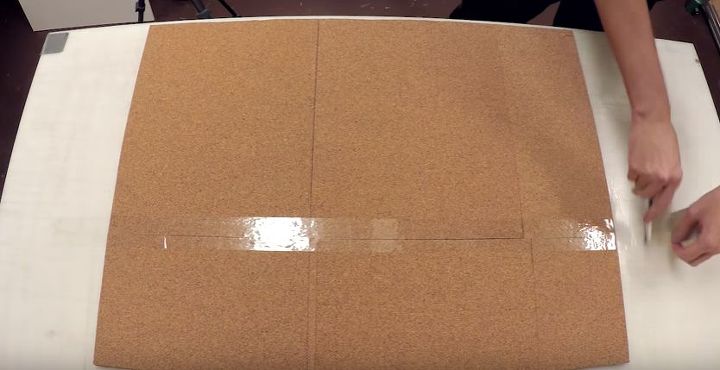
To make sure nothing will separate over time, and that nothing falls off, tape all the seams with wide clear packaging tape to hold everything in place. Don't worry, no tape will be seen in the final product if you use transparent tape.
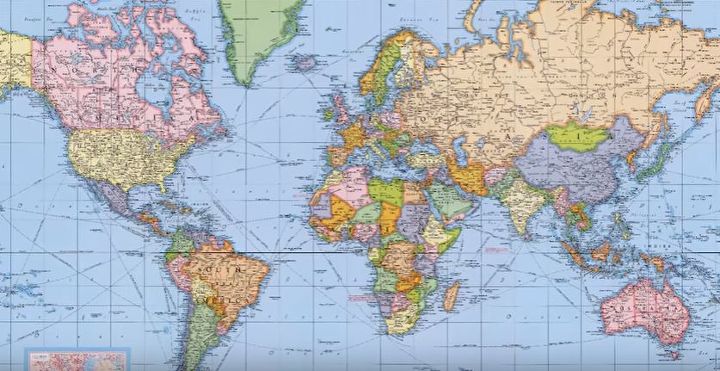
It was then time to obtain a map. I found mine online at David Rumsey Map Collection where I was able to download it for printing in a high resolution.
Link to David Rumsey Map Collection: https://www.davidrumsey.com/
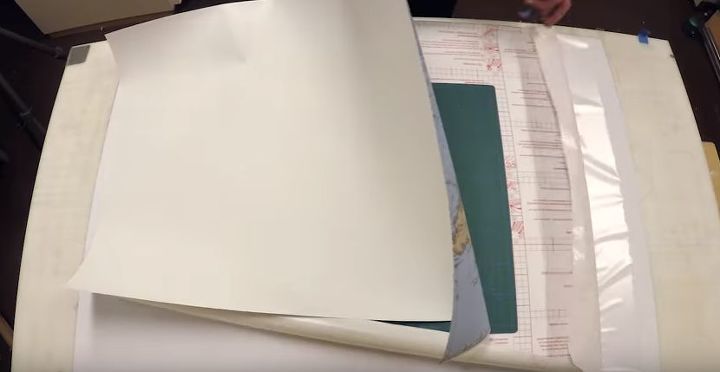
I would suggest protecting the actual surface of your map a bit by using sticky back plastic if you print your map yourself. If you buy a worldmap it's likely to already going to have a surface that's glossy and tough enough.
I chose to cover mine in matte plastic to avoid a highly reflective look. This can be found at your local stationary store. Check out the video at the end for the plastic I used.
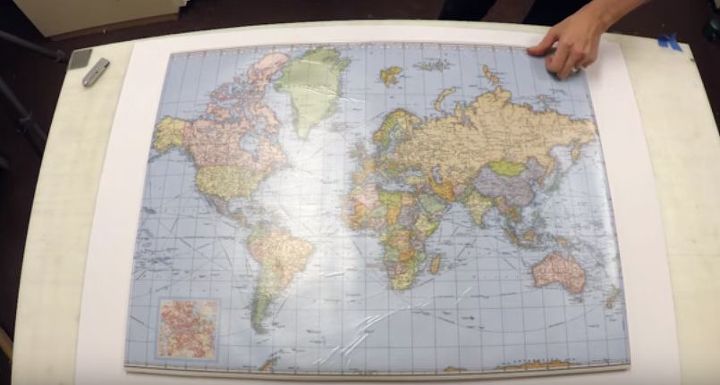
Line the map up with the cork board. Even with careful application of the plastic some bubbles are unavoidable, but they aren't the end of the world (no pun intended). The bubbles can carefully be rubbed out with the back of your nail, a ruler or the back of a spoon. Do not use anything sharp! The more persistent bubbles might require puncture with a pin to let the air out before rubbing.
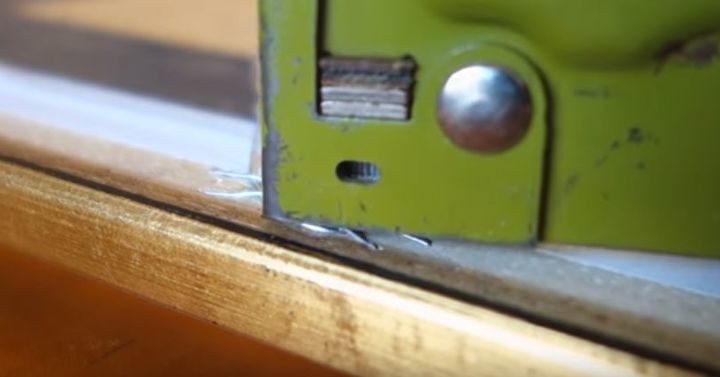
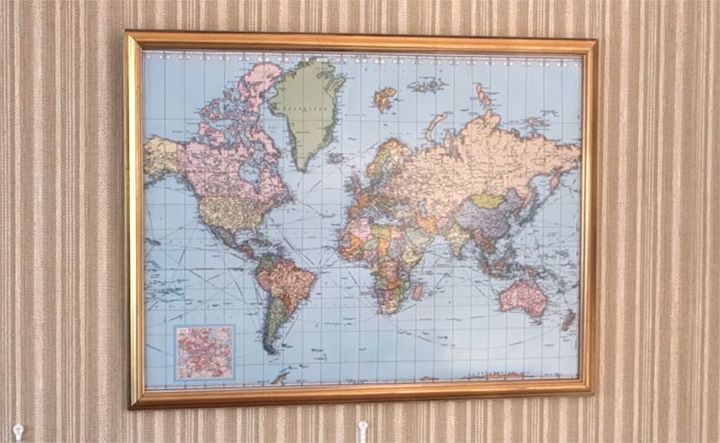
If you want you can just hang your map now. However, this entire project was made to fit into a nice vintage frame. You have to choose your method of hanging, but using a staple gun you can simply attach a wire to the map or frame and hang it on your wall.
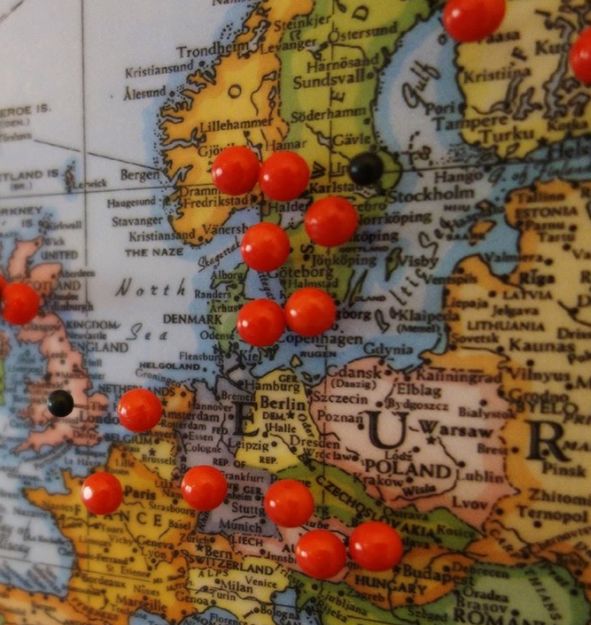
Start pinning all those place you want to go, you went or whatever else your imagination can thing of.
I hope you were inspired and try to make your own corkboard map, and be sure you check out the video below for a more in depth look into the project!
I hope you were inspired and try to make your own corkboard map, and be sure you check out the video below for a more in depth look into the project!
{
"id": "4244619",
"alt": "",
"title": "",
"video_link": "https://www.youtube.com/embed/V8RO9OaLGWo",
"youtube_video_id": "V8RO9OaLGWo"
}
{
"width": 634,
"height": 357,
"showRelated": true
}
Comments
Join the conversation
2 of 18 comments
-
Love it


Frequently asked questions
Have a question about this project?
I have been looking at getting my husband a north America road map that is magnetic for him to plot our RV adventures on. Do you think this would work if I painted the cork board with magnetic paint before putting the map on it?