


Make Your Own Dried Flower Frames in Minutes

If you’re cooped up with your kids, you’re probably looking for a few ways to pass the time.
But you probably also want to do it from the comfort of your own home.
And you probably aren’t looking for a week long activity either, right?
If you’re like me, you are constantly looking for quick and easy crafts that will capture your kids’ attention for a few minutes. But the last thing you want is something that will take weeks of planning ahead of time.
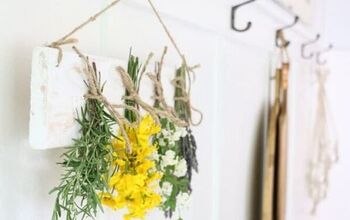
My girls love picking wildflowers in our yard, and we have tiny little vases full of them all over the house. I’ve been trying to come up with a quick and easy craft for these flowers, but I’ve been coming up short.
That is until I discovered that you could quick-dry flowers in the microwave.
So we set out to make some cute and simple DIY Dried Flower Prints.

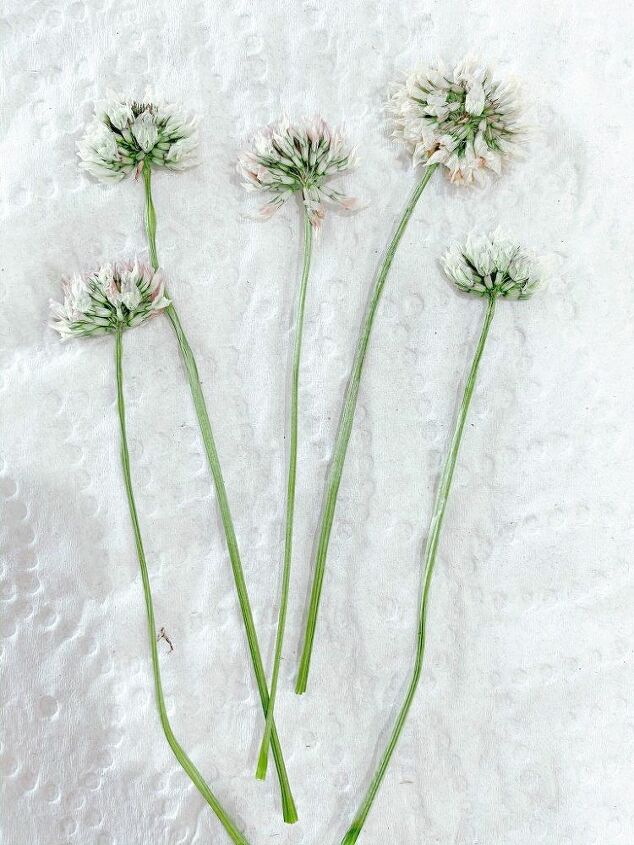
The first step of this simple and creative project is to head outside!
You’ll want to wander around your yard, neighborhood, or local park (if you can) and gather up all the pretty wildflowers that you can.
Keep in mind, you’ll be framing them for your home, so pay attention to the colors you choose!
If you can’t get outside due to the weather or whatever else, grab a cheap bouquet the next time you head to the grocery store. It will work just the same!
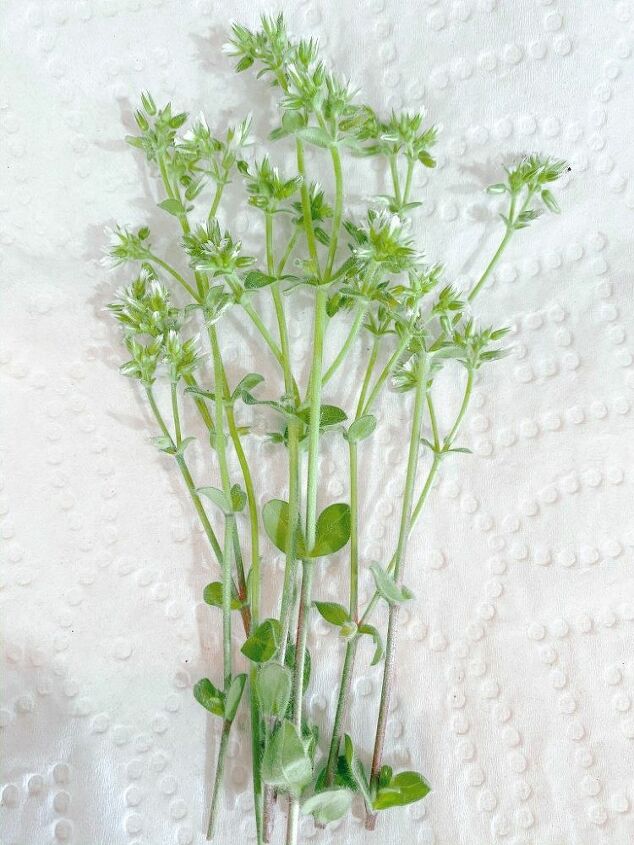
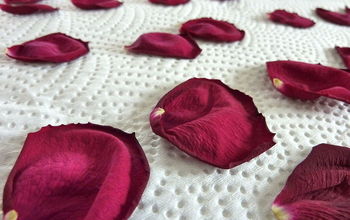
Once you have all your flowers, you’ll want to quick-dry them! Simply lay your flowers flat on a flat, microwavable surface like a plate.
Place them between two paper towels, then cover with another heavy microwavable surface like another plate.
Microwave for about 1 minute, then check on your flowers. You will want them to feel totally dried (they should not be flimsy any more). If you need more time, keep microwaving in 30-second intervals until your flowers are nice and dry!
Then remove from the microwave and move on to the next step.
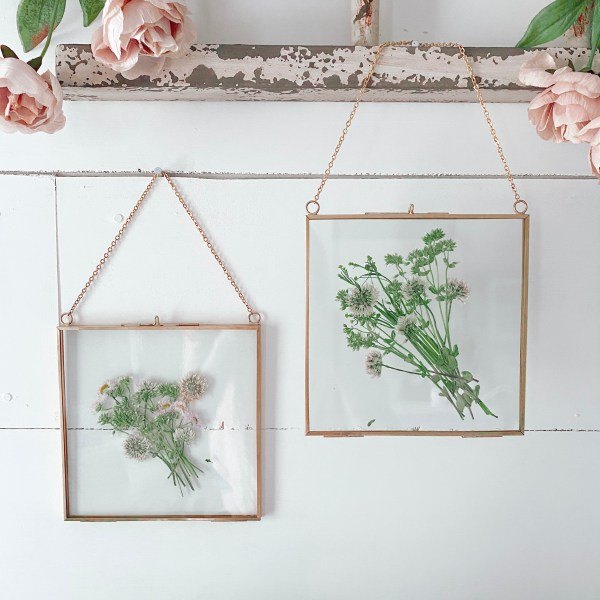
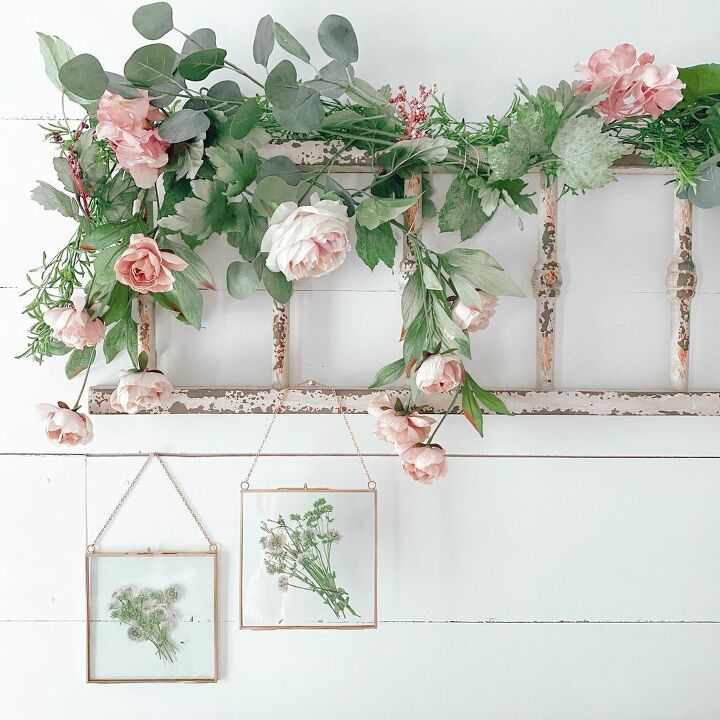
I found these adorable hanging glass display frames from Amazon.
They’re the perfect sizes, and they have the prettiest vintage gold frame with a delicate chain to hang them!
These frames have 2 glass panels on either side — that’s what you’re looking for here! You want to make sure your flowers will have glass on either side so they stay pressed.
Next, open your frame and lay your dried flowers carefully inside. Once you have them positioned like you want, simply close the frame, find a spot to hang it, and you’re done!
This simply DIY is so fun for kids, and it is a quick and easy project you can do in a day with very little prep work!
Resources for this project:
See all materials


Comments
Join the conversation
-
These are really beautiful! However, the frames are $17 each which is a bit steep for this on-a-budget gal. I'm going to try and duplicate this with two cheap thin frames (after I finish the billion other projects on my DIY to-do list!). Yours have truly inspired me!
-
Elegant and I love it


Frequently asked questions
Have a question about this project?
I didn't see the frames you used at the Amazon site. Where did you get them?