


Make Your Own Round Farmhouse Wall Shelves

by
Homeroad
2 Materials
$10
2 Hours
Medium
Have you seen these great round shelves on Fixer Upper? Do you want to get that look for almost nothing? Those round shelves Joanna fills with plants or knick-knacks are beautiful and I've figured out how to make them myself and save money too!
This time, I'm repurposing the 2 metal clock pieces that hold in the clock parts.
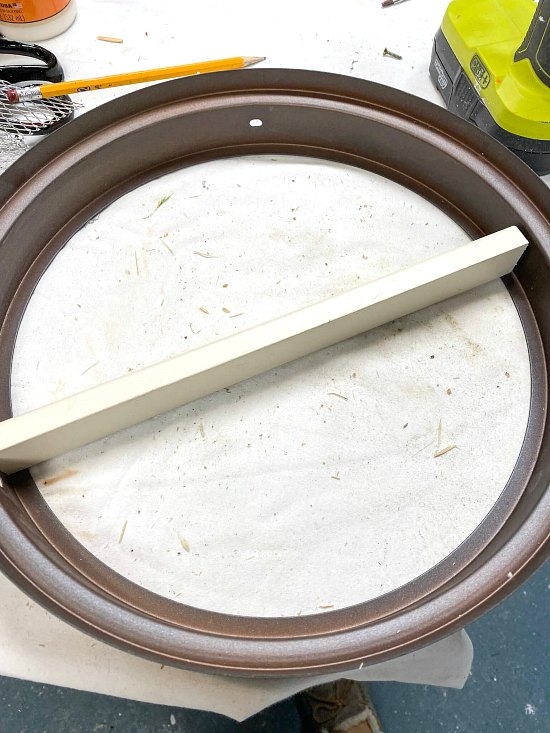
The first step was to cut a small wooden shelf to fit inside each of the clock frames. I glued them in with E6000. This awesome glue bonds almost anything to anything!
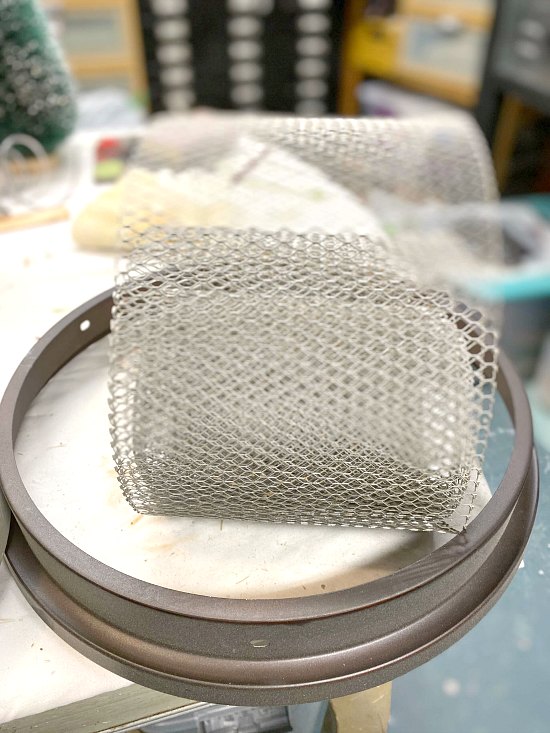
The next step involved a roll of metal gutter mesh I had in the basement. Mine was leftover from a home improvement project but I've used it in so many projects, it's just good to have on hand.
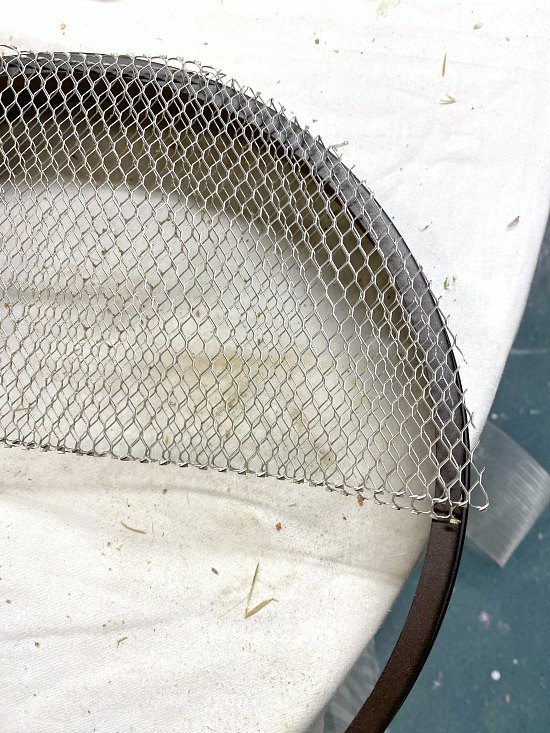
The gutter mesh wasn't wide enough to cover the whole back of the clock so I made it fit by attaching it from the shelf up and then another piece below the shelf. The mesh easily cut with scissors to fit the back of the clock frame.

I attached the wire with hot glue. When both the small and large shelves were finished I brought them into the garage and spray painted them in my spray shelter using oil rubbed bronze spray paint. The oil rubbed bronze created the look of metal on the wooden shelves.
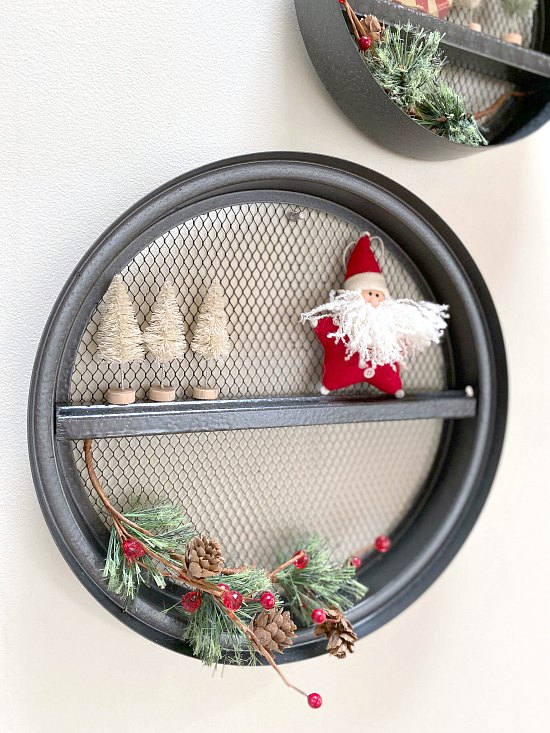
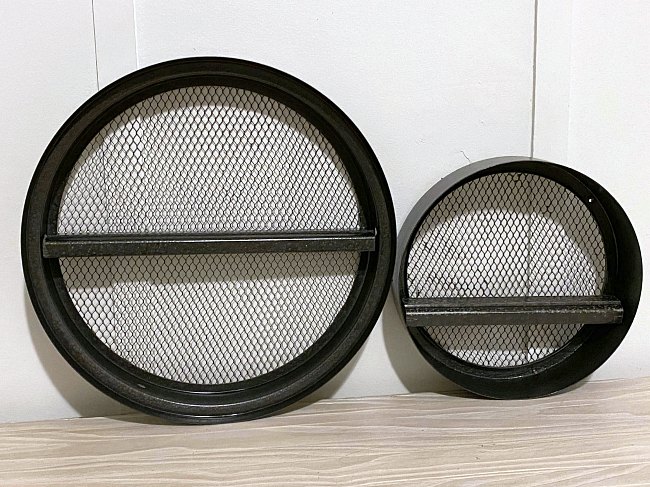
The next day when the paint was dry, they were ready to hang and decorate! These are filled with tiny Christmas decorations but can change them out with the seasons. They look just like the store bought farmhouse shelves only mine were just about free! It pays to save metal pieces that can be turned into something fun at a later time. I think it's called hoarding! LOLThanks so much for visiting and be sure to pin this project. You can follow Homeroad on Pinterest and sign up for emails so I can send my latest DIY tutorial straight to you!If you love this project please stop by Homeroad and visit more DIY farmhouse wall shelves.


Any price and availability information displayed on [relevant Amazon Site(s), as applicable] at the time of purchase will apply to the purchase of this product.
Hometalk may collect a small share of sales from the links on this page.More info
Want more details about this and other DIY projects? Check out my blog post!
Comments
Join the conversation
3 of 40 comments
-
You're very welcome! Thanks so much for following along. You can get Homeroad emails with my latest posts at Homeroad.net
-
What a wonderful job!!!


Frequently asked questions
Have a question about this project?
Did you do anything extra for the wood before painting?