


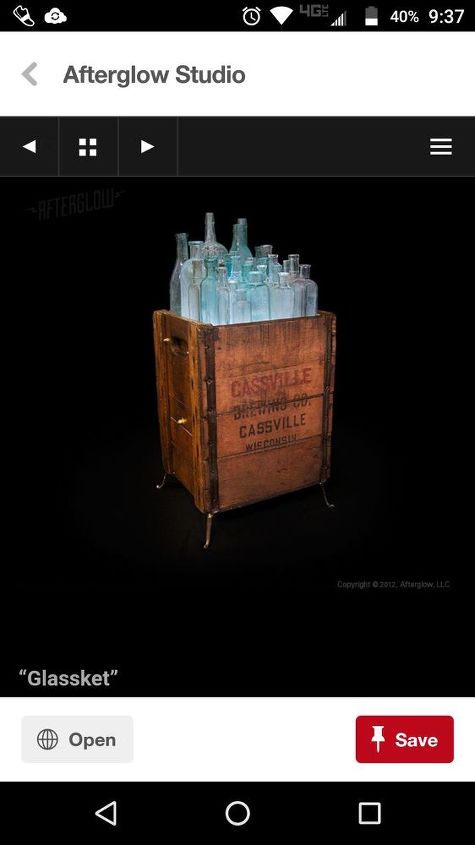
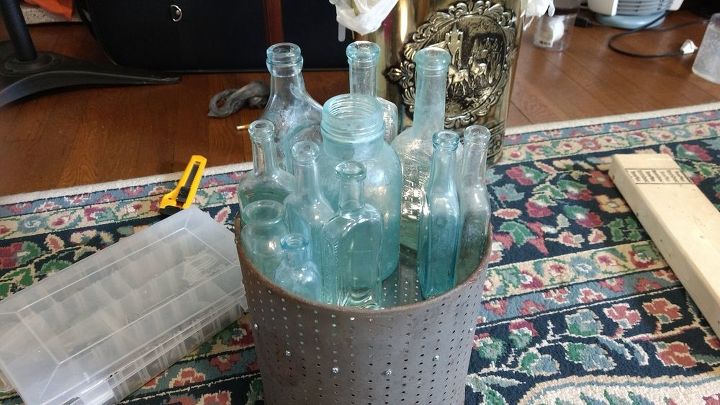
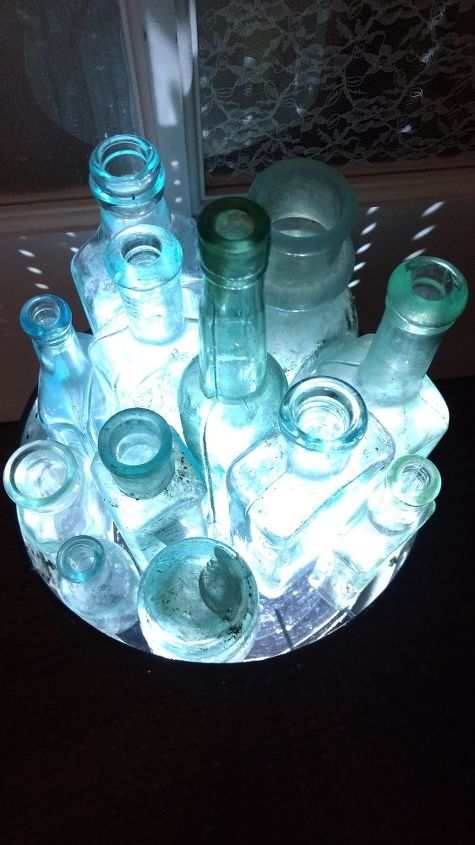
Minnow Bucket Not for Fishing!


Comments
Join the conversation
-
Hiya Grace,
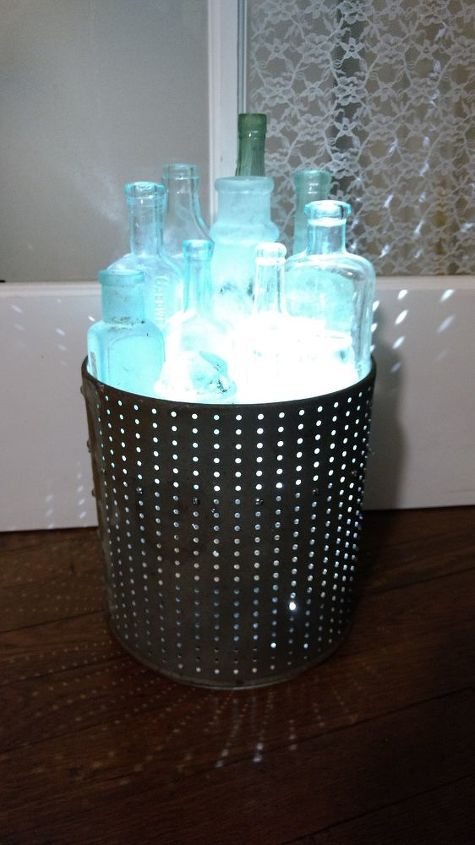
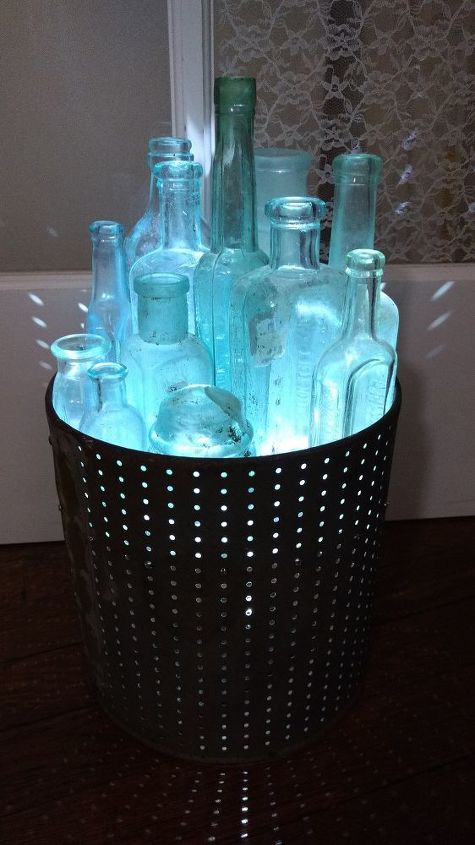
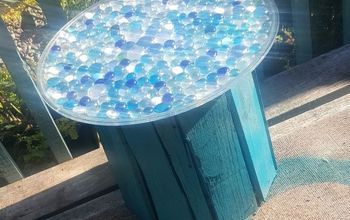
How can creating Your very own interpretation ever be considered cheating?!?! I am certain if You asked the individual that inspired You they would feel this way too!! You showed another version that created a magical glow.....The Crate and bottles did not do anything like this!!
Just accept the fact that YOU on Your own.....Showed Us all how this can be done repurposing a unique bucket......this was ingenuity all Your own!!
And, You rocked it......Yeah, like a Girl!!
Grace You must take credit where credit is due!!
You are so creative and have a true gift!!
Please do not stifle this with doubts or guilt!!
You have found Your niche and We too reap the rewards of this through Your inspirational and humble posts......
Have a blessed day and remember You are awesome and amazing so
BE GOOD TO YOURSELF!!
With love,
Michelle
PS It maybe a little while before I can redo My floors as We just redid My kitchen and Dinning room.
-
WOW!! I love that nothing scares YOU!!
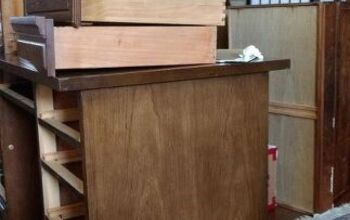
I tried to load some pic.'s of My latest upcycle but the Lithium Batteries need to be replaced. I will send pic.'s I promise.....Remember this is Me though.....So keep You expectations to a minimum!! I picked up an old unloved bedside table for $15.00 it was solid wood. Did a lot of prep. too.
You so inspire Me to be braver!!
With love and gratitude,
Michelle


Frequently asked questions
Have a question about this project?
Do you have to take apart to turn light off and on ?
hi there. Where did you get your bottles? I collect them
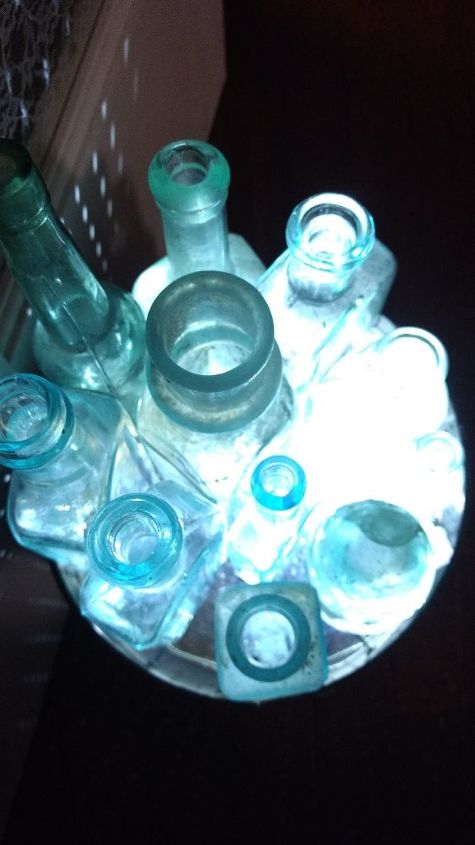
How do you access the light from under the bottles? Or do you have to move all the bottles, insert lite, and return clear shelf and bottles ?
Also wanted to suggest painting any clear bottles you might already have. Just for color.