


Mistakes to Avoid When Hanging Picture Frame Moulding on Walls

Learn what not to do when you install picture frame moulding on your walls! Find out three common mistakes to avoid.
For more simple and budget-friendly DIY project ideas, be sure to follow us on HomeTalk and visit our blog!
I’ve always loved the picture frame moulding panels on the walls in my downstairs hallway and the front rooms.
I even had the builder install the same wall treatment on the staircase.
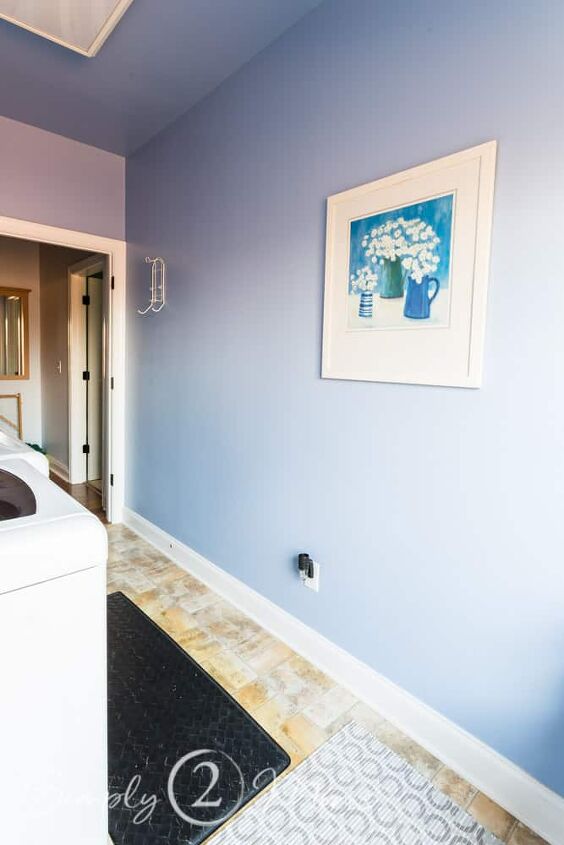
So when I began planning my laundry room makeover last summer, I decided I wanted to do something similar on the long wall opposite the washer and dryer.
The room is narrow, so there’s not room to safely hang shelves or anything like that on the wall.
Besides, I had some plans that would make the cabinets and the window into the focal points!
I didn’t want the combination of chair railing with picture frame boxes on the bottom of the wall.
I wanted to make more of a statement!
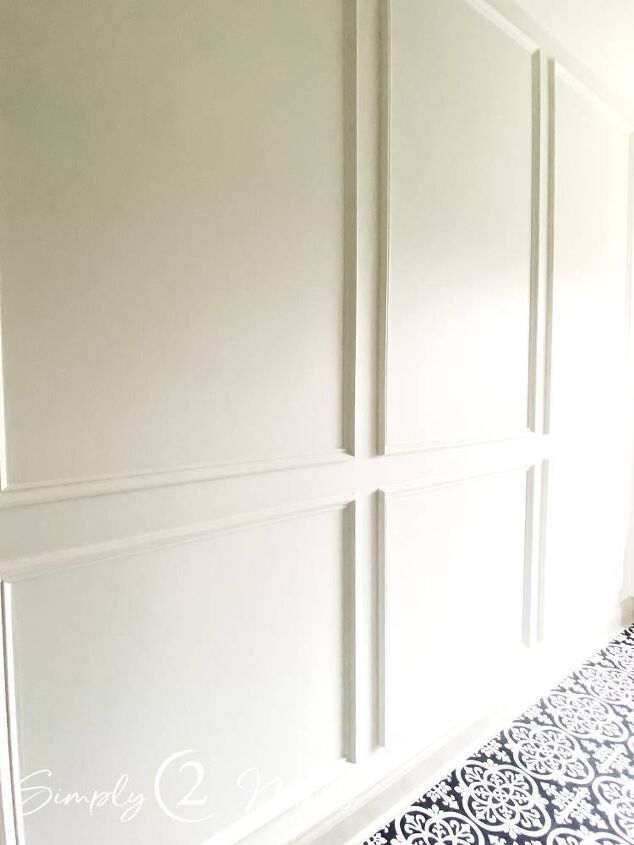
So I decided we would do two rows of picture frame boxes on the wall: a shorter box on the bottom, and a larger box directly above.
Minus the chair railing.
We’ve installed lots of trim over the years, so you’d think this project should’ve been a no-brainer!
But, we made some mistakes that made it take way longer than it needed to.
We try to keep it real here on Simply2moms and share our mistakes (like what I did wrong with this drying rack) so you don’t make them too!
So if you’re thinking about hanging picture frame moulding on your walls, learn from our mistakes!
What not to do When You Hang Picture Frame Moulding
A lot of our errors came down to painting and planning ahead.
We’ve installed feature walls with trim in both of my daughters’ rooms, and each time my husband has insisted that it doesn’t matter whether you paint the wall before or after installing the trim.
For the first wall, I dug in my heels and insisted we paint the wall first, and then also paint the trim before installing it.
That meant all we had to paint with a brush was the caulk lines and the filled-in nail holes.
It was so easy!
In my other daughter’s room, the trim was only 1/4-inch thick, so we tried it his way, and he was right: there wasn’t any noticeable difference in the amount of time the painting took.
Fortunately, the whole project wasn’t a fail.
Wait until you see how it ends up looking at the end!
What We Did Right
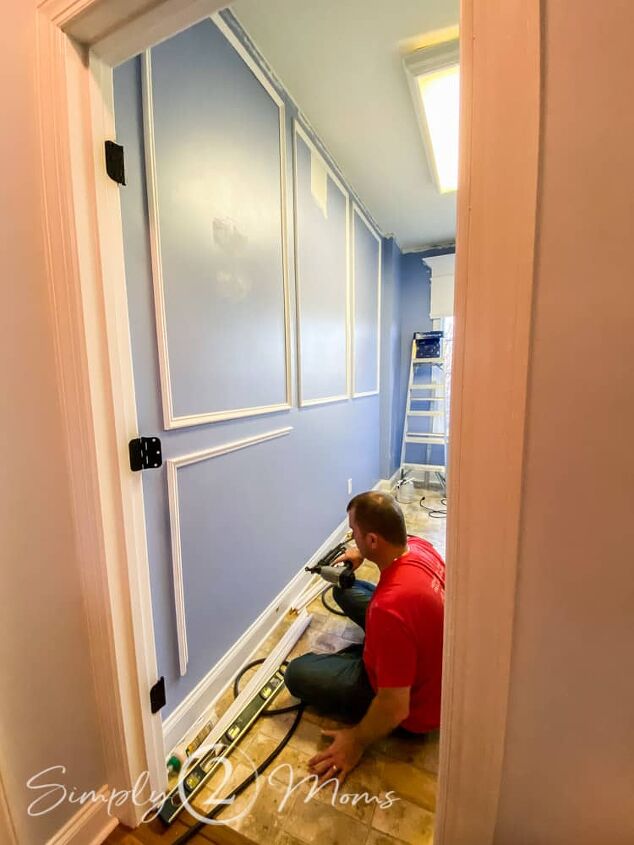
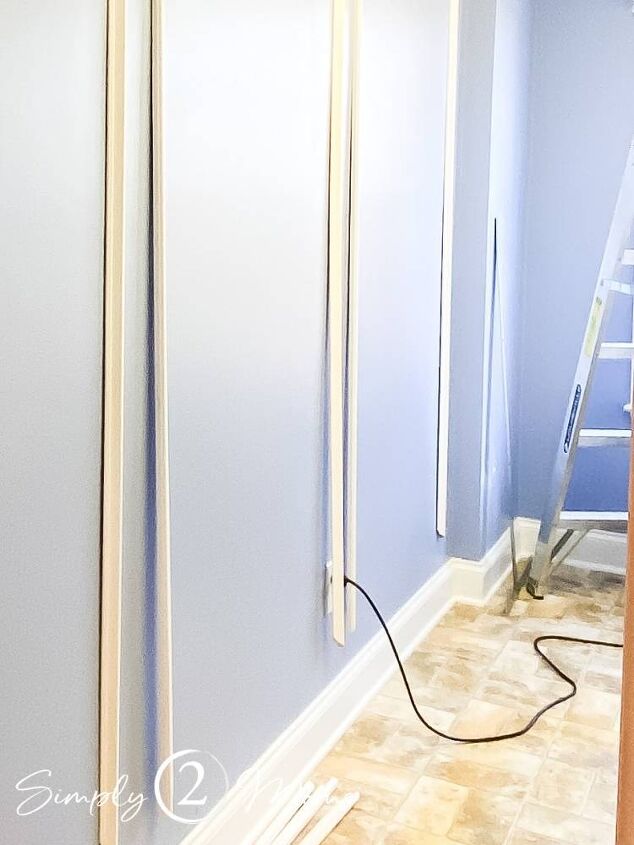
I didn’t think too much about it when he started hanging the picture frame moulding on the laundry room’s blue walls.
We’d already talked through the design and made decisions about spacing.
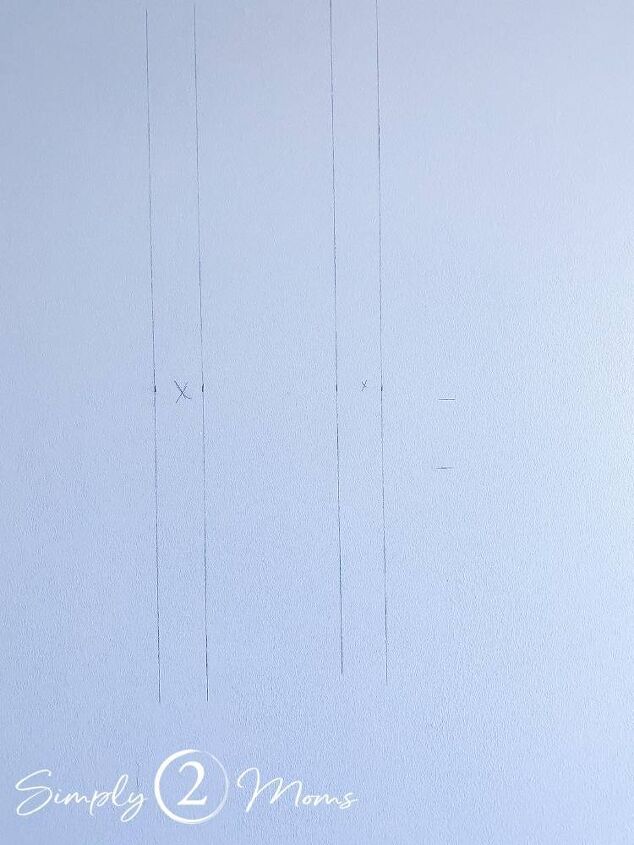
He even marked the walls with pencil in one spot to visualize the spacing.
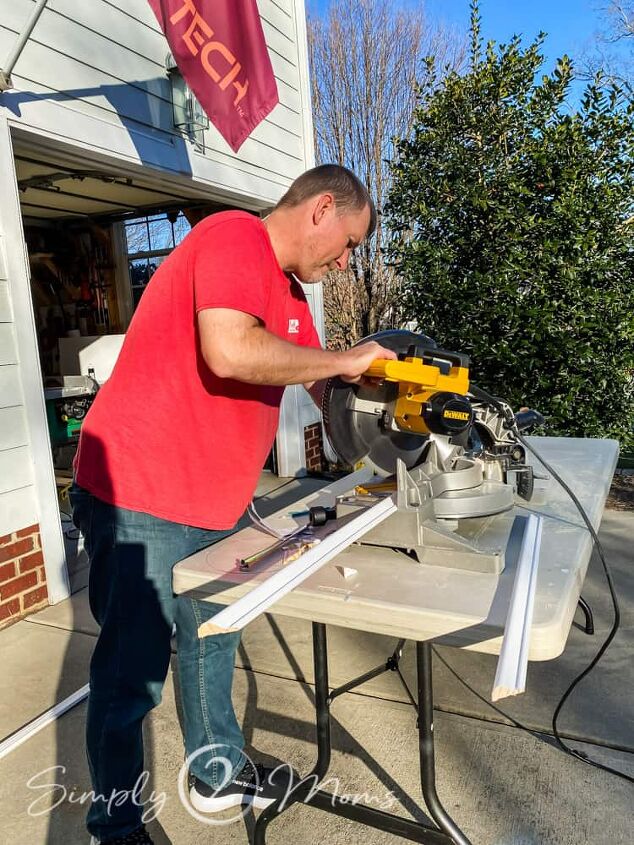
He carefully measured everything, so cutting the trim in advance was easy.
In fact, he was able to make all the cuts at once, so there was no going back and forth from the second floor laundry room and the garage between each piece!
We applied wood glue to the back of each piece of trim to help minimize any gapping since not all of the trim lined up over a stud.
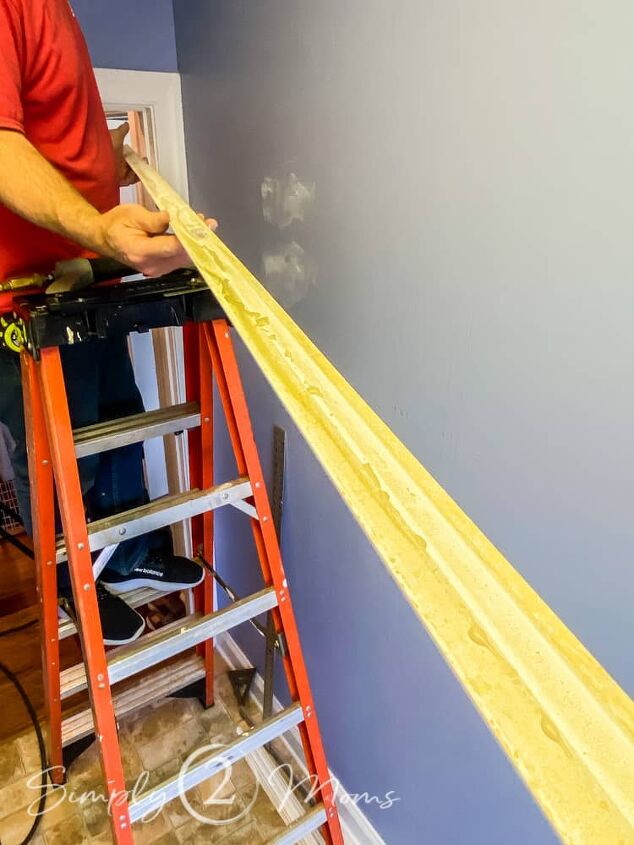
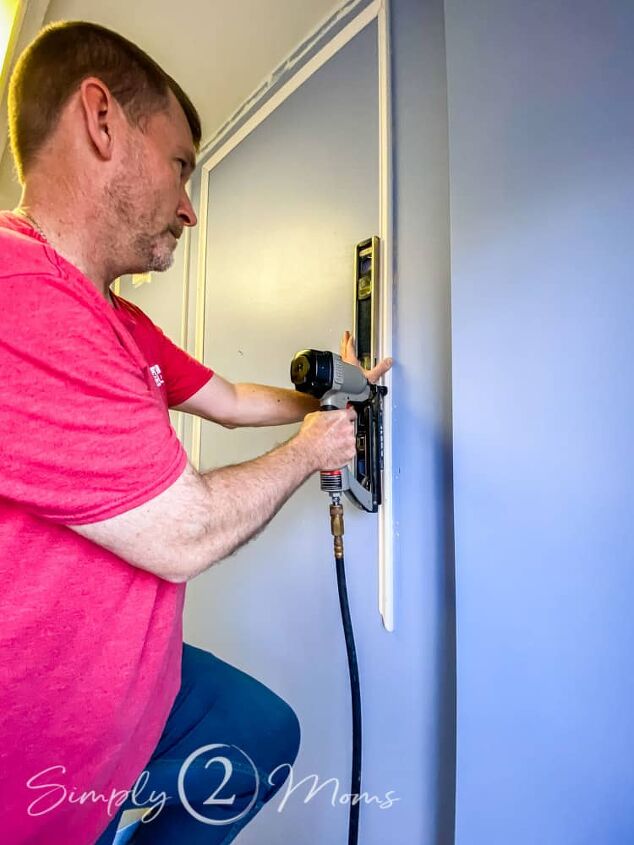
He carefully used a level to make sure each piece was straight before nailing it in with the nail gun.
Honestly?
We thought it was all going great!
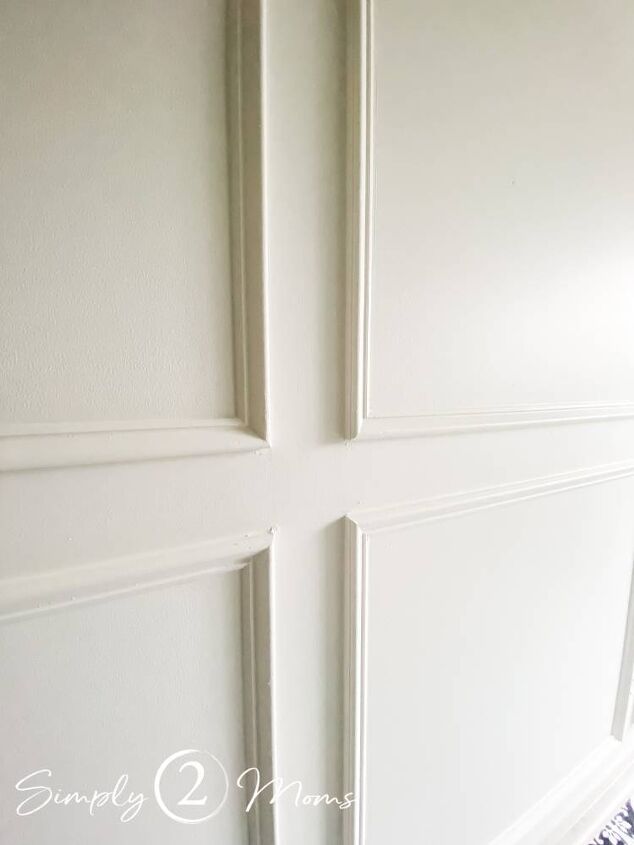
I filled all the nail holes with caulk, and carefully caulked the inner and outer edge of every seam and corner.
I loved how the picture frame moulding easily gave the wall some texture!
It really helped to visually break up the long, plain wall.
Where We Went Wrong
While we technically were correct in our method of hanging the picture frame boxes, we made a few mistakes I’ll never make again.
I realized our first mistake as soon as I started painting.
Let’s just say that my first instinct to paint the walls before hanging the picture frame moulding was correct.

Any time the moulding is more than 1/4-inch thick, always, always, always paint the wall first!
Otherwise, you need to cut in with a brush around every. single. piece. of. moulding.
Which wouldn’t have been as bad if I didn’t need three coats of paint to completely cover up that blue…
I soon noticed another mistake we made in planning the spacing of the boxes.
You see, we have crown and neck moulding throughout the lower level of our house.
The neck moulding begins four inches below the crown, so I decided we should use the same spacing for all the boxes.
After all, we had mimicked this crown and neck treatment on both the window valance and above the cabinets!
The top edge is four inches below the ceiling.
There’s four inches from the wall to the edge.
The space between the boxes?
Four inches.
Wanna guess the distance from the baseboard to the bottom box?
If you guessed four inches, you get a gold star!
But.
Guess how much space you need for our mini paint roller to fit between the trim…
That would be four and a half inches.
Doh!
Which means I had to use a brush to paint all the wall spaces on the outside edges of the boxes.
Okay, so that’s not a huge mistake, but if we’d thought to check the spacing with the paint roller the painting would’ve been so much faster!
Which brings me to our last error.
When we were calculating the spacing, the outlet fell between two boxes.
It looked like it fit just fine, right?
This is our “dry run” where we tacked the moulding on the wall to double-check the spacing!
I mean, we thought we were being thorough.
But when it was time to put the cover back on after nailing down the boxes, something must have shifted.
The outlet cover was about 1/8-inch too wide.
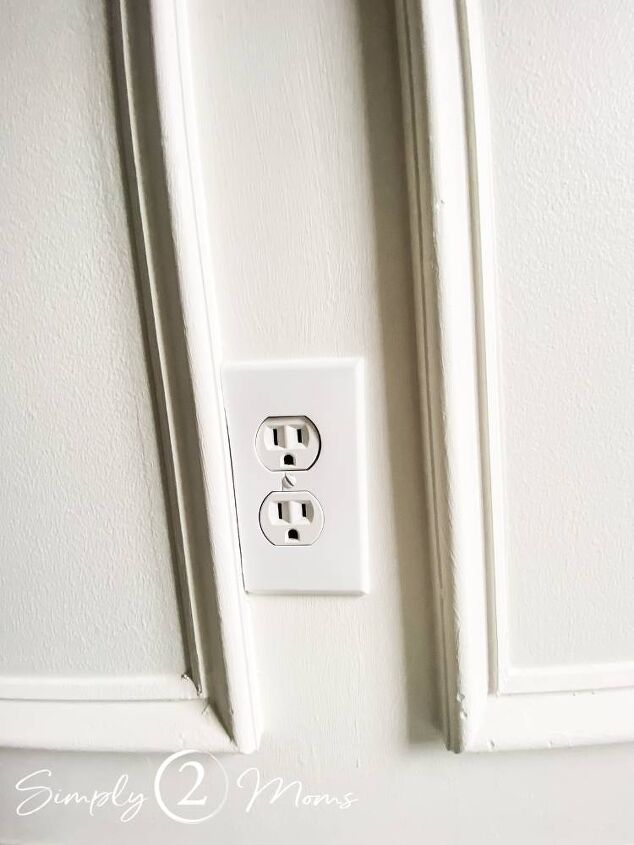
We had to cut a bit off the outlet cover to make it fit.
Honestly it’s not even noticeable unless you’re looking for it.
But if we’d just gone with the 4.5-5-inch spacing between boxes, this wouldn’t have been an issue at all!
Which all goes back to planning ahead.
Be sure to think out all of the little details before hanging the moulding.
You’ll save yourself some grief.
But even with those mistakes, I’m absolutely loving how the picture frame moulding on the laundry room walls turned out!
Have you ever made mistakes like this on a project?
If you have any questions or suggestions, contact me or leave a comment!
Don’t miss any of our tips, tricks, or stories! We’d love for you to follow us on social media! You can find us on TikTok, Instagram, Pinterest, and Facebook.
Resources for this project:
See all materials


Comments
Join the conversation
-
It looks beautiful. I want to try it in one of my rooms.
-
Thank you so much for sharing all of your “mistakes”. Can’t tell you how many “duh” moments I’ve had doing projects like this. But in the end, the mistakes always teach me something and your final outcome looks great! 👍😁


Frequently asked questions
Have a question about this project?