


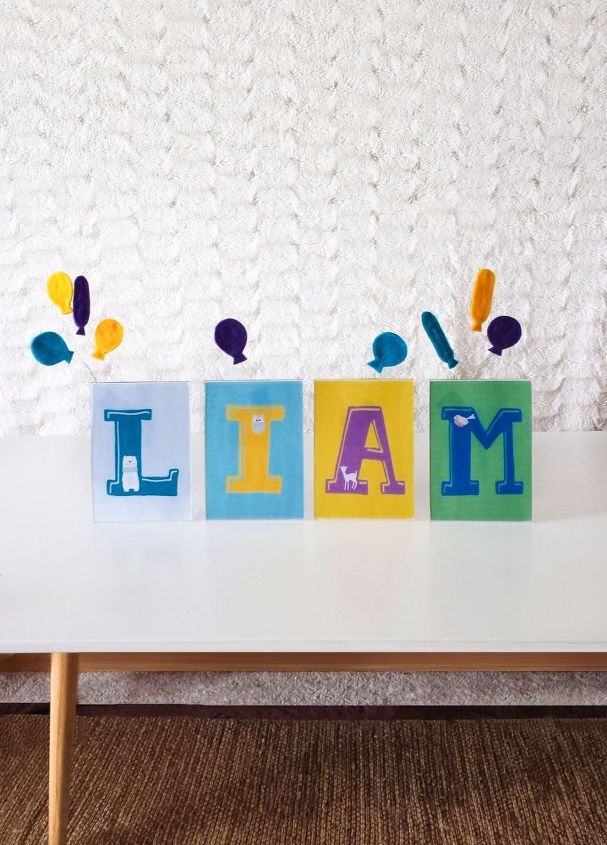
NURSERY DECOR DIY- HOW TO MAKE ONE WITH THE BABY’S NAME
I made this nursery decor for my niece's new baby. I thought of sharing this diy with you so you can make one for a new bundle of joy coming you way or for a gift to a new mom.
This is so hassle free and fun to make.
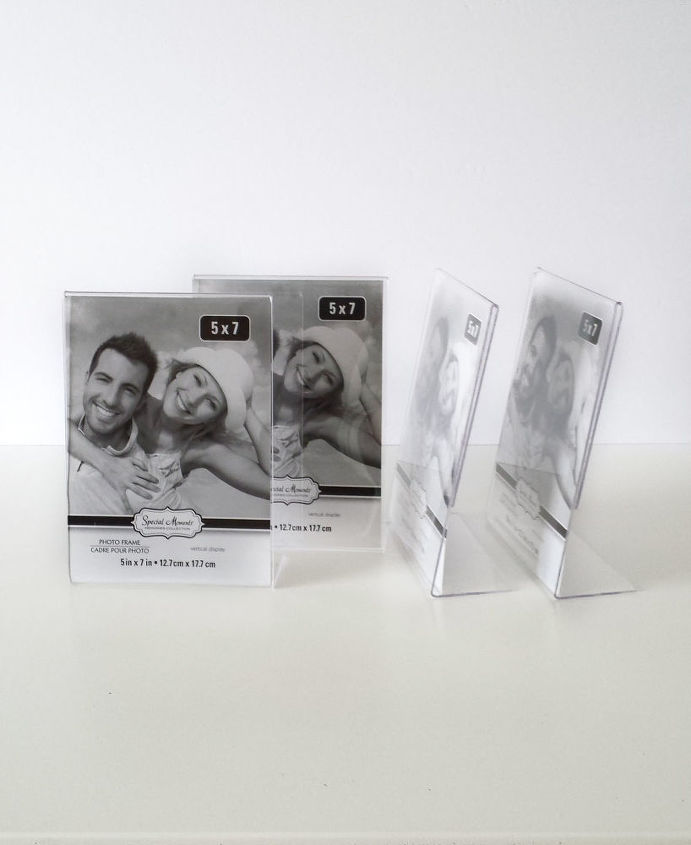
Buy some plain clear acrylic picture frame standees.
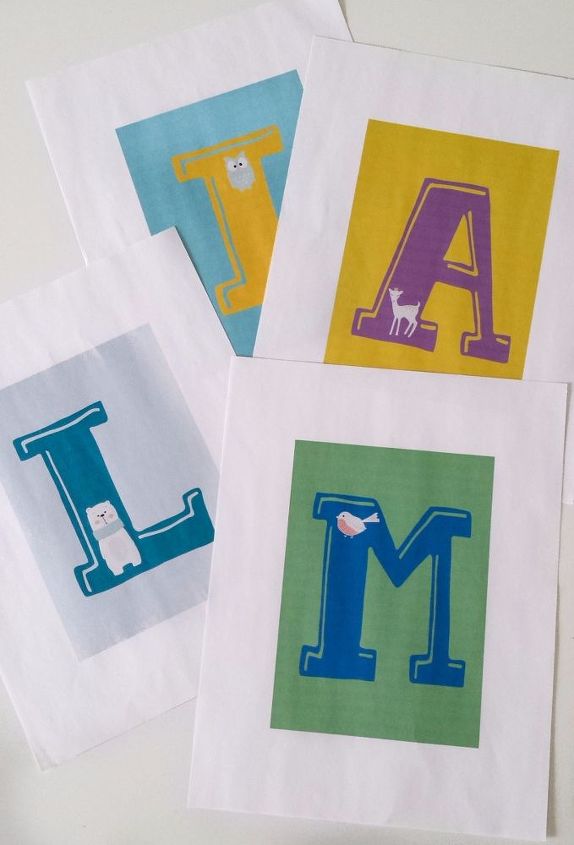
Choose a fun looking font and add images on the letters if you wish and make sure they fit on the frame size you chose. Make the background colored. Then just print them out. I used Illustrator for this but if you don't have this program, you can definitely still make it in Microsoft Word.
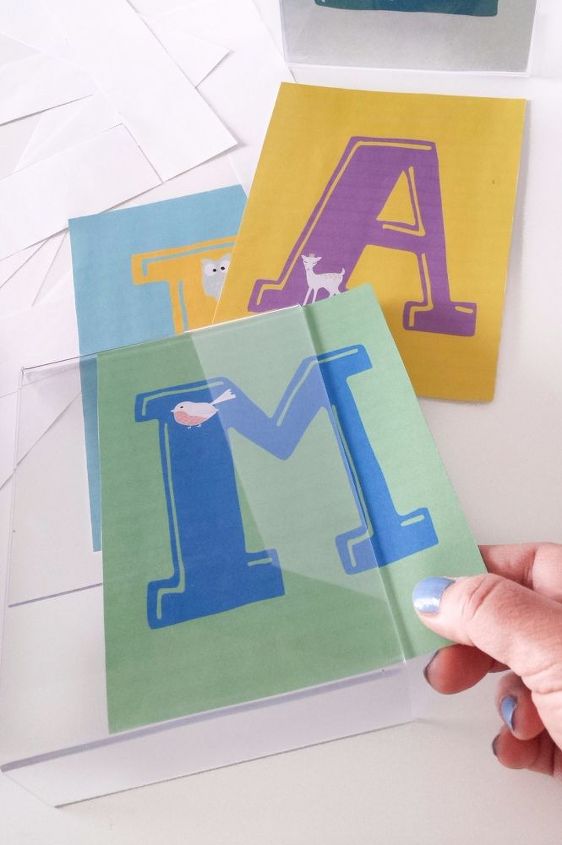
Cut away the excess white paper and insert the letters in the frame standees.
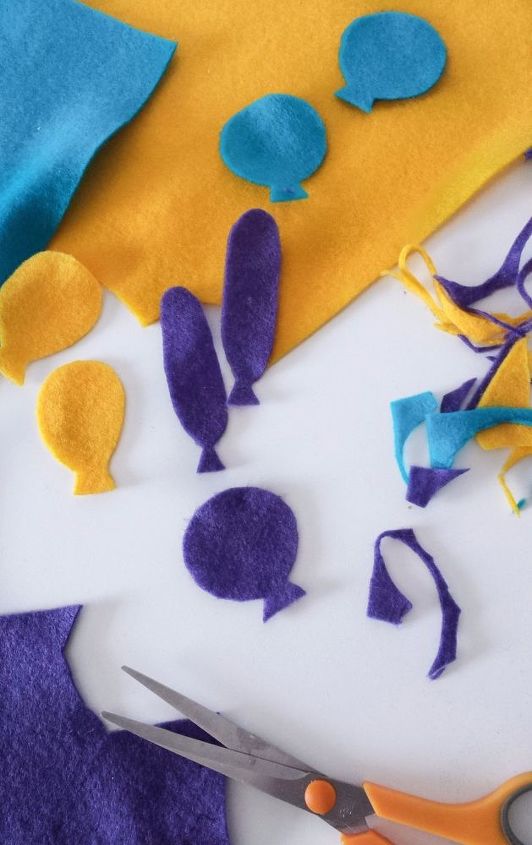
Choose some felt fabric colors and cut out balloon shapes. You will need two cut outs to make one balloon. You will need to sandwich wire in between it.
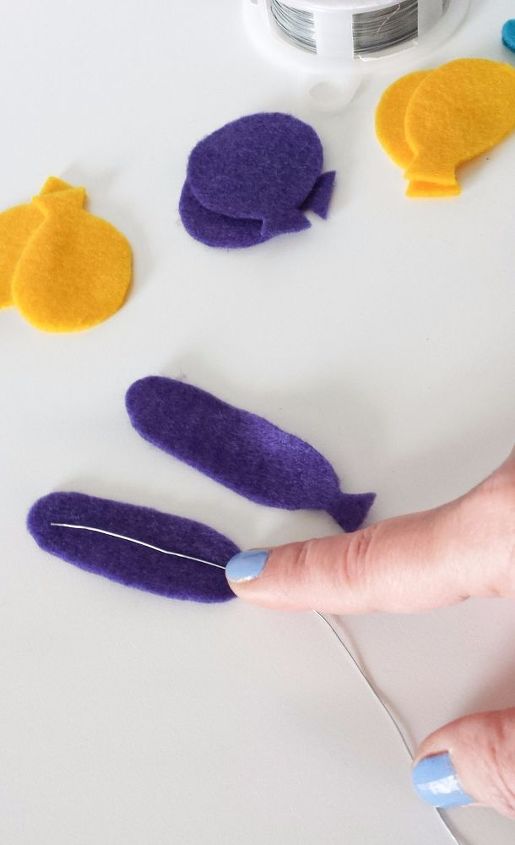
Use a 26 gauge wire and place it at the center of the felt balloon.
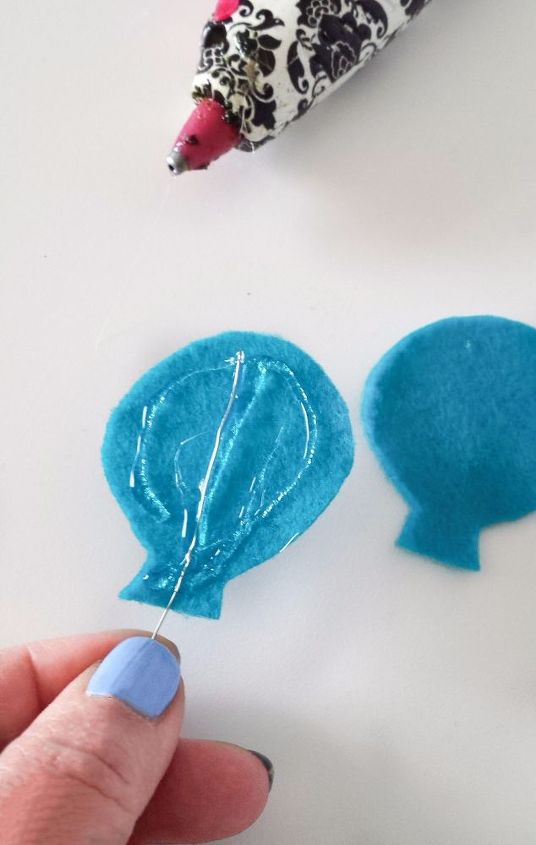
Use glue gun to attach the wire to the felt balloon and then place the other pair of balloon cut out on top while the glue is hot. Be careful when you handle hot glue. Press the balloon cut outs together.
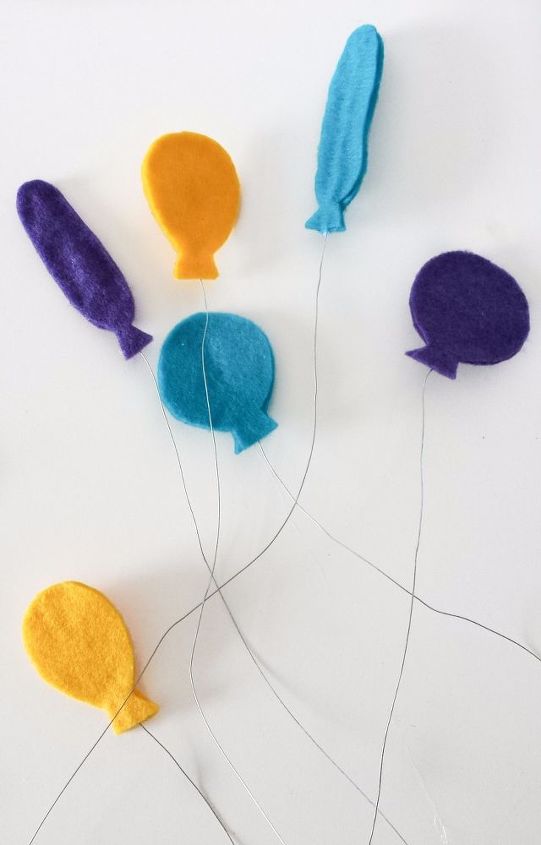
You will make several pieces. You can make as much as you want.
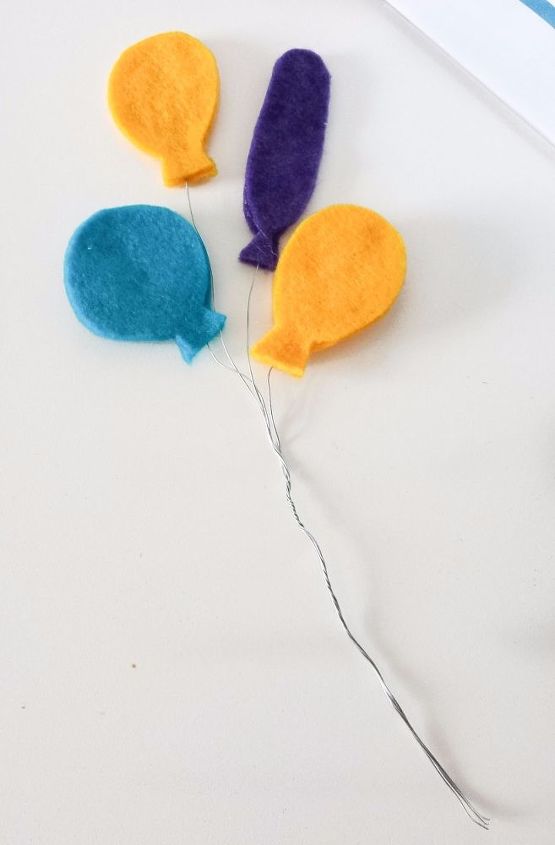
Bundle up some of the pieces together by twisting the wire.
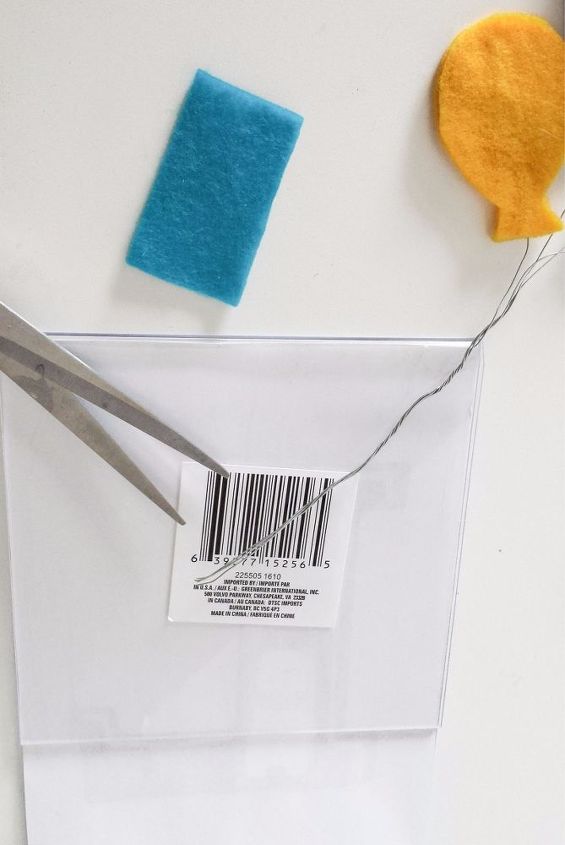
Cut a rectangular piece of felt.

Use glue gun to attach the balloon wire at the back of the frame.
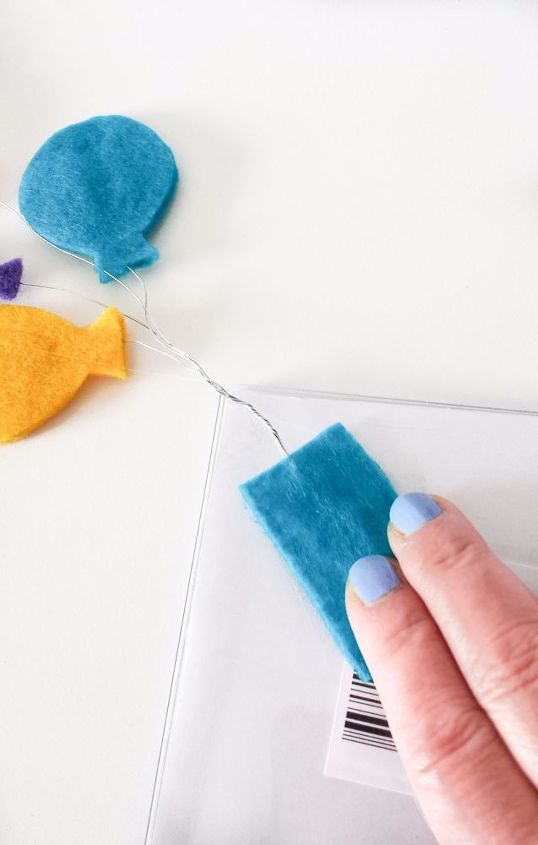
While the glue is hot, place the felt cut out on top of the glued wire to hold it in place. Do the same process for the rest of the wired balloons. Some frames may have one balloon and other frames may have a bunch.
The nursery decor is all set.

Want more details about this and other DIY projects? Check out my blog post!


Frequently asked questions
Have a question about this project?