


Pallet Wood Seahorse

5 Materials
$5
2 Hours
Easy
My family has always been close to a ocean and we love all things nautical. So when I was looking for something to do with an old pallet I decided I would make a seahorse. It is an easy project that you could do too!
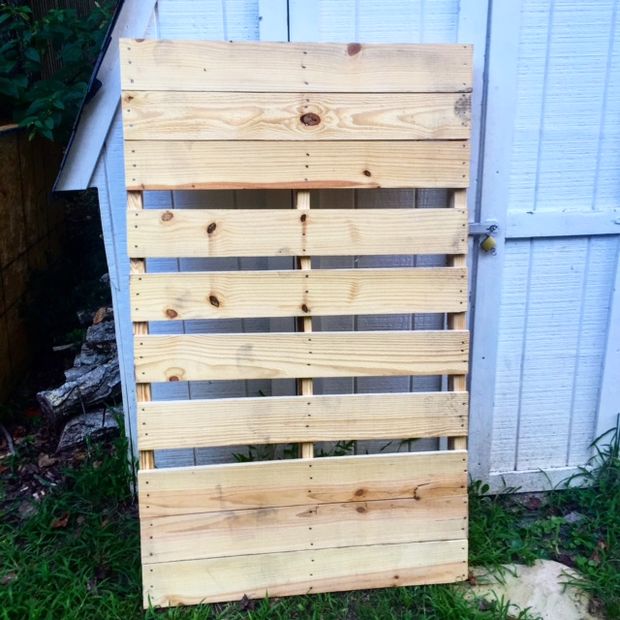
The first step is find a pallet. Pallets are everywhere and a decent source of wood for projects that don't need the polished looked provided by higher quality wood. They are also great for concept work prior to using expensive wood in a finished product. The best part is that they are free, business and individuals are throwing away pallets basically everyday. Check your local craigslist or if you see a pile outside a building just go ask most businesses are glad to have them away.
{
"id": "4607510",
"alt": "",
"title": "",
"video_link": "https://www.youtube.com/embed/bLPAddGYtSI",
"youtube_video_id": "bLPAddGYtSI"
}
{
"width": 634,
"height": 357,
"showRelated": true
}
Here is a video of the process, but read below for full details.
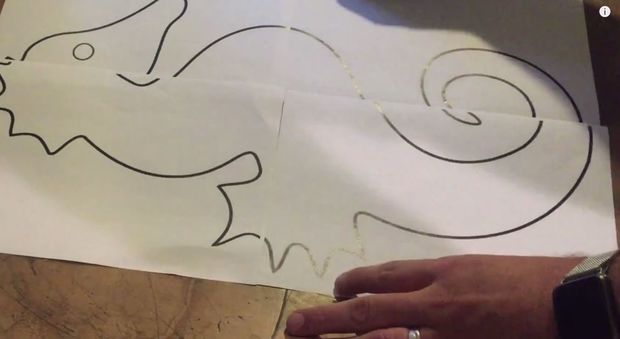
Select your pattern and print it out to the size you want the finished product to be.
To do that open the image you'd like to print in Paint.
Then go to Print select Page Setup
Under the Scaling section, select "Fit To" and change the setting to the size of your choice this is 2 by 2 pages
Click OK.Print the image from Paint, and make sure to select “All Pages”
Once you print it out lay out your pattern and use packing tape* to connect the pages.
*Packing tape cuts well and doesn't seem to gum up saw blades.
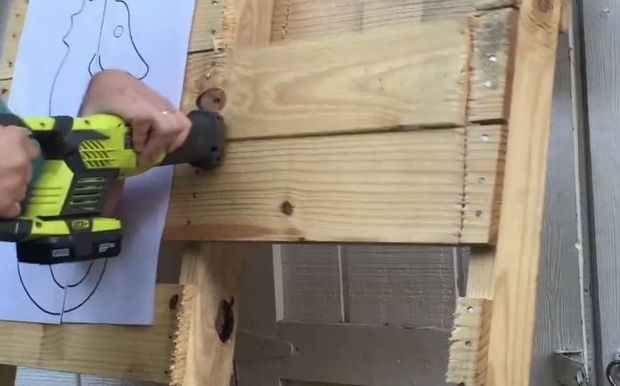
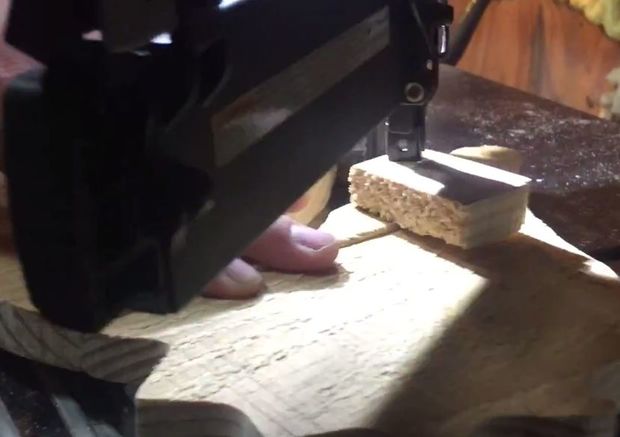
Use your reciprocating saw to cut the pallet down to size. For this project it worked out that I could cut the slats and not have to worry about the nails.
If you are doing larger projects be sure to remove all the nails when dissembling so you do not damage tools during your build.
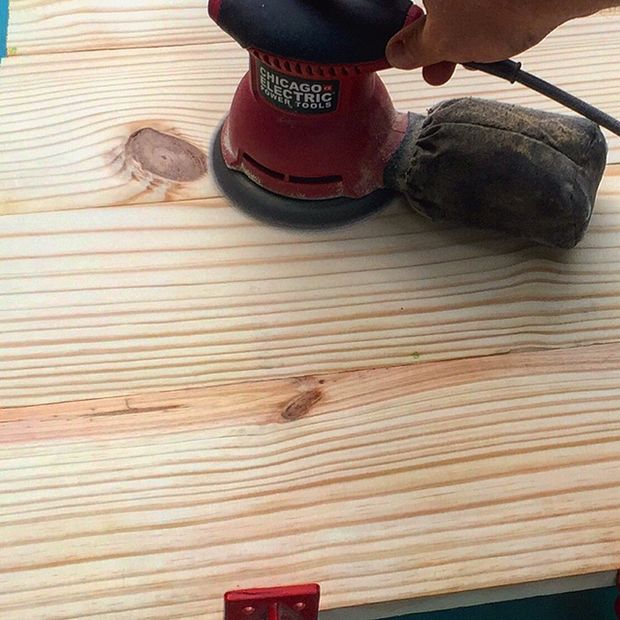
Once the pieces were cut I use hot glue to create a temporary bond in the pieces so that I can sand them all evenly. If you have a thickness planner you can ensure they are even by using it here. I went through the grits from 80 up to 220.
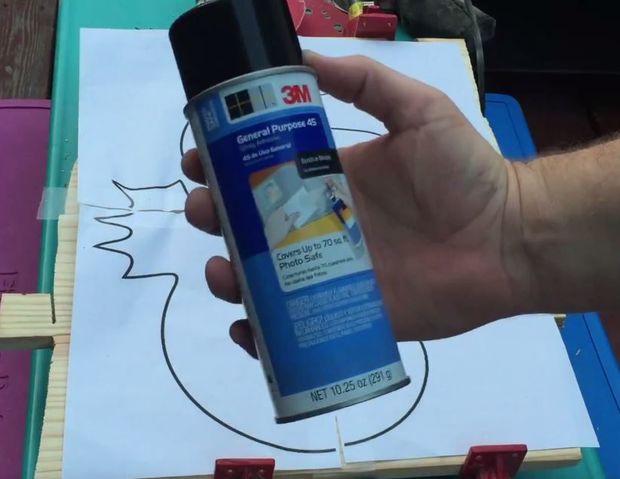
I used spray adhesive to attach the pattern to the boards.
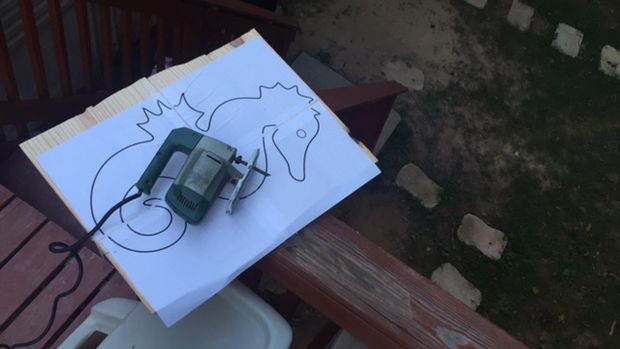
Once that dry I tried using an old jigsaw to make the cuts but it just wasn't working. While I went to get a new one I decided to switch to the band saw.
To make this easier, I used a razor knife to slice the pattern and break the hot glue joint. I added some more spray adheasive to the separate pieces and trim off the excess with the new jig saw.
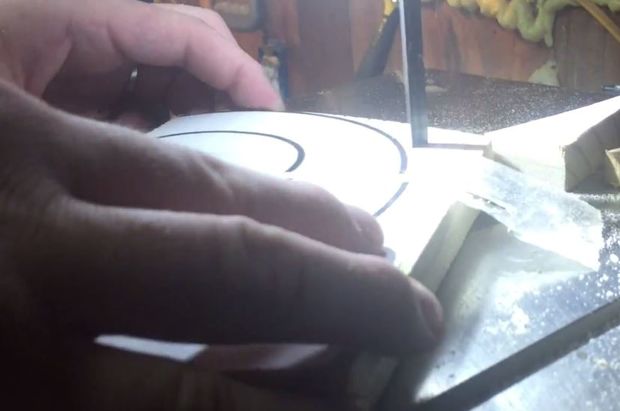
I could have made all of the cuts with the jigsaw however it was easier to just bring it to the band saw to make the final cuts, take your time and make cuts close to the line on your pattern.
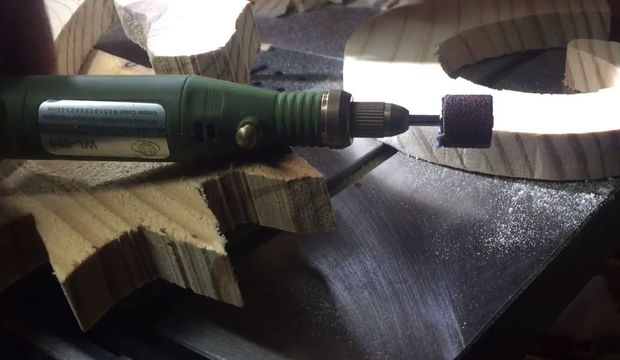
Before assembling I sanded all of the pieces individually. Using the Random Orbital Sander for the larger pieces and a High Speed Rotary Tool i picked up from GearBest.
To assemble the pieces I used some of the cut offs and a pin nailer, If I was going to do it again I would either glue the pieces together or use pocket holes to join them.
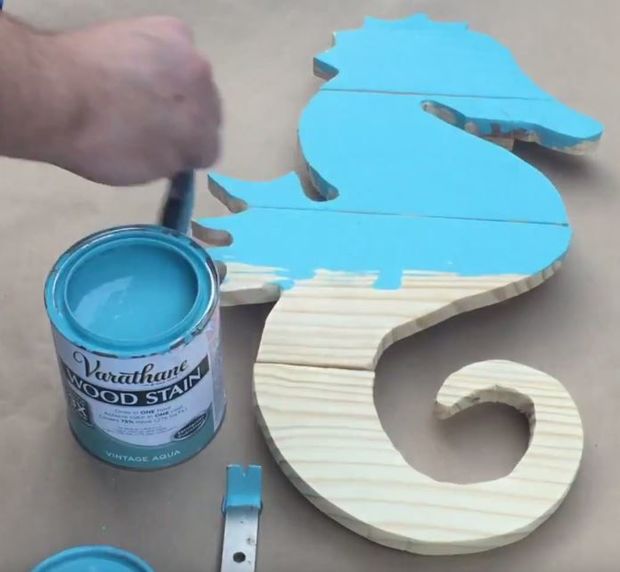
All that is left to do is apply the wood finish of your choice.
I went with the Varathane wood stain in Vintage Aqua, and just used a simple foam brush to apply a few coats.
After that dried I applied a couple coats of polyurethane sanding lightly in between coats
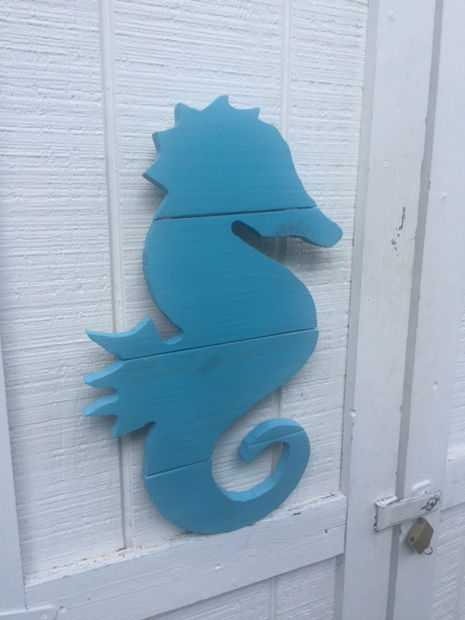
That should make for a project complete, I invite you to follow me on social media links below:
KagedCreations@gmail.com
Facebook:

This is the pattern I used
Resources for this project:
See all materials


Any price and availability information displayed on [relevant Amazon Site(s), as applicable] at the time of purchase will apply to the purchase of this product.
Hometalk may collect a small share of sales from the links on this page.More info


Frequently asked questions
Have a question about this project?