


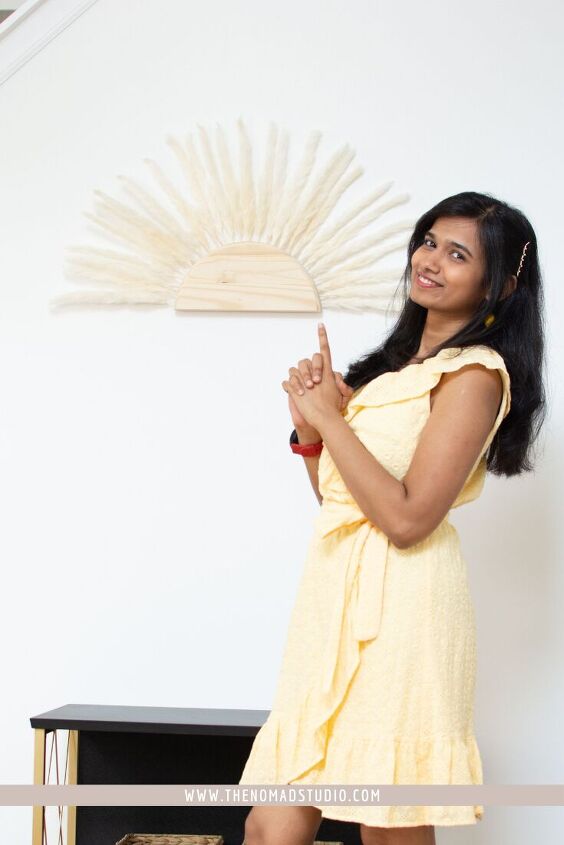
PAMPAS SUN BOHO DECOR
If you are into Boho style of decor, then this is your project. It is super easy to make this Pampas sun Boho Decor. You can mount it on the wall or add to a wall shelf.
What is Pampas grass?
Pampas grass is a type of grass that is native to southern South America. These plants grow up to 13 feet tall and have a flower clusters on top. These flower clusters are used for decorative and ornamental purposes and they can be bought in various colors from amazon or from local stores.
Supplies and product links are listed in my blog here. https://www.thenomadstudio.com/pampas-sun-boho-decor/
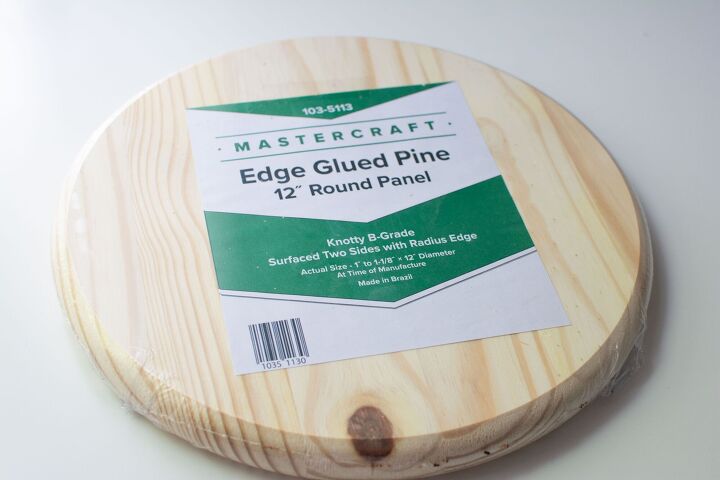
I bought an edge glued pine wood in round shape (12″ dia) and cut it into half using a circular saw. Since it does not have square edge, be sure to secure it properly before cutting into a semicircle.

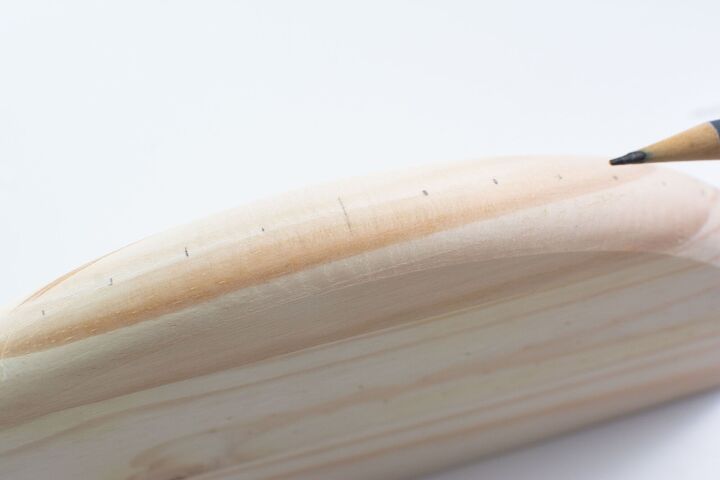
Measure the circumference of the semicircle using a tape measure and divide equally to mark the locations of the pampas. Mine were 18 inches. So, I divided that by 30 and marked the points with a pencil at every 0.6 inch spacing.
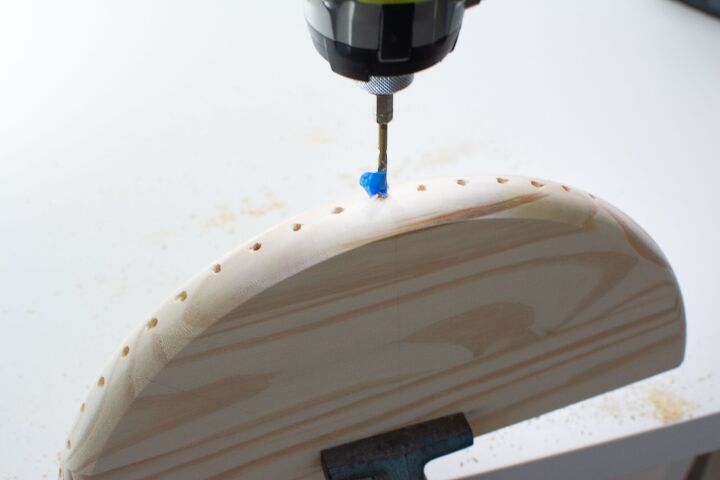
Step – 3
Now drill holes on the marked locations using a power drill. Pick a drill bit that is similar to the thickness of the pampas stem and add a painters tape at 1inch distance as a guide for hole depth. To make the drilling easier, I made pilot holes before drilling the actual size holes. It is important to drill the holes at an angle pointing to the center of the semicircle. Only then you can arrange the pampas grass around the wood looking like sun-ray.
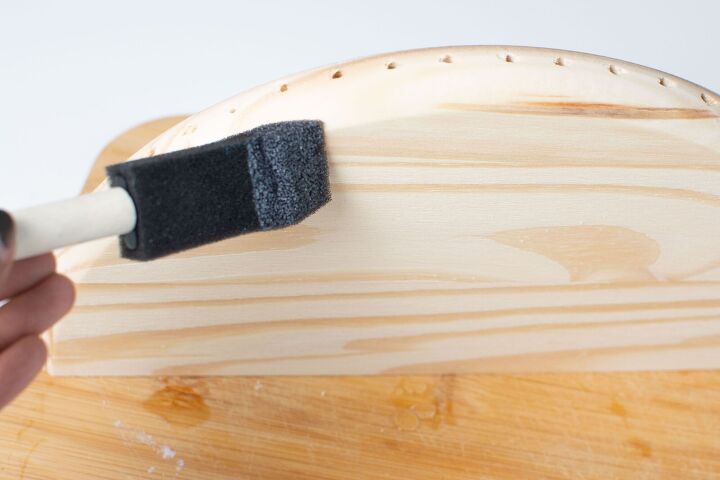
Sand the wood with 220 grit sand paper and wipe off with tack cloth. Apply clear sealer or any stain of your choice. I wanted to leave the wood color as it is.
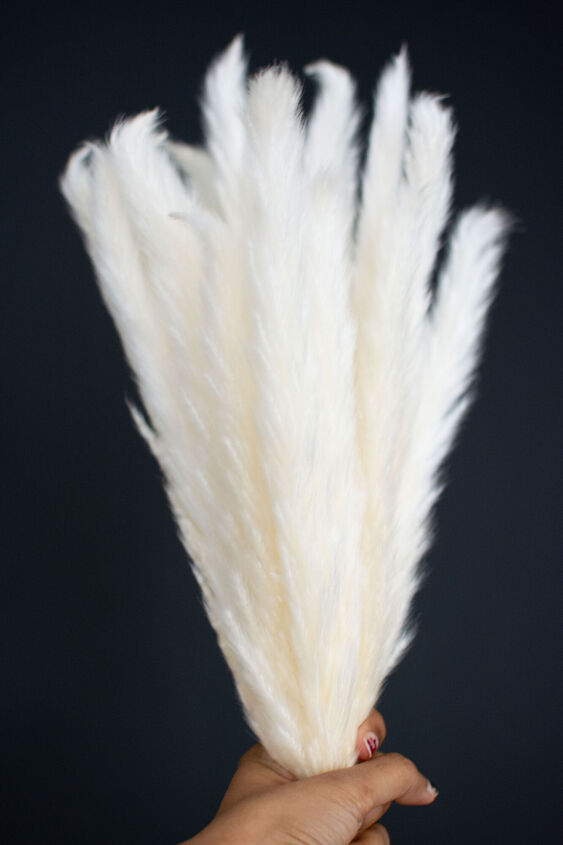
Unwrap the pampas grass and fluff it. You will see some shedding, which is completely normal. If necessary, you can reduce the shedding using a hairspray. Now cut the stem off in such a way that you see only an inch of the stem.
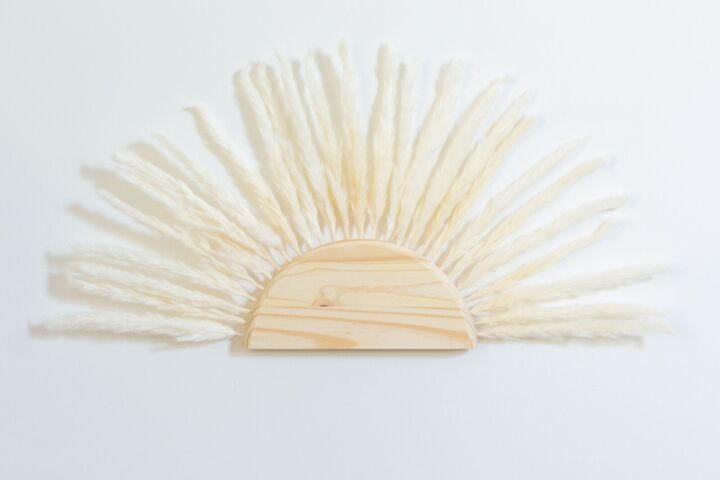
Place the pampas in each hole of the wood. You can add glue for a permanent install.
Install a hanger behind and silicone bumpers before hanging on the wall.


Comments
Join the conversation
-
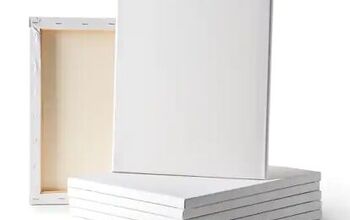
Your pampas sun would look especially stunning mounted on a canvas painted
a contrasting color.
-
Good job 👏


Frequently asked questions
Have a question about this project?