


Photograph on Wood With Hand Painted Lettering

4 Materials
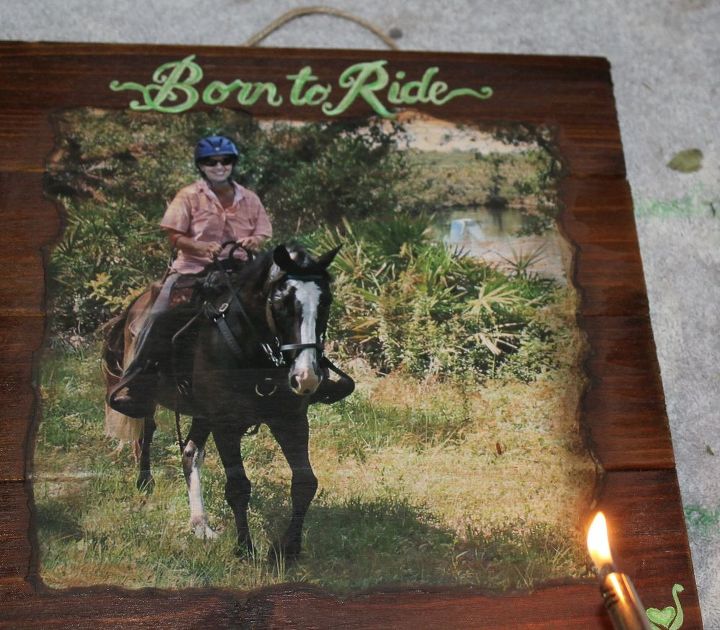
I took the photo, had it printed out as a color laser print, burned the edges with a lighter, and glued it onto the wood simply by coating the back and sticking it on the wood. Smooth it completely. I set up the wording in Photoshop, penciled it by eye then filled in with paint. (Note this step is easier by a transfer method such as printing on freezer paper, mirror image, wax side up, then squeegee on. However I am glad I did it freehand it's a learning experience and now I don't need to have help!) I painted a border in dark brown and did a sheer watered down brown paint over the top to give a sepia look. Note: it looks better if you de-saturate in Photoshop and add a sepia tint that way. You convert to black and white, then turn it back into cmyk color mode, then in "variations" add one click of yellow and one click of red, for those with Photoshop.) Do a final top coat of mod podge to seal. I gave it as a gift and she loved it!
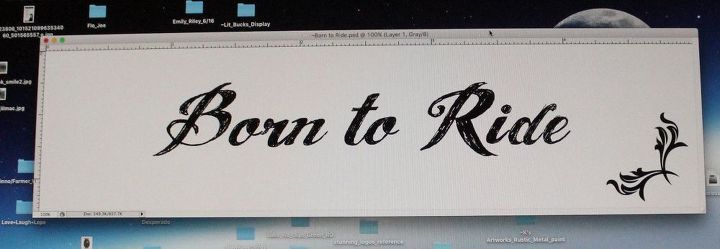
Layout text in photoshop
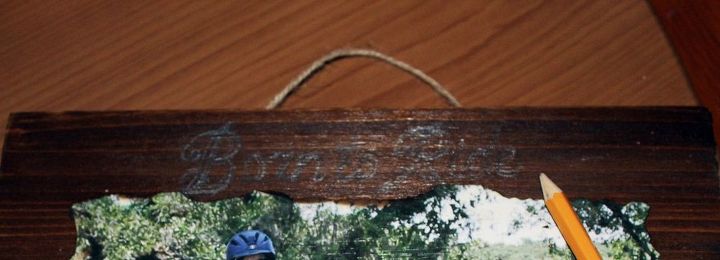
Pencil it in
Paint the edges
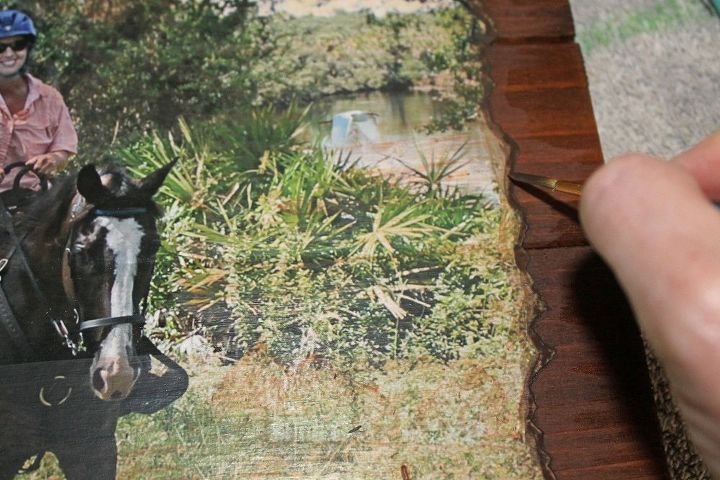
burn with lighter if desired for this effect
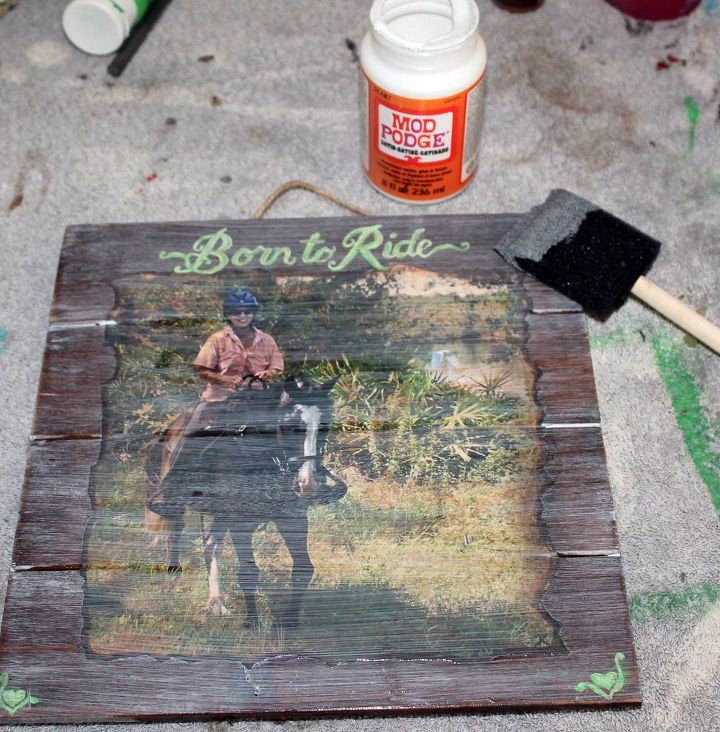
topcoat with mod podge

The final piece!
Comments
Join the conversation
2 of 4 comments
-
Love this!!!!
-
Your lettering came out perfect!


Frequently asked questions
Have a question about this project?