


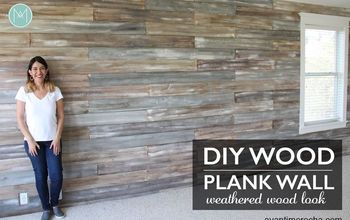
Planked Wall With Renoboard
This post was sponsored by Renoboard. All opinions are my own.
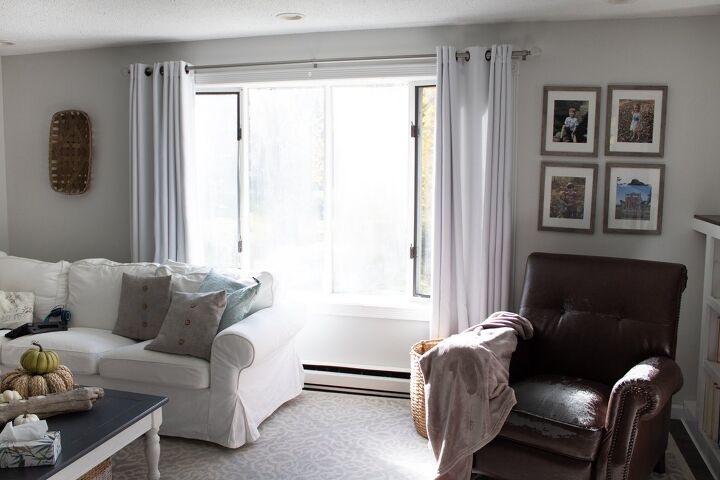
Everytime I sat in our living room I always thought about doing something with our one wall. I wanted to add a little interest and texture but wasn’t sure if I wanted to paint or do something else.
In comes Renoboard, which is self-adhesive planks for walls. It sounded like a great easy and easy option to add a little something to the wall.
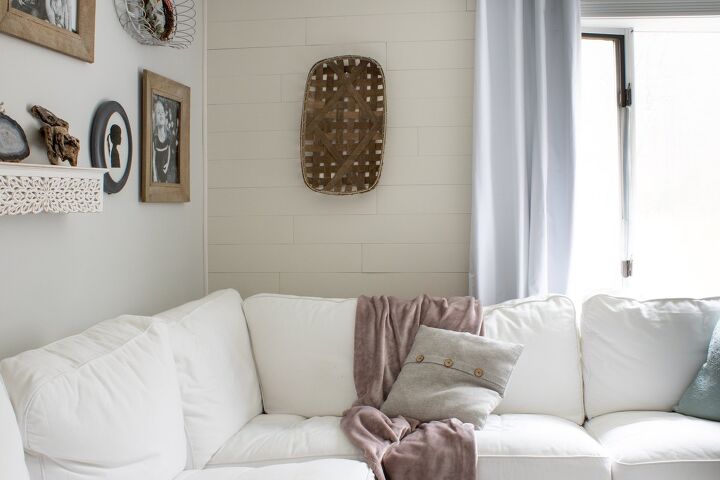
They have all kinds of finishes for the planks, wood, stone, marble, and solid. I went with the solid white/cream plank. The wood planks are beautiful, but I have a lot of wood finishes in our space so I went with the solid.
These planks are also waterproof and can be installed in the shower!
To prep the walls, I took everything down, lightly sanded, vacuumed, and then wiped it down. I have untextured/painted walls. If you have textured walls you would have to follow the instructions on how to prep your walls.

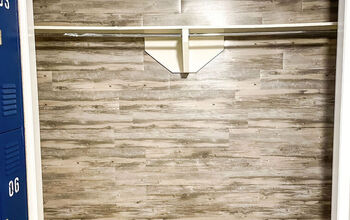
Installing the Planks
I opted to start from the top. The only reason I did that was because I wanted a full plank along the top, not end up with a smaller piece. If there was to be a smaller piece then it would be on the bottom and covered by furniture.
I wanted a staggered look to the planks instead of them stacked on top of each other with matching seams. To do this I cut the first plank in half. To cut the planks it’s easy to do it with either scissors or a utility knife.
An important thing to remember is to level the first row, and check the level every so often while placing the planks. Never assume your walls or ceilings are level.
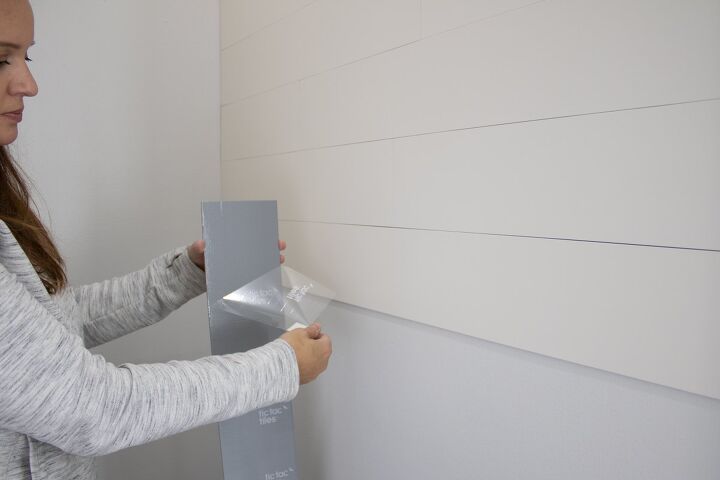
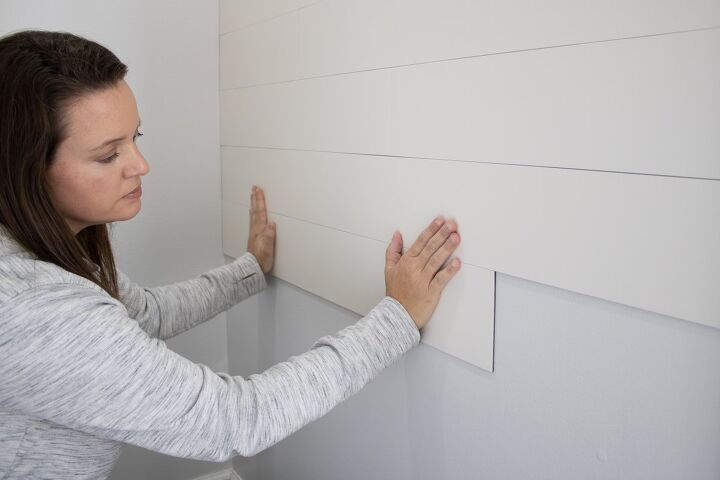
To place the planks simply peel off the adhesive backing and place the plank down, smoothing it with your hand and repeat!
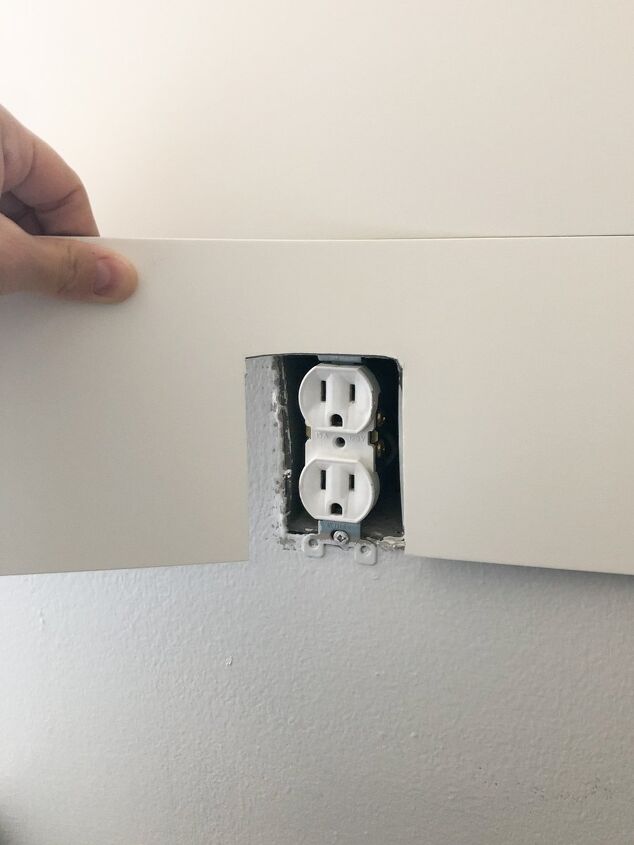
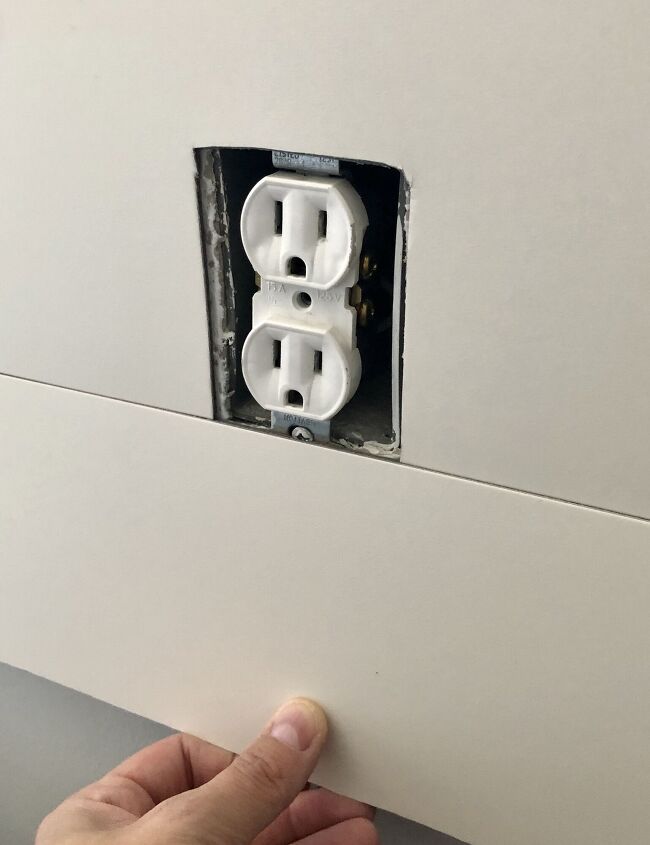
To work around outlets and other obstacles, you can cut the planks with your utility knife, or make it really easy and use a pair of scissors.
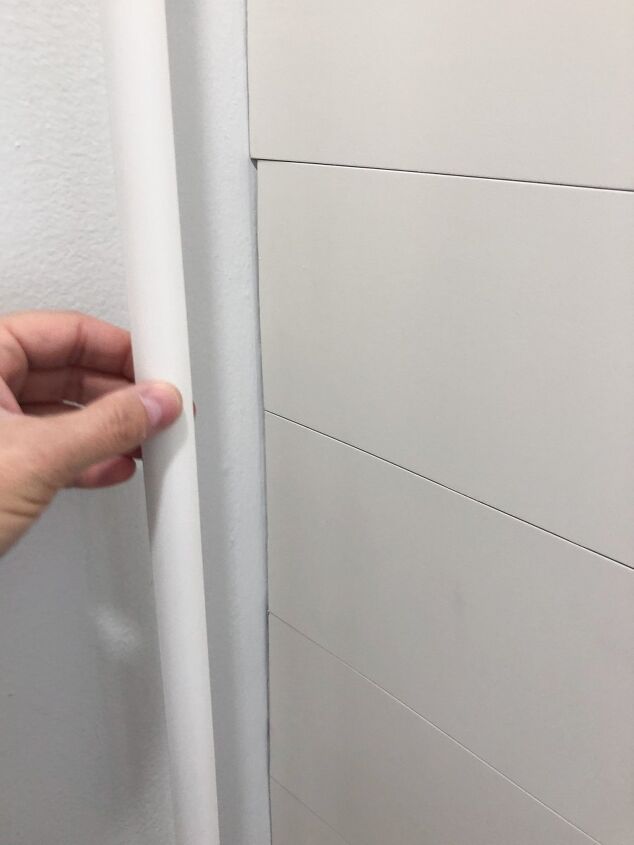
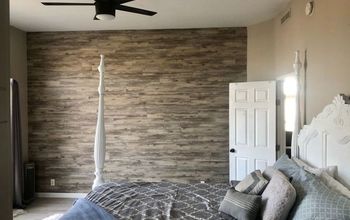
Once the wall was complete, I used quarter round moulding along the sides to cover the gap where the wall was not level. It gives it a nice finished look.
An important thing to remember is that the surface you are placing the planks on should be 70 degrees or higher 12 hours before installing the planks and for 24 hours after install. This will ensure a proper install.
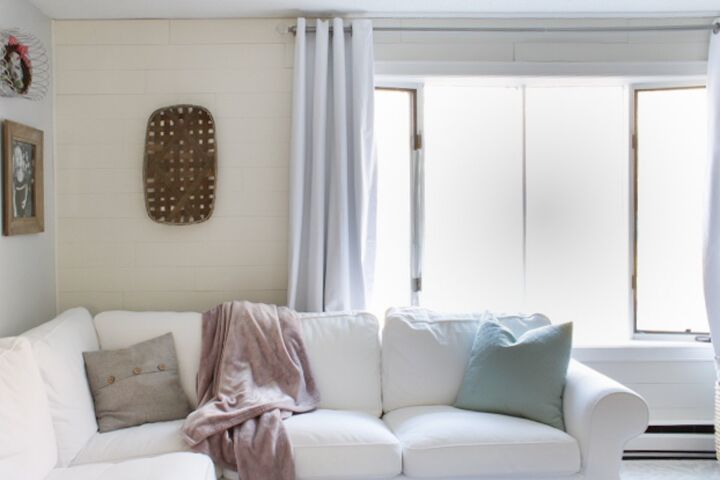
I am loving the cozy texture this wall now has!


Comments
Join the conversation
-
Renoboard looks solid! I ordered some stone look from Temu. It is fragile foam with a good adhesive backing. So far I have used it in two corners of my living room making a faux stone pillar. It would not withstand even one kitchen backsplash cleaning. Looks like Renoboard would work in my kitchen.
I love your plank look. Mine was more labor intensive, but it was free. I helped a friend tear down a house and he gave me the shiplap! So far I have removed the nails and installed it to one 'man cave' wall. I have 2 more walls to go and plenty of wood for it. I'll let HIM paint it!
-
I have never heard of renoboard but anything cut with scissors is my speed thanks for sharing


Frequently asked questions
Have a question about this project?
Can this be installed on a bathroom ceiling?
Can this be painted? (In case you decide to change up wall colors at a later date). What is the cost?
Is there somewhere to purchase reno board other than the website you provided? It says it is under construction.