


ReVamping a Tiny Drawer Unit.

by
Sandra Allen
5 Materials
$1
1 Hour
Easy
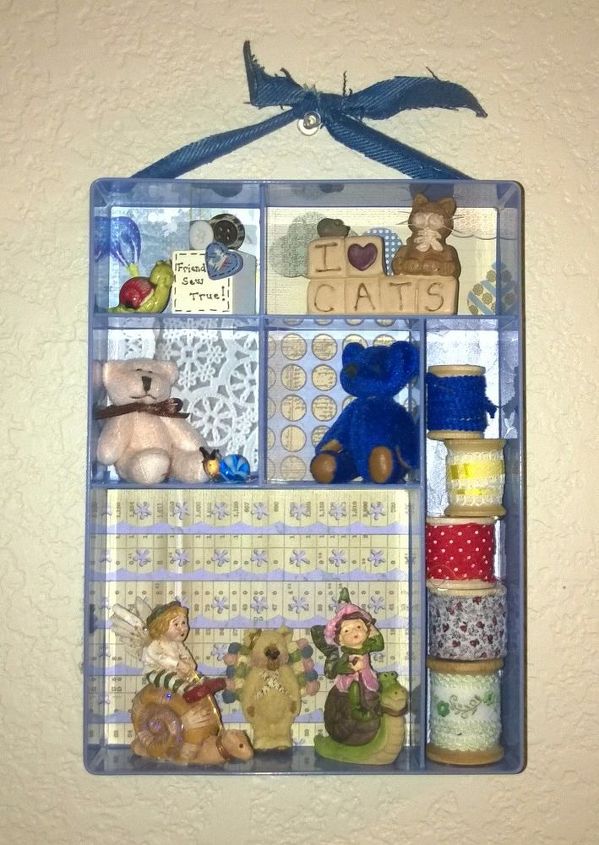
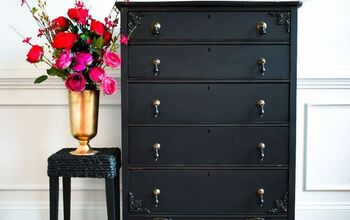
I am not sure what this was, but I bought it for .29 at a tag sale and have been meaning to renovate it for about 9 months. It just called to me one day and this is how it turned out.
Make sure the interior is clean. Then measure the dividers and make a "template" of each section to use to cut the good paper.
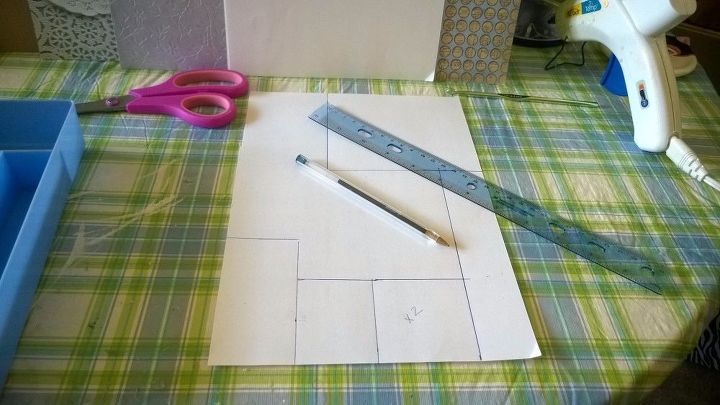
Keeping in mind your paper template is going to be larger than the inside, you will need to tweek it a bit and when it falls inside the shape perfectly, you are golden.
Then you can cut the good paper. I chose a different pattern for each, but you can use the same if you like.
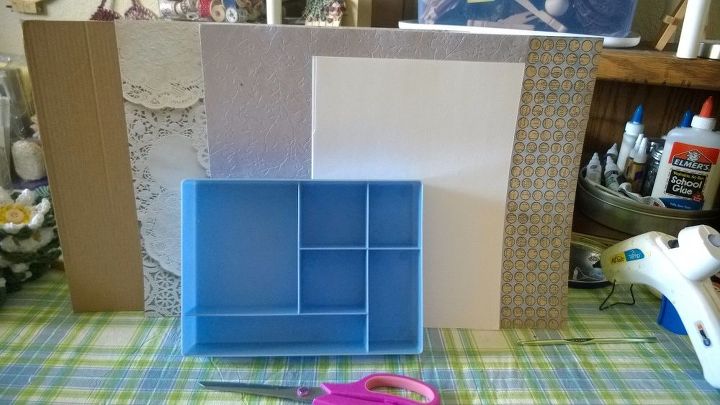
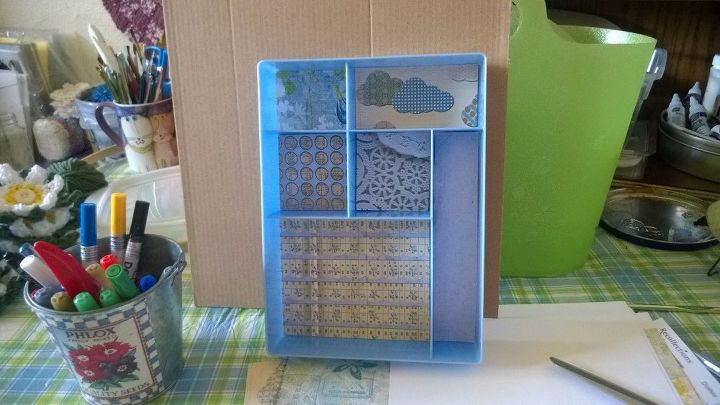
All you need is a tiny dot of glue on each corner. Using a water based glue won't work as it tends to warp/wrinkle the paper. Then you can fill it with what you want. I used a tiny spot of hot glue.
I glued mine so I can pack it and not have to worry about the contents coming out and breaking or getting lost.
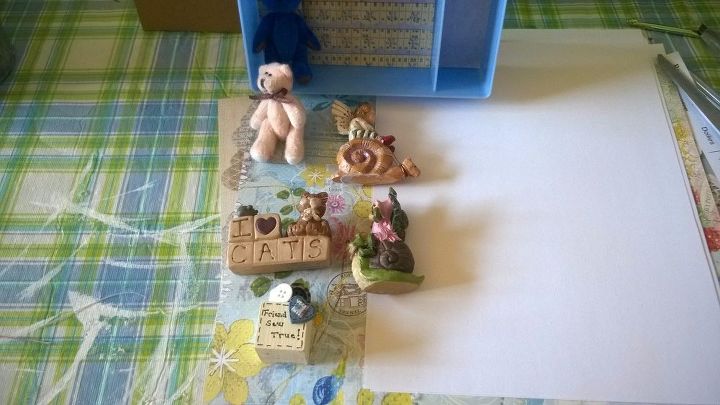
I chose crafty thread spools, teddies, kitties, snails, and such. You can fill it with things like: tiny photos, jewelry like broaches and lockets, etc.
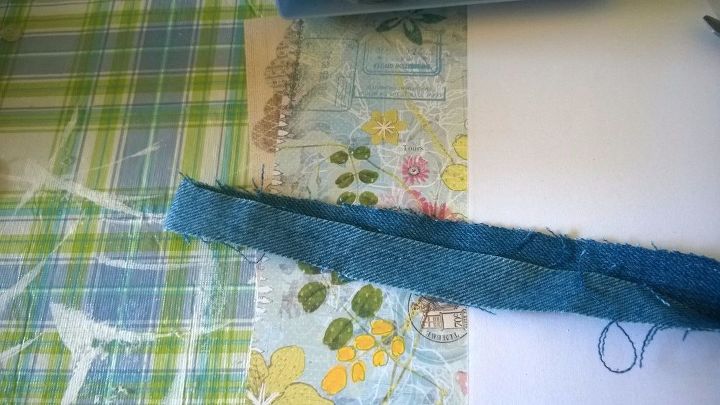
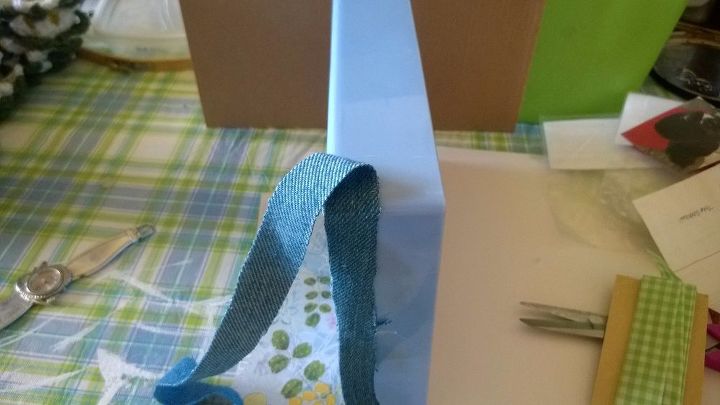
Now I glued some denim strips on the bottom and along the sides, tying it on the top. If there was a time to over glue (not messy but a lot of spots) this is the one. This fabric will determine how safe your things are.
N-JOY!!

Comments
Join the conversation
2 comments
-
How sweet! I love your use for it!


Frequently asked questions
Have a question about this project?