


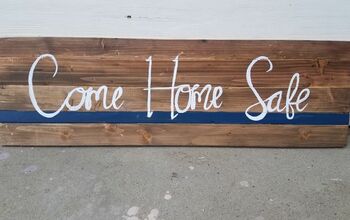
Rustic Wooden Sign
5 Materials
$10
30 Minutes
Easy
Years ago, I made a rustic rooster sign for my kitchen, on a board I had painted red. I am a huge fan of roosters and have put them on everything from DIY farmhouse plates to stenciled pillows and placemats...come peek. While I still loved the roosters, the red looked out of place in summer. So I flipped the board over and started again.
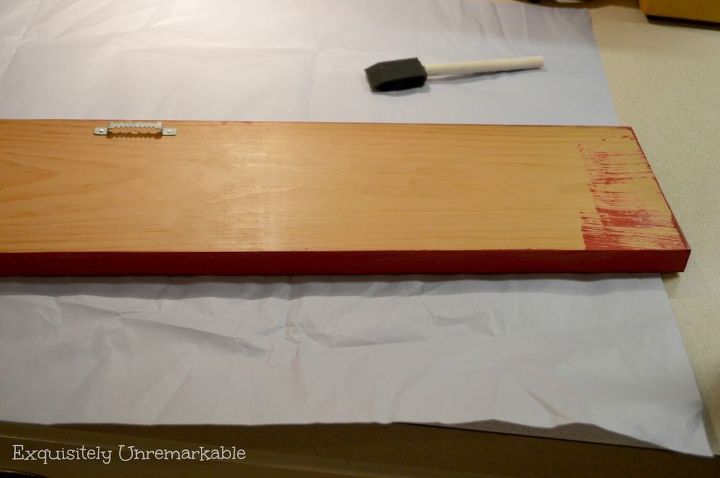
As I said, the board was the perfect size, no need to replace it. I just removed the picture hanger on the back and it was a clean slate. I paint on the back of things all the time... like my wooden fan blade crafts. Christmas on the front, Halloween on the back.

I painted it using a foam brush.
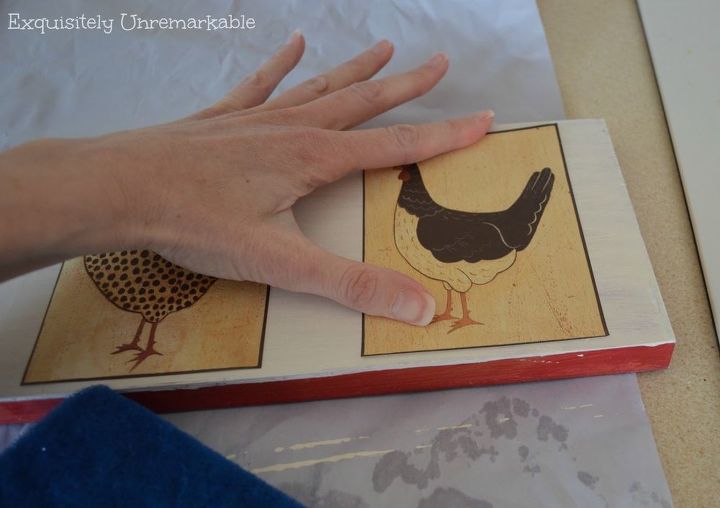
Since I had some of the rooster wallpaper stickers left over from the first time I made this project, I just dug them out and stuck them onto the board. I added a coat of decoupage and the sign was ready to be hung up again.
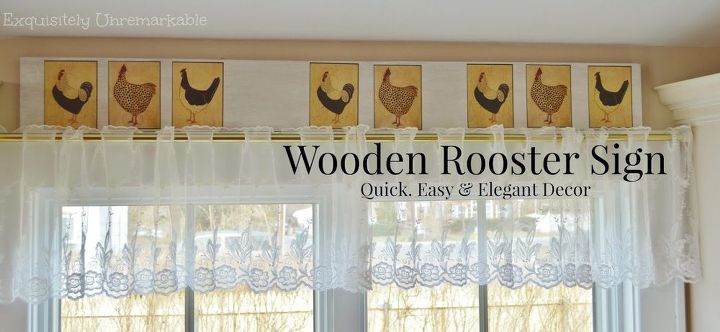
I moved the picture hanger to the red side and placed it right back over the sink. The difference was dramatic and now I have a summer and a winter wooden rooster sign! Fabulous.
If you'd like to peek at both signs, red and white, you can check out the link below. You can also catch the full tutorial there, as well. 

Want more details about this and other DIY projects? Check out my blog post!


Frequently asked questions
Have a question about this project?