


Shabby Chic Frame - Using Tissue Paper!

by
Katie Tennis
10 Materials
$15
1 Hour
Medium
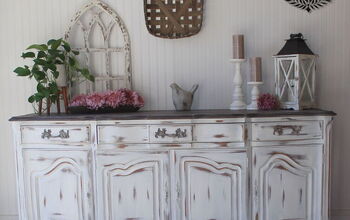
In need of a cute & personalized baby gift? This project is perfect for a shabby chic, girly nursery but could easily be changed up for any theme depending on the tissue paper you select.
Step 1:
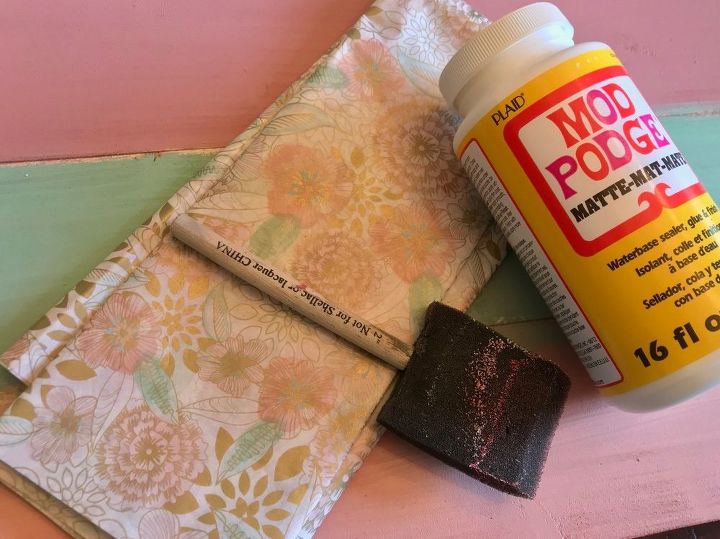
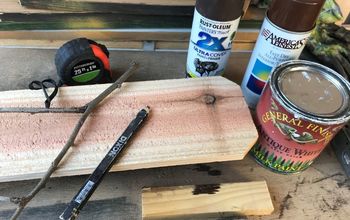
Supplies for this project include a wood base to fit your frame & letter. Mine measures 11x18. You will need patterned tissue paper (the kind used for gift bags) or a patterned napkin will work along with the paint color of your choice and Mod Podge.
*The pink used is Pressed Flower by Sherwin Williams
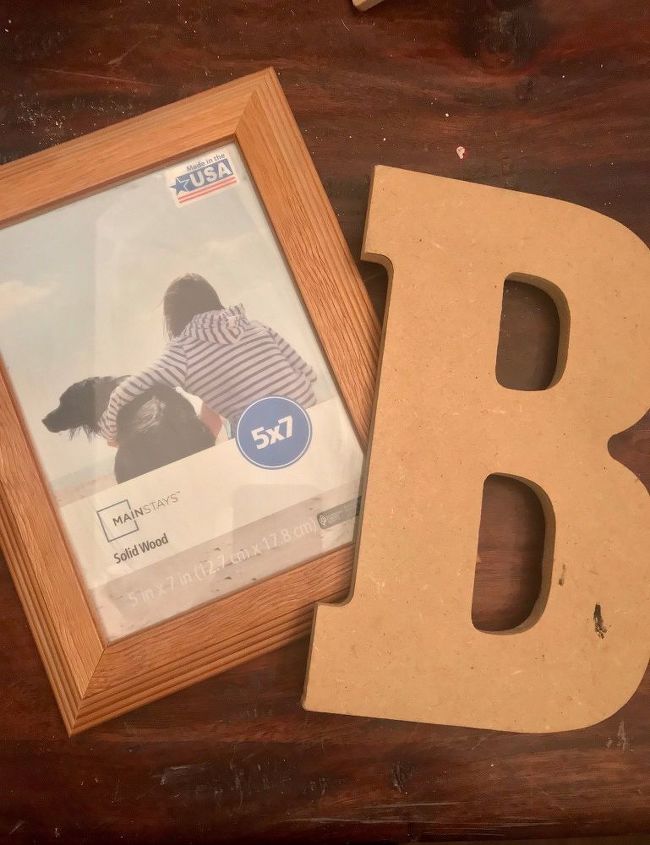
Additional supplies which will be layered on top of your base are a letter of your choice, I used an 8" B as well as a 5x7 picture frame.
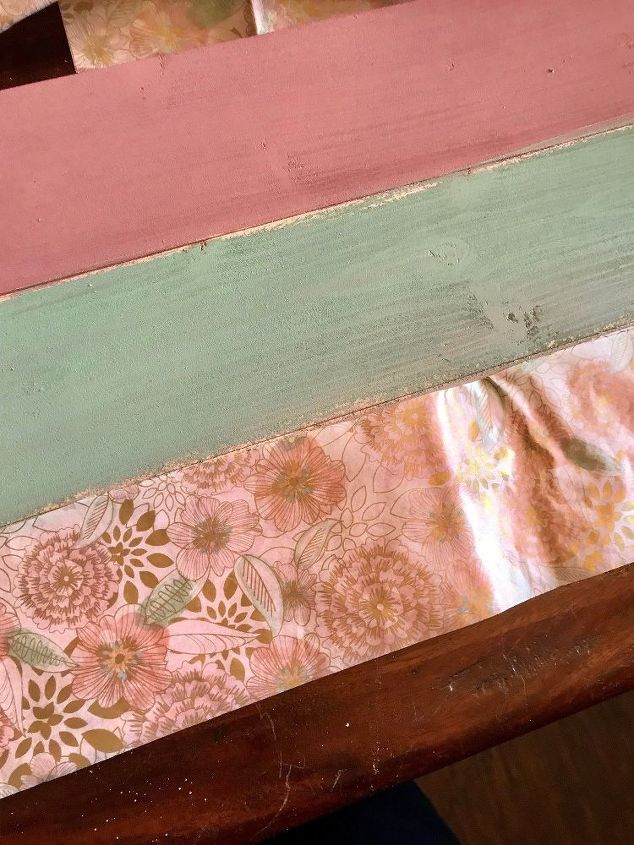
Start by painting the wood for your frame base in the colors of your choice. One coat is find for this shabby look. Then allow to dry before moving on to the next step.
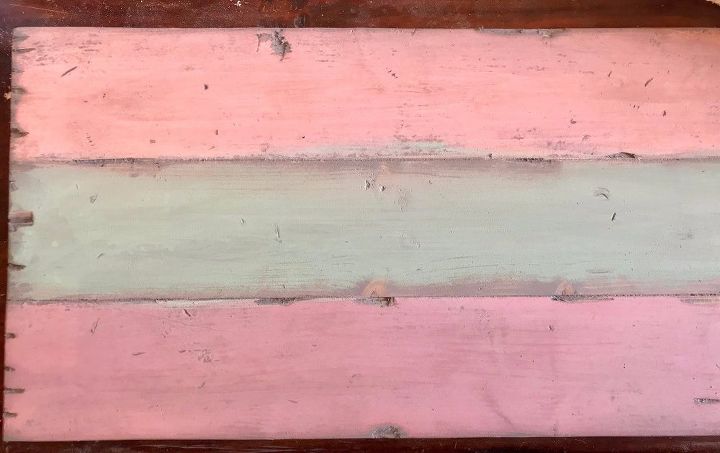
Sanding & Distressing. This step is optional but since I like a worn and shabby look I used a chisel to distress along the edges of each board and in between them as well. I then coated the entire board with a stain, leaving it looking like this.
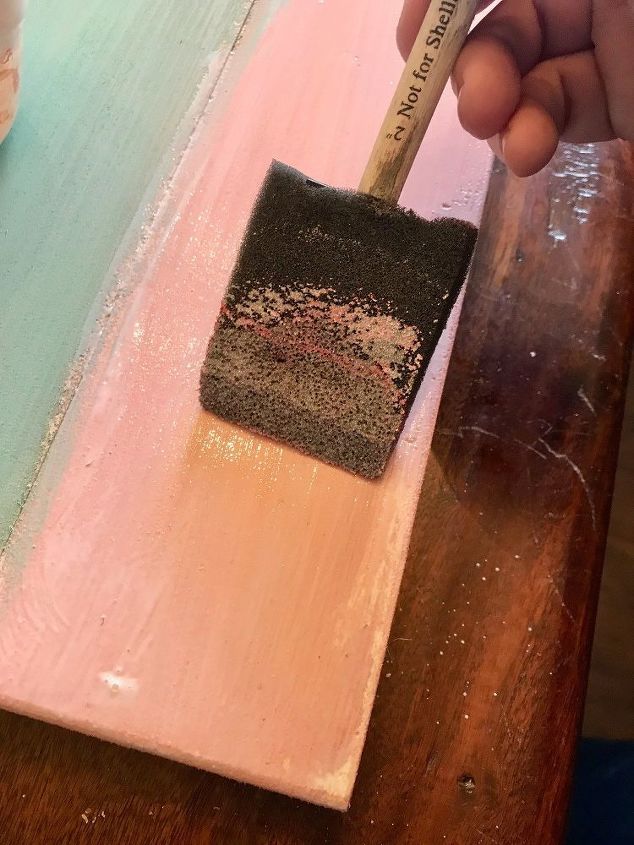
Next you will need to cut the tissue paper to size. I decided to cover the two pink boards for my project so I trimmed the tissue paper to the same size as an individual plank then used Mod Podge to adhere.
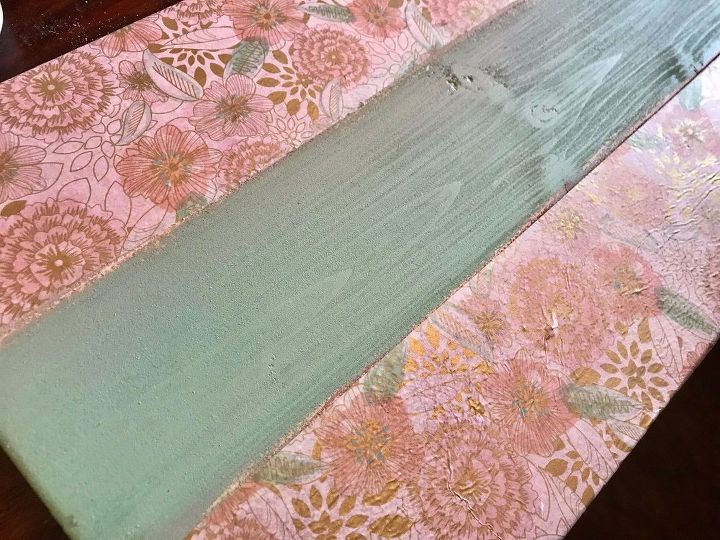
Once your Mod Podge is fully dry it will look something like this. The tissue paper become more transparent and forms to your boards.
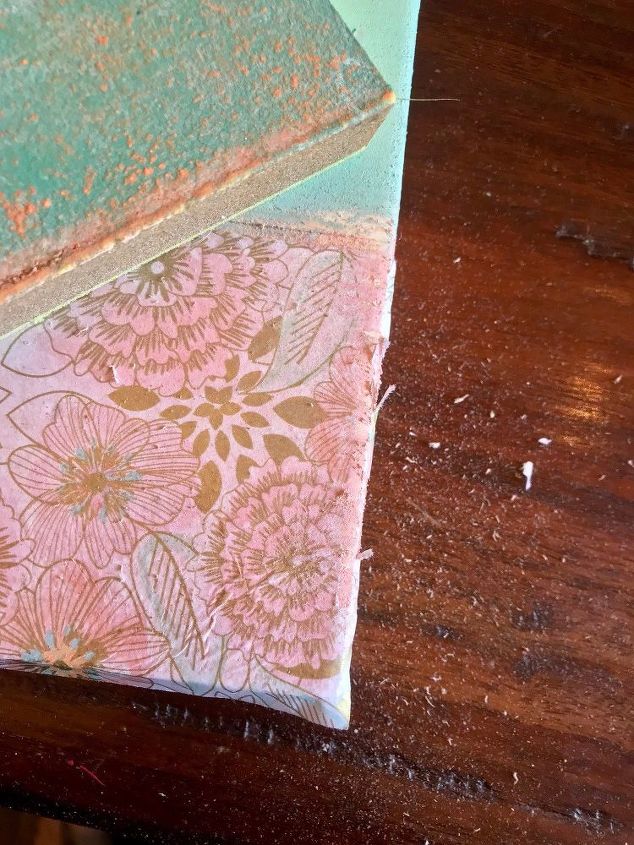
Use a fine to medium grit sanding block to lightly sand away any excess tissue and blend the paper further with the board. The background of your project is complete!
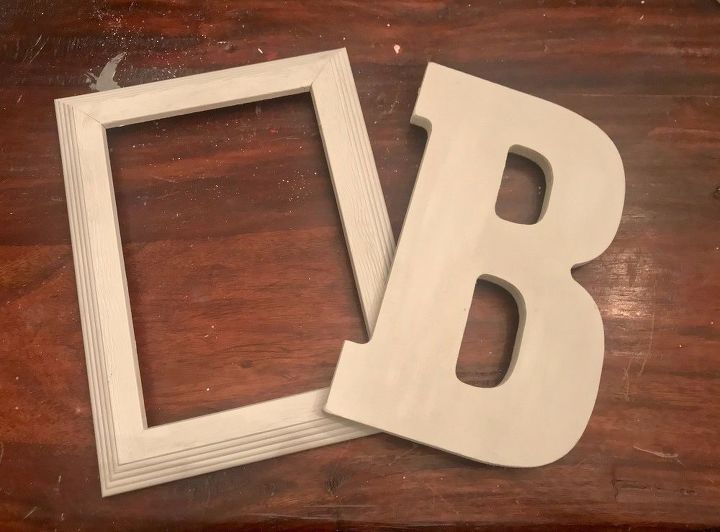
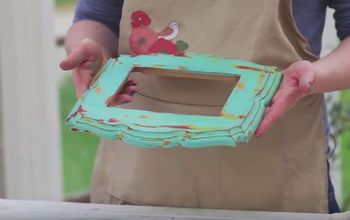
Moving on to the frame & letter I coated each with a light grey paint to coordinate with the background I'd made for the frame.
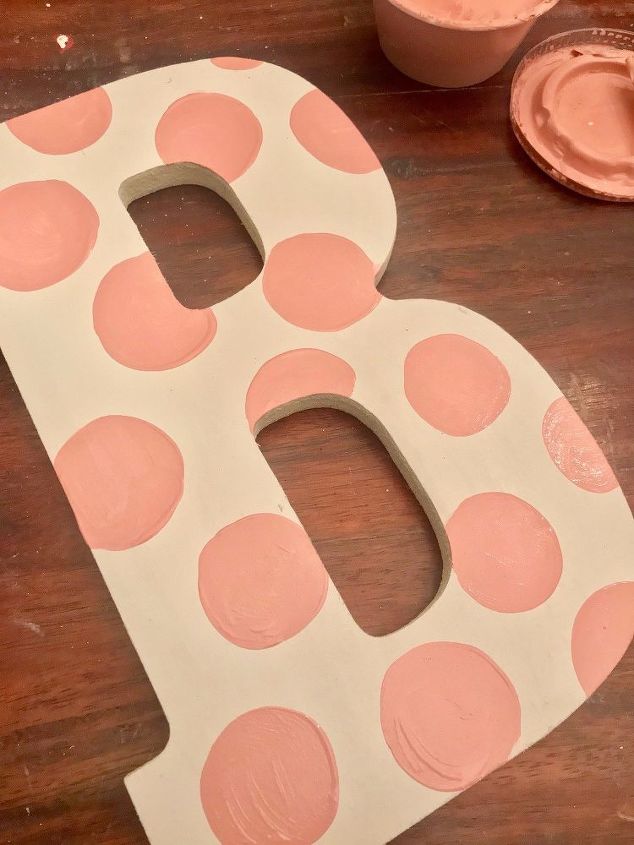
I even added some fun polka dots to the letter for a touch of whimsy before sanding the edges of the frame and letter to distress them.
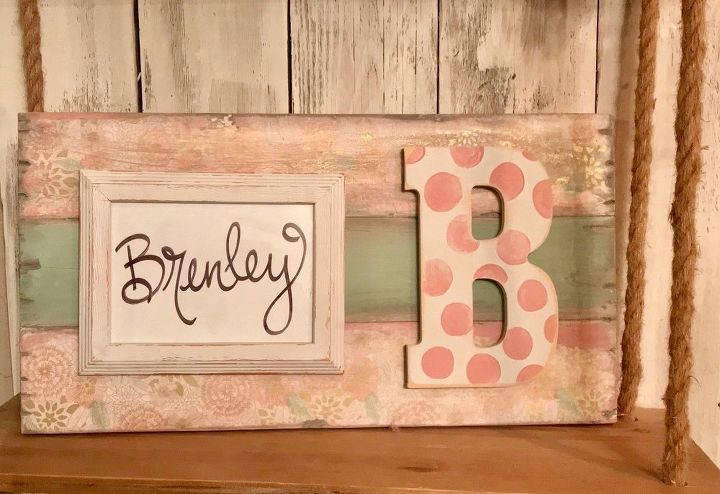
Your last step is to attached the frame & initial. I used hot glue for the B since it's a permanent part of the frame and command strips on the back of the actual photo frame so the picture they select could be added and changed for years to come.
We want to help you DIY, so some of the materials in this post are linked to sellers. Just so you know, Hometalk may collect a small share of sales from the links on this page.
Comments
Join the conversation
2 of 3 comments
-
This is such a cute idea...loved it!
-
Great Look...


Frequently asked questions
Have a question about this project?
What color of stain did you use ?