


Three Piece Minimalist Modern Diy Canvas Art For Under $15

We just moved into our new home last month and finding things for the walls has been challenging. I was shocked when I saw the prices of new wall decor! 😳
So, I decided to make my own!
Our local thrift stores have tons of older canvas wall hangings, and these are super easy to transform! So I grabbed a bunch of different sizes. 5 canvases ranging in sizes from 12"x12" to 42"x36" cost me $9 😁 What a steal!
*Estimated time does not include dry times
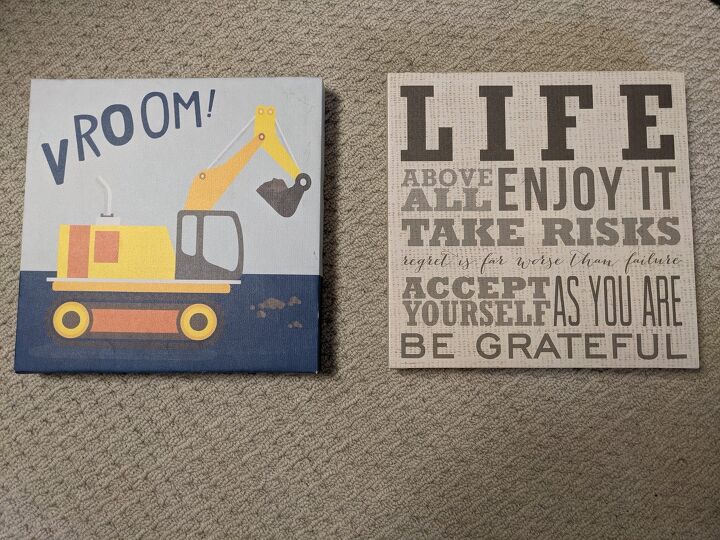
I decided to go with 2 square ones 12"x12", and one rectangle one 18"x12. These will make up the trio for a wall in our living room
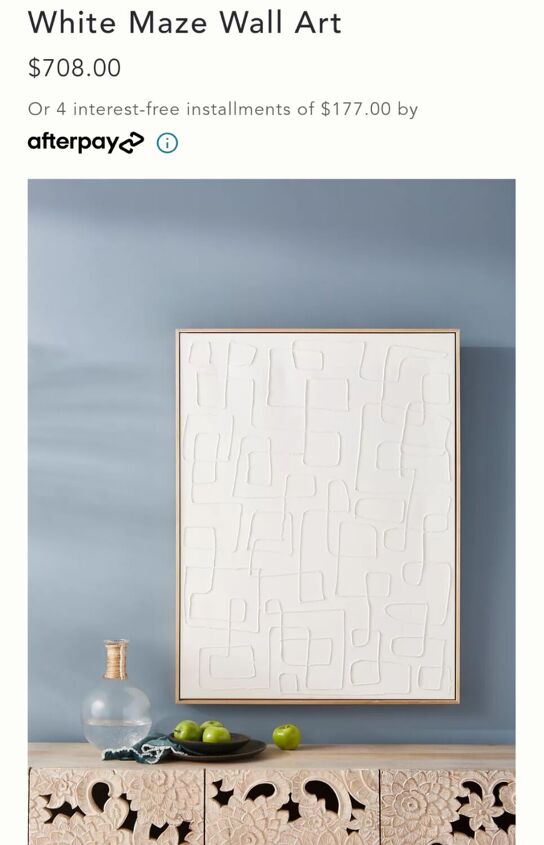
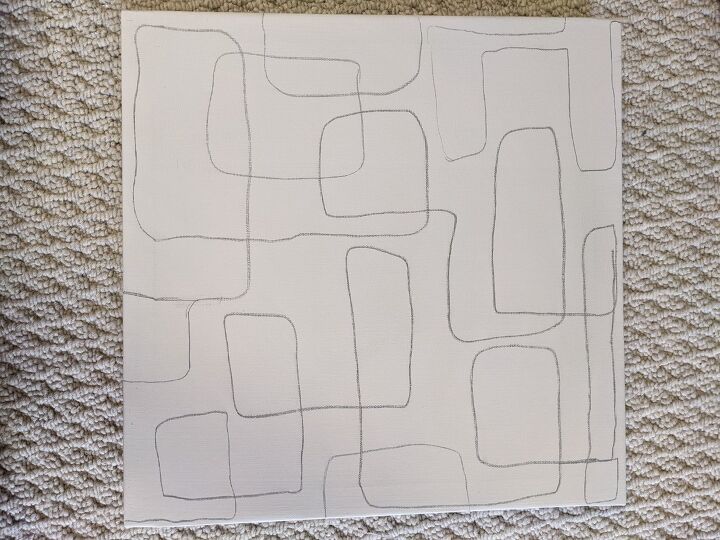
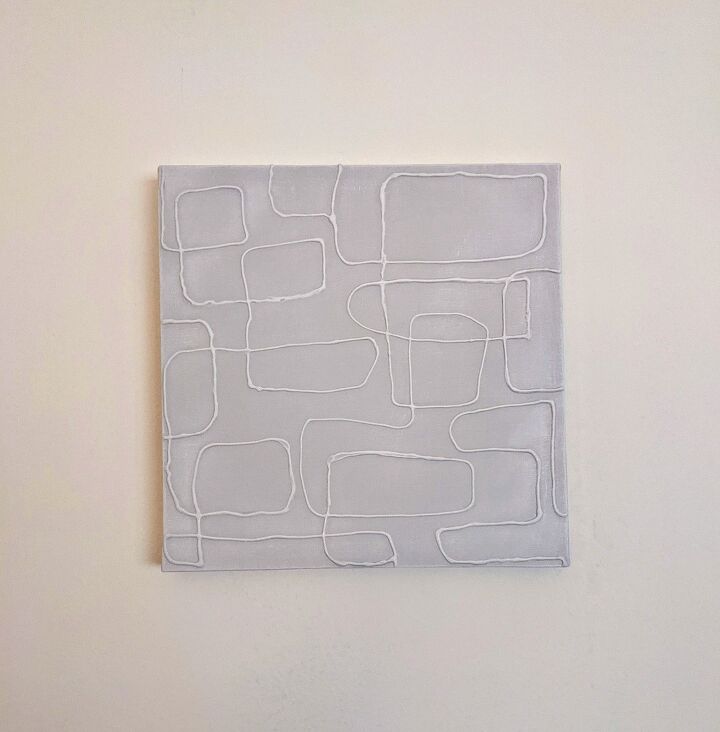
During my search for wall decor, I found this fun piece on Anthropologie's website. Obviously, I am not spending $700 on wall art. But I really did love the design!
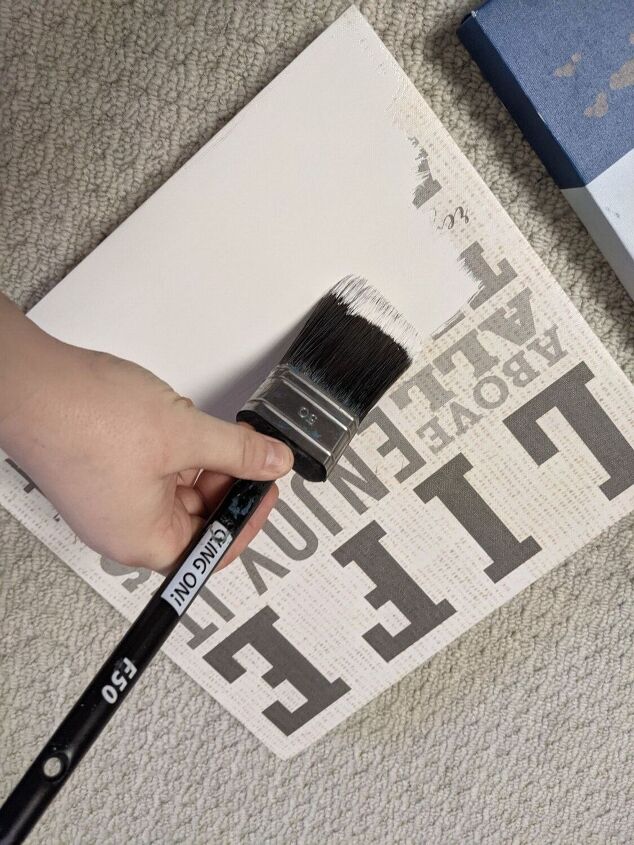
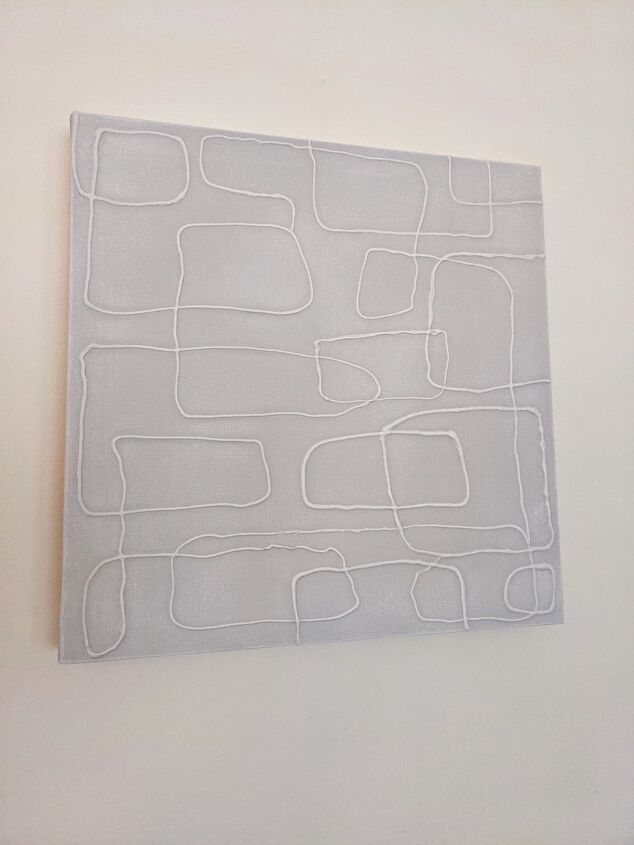
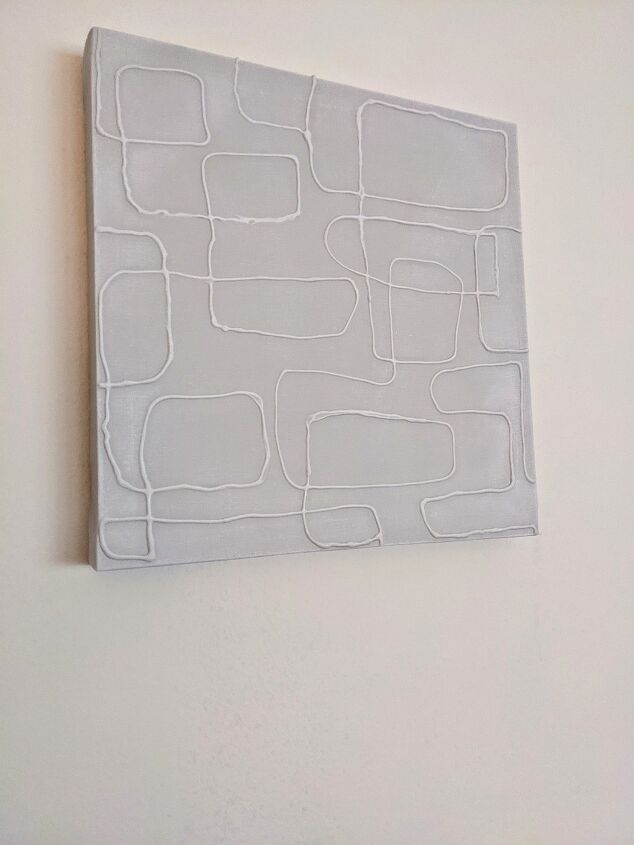
So, your first step is to paint the canvas. I chose a light gray to match my living room. 2 coats, and the previous designs were covered
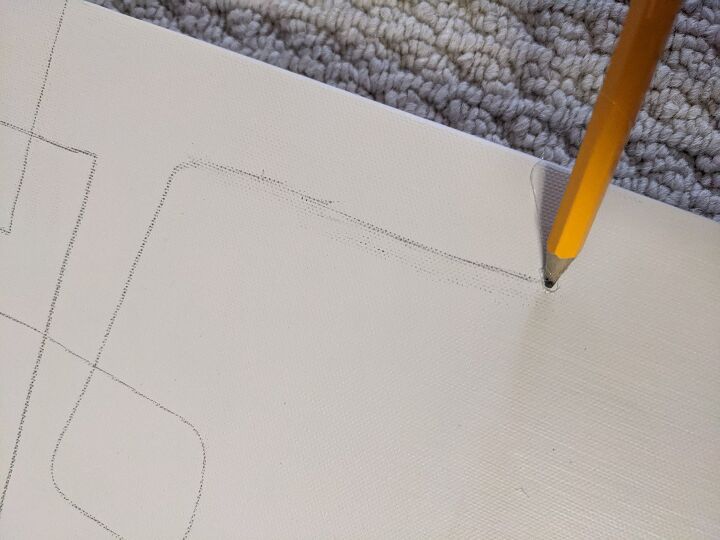
Then, using a pencil, I drew a similar design as the Anthropologie piece on the two 12"x12" canvases
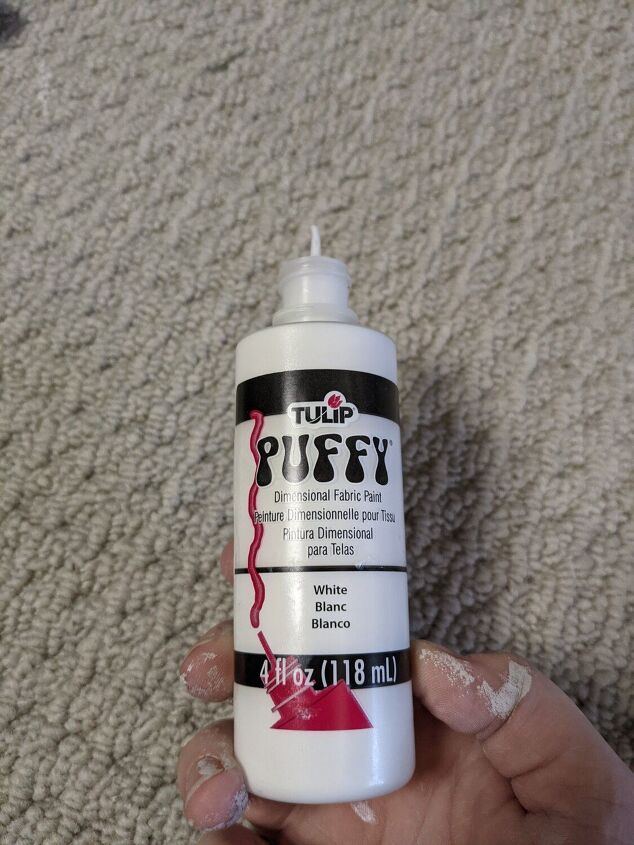
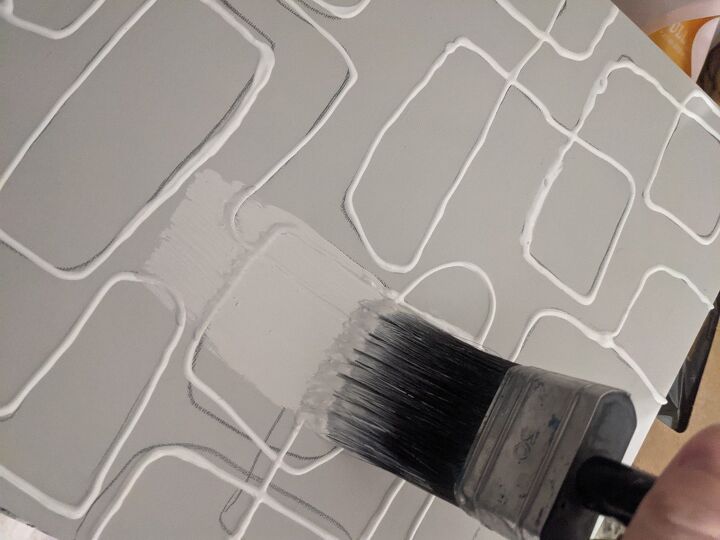
I initially tried hot glue for the design, but I wasn't able to get a single stream of glue, so it didn't work for this design. But, puffy paint worked perfectly!
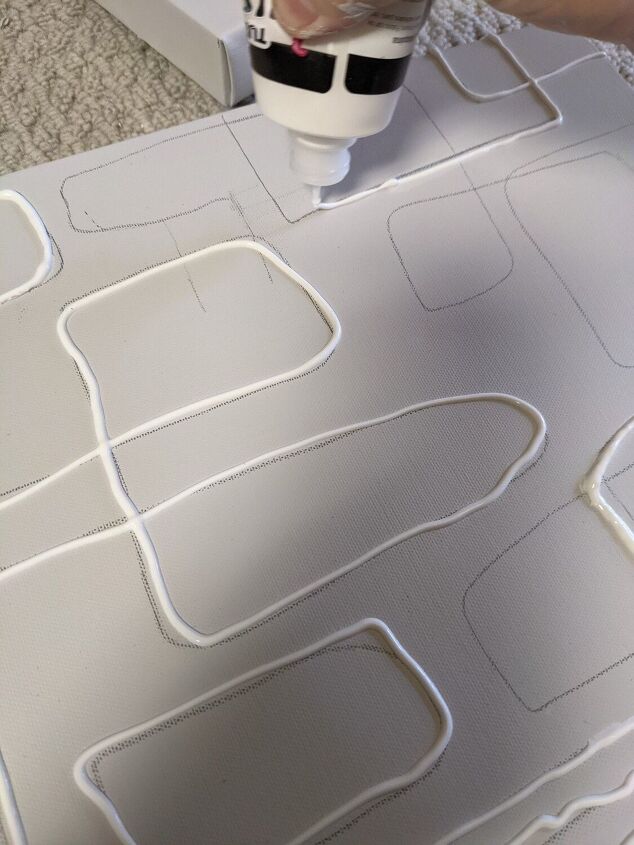
Go over your pencil marked design with the puffy paint
As you can see, I ended up not going over all of the marks that I made.
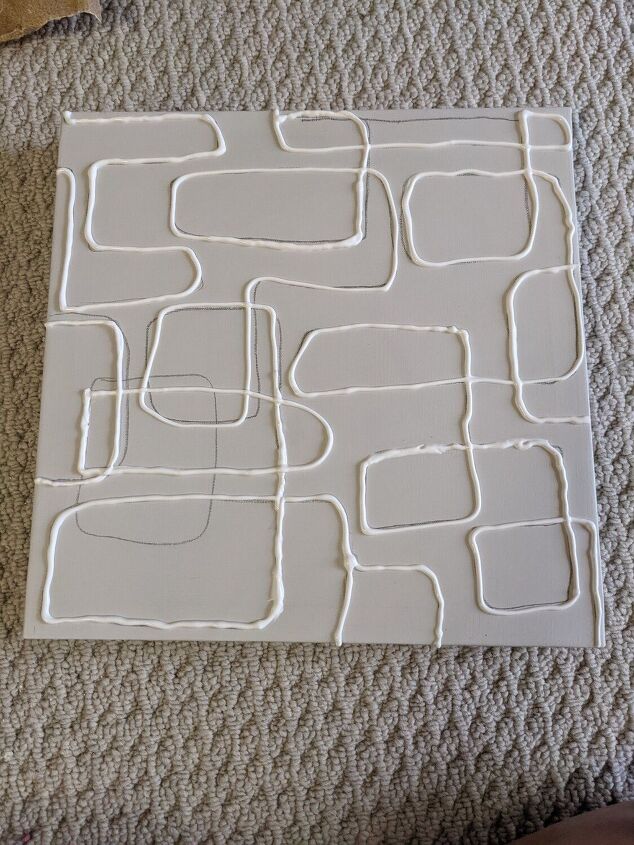
Now, allow the puffy paint to dry overnight
Once the puffy paint was completely dried, I painted over it with the light gray to cover my pencil marks.
If you like the contrast of the puffy paint against the gray, then try freehanding your design
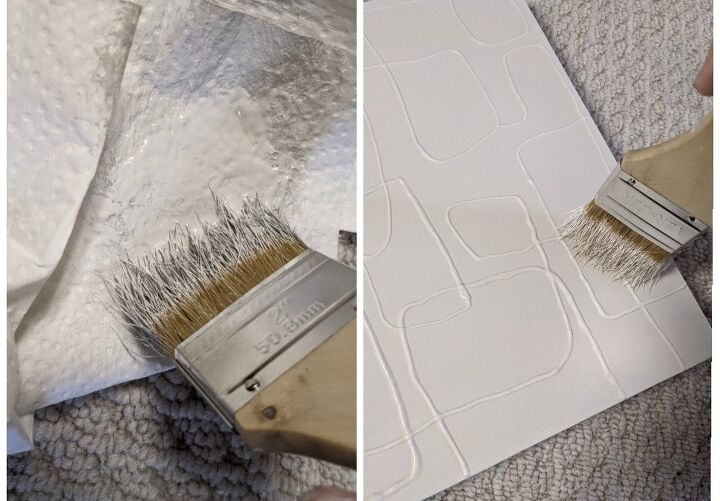
Then I decided to dry brush the design with a white paint.
Add a little bit of paint to the tips of a chip brush, and then wipe most of it off in a paper towel. You want very very little paint still on the brush. Then go over the design. I dry brushed the white paint heavier around the edges and in some random spots

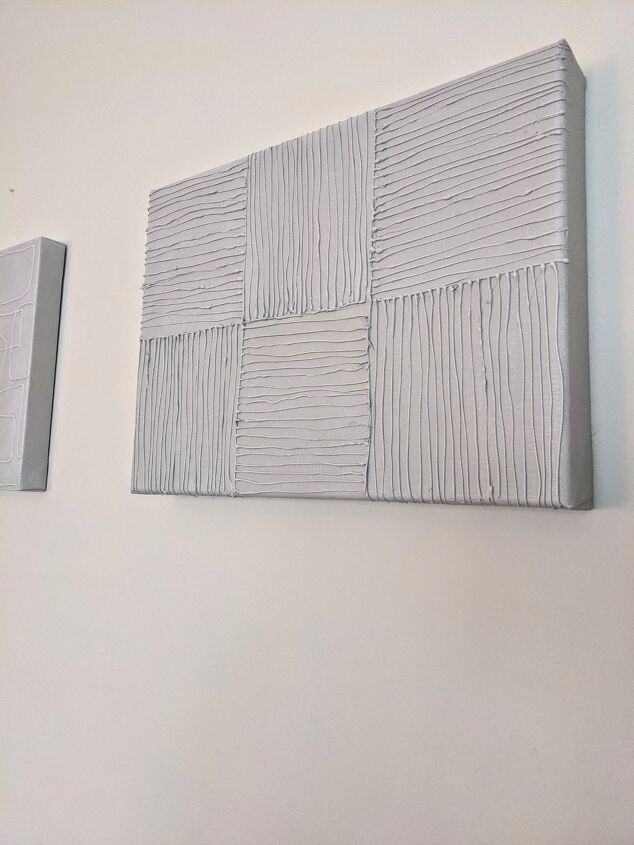
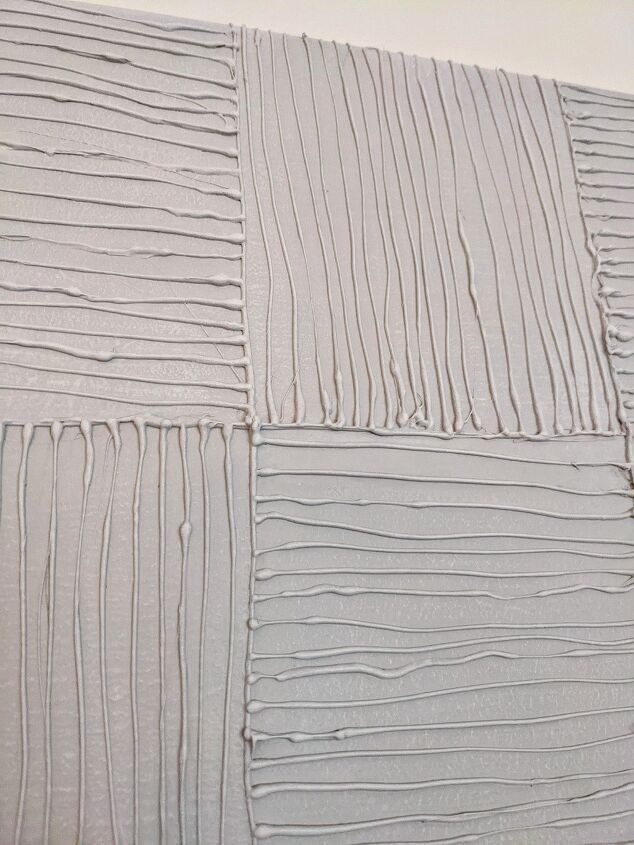
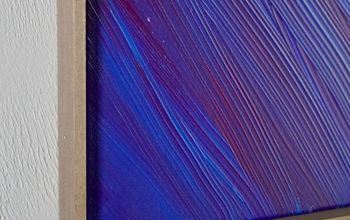
Now for the 2nd design....
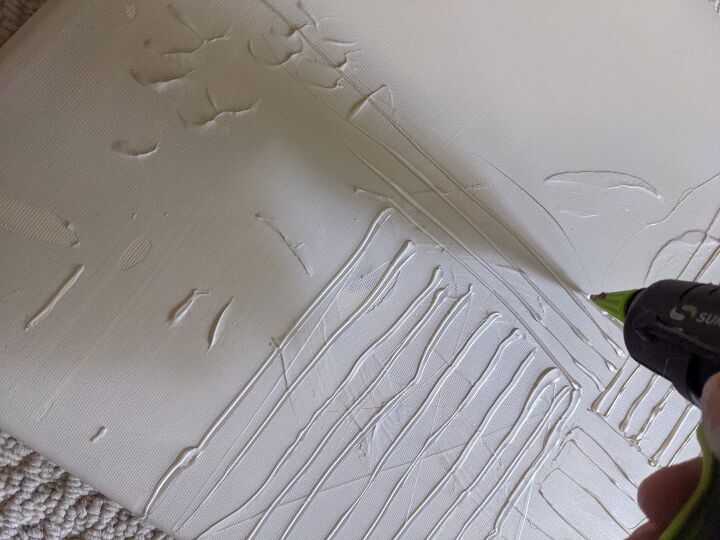
I used hot glue 😁
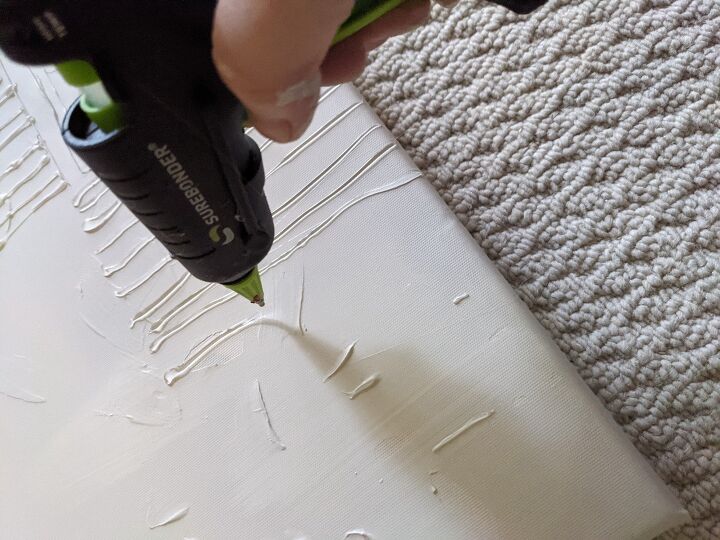
This canvas already had some texture spots, so I figured the hot glue would be perfect. I used a mini hot glue gun with the mini sticks. This allowed me to get thinner lines of glue.
It was painted in the same light gray as the others.
I visually sectioned off the canvas into 6 sections in my head
In the first section, I applied lines of glue vertically only going halfway up the canvas, and stopped when I got 1/3 across the canvas.
For the next section, I applied lines of hot glue horizontally only going halfway up the canvas and another 1/3 of the way across the canvas.
The 3rd section was back to vertical lines, going halfway up the canvas and all the way to the edge.
Then I moved up to the other half of the canvas and a horizontal section, vertical section, then horizontal section.
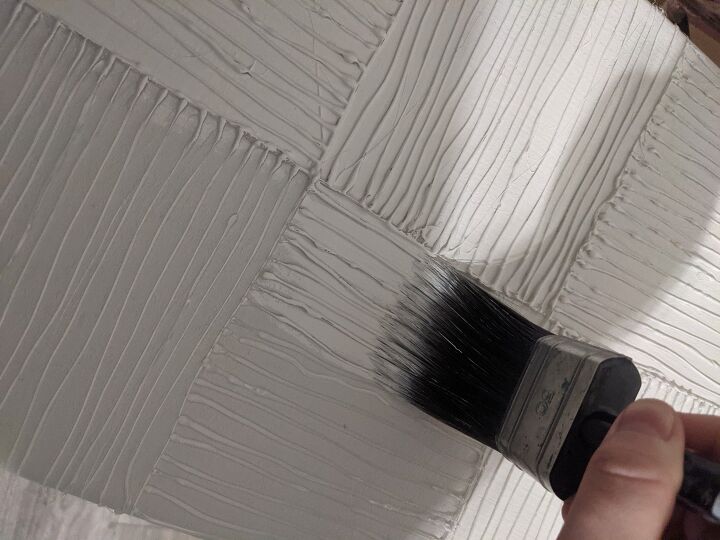
I allowed the hot glue to dry for 30 minutes, then painted over it with the light gray and then did a little dry brushing with the white paint
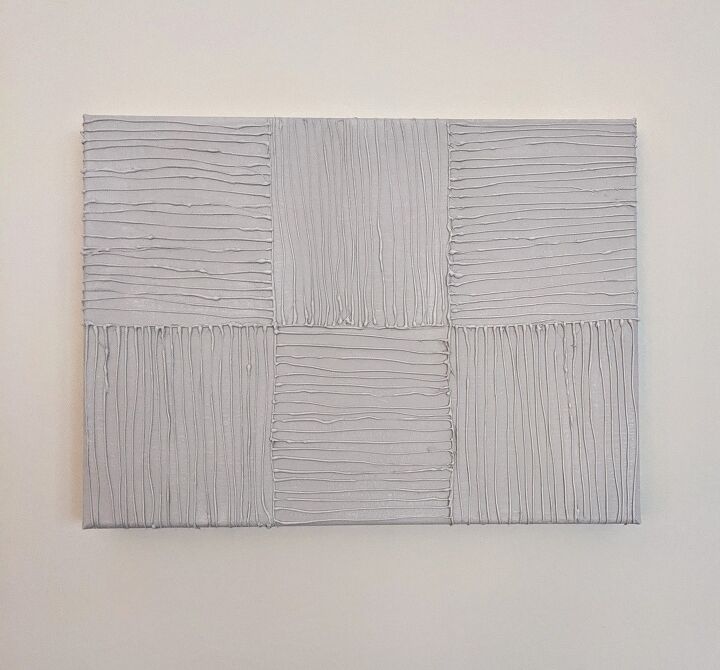
And here is the outcome of my diy wall decor trio
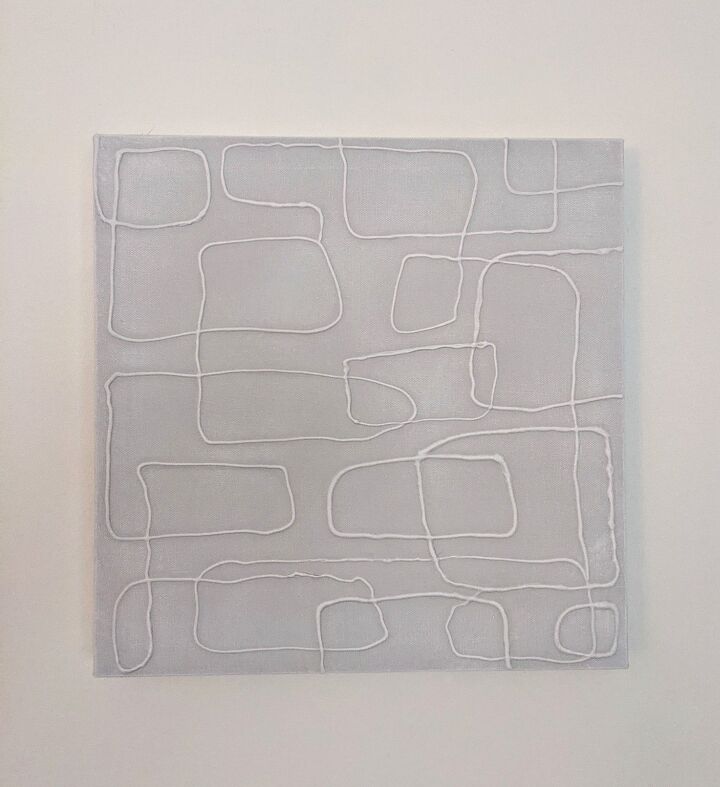
I'm really happy with how these turned out

You can find us on Facebook, where we post all of our fun diy projects and refinished furniture
Check out our Etsy shop for unique products, furniture and home decor
https://www.etsy.com/shop/DeerRunRevamps
Thank you so much for reading this tutorial! I hope you've been inspired to create something beautiful ♥️
Resources for this project:
See all materials


Comments
Join the conversation
-
I particularly like the hot glue 'art', but both methods made fun pieces that are so versatile. Thank you for sharing a fun, doable, idea.
-
I can dig it.


Frequently asked questions
Have a question about this project?