


Turn an Old Mirror Into a Stunning Piece of Art
Grab an old mirror, a beautiful piece of tissue paper and you will have a gorgeous new piece of art in no time.
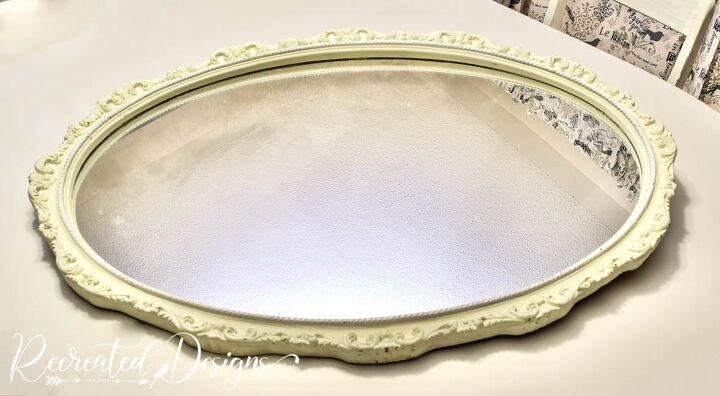
You will need an old mirror for this project and one with a lot of detail will help to create the look of an old-world art piece.
The details on this mirror are absolutely lovely so it was a perfect choice.
The key to creating a gorgeous, old-world piece of art is layering. You want the details on the mirror to pop and look like an old gilded frame.
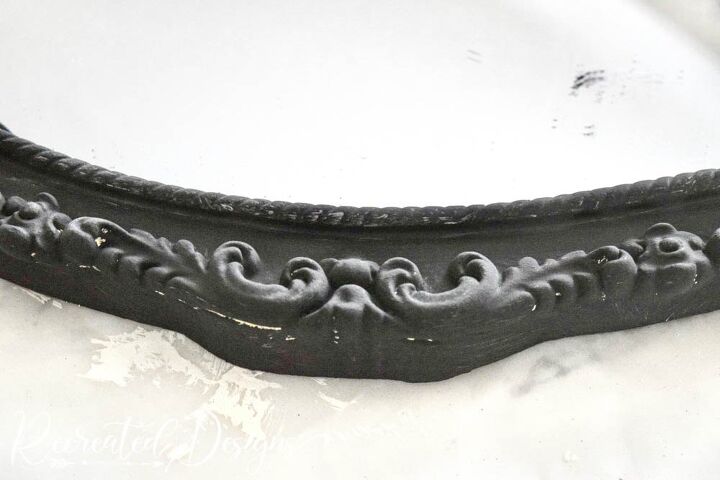
To start, paint the mirror frame in a chalky black paint like Annie Sloan’s Athenian Black.
Now that there is a good base, the layering begins.
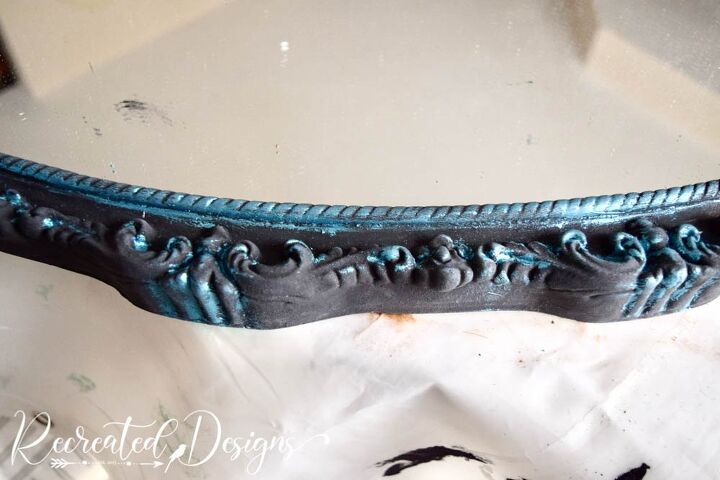
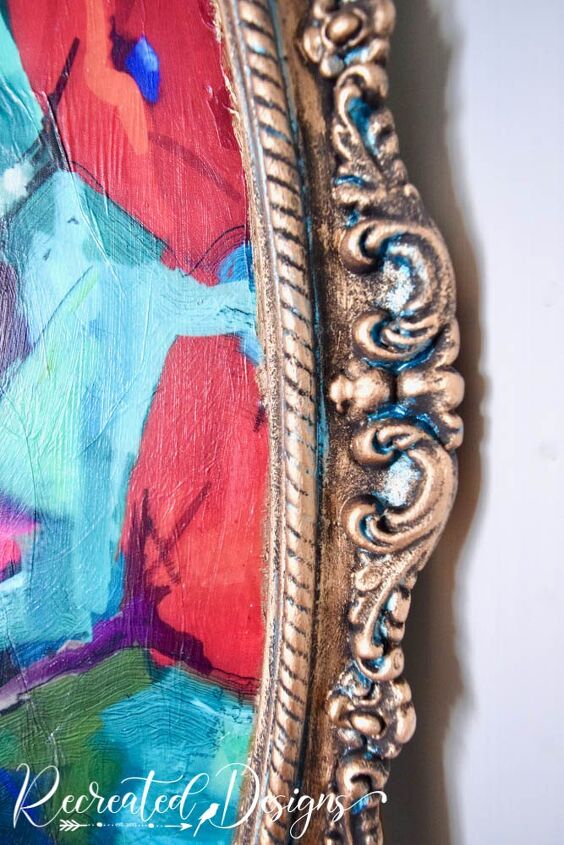
Use a colour that compliments the picture you have chosen. I used Royal Designs stencil cream in Metallic Teal. To apply this layer, use a small detail brush and lightly brush the cream onto some of the high points and push it into some of the low points.
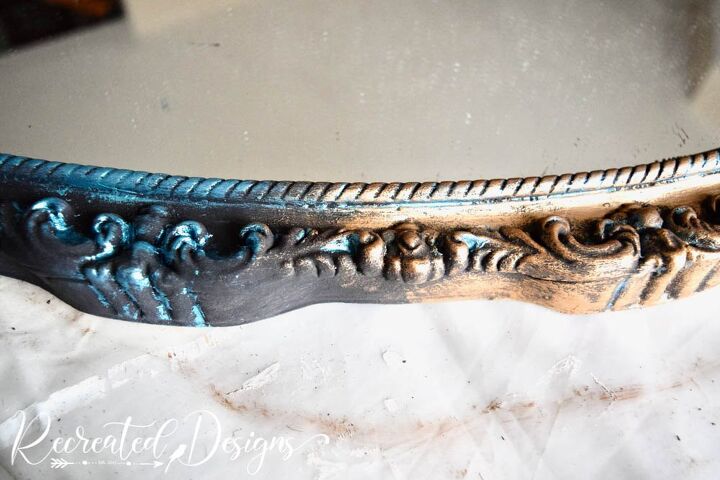
Next, use a larger brush to add silver or gold. Don’t worry about completely covering the frame. You want the other two layers (black and blue) to show through. For this layer, I used Royal Design Stencil Cream in Vintage Gold.
How stunning are those details now that you can see them all?!

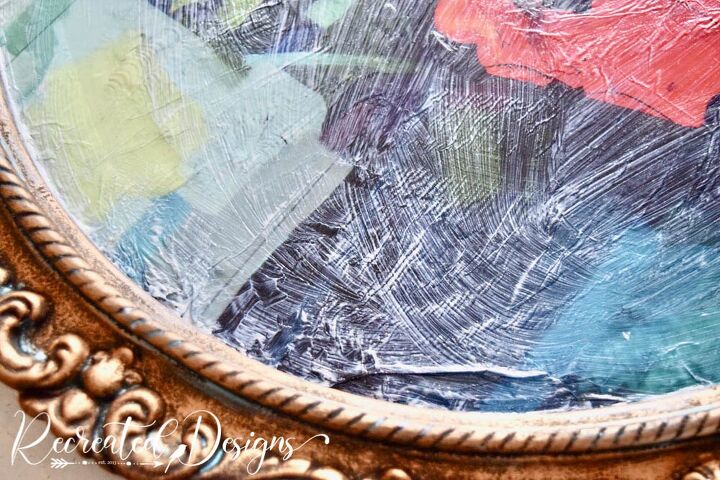
With the mirror frame finished, it is time to add the picture to the middle. Start by brushing on a decoupage or image transfer medium all over the mirror. I used Annie Sloan Image Medium.

Lightly lay your paper on top of the image medium, positioning it where you want it.
Use a piece of scrunched-up plastic wrap to smooth out the paper. The plastic wrap will help to keep the paper from ripping. There will be wrinkles in the paper with this method but personally, I love those as they give the piece texture and depth.
Once you have your paper adhered to the mirror, you may need to trim the edges. This is the only part of the project I found a bit cumbersome. I trimmed my paper after adhering it but next time, I think I will trim it as much as possible before I start.
Lastly, brush on another layer of image medium, and allow it to completely dry.
To finish off my piece, I added a small layer of gold to the edge of the paper. This just helped to hide any little bits that didn’t quite make it to the edge of the mirror.
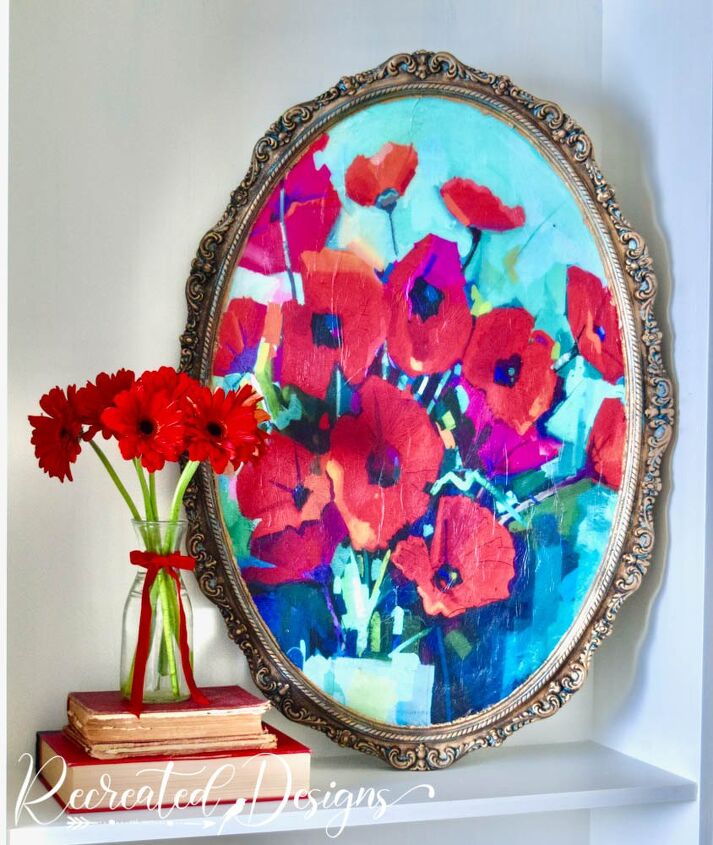
I am absolutely thrilled with how gorgeous the details are how much the mirror looks like an old gilded frame now.
You wouldn’t even know it was the same $3 garage sale mirror!
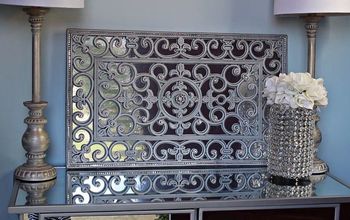
Check out more mirror projects here...
To see the original Recreated Designs post with additional pictures, use the link below...
Resources for this project:
See all materials


Comments
Join the conversation
-
Gorgeous !
-
It’s just one of the loveliest things I’ve ever seen!😊


Frequently asked questions
Have a question about this project?
LOVE THIS!
Wonder if it might be better to remove the mirror before applying the paper??? Would be easier to trim and the frame could cover any minor mishaps.
Couldn’t this be used as a great coffee table tray?
I love the poppys! I paint furniture so the frame is easy all my questions are inregards to your print. Where did you get it? What kind of paper did you use? Was it a solid piece or can you add pieces? And lastly where do you find papers big enough to use? Thank you. I love yours!