


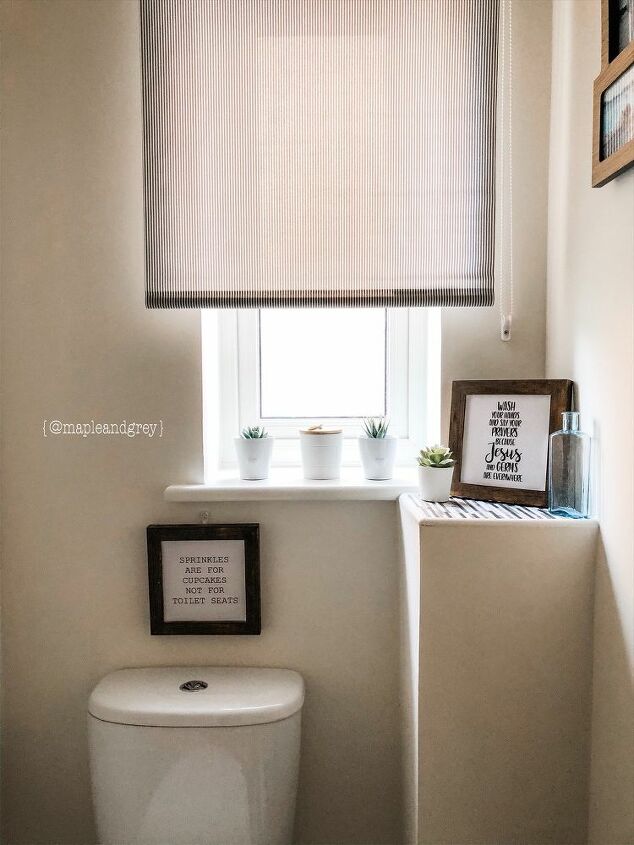
Turn Old Frames Into Farmhouse Signs

I was so excited when I found these frames in a charity store as they were just perfect for some signs that I had in mind to make for my bathroom. Farmhouse signs are easy to put together from wood. But right now I don’t have a lot of spare time to construct them so any time I see a frame with potential that saves a whole step in the process!
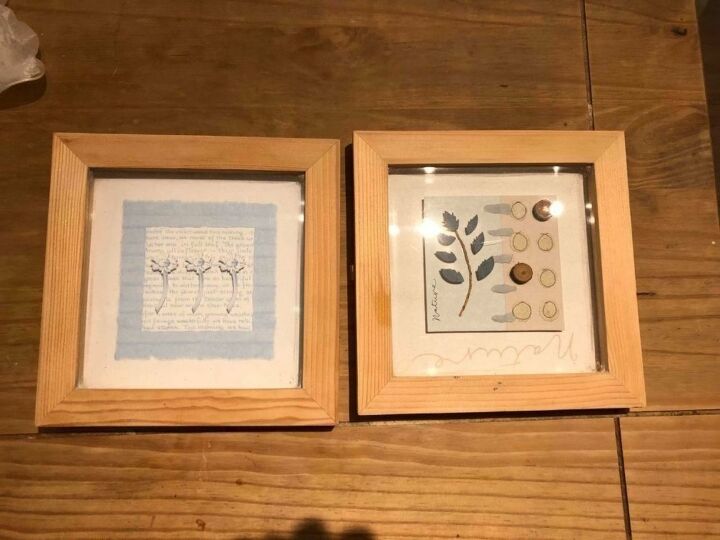
These are the frames that I found in a charity store. I sanded the finish off the wood and then instead of removing the glass, I stuck the text right over it. I didn’t document the process at the time so I will demonstrate the steps I took to transform them on another piece. The process was exactly the same and this technique can be used on a wide variety of frames! When picking a frame ideally there needs to be some depth to it so that you have the print set slightly deeper into the wood.
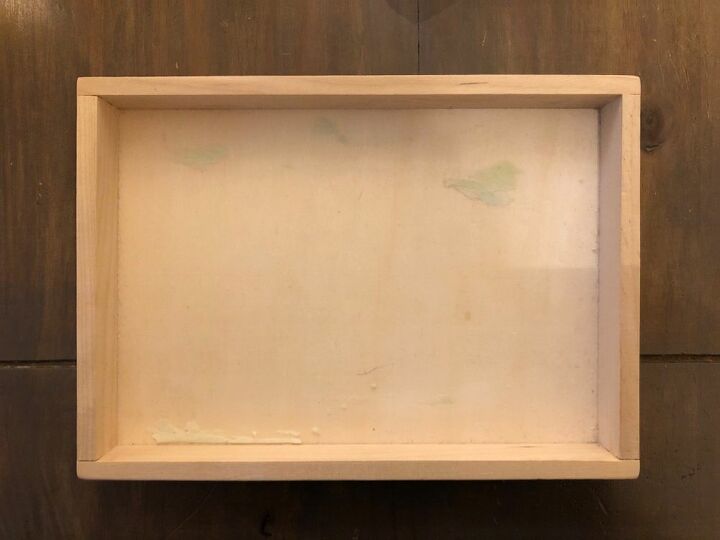
I had my eye on this wooden tray for almost two years. It was my daughter’s and came with beads in it and the second I saw it I knew it would be the perfect piece to transform into a farmhouse sign. I asked her for ages if I could have it and even asked to buy it off her! Anyway the other week she just came to me with it and said I could have it as she no longer needed it! So I quickly started work on transforming it right away!
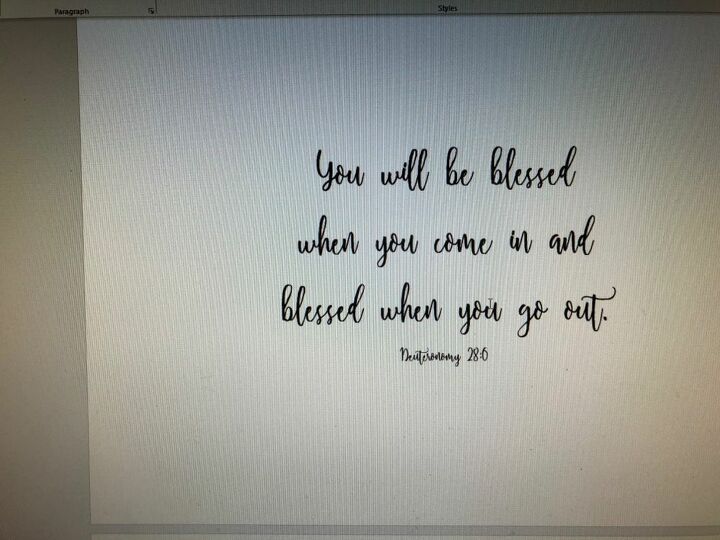
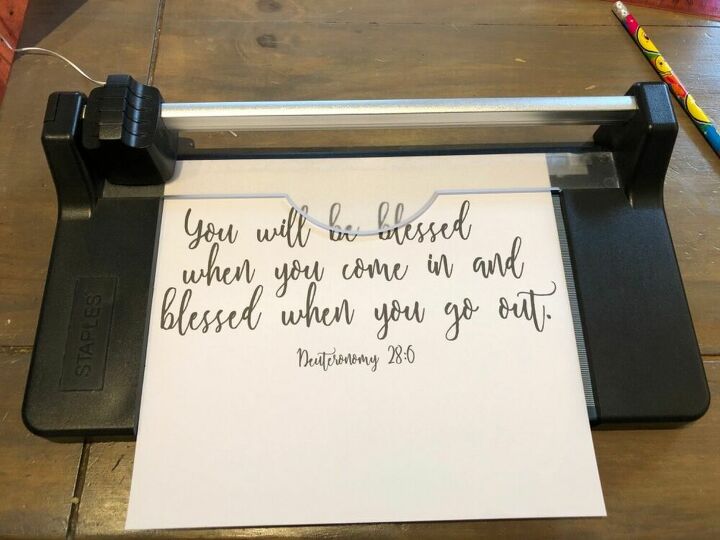
I picked the wording and chose the font that best fit the look I wanted for this piece. I split the text into lines of how I wanted it to appear. I used Microsoft Word for this but as you can see the gaps between the lines are too big.
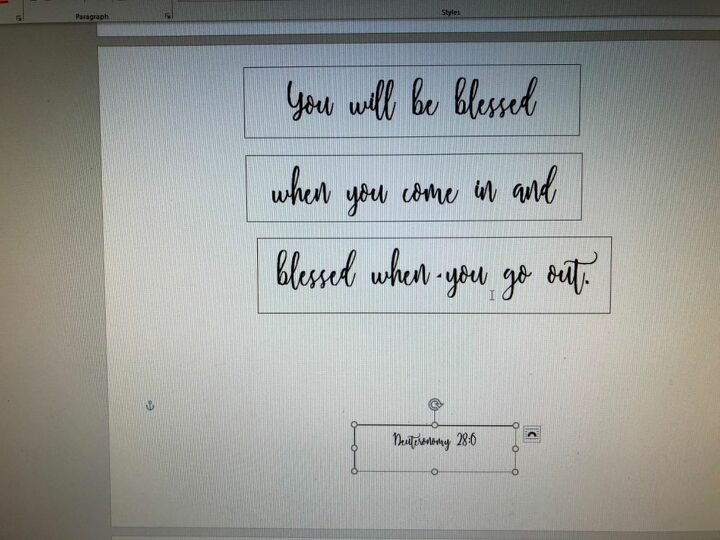
Once you have arranged the lines add a text box and copy the words into the text boxes (one per line). Resize the text to a rough estimate of what you think will fit into the frame.
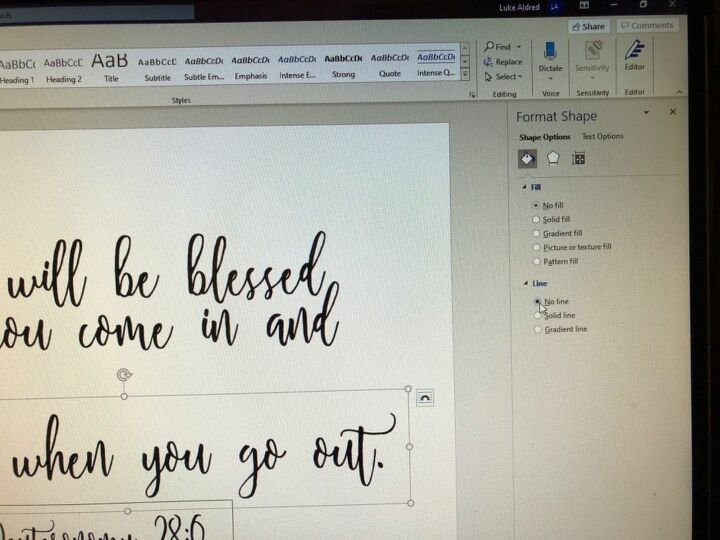
Once you have the text boxes, in order to arrange the wording closer together you need to remove the fill and outline of the boxes. To do this right click on the box and click format shape. Select no fill and no line.
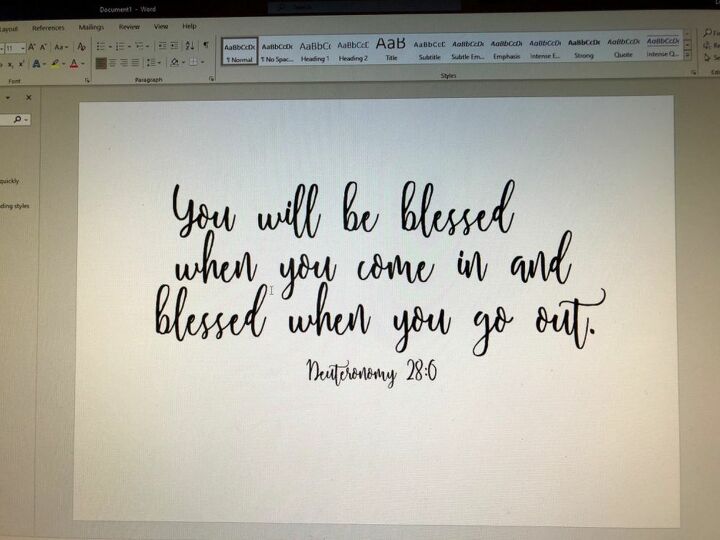
Once the text boxes are no longer visible you can fit the lines together to make a neat script.
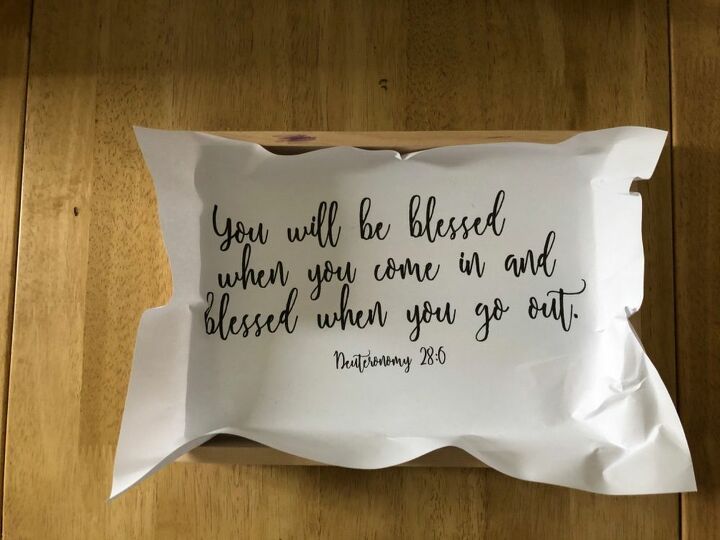
When you have your text ready print on plain paper to check the fit in the frame you are using. Once happy and if no adjustments need to be made print out again on a sheet of card.
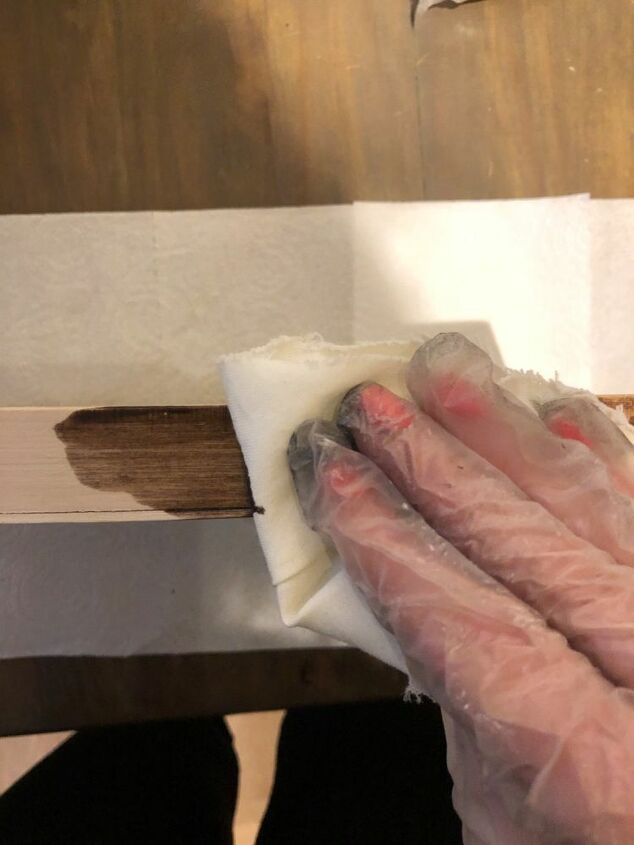
I applied a walnut wood stain to the frame with an old lint free cloth.
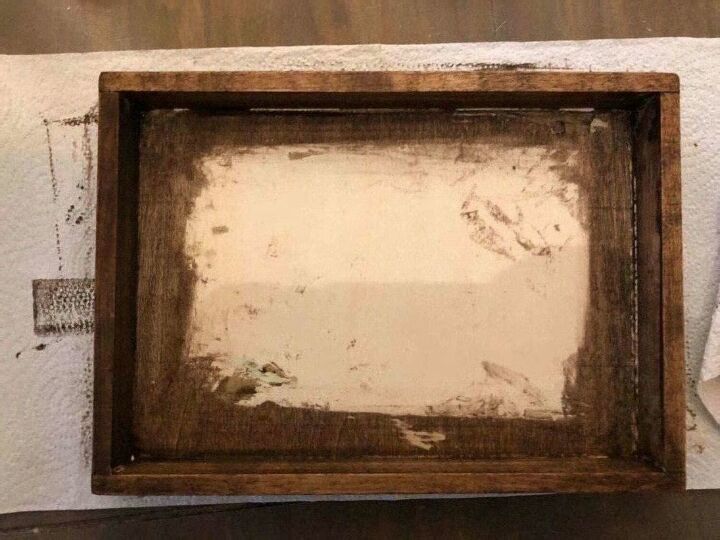
I applied about three costs of the stain until the shade was dark enough.
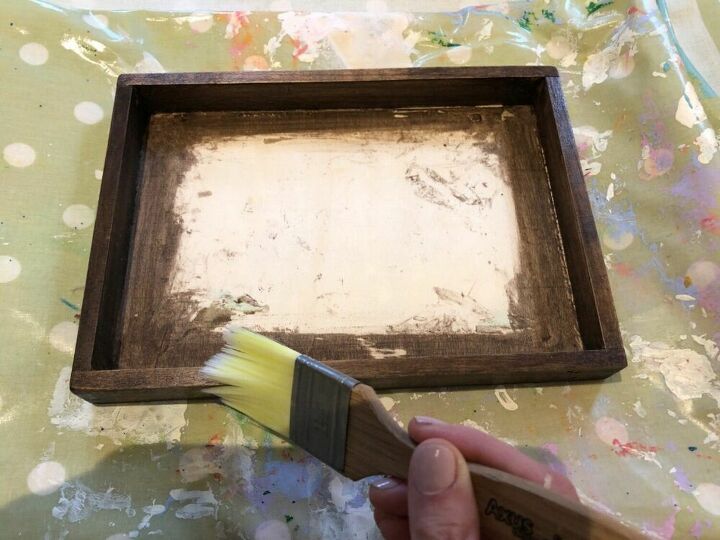
I sealed the stained wood since the frames were going to be in an area in which they could possibly come into contact with water. I used a light coat of polycrylic but you could also use a clear wax.
I carefully cut the card to the right size to fit into the frame.

Using an all purpose glue I stuck the card to the inside of the frame. Be sure to apply the glue all the way along the surface, at both the edges and the middle.
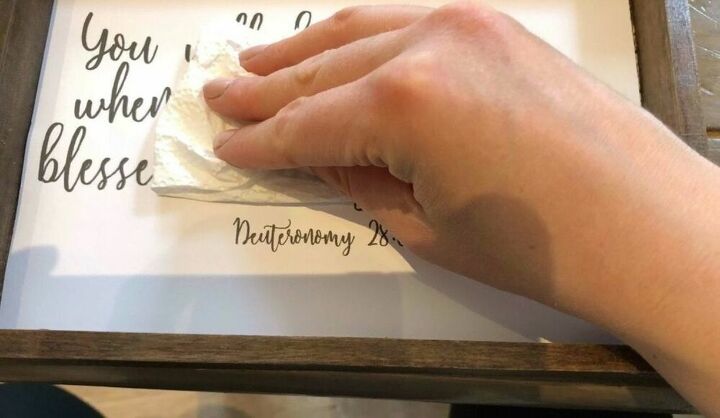
Using a piece of kitchen towel wipe over the surface of the card to ensure it is evenly stuck down so that it remains flat. This is why it’s important to ensure that the glue is well spread across the surface as otherwise I have found that the next step can cause the card to bubble up and become uneven.
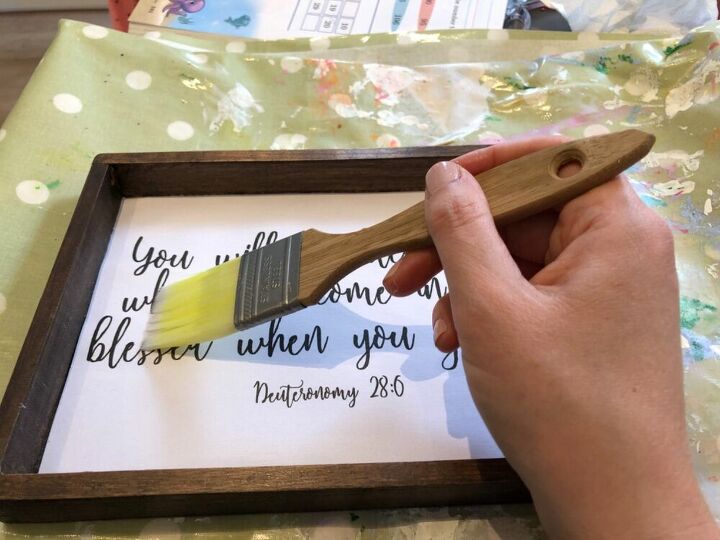
I used polycrylic to seal the card. This was just incase it got splashed. I used a LIGHT coat, waited for it to dry and followed with another light coat. This is to ensure that the card doesn’t bubble up from getting too damp.
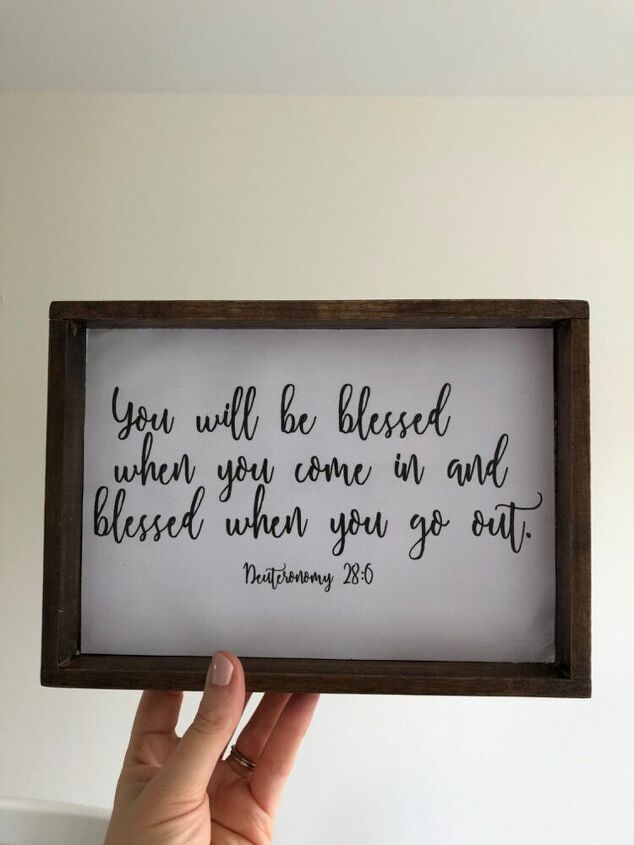
The finished result!
I love how easy it is to turn a variety of frames into a farmhouse style print!


Frequently asked questions
Have a question about this project?
I loved this one, I wish I can make it for the Spanish only, but I don’t know how to say sprinkles in Spanish, can someone help me
How would I make that one in Spanish? Sprinkles are for cupcakes, not for toilet seats