


Use Dollar Store Flowers to Create Personalised Wall Art
Floral monogram wall art remains popular and I've always wanted one. Originally I saw this DIY idea on Instagram but couldn't find the account again to buy one, so I thought it'd be fun to try to make my own.
Turns out it’s incredibly easy to make a DIY floral monogram letter and I thought it'd be great to share the steps with you! Here's how I did it.
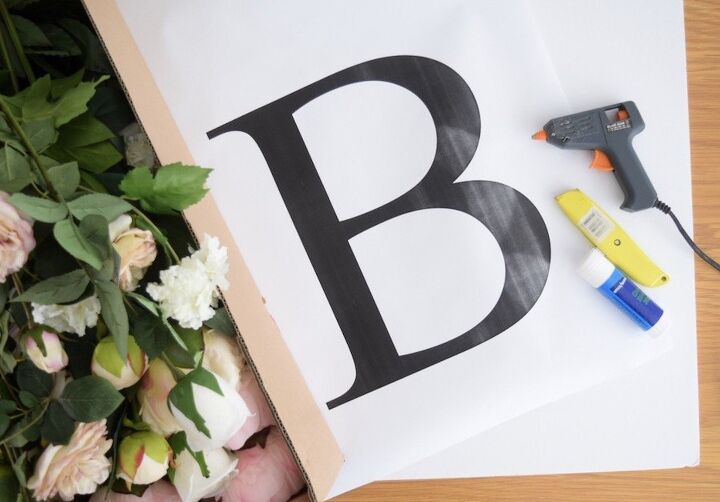
Items I used:
- Selection of artificial flowers (peonies, roses, carnations and spray flowers)
- Piece of foam board (but you could use cardboard to keep costs down)
- Large print out of your letter (I printed mine at A2 but next time I would do larger at A1)
- Stanley knife
- Glue gun
- Scissors
- Glue stick
- Pegs
Steps:
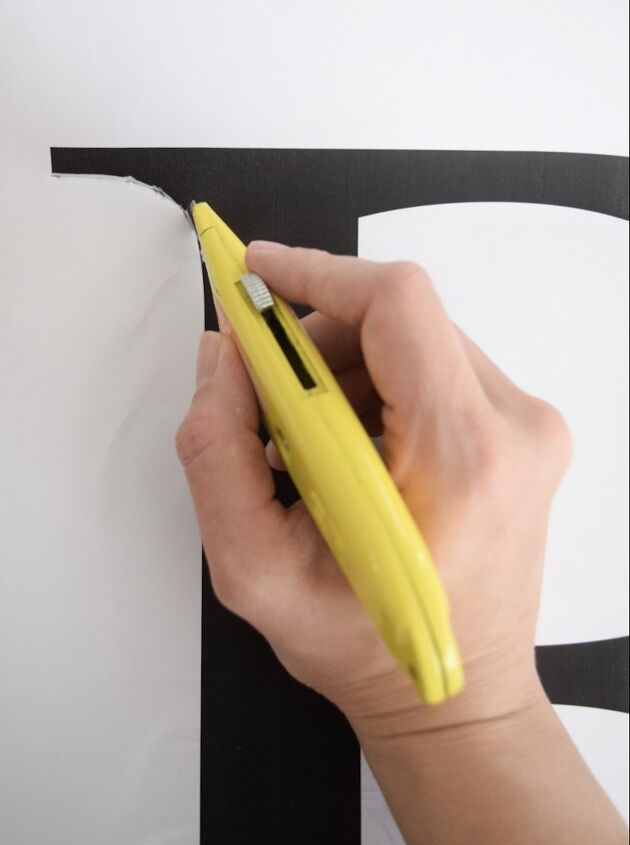
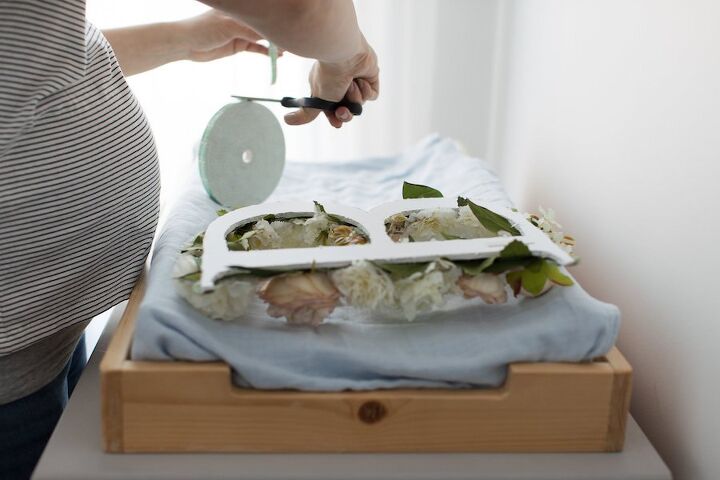
1. Glue the letter onto your foam board or cardboard and then use a Stanley knife to carefully cut it out.
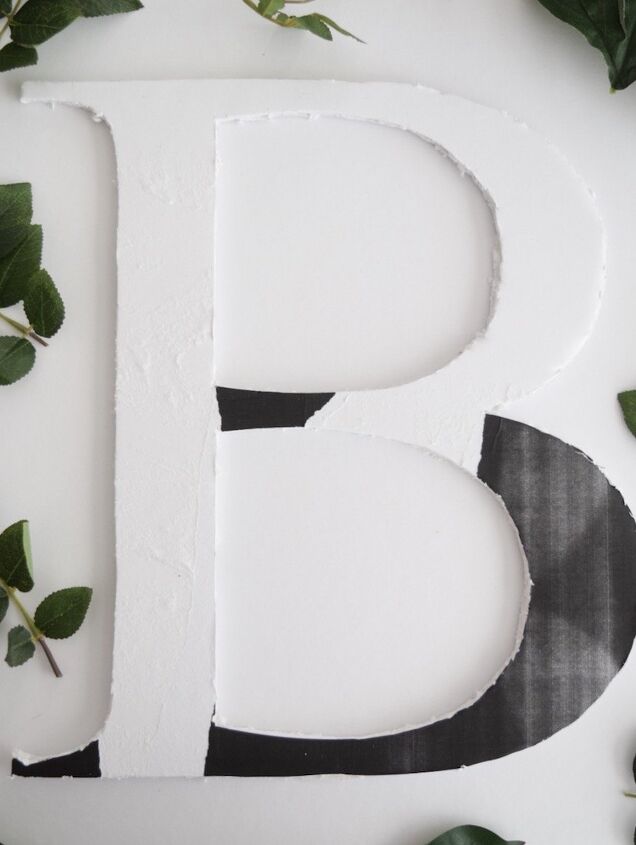
It’s OK if the edges aren’t perfect as these will be covered.
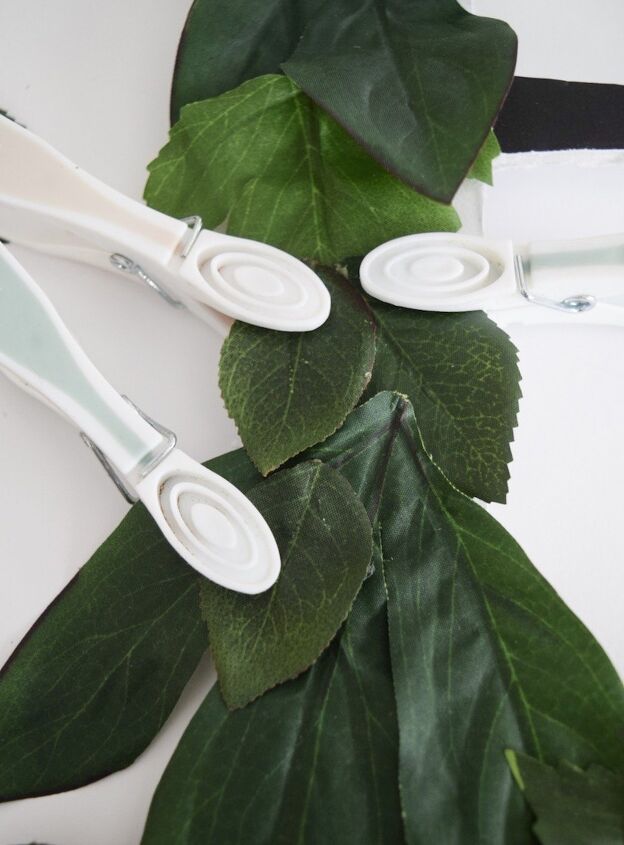
2. Trim the leaves off your artificial flowers and using your hot glue gun, completely cover the letter in greenery. I found it helpful to use laundry pegs to hold them down until the glue was dry.
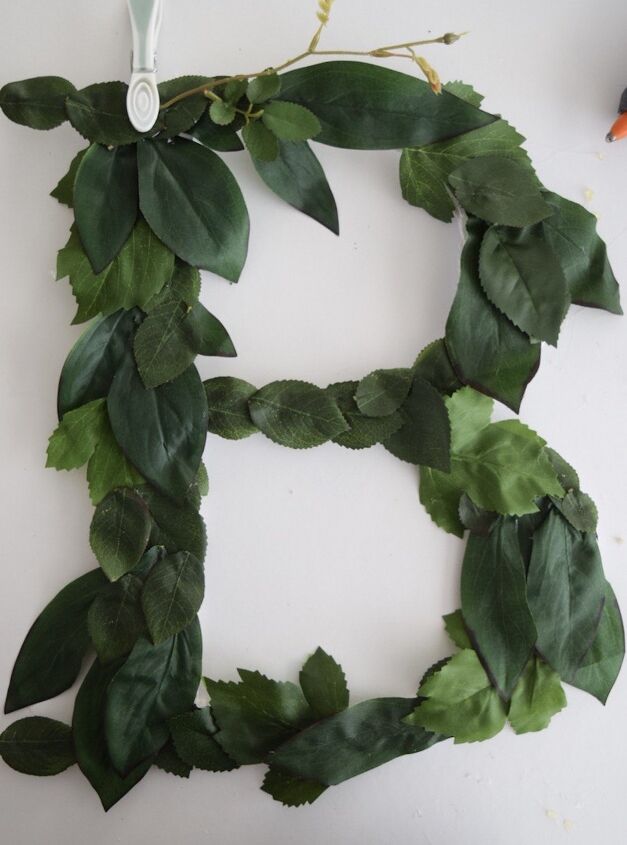
You want the leaves to spill over the edges a little so you cover all the foam but not too much that it distorts the shape of your letter.
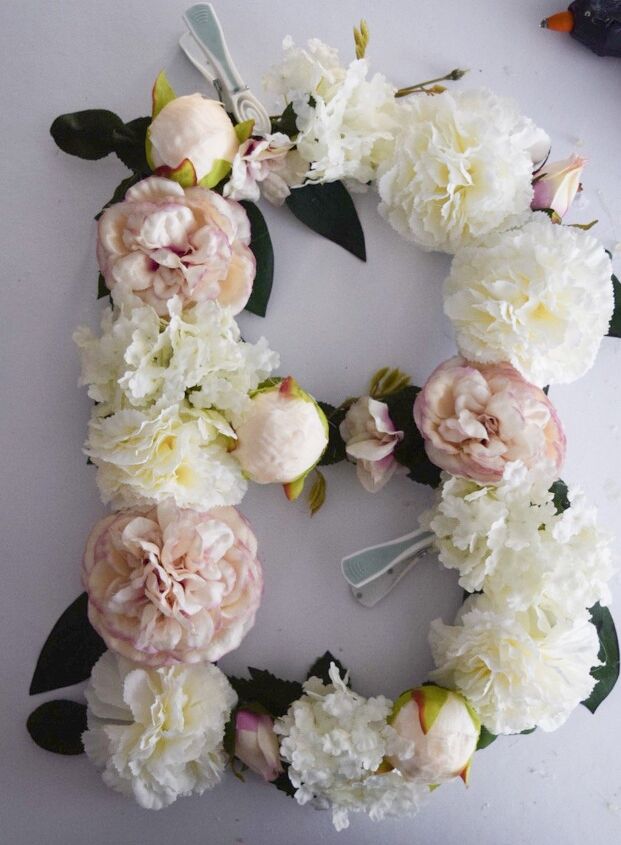
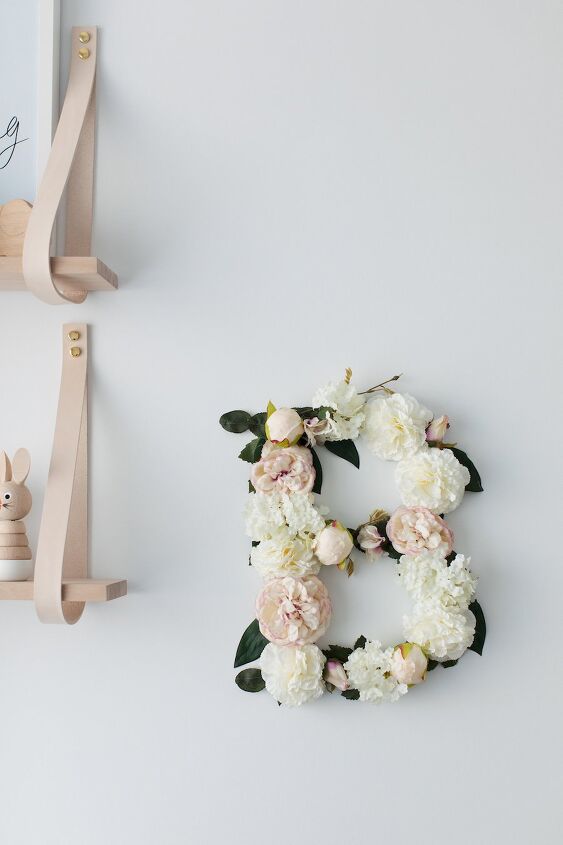
3. Remove the flower heads from the stems and place them on your monogram letter — play around with the placement until you’re happy with the spread and size of flowers you have used. Then glue these in place using your hot glue gun.
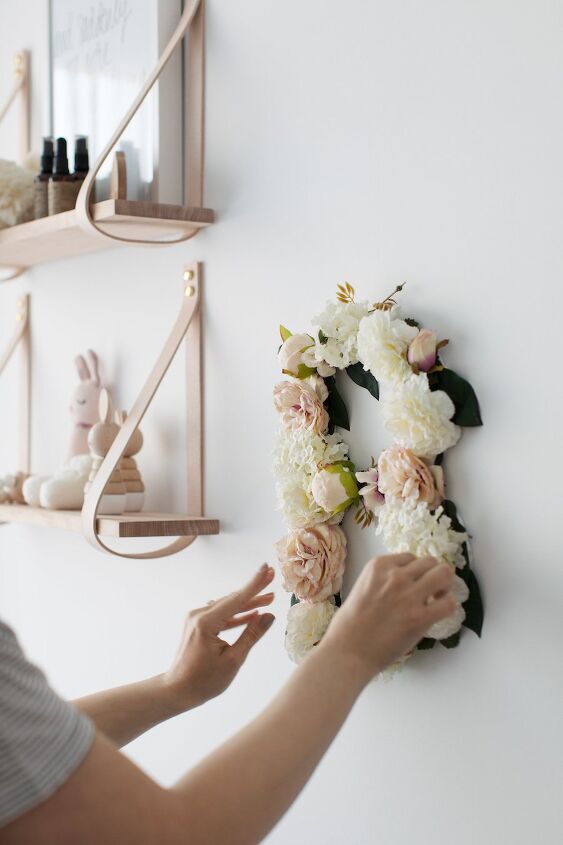
4. Once you think you’re finished, hold the monogram floral letter away from you and see if any flowers or leaves need adjusting (I thought some of my leaves were sticking out a bit too much so I tucked these in).
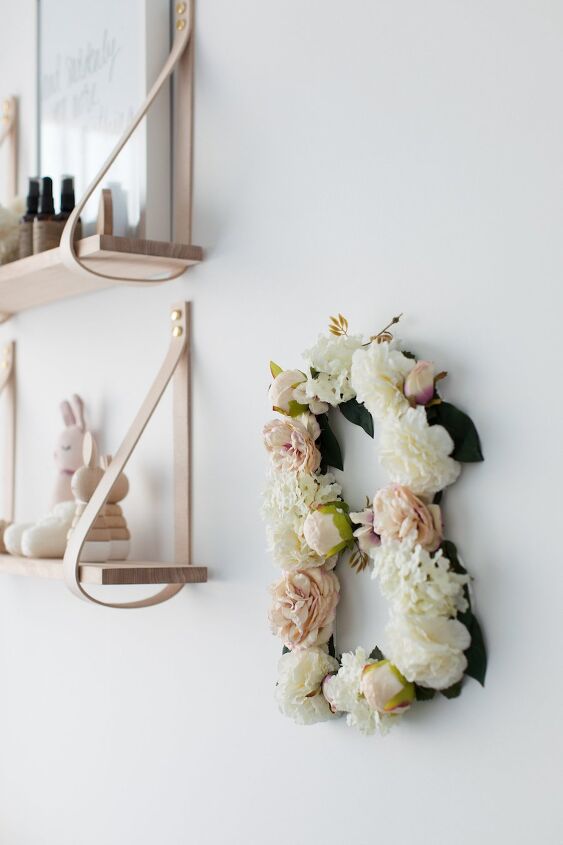
5. The final step is to fix the letter to your wall. You could use your hot glue gun to glue hooks or a line of wire to the back of the letter (much like hanging a picture frame) but I simply opted for a few small piece of double sided tape.
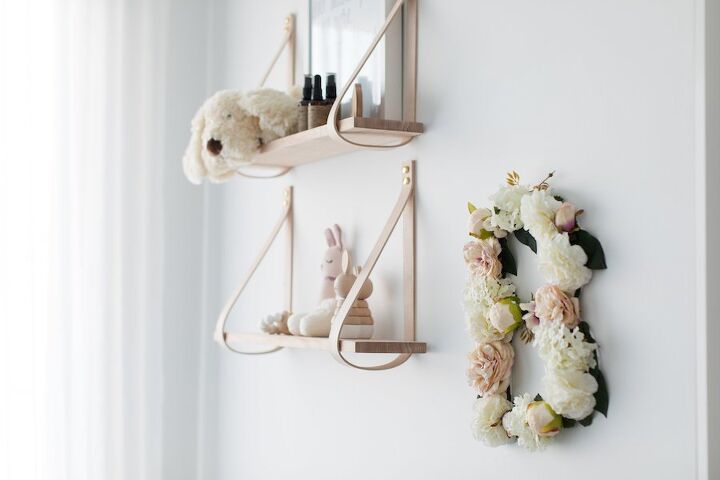
Done! I love how this sweet and simple DIY floral monogram turned out for my baby nursery! Find me on Instagram or pop over to stylecurator.com.au for more easy and stylish DIY ideas for your home.
Resources for this project:
See all materials


Frequently asked questions
Have a question about this project?