


Using Gray Stain For the First Time
Easy
I love the look of painted furniture and accessories but sometimes I don't want a full coverage of color like paint provides, so I decided to give colored stain a try. So a while back when I was shopping at my local Habitat Restore shop I came across a can of unopened gray stain that I thought I would try on a small project.
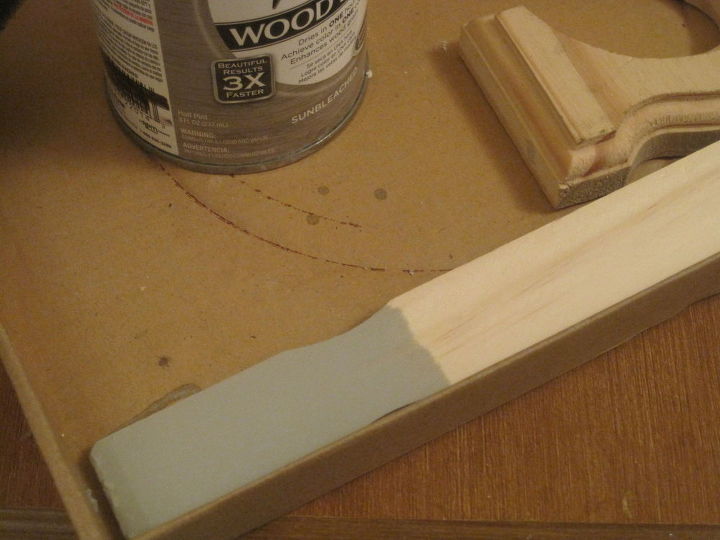
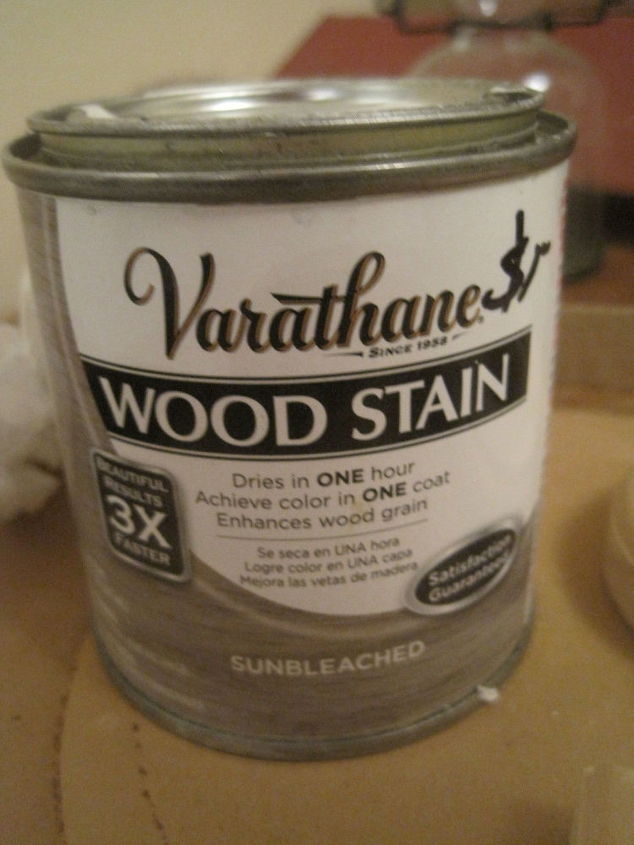
The color I am trying is called Sunbleached by Varathane. I loved how I looked on my paint stirrer and couldn't wait to use it somewhere around the house.
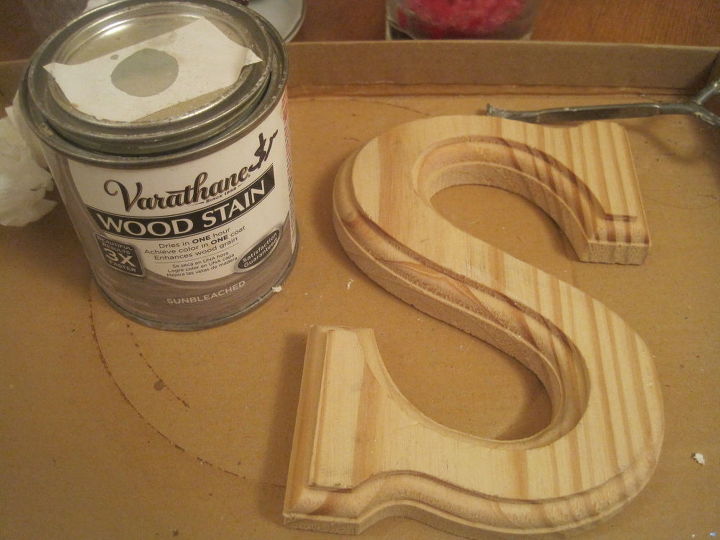
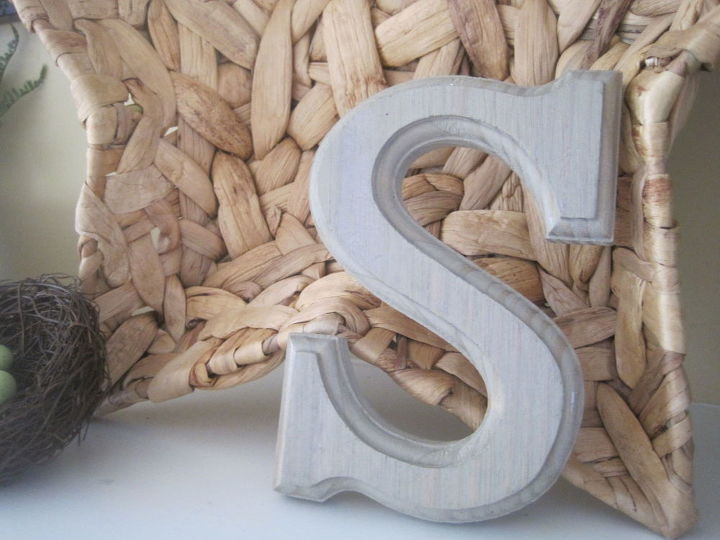
I decided to grab this letter "S"....I love monograms so I knew regardless how this turned out that I would still be able to use the "S" somewhere in my home.
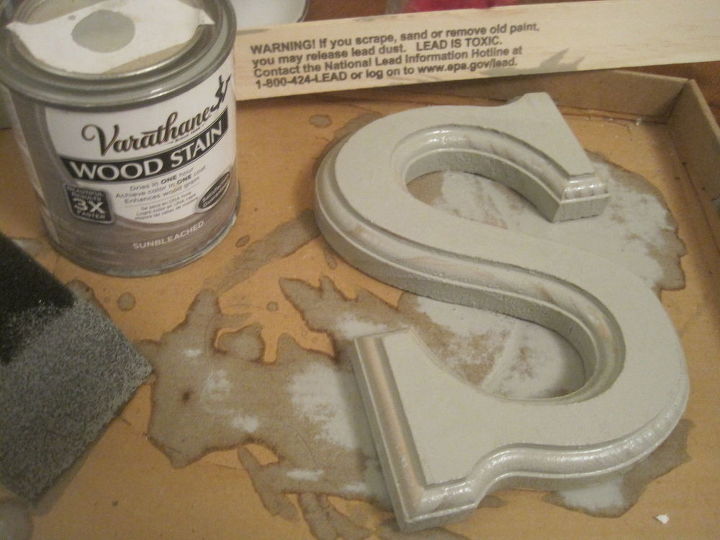
All I did was shake and stir the stain real well so that it was fully mixed then I brushed it onto my letter "S" with a simple foam brush. After the first layer I let it dry for an hour then came back and gave it another coat. If you have never worked with stain keep in mind that it is runny so it can be messy. Be sure to cover your work surface or use a box top like I did to avoid having a mess on your hands.
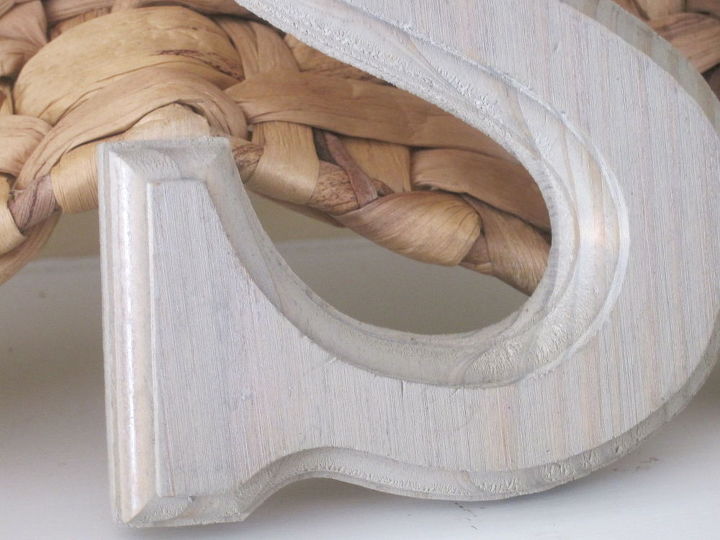
After drying over night this is the final result. Beautiful! ....and I didn't have to distress or sand. The wood grain shows thru but I still have the gorgeous gray color tone that I was hoping for! Score!
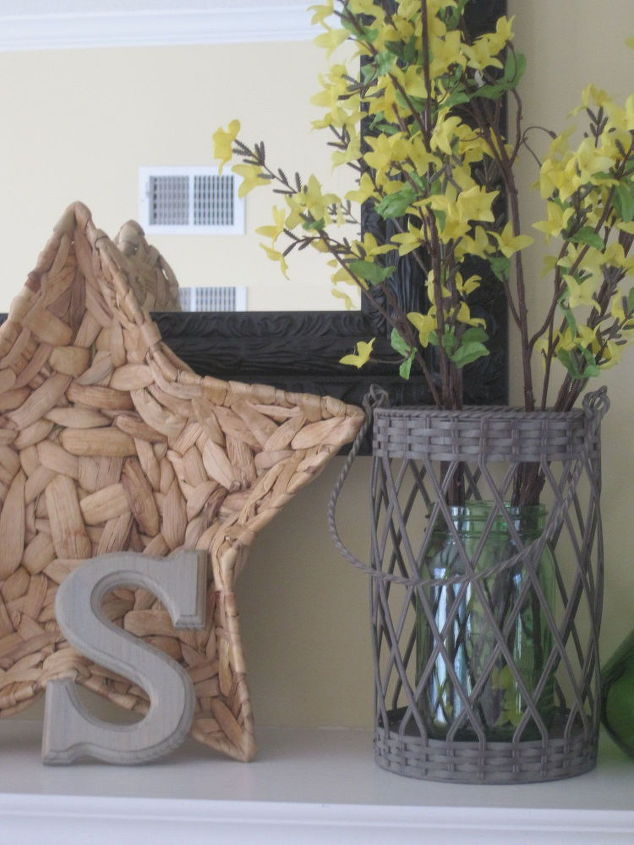
Here is my new monogram on top of my mantel. If you like color but want less coverage and more wood tone to show thru, then I highly recommend using colored stain. Of course this is my first attempt at it but I hope to use this same gray stain on a table or something else in my home in the near future! For more pics hop on over to my blog!

Want more details about this and other DIY projects? Check out my blog post!
Comments
Join the conversation
2 comments
-
Pretty!
-
Thanks @Hannah V !


Frequently asked questions
Have a question about this project?