


Using Vaseline Oil Vs Sanding - 70's Mirror Upgrade

by
Jacque
2 Materials
$10
2 Hours
Easy
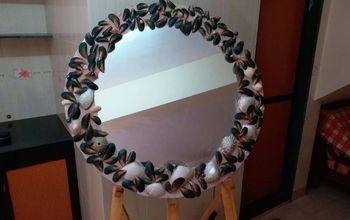
I found this cool old 70's mirror at a second hand store and looked forward to breathing some life back into it. Maybe bringing it into the next century with some TLC. Easily done with some paint and Vaseline. Yup! I love this trick.

Remove mirror and any hardware
In order to get paint in all the crevices, it's a must to remove the mirror. Just make sure to keep hardware in a safe place.
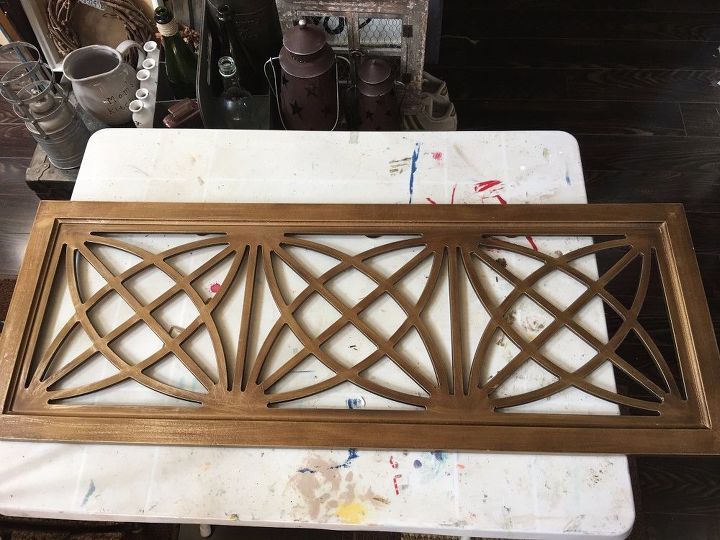
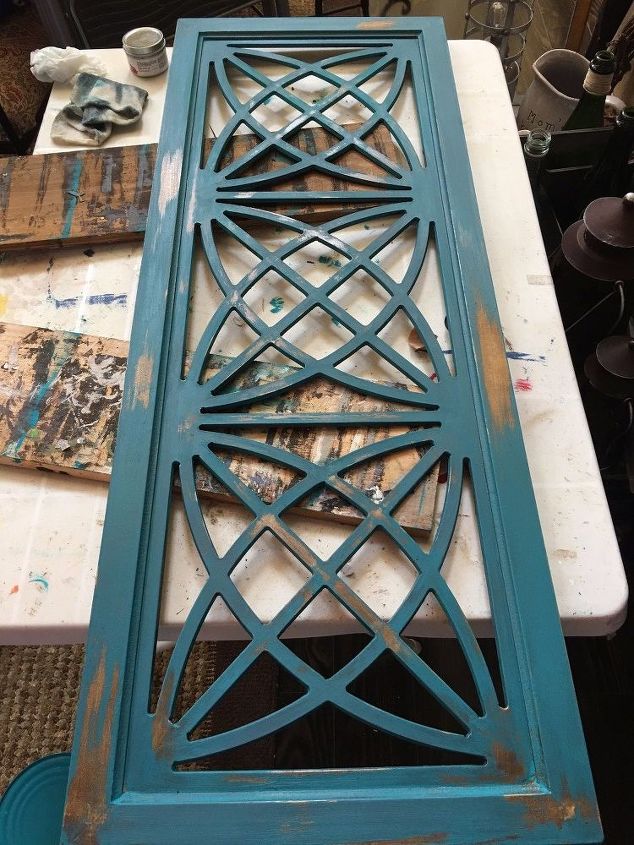
Can you say U G L Y?! Haha! This screams 70's...although I do like some of that gold tone, just not on the entire piece! After I cleaned it, I took some baby oil gel/Vaseline and smeared it in select places all over the mirror.
My tools for the project
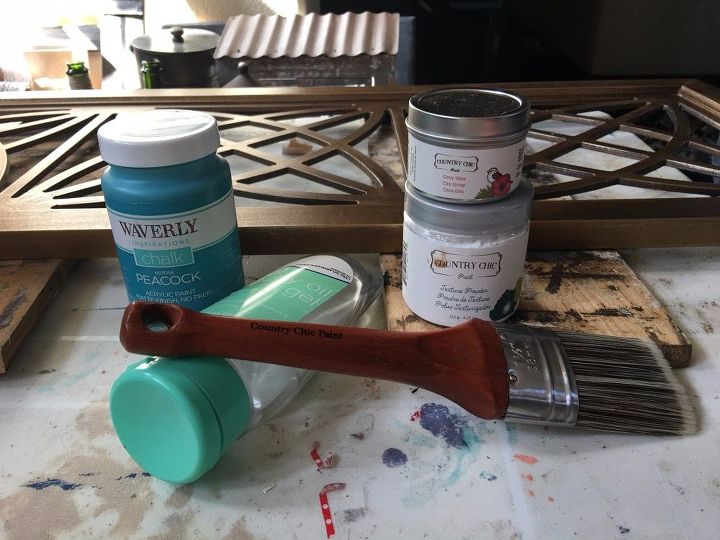
I used waverly chalk paint in Peacock, baby gel oil, and a few new products I was given to try out. Dark grey wax, chalk paint brush and powdered paint thickner all from country chic paints.
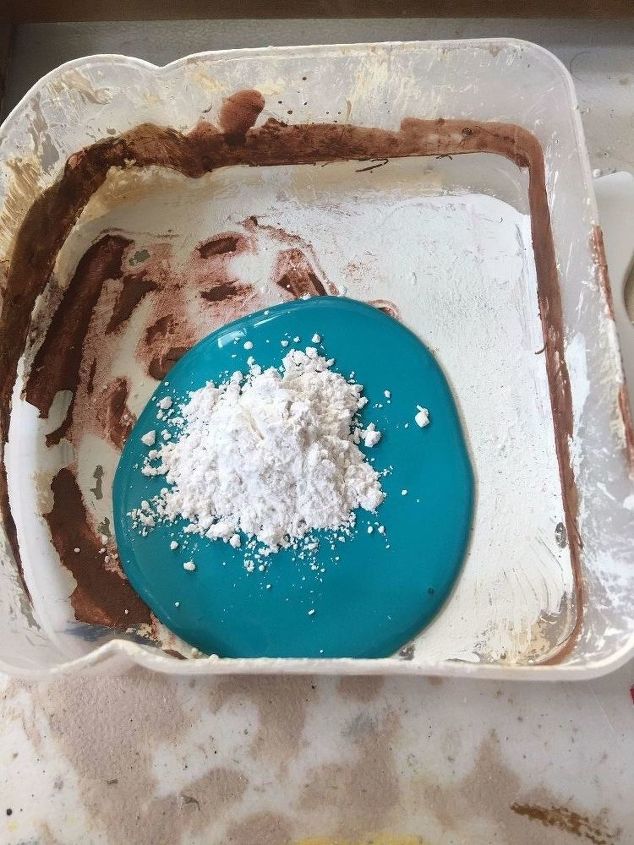
I added about 1 tbsp of the powdER directly to about 4-5 tbsps of chalk paint and stirred. It did thicken up a little but you can always use more/less depending on the texture you want.

Paint does not stick to oil
As I began to paint, I could immediately see where the oil was given nothing can adhere to it. It looks like I used sand paper or just rubbed it off, nope, it looks really cool!
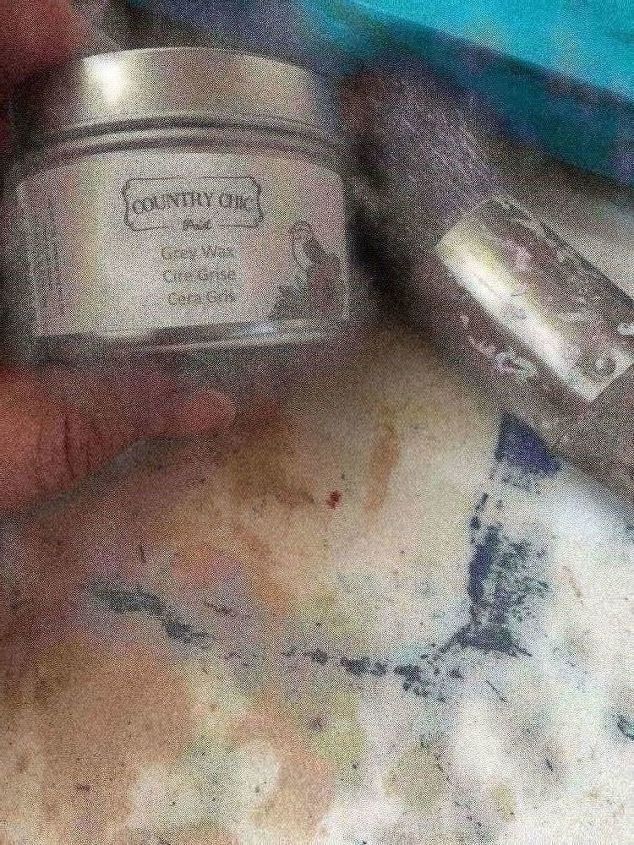
Grey Wax from Country Chic
After paint dries, which is literally minutes with chalk paint, (I love it for that reason and many others!) I make sure to remove as much oil as I can with a soft lint free cloth. There will be a small amount of residue left, but that's ok since I want to apply wax to age the paint. (Also, the paint texture wasn't that much thicker than normally. I don't think I used enough powder here.) This is a VERY vibrant color and the grey helps to mute it a bit. Plus I love antiquing!

This is how the wax looks when it is first applied. I let it sit for 10-15 mins prior to buffing it out a little To make sure it's in all the cracks and crevices.
This is with a coat of grey wax.
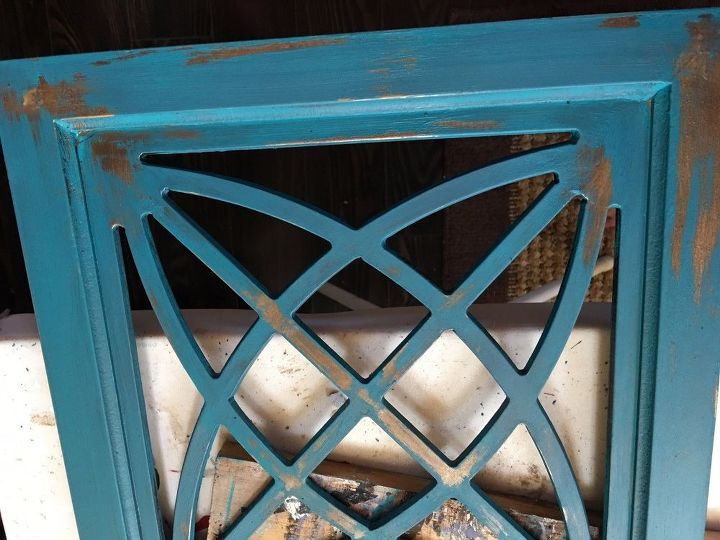
After it's been buffed
After buffing, I let the frame set for another 20 minutes to make sure the wax was completely dry to the touch, Before adding the cleaned mirror and backing with all its hardware.
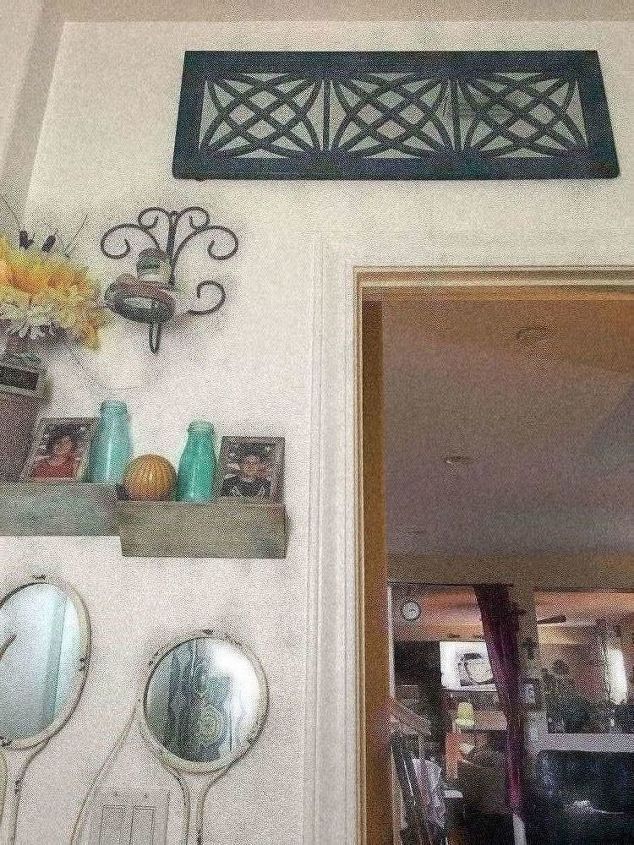
I hung it sideways above my door
My fairly new remodeled bathroom (check out the remodel in my projects for 2016) needed some color on the walls. It looks so nice above the door.
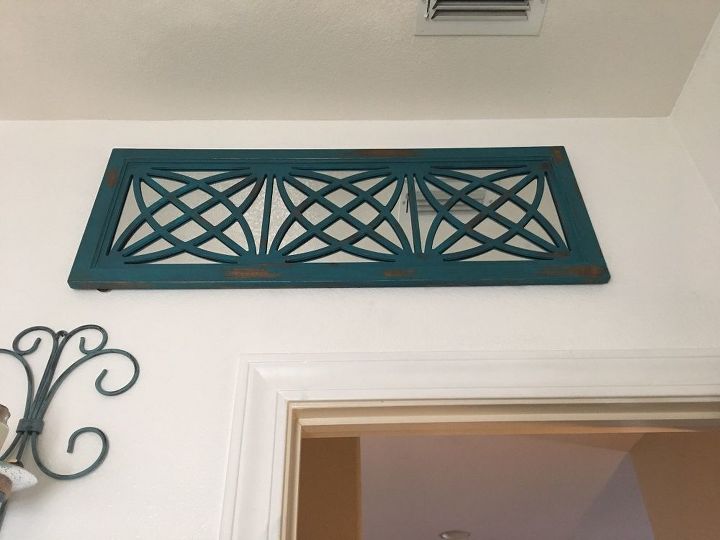
Perfect addition to our guest bath
It reminds me a little of those decorative windows I've seen on many cute craftsman homes, set Above doors. so this is my mirror wannabe window I guess. Regardless it is just what the space needed! (I'm never done decorating!) Thanks for taking a look!
We want to help you DIY, so some of the materials in this post are linked to sellers. Just so you know, Hometalk may collect a small share of sales from the links on this page.
Comments
Join the conversation
3 of 39 comments
-
I think what you see is a reflection of a ceiling vent or light.
-
Gorgeous! Thanks for the great ideas and how to lesson.


Frequently asked questions
Have a question about this project?
Love this... why is not centered above the door???
What is the purpose of the paint thickener, besides thickening the paint? Is it easier to use - does it adhere better? What is this step for?
hey! So I’m trying this Vaseline thing. How many coats of chalk paint can I put on and still have the Vaseline wipe off the paint? Looks like I’ll need one more coat... thanks!!!