


Using Wallpaper as a Removable Statement Art Piece

Design Dilemma- you update one part of your room and then you have to update all of it. It's a serious problem people!! Case in point- my new super awesome patterned wall panels! I was lucky enough to win a roll of wallcovering from 2Modern several months ago. Since then I've thought about how I would use it in our home. I couldn't hang it the traditional way since we are only renting and can't put anything permanent on the walls. I've seen online where people use starch to hang fabric but that seems really messy and I wasn't sure if it would work for wallpaper or not. So what was my quick, no nail, non-permanent solution? Command Strips!
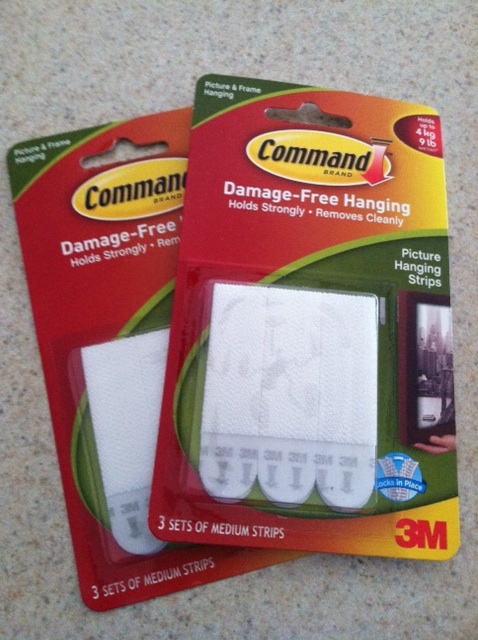
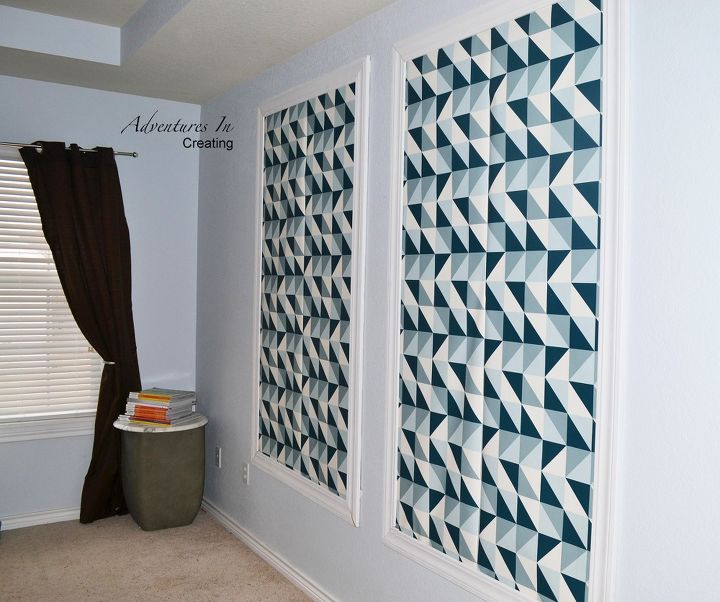
The ones I bought are rated for 9lbs- perfect for the wood moulding I wanted for framing out my wallcovering. It was quick, easy, and non-messy. For this project I first measured out how big I wanted my panels- then figured how much trim I would need and how long they should be. I bought MDF moulding already primed (the cheapest kind I could find!) The super friendly guys at our local hardware store cut them to size for me- angle cuts and all. Yay!!
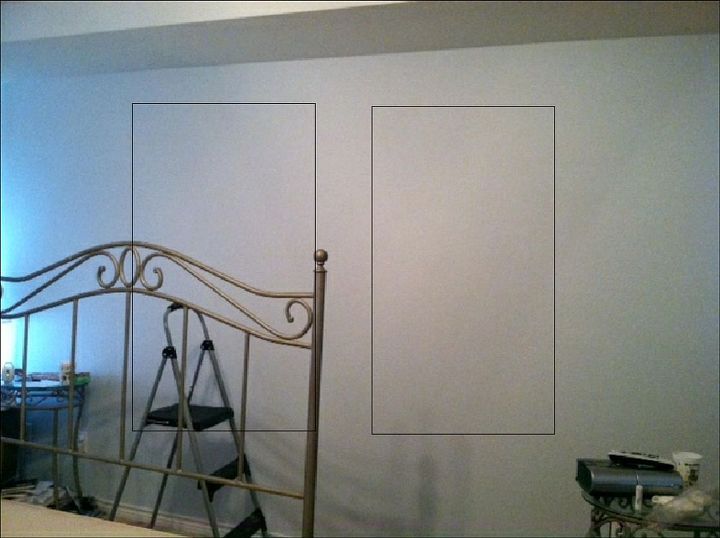
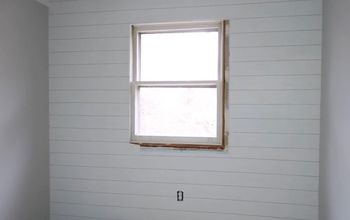
Then I got started physically measuring out the space on the wall where they would go.
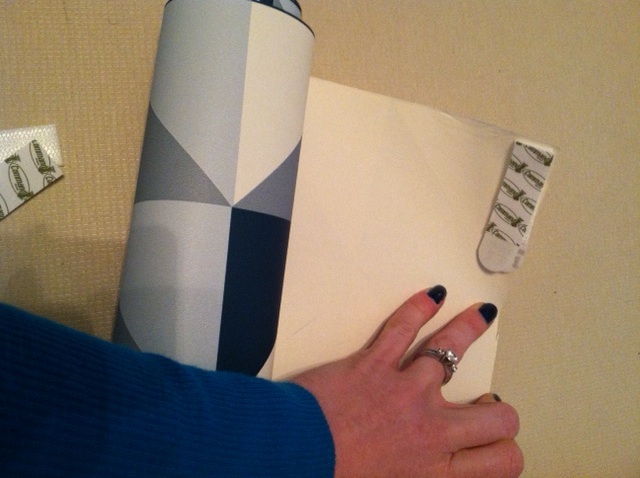
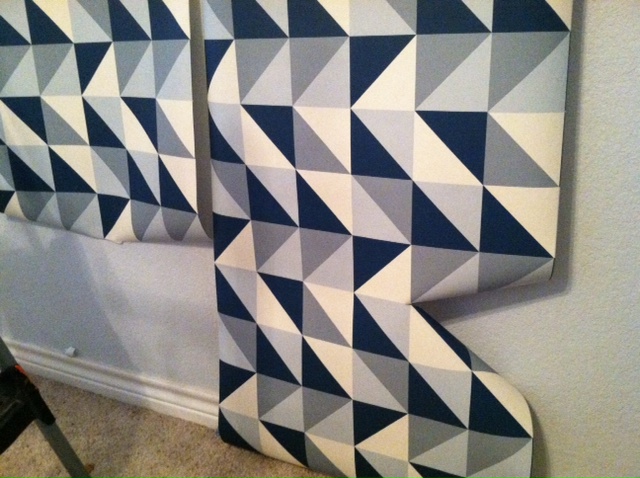
Next step was hanging the wallcovering. I used the Command Strips on the top and bottom corners of each panel of wallcovering. To keep the panels from curling away from the wall I put one Command Strip in the center of each panel on either side. Then trimmed the bottom to my desired length.
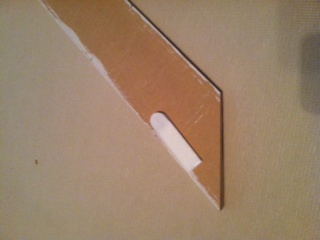
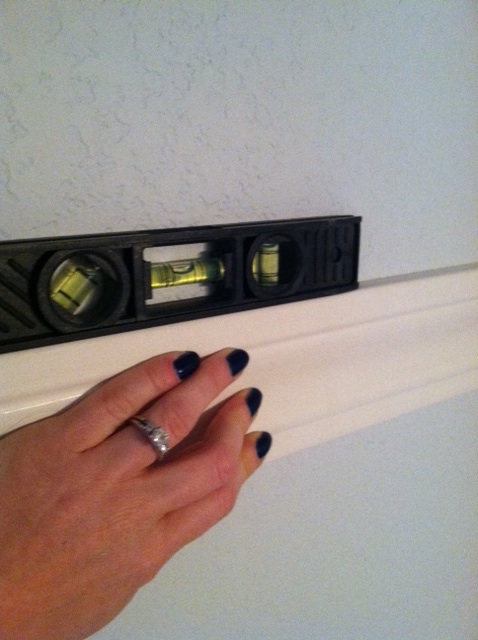
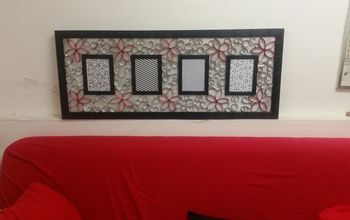
Finally the trim. Again I used Command Strips on the edges, started at the top and worked my way down.
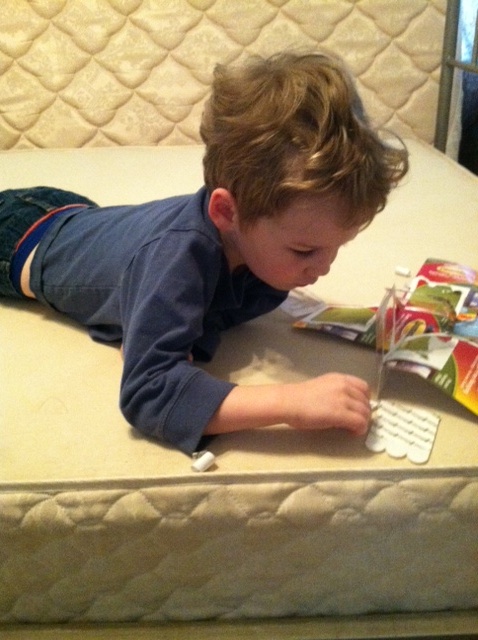
As always my helper was nearby- so easy a child can do it! (J/K not really...)
After the trip was hung I was all finished! Some things I learned while doing this project: Make sure the Command Strips are stuck to the wall and not the wallcovering while hanging the trim. Clean any dust from the wood trim before sticking your strips, otherwise they will not hold. Make sure to press firmly down for the full 30 seconds the package recommends to ensure a secure hold.
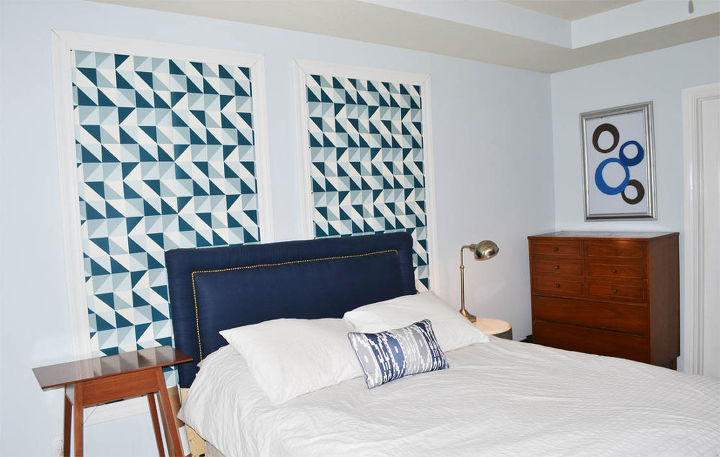
The panels and trim have been up for over a year now and nothing has come crashing down on our heads in the middle of the night.
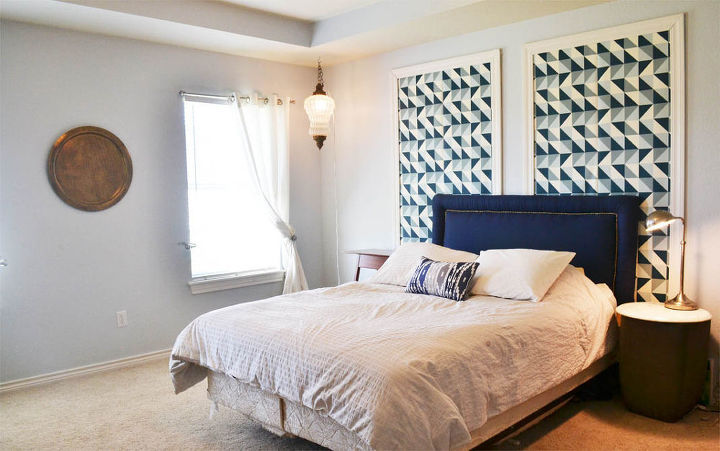
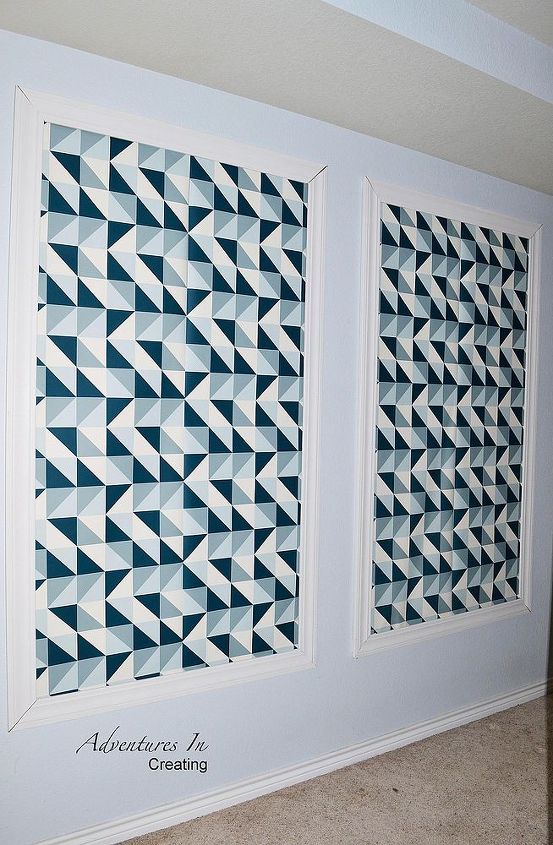
Here are some shots of the room all pulled together! (still working on a foorboard obviously...)
Resources for this project:
See all materials


Comments
Join the conversation
-
Looks very nice. Great job and great directions.
-
I don't have a question , but a nice straight dust ruffle for the bed would be so cheap and cover that unsightly mattress and bring the neatness your looking for , so if the bedspread is pulled up/over that unsightly mattress won't show !
I loved this look , not just for behind the headboard , but for a dining room !!!


Frequently asked questions
Have a question about this project?
How do you get the commando strips to stay mine fell after 5 months.
Please confirm - is a command strip just double-sided tape, or is it more?
Will the command strips take off the wall paint if it's there for a while