


Wallpaper Accent Wall at Entry

Changing an entryway hall can be as easy as peel and stick wallpaper and as quick as an afternoon.
Using Wallpaper to Cover Wall Damage
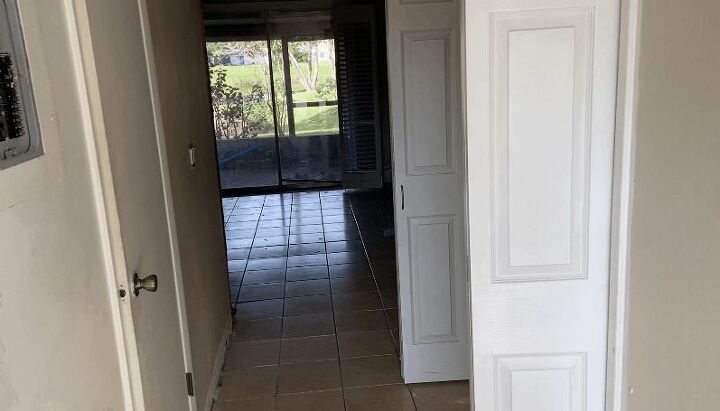
In this townhouse flip, the walls at the entry had damaged drywall. The drywall work simply wasn’t smooth and even. Structurally they were fine, so we didn’t want to rebuild the wall, but we needed to dress up this area and take the eye away from the slightly bumpy wall.
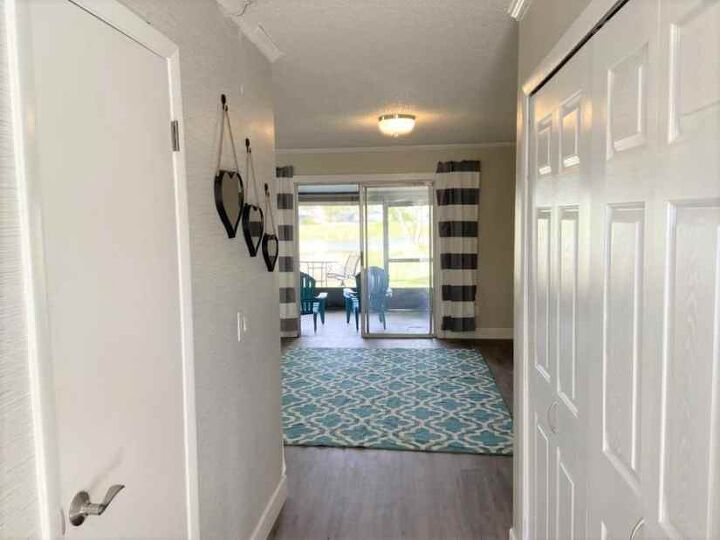
Here’s where we were starting:
Creating a wallpaper accent wall at the entry made this renovation project quick and easy, and inexpensive. Photos are below, but if you’d prefer to view this as a narrated video, here’s a link to the YouTube video.
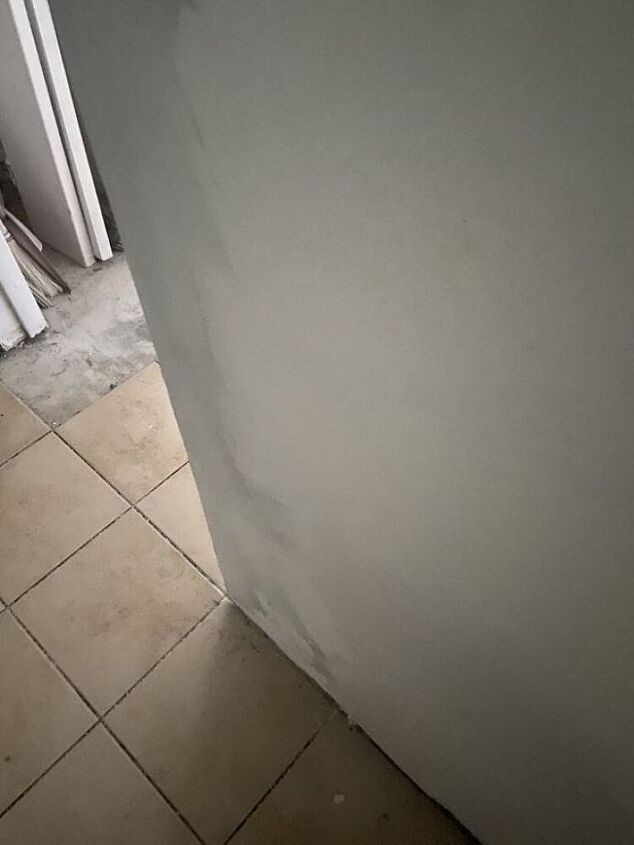
This is a look at the damaged drywall. It wasn’t wet or anything. It’s just that whoever finished off the drywall here used a different color paint and it looked bad on this side of the wall. The other side was even worse.
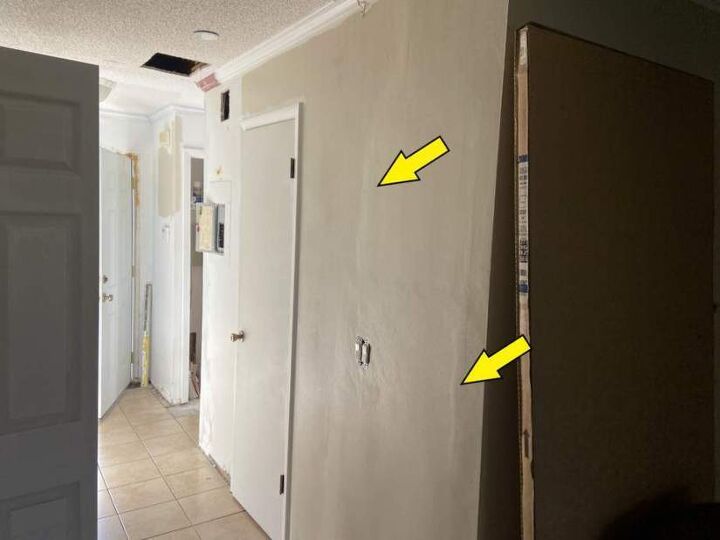
Here’s the other side of this wall. You can see that the finish work was completed very poorly. We purchased this unit as a fixer upper and this is the way we received it. Structurally everything seemed fine, it just looked really ugly.
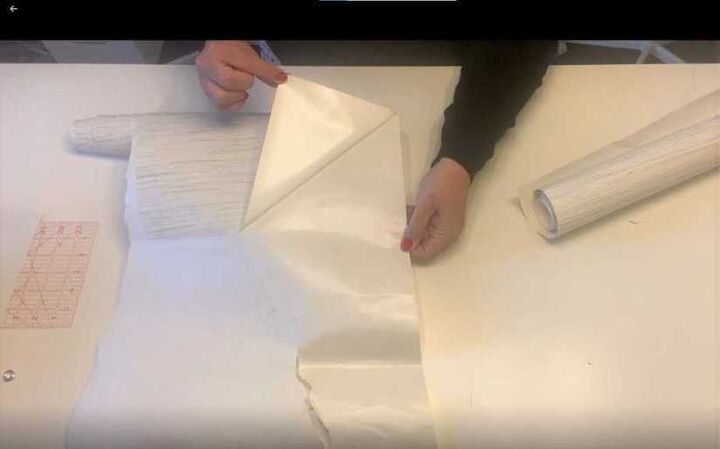
You can purchase a simple peel and stick wallpaper to cover cosmetic damage like this. Here’s a photo where you can see that the paper easily peels from the backing.
The wallpaper we used at our entryway was a faux grasscloth. I think a textured wallpaper might have worked a little better, but this was perfect for our budget and our use. On my website I list some wallpapers that I think would work very well.
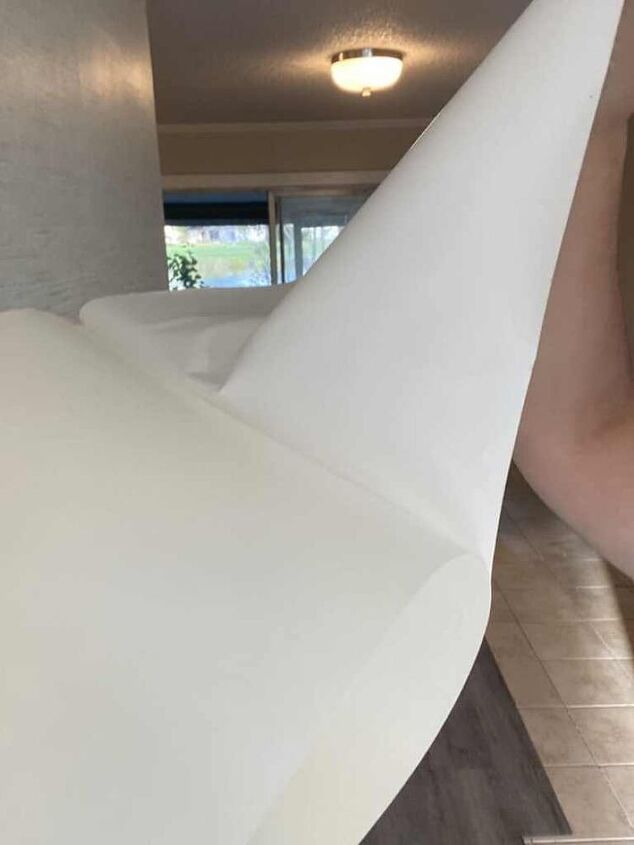
When you hang the wallpaper accent wall, start from the top of the wall. Allow the roll to hang down, so that gravity is helping you when you start.
Start with a new roll for easiest results. This way you have a factory made straight edge to start with. If you don’t have a new roll, use a straight edge before you start and cut the starting piece level and straight across before you start.
Before you peel the backing off of your second piece, make sure that you know where it’s going to line up so that you continue the pattern properly. In the photo below, you can see how I lined up my wallpaper. The arrows help you see the major indicators I looked for to make sure it was lined up properly.
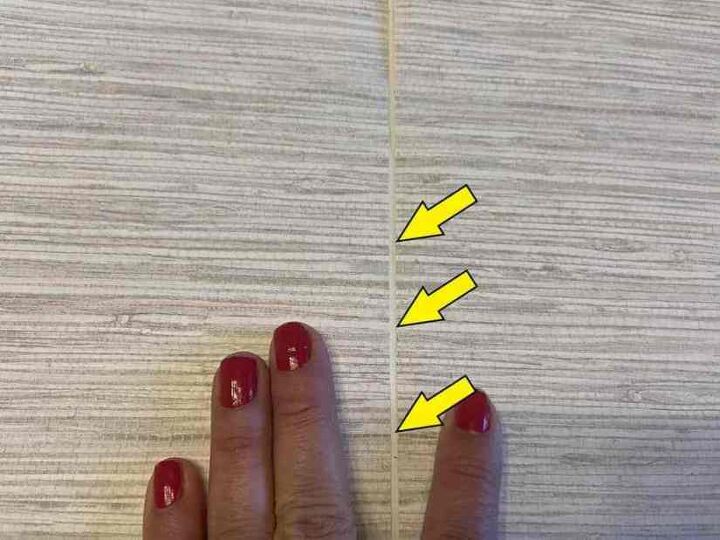
When you place the second piece of wallpaper in place, make sure to overlap the first piece slightly so that you avoid gaps between the pieces. Take your time and keep things straight so that your line stays uniform all the way down.
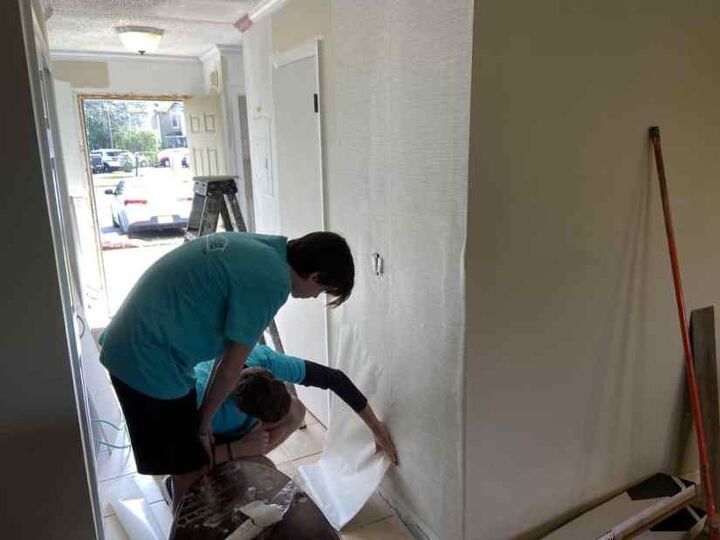
While you’re sticking the wallpaper to the wall, from top to bottom, run your hand along it to smooth it down continually. I like to run my hand diagonally from the center and then down and out toward the sides. Continue this while going down the wall.
Below you can get an idea of how the teens were doing this while installing their second strip of wallpaper.
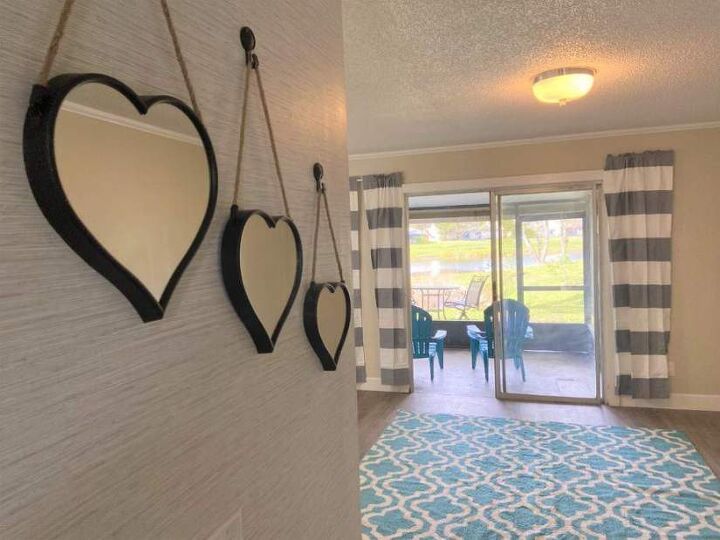
How it turned out
Below are photos showing the end result
Visit my site for other wallpaper projects, including a princess room and a wizard room created using wallpaper.
If you’d like more information on this townhouse flip, and the other projects performed in the renovation, including the creation of an accent wall and study nook using leftover vinyl plank flooring, visit my website at www.marciasocas.com.
Thank you!


Frequently asked questions
Have a question about this project?
Where did u get the wallpaper? What’s the brand ?