


Wood Mosaic Art

This is my first ever wood mosaic. I am really proud of it, not because of how it turned out, but because it will be donated for a good cause. You can find out more about that on my instagram, but for now, let's get to this tutorial.
Don't be alarmed --there aren't too many steps because it's just that easy!
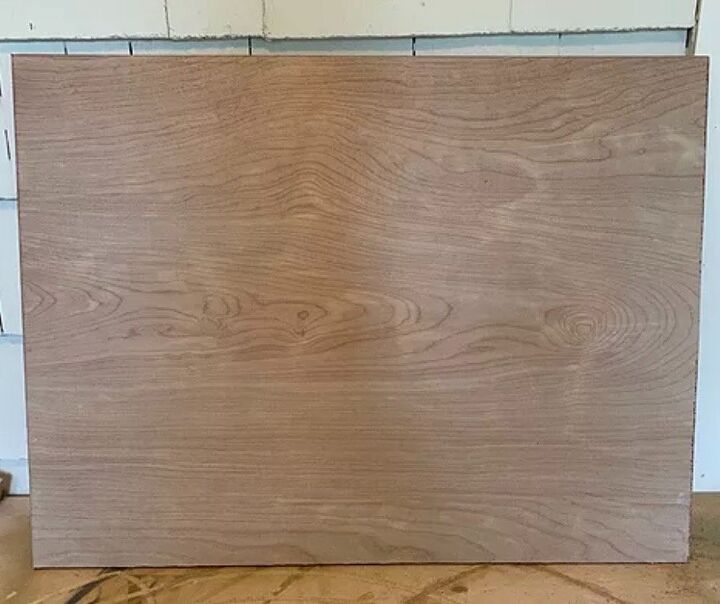
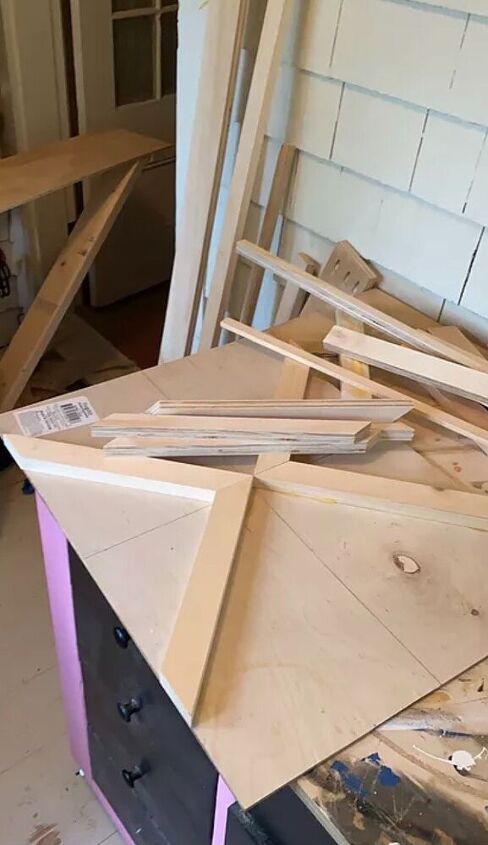
Cut your 1/8" plywood to the size you desire. The big box stores can cut wood to your size, so don't worry if you don't have a table/circular/jig saw.
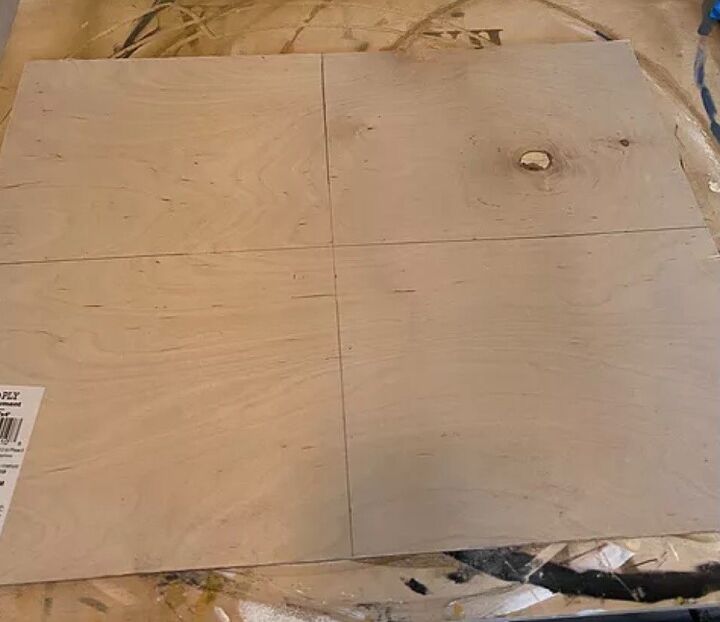
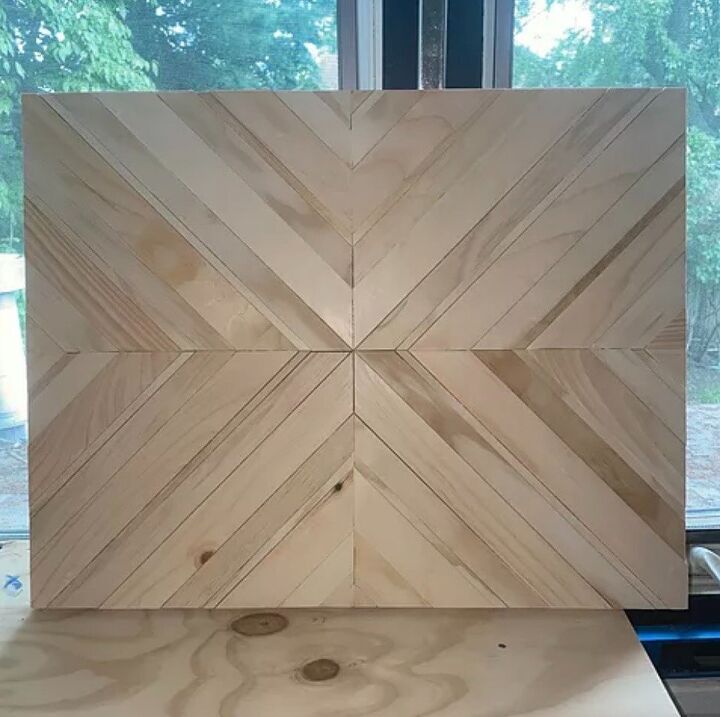
Using your ruler and mark the center horizontally and vertically. Use a straight edge and pen/pencil to draw a straight line from one end to the other. You should have for squares or rectangles like the picture.
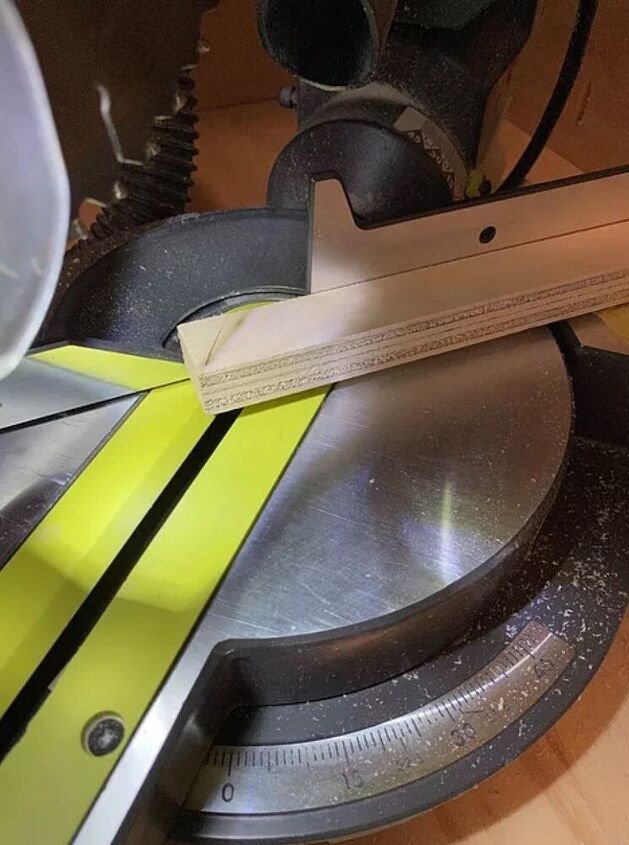
Start with your piece of wood. Cut one side at 45 degrees on the miter saw or miter box. The miter box is 100% doable but be prepared to grow lots of muscles!
I used 1x2 and also scrap pieces of plywood for this that I cut to random sizes on my table saw. You can buy various sizes of 1" dimensional lumber at your local big box store. For example: 1x2, 1x3, 1x4, etc.
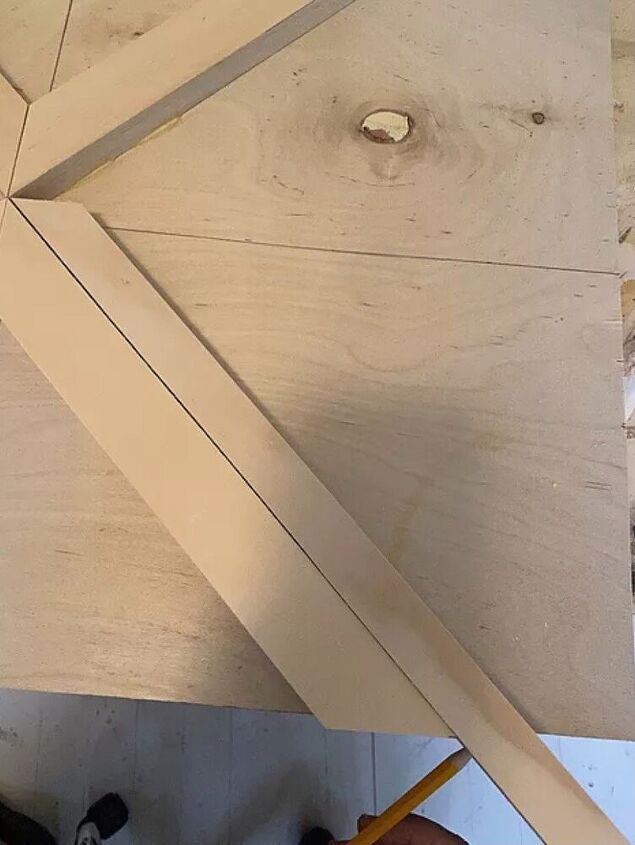
Place the 45 degree cut along the center line created in the previous step. I used a pencil on the opposing side (outer edge) to mark where the next cut should be. It’s okay if it overhangs on the edges— we’ll cut it straight at the end.
I glued this along the vertical center line. You can glue it along the horizontal line too if you want.
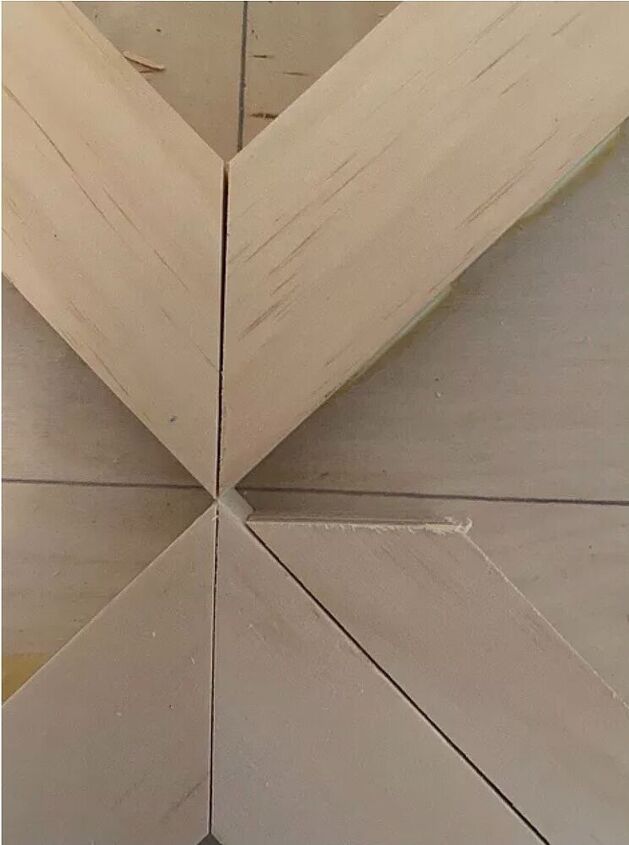
I only glued the first four pieces to ensure that the other pieces would not cause the entire design to slide.
Moving forward, repeat prior steps using which ever size wood looks best for you.
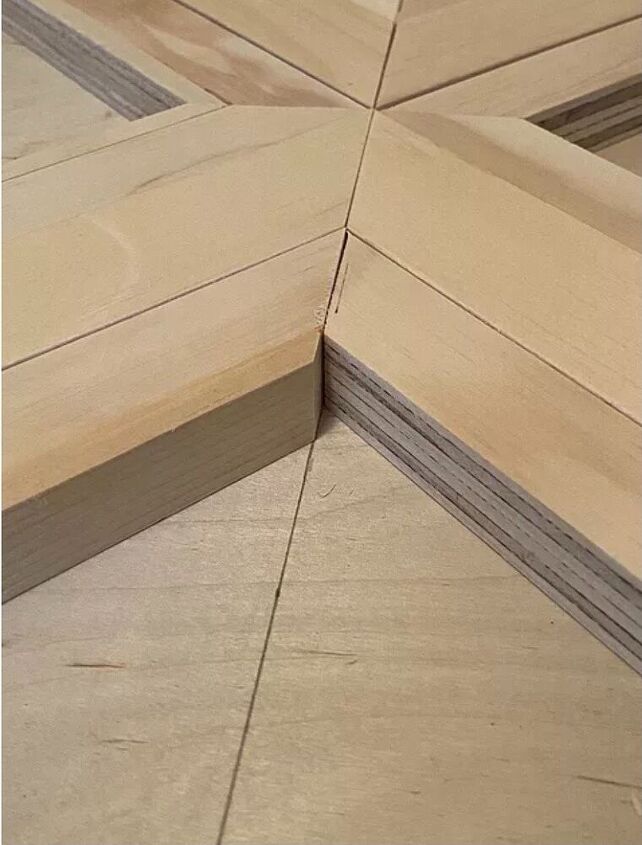
It should start aligning a little something like this.
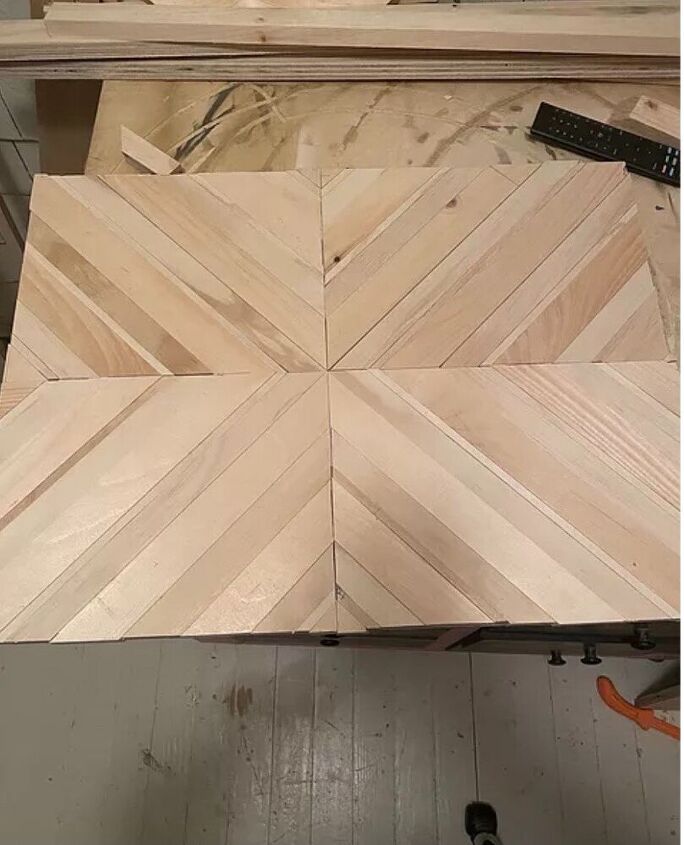
Once you have a pattern you like, glue it all down using wood glue.
(Optional) I then flipped it over and used my brad nailer to nail it in place for added security. I covered the brad nail holes with wood filler.
If you look along the edge, you can see that the wood is not 100% straight. I ran the edges across the table saw. If you have a circular saw or jig saw, you can use that too. Make sure to use a straight guide and painters tape along the cut line. Painters tape ensures that the wood does not splinter or chip.
If you don't have any of these tools, simply ensure your wood aligns closely to the edges when you make your cut.
Now that I have smooth edges, I can make my frame. See my previous tutorial ( Canvas Frame) to see how I made and attached it.
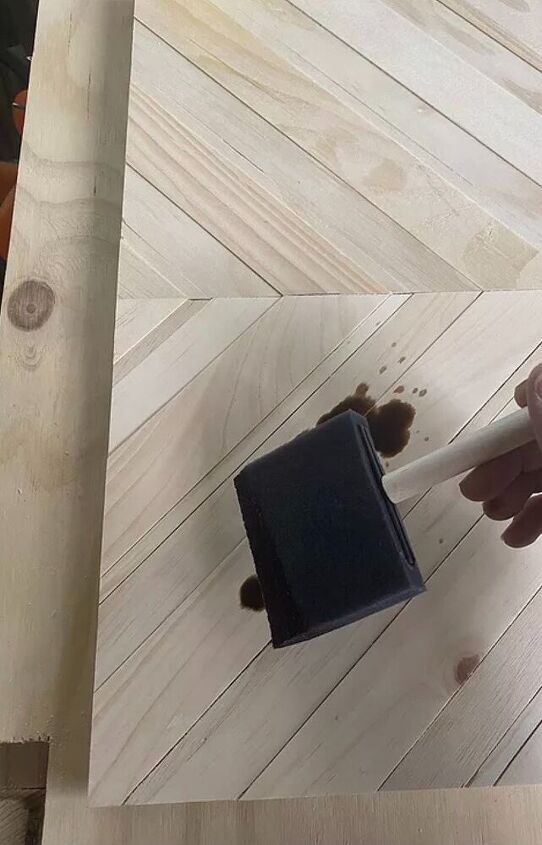
Before staining, always use wood conditioner on soft wood to avoid blotching. I forgot to do this and quickly regretted it.
I used Early American to stain. I prefer using a foam brush or staining sponge when I stain. I get zero brush strokes this way. I only used one coat of stain.
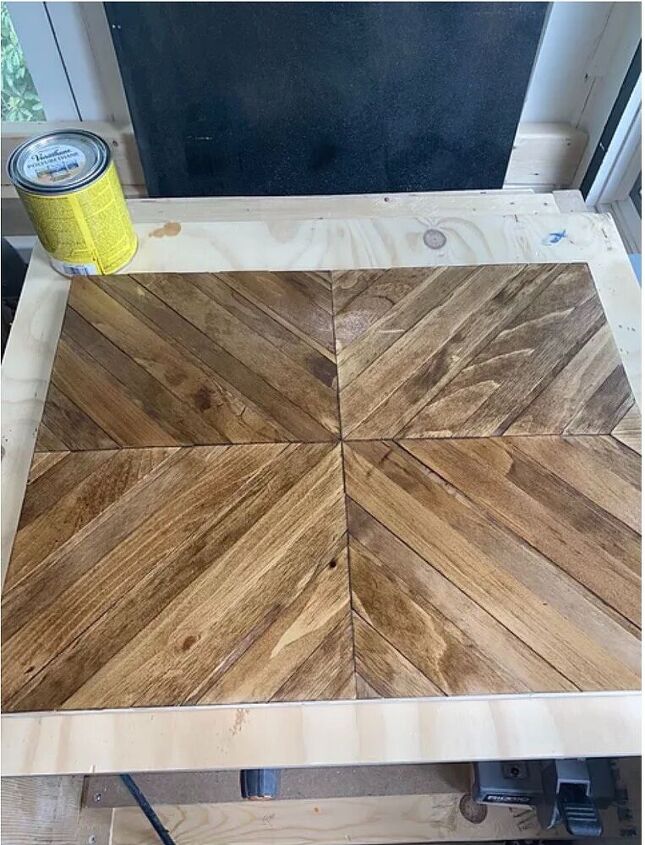
Attach the frame and apply polyurethane or polyacrylic to protect it. I used matte finish polyacrylic.
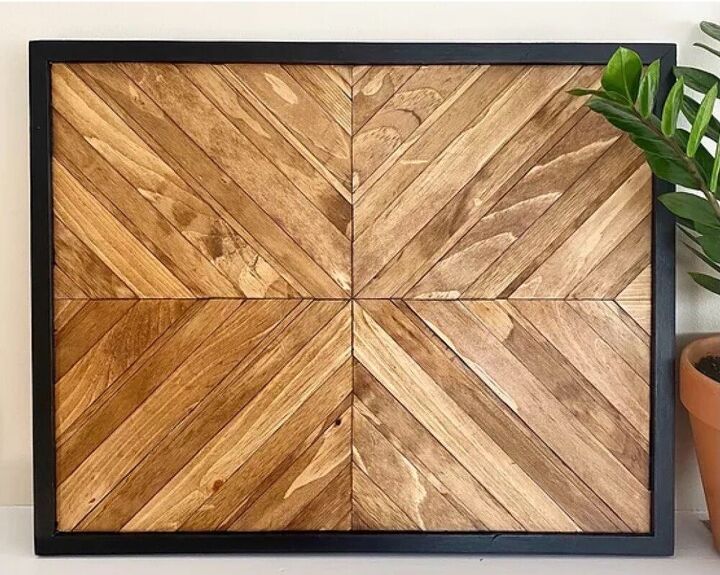
And that's it. Simple and inexpensive beautiful art that can be customized in any way you can imagine!
Resources for this project:
See all materials


Comments
Join the conversation
-
Very nice wall decor. Something that can be painted or stained. A piece that could be used any place in the home. LOVE IT.
-
This is beautiful! Very inspiring and your instructions are very thorough!


Frequently asked questions
Have a question about this project?
Hi, love this! So want to try one of these, too! Keeping fingers crossed I get a miter saw for Xmas 😉. I do a lot of wood projects, but never used any conditioner. What is it? Thanks, Sunny