


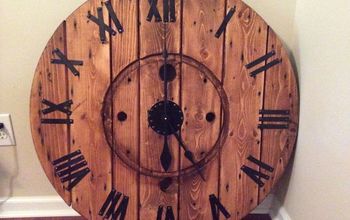
Wooden Gear Wall Clock
2 Materials
$20
2 Hours
Easy
There has been a project on my to-do list for quite some time now and I found the perfect reason to get it done. There is a little room off of the back of my garage that has been turned into my small workshop. The walls have been painted, I added some cabinets, but it just still needed something. In comes the wooden gear wall clock. This not only adds a little character to the room, it really helps me keep track of time. There have been several days spent out there hours at a time. It's really easy to lose track of time when you are doing something you love
For a complete list of the materials (including the gear template) and tools use and a more in-depth tutorial of this project, visit me at The Crafted Maker.
{
"id": "5035450",
"alt": "",
"title": "",
"video_link": "https://www.youtube.com/embed/nCrS6uv7DiE",
"youtube_video_id": "nCrS6uv7DiE"
}
{
"width": 634,
"height": 357,
"showRelated": true
}
Using the template, I cut out the gear shape on the scroll saw.
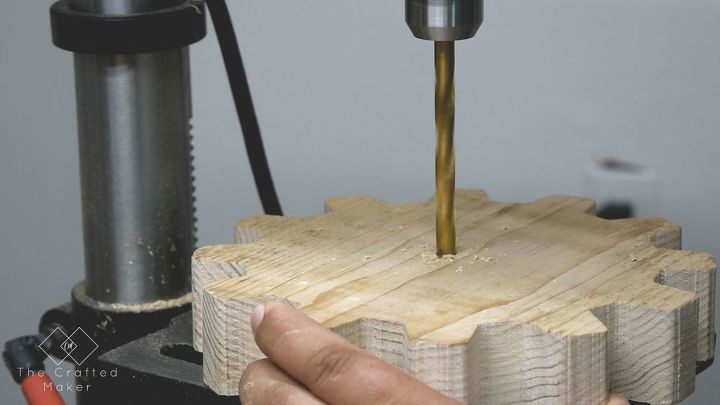
Then, using the drill press, I cut out the holes for the clock mechanism to fit through. A small hole needs to be cut on the front, and a larger space in the back to fit the battery operated piece.
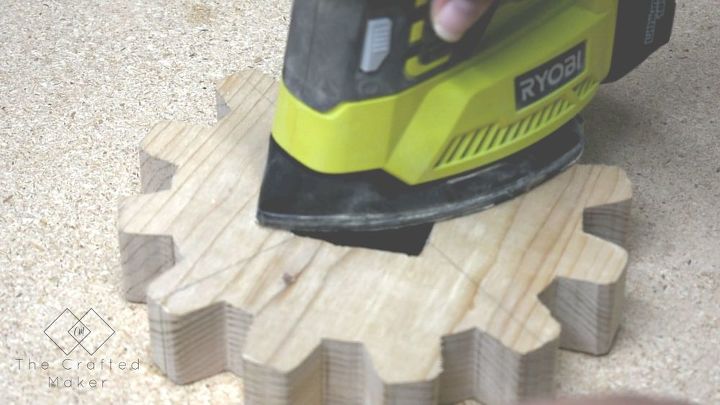
After the holes were cut out and the clock kit fit, I sanded the entire project and stained it.
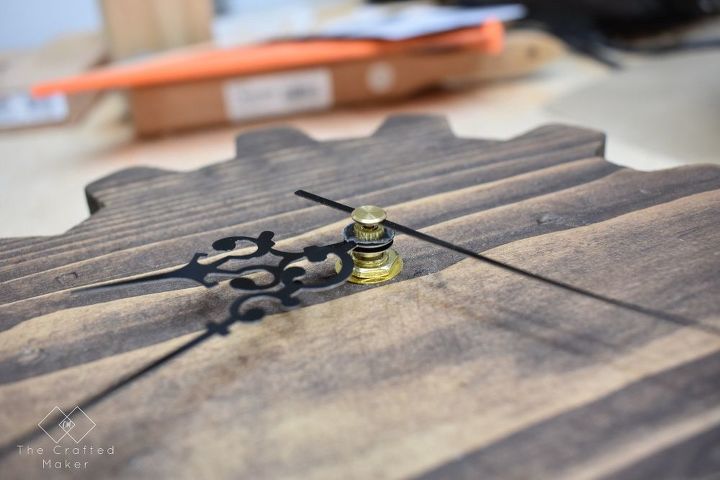
I assembled the clock kit according to the kit's directions, added the hanging hardware and it was done!
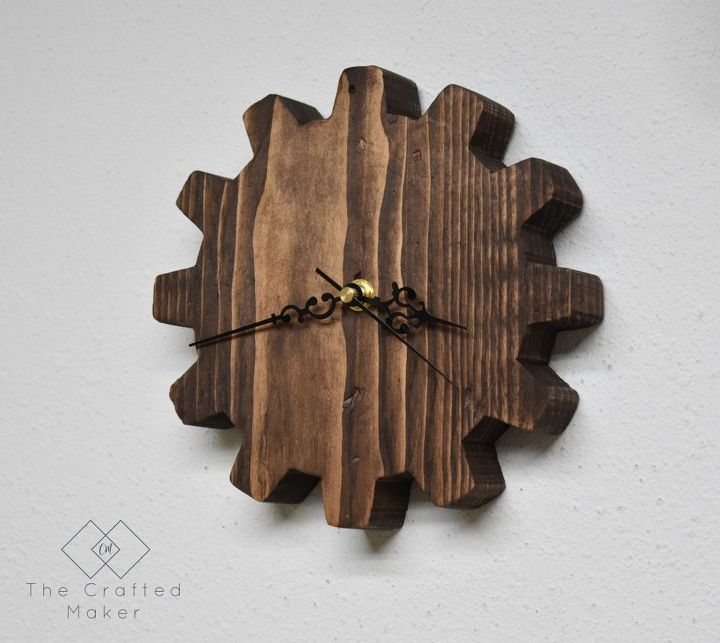
I really enjoyed this project and plan on making another clock very soon. This is a great project for anyone wanting to add a little character to their workspace.
Thanks so much for reading and be sure to visit me over at The Crafted Maker.

Want more details about this and other DIY projects? Check out my blog post!


Frequently asked questions
Have a question about this project?