


YOU Can Make This Beautiful Clock Out of Reclaimed Wood

by
Andreas Kalt
4 Materials
$15
8 Hours
Medium
Some old boards and an inexpensive clock kit are all that is needed to make this beautiful rustic clock. It is a great upcycling project that will give new life to some old wood – and you can enjoy the clock in your home everyday!
The video shows you how I made the clock. The steps below give you some explanation.
Enjoy!
{
"id": "4098867",
"alt": "",
"title": "",
"video_link": "https://www.youtube.com/embed/9dLh8pEw-a0",
"youtube_video_id": "9dLh8pEw-a0"
}
{
"width": 634,
"height": 357,
"showRelated": true
}
The clock in my shop was broken so I decided to make my own out of some scrap pieces of wood that had been lying in the corner of my shop.
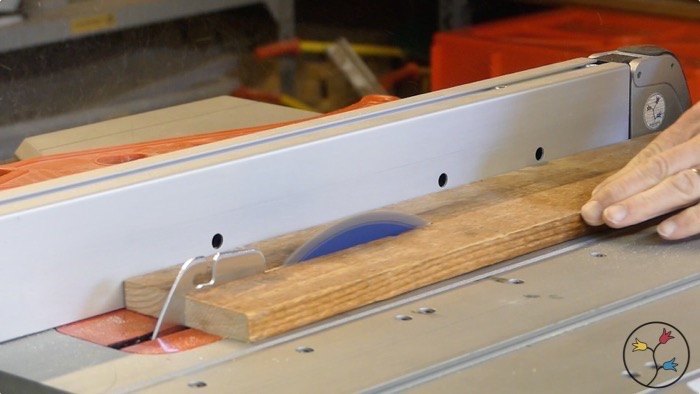
I cut the boards to about 10–12 inches length and and to about 2 inches wide. (The length depends on how large you wand the clock to be).
Then I used an old piece of shelf (about ½ inch thick) as the board to which the upcycled boards of the clock face would be glued.
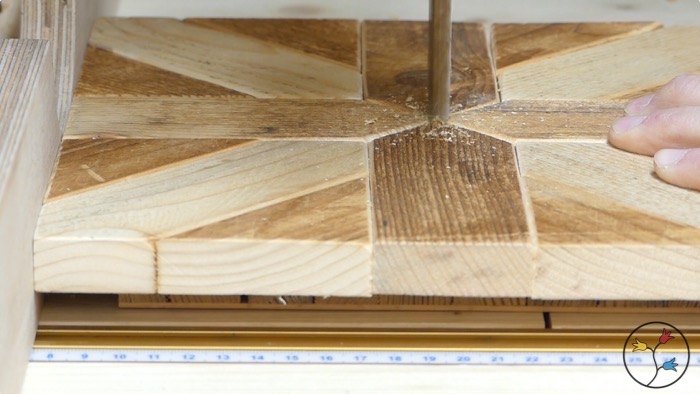
After that, I cut 45 degree angles on the boards because they were going to meet with their tips in the center of the clock face. In this manner, I cut different pieces to fill all of the clock face.
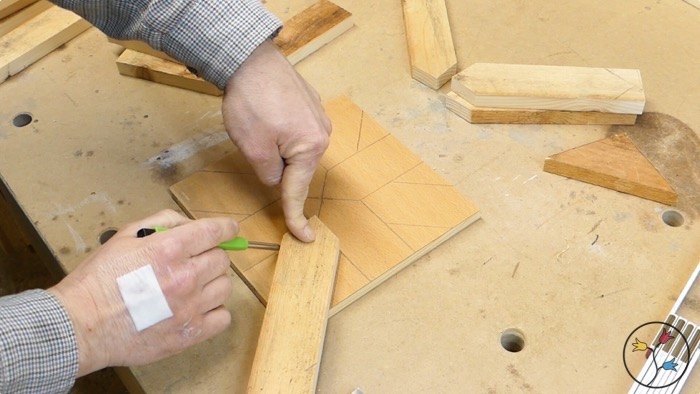
I laid out the different pieces and drew lines to mark their positions. At this point, all the pieces are still longer than their final length. They will be cut to size later.

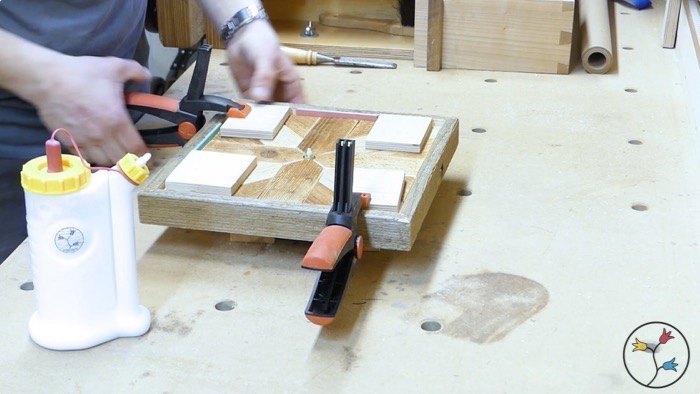
I put in small nails in each spot where later there was going to be a board. I clipped off the heads so that the nails had pointy tips.
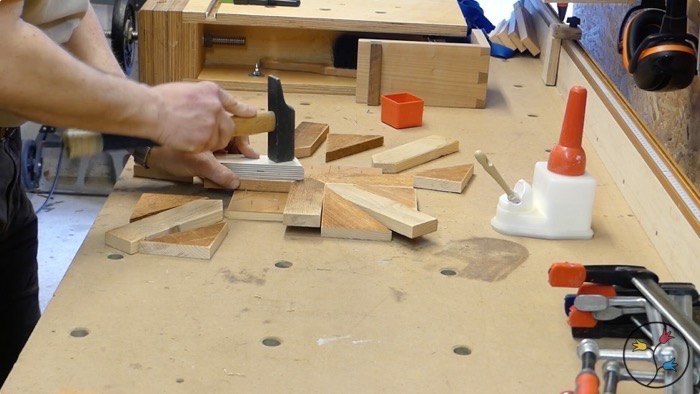
Now I applied glue to each piece of board and put them in their places. The nails keep them there and prevent them from shifting on the glue bed during the glue-up.
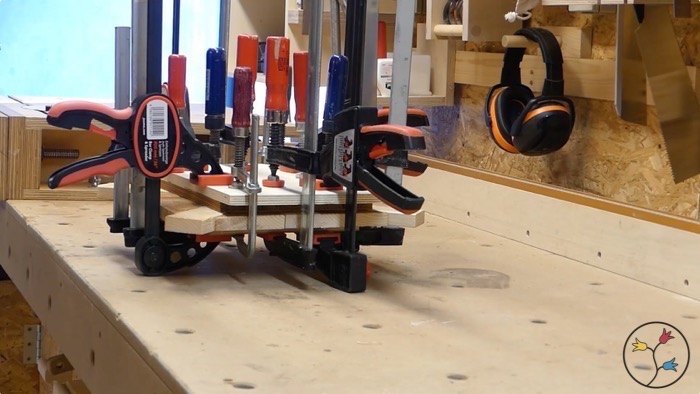
I used some boards to press the pieces on for a couple of hours.
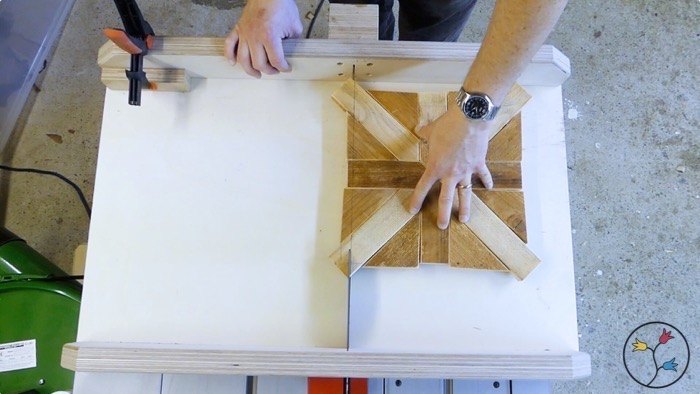
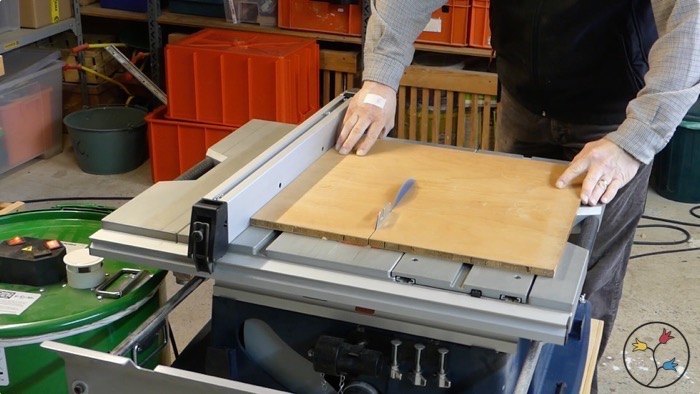
After the glue had dried, I used my cross-cut sled to cut a clean, straight edge to each of the four sides of the clock face.
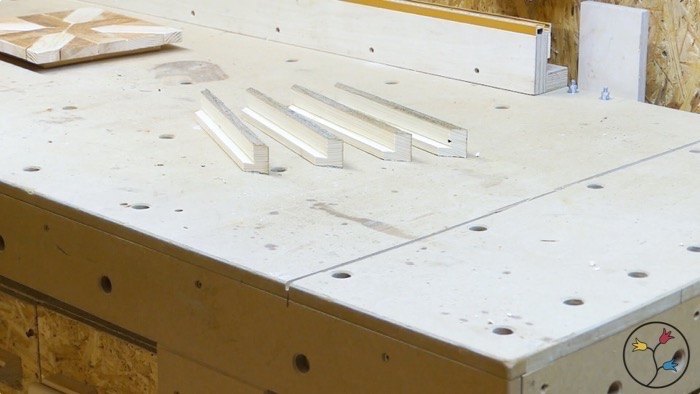
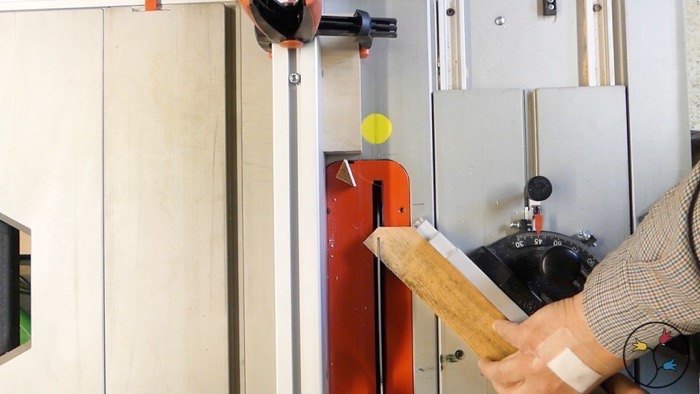
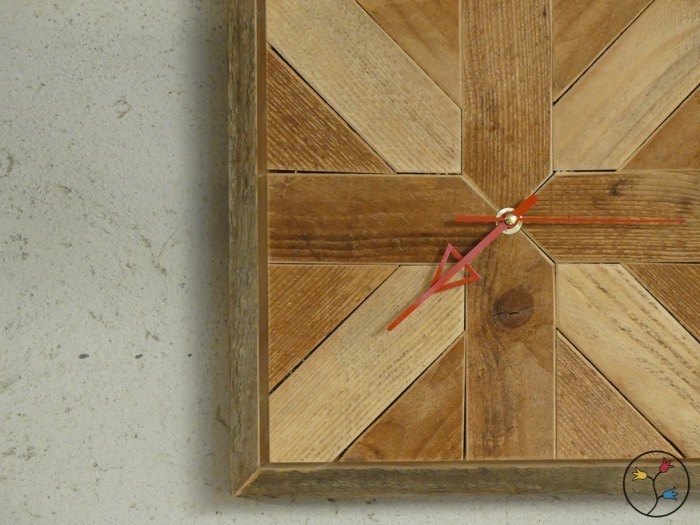
Then I took another scrap piece and cut a rabbet in it. I made four pieces and cut 45 degree angles at both their ends.

These four pieces were glued together using a band clamp to form a frame.
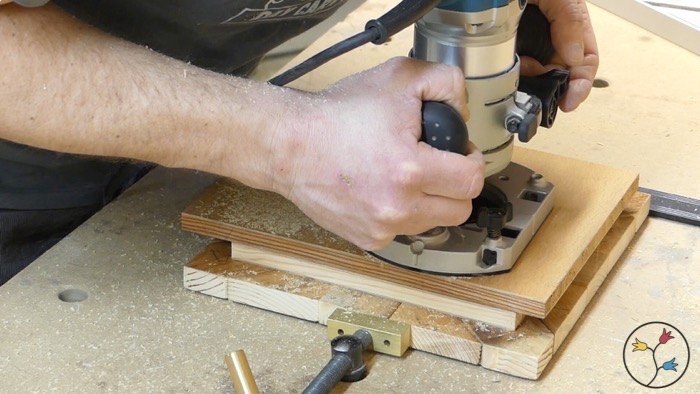
While the glue on the frame dried, I used my router to take out some material in the center of the back of the clock face. This was necessary because the clockwork has a shaft that is only about ½ inch long so the material, through which it protrudes, has to be thinner than that.
I drilled a hole in the center of the clock face so that I could put through the shaft of the clockwork.
Finally, I glued on the frame to the rest of the clock.
And the clock was finished. The hands were just pressed onto the shaft. Then you put in the battery and set the clock.
I hope you liked this project and enjoy making your own clock!
And the clock was finished. The hands were just pressed onto the shaft. Then you put in the battery and set the clock.
I hope you liked this project and enjoy making your own clock!


Frequently asked questions
Have a question about this project?