


Dated Vanity Bench Gets Much Needed Makeover
4 Materials
$24
2 Hours
Easy
My old vanity bench that I've owned for nearly 20 years was dated and begging for a makeover. It was sturdy, not the type of piece you get rid of...but it was ugly.
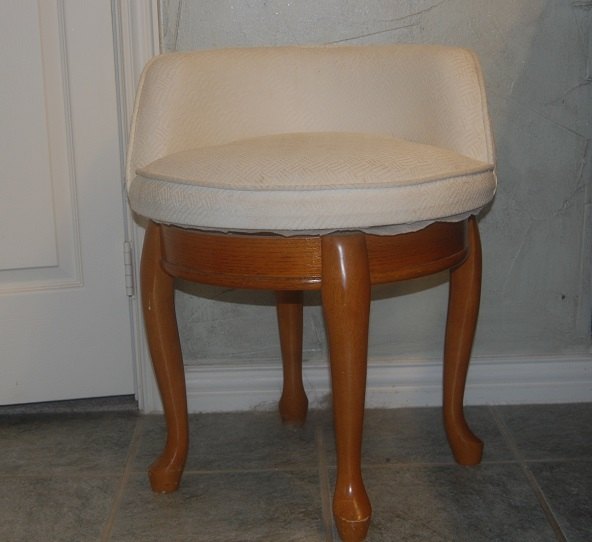
The old vanity bench...
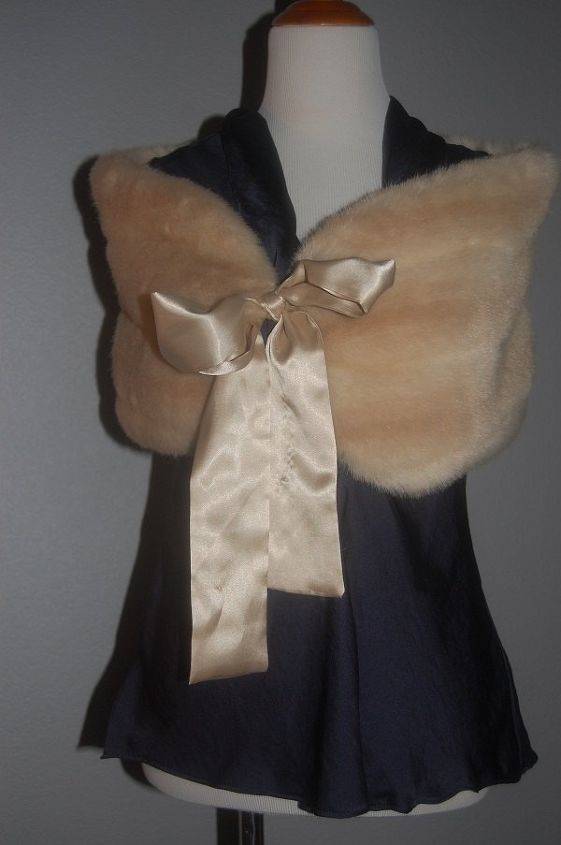
I had a momentary vision of using a old piece of clothing that was cluttering up my closet. This wrap is 20 years old and long out of style. What a great way to recover an old piece of furniture and recycle an old piece of clothing! But after cutting the wrap up into two pieces that would need to be sewed together...I realized it was slightly too small to cover the entire top of the stool. But this did give me a vision of how I wanted it to turn out - faux fur all the way!
I started by removing the top cushion from the bottom wood base. This was an easy four screws below the cushion. Then I removed the cover and the backrest portion was quickly removed with another four screws, leaving an uneven cushion for the bottom.
This prompted a trip to Hobby Lobby, for a new cushion and in search of a good faux fur option. For the new cushion, I purchased a 6inch x 27 inch x 27 inches, regularly $19.99, but with the 40% off coupon ended up costing $12 and another $12 for the faux fur fabric.
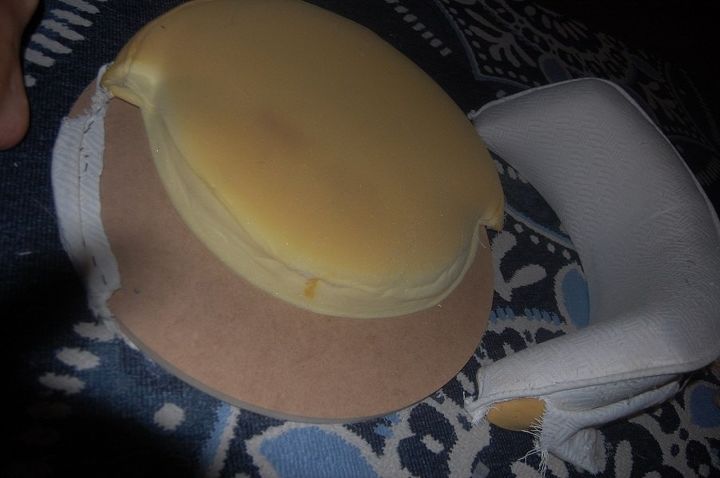
I used a sharp bread knife to cut the cushion in the exact circular shape as the wood board base.
If you are changing the depth of the cushion(like I did), pay special attention to keep the pressure even while recovering.
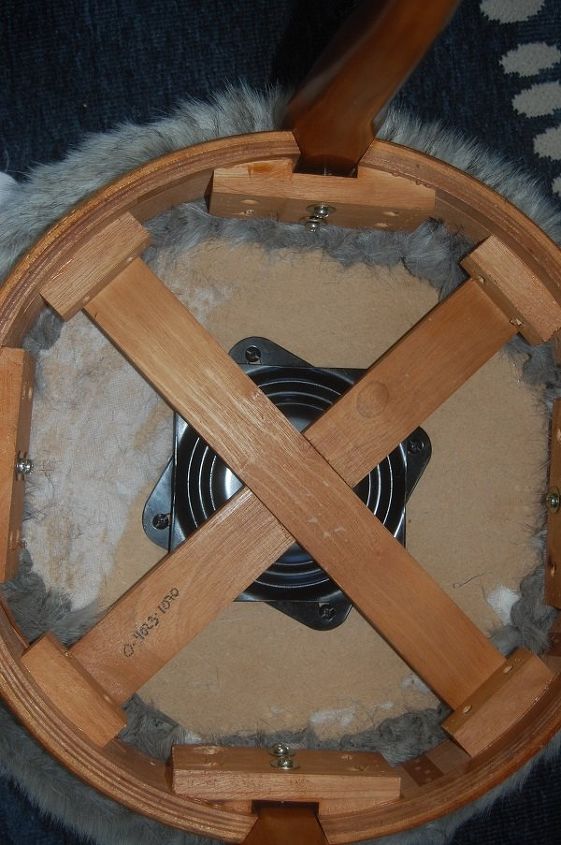
For extra stability, I hot glued the cushion to the base so it wouldn't slip around while I was stappling the cover to the bottom of base. When you start to staple, add one maybe two staples to each side (for a circle I did 4 starter areas, north south east west).
This gives you an idea of how tight to pull the fabric. Especially with a circle, it is easy to pull one side tighter than the other, which will leave you with a lop sided cushion.
Then it was time to re-attach the cushion to the base of the bench.
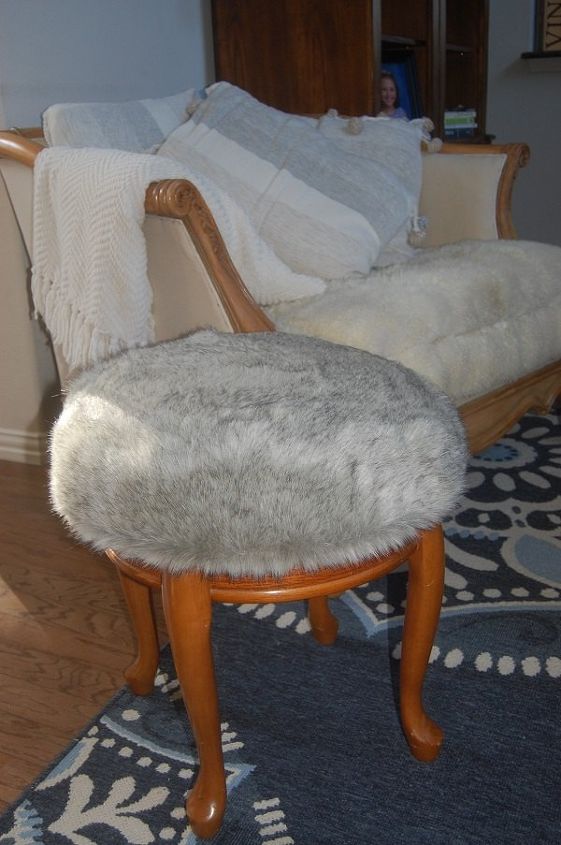
The finished project......goes great next to my recovered chair in the living room.
Chair project details: https://www.flawlesschaos.com/blog/2017/05/03/stylish-chair-makeover-on-a-budget/
Resources for this project:
See all materials


Any price and availability information displayed on [relevant Amazon Site(s), as applicable] at the time of purchase will apply to the purchase of this product.
Hometalk may collect a small share of sales from the links on this page.More info

Want more details about this and other DIY projects? Check out my blog post!


Frequently asked questions
Have a question about this project?