


How to Reupholster a Bench

by
Ngoc Nguyen
8 Materials
$20
1 Hour
Medium
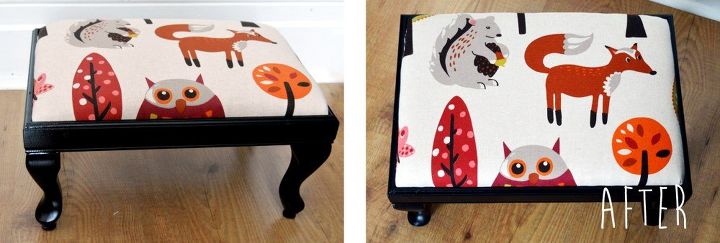
The project: DIY Old, second-hand footstool converted into a sweet little children’s bench!
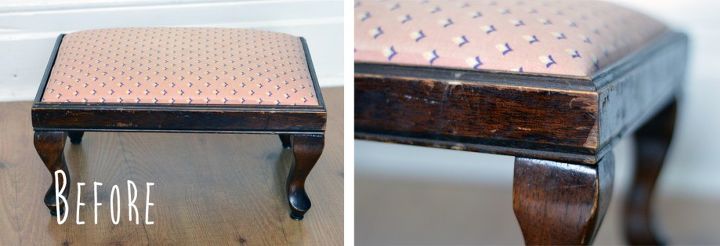
Note: this technique can be used on footstools, or basic wooden chairs with upholstered seats.
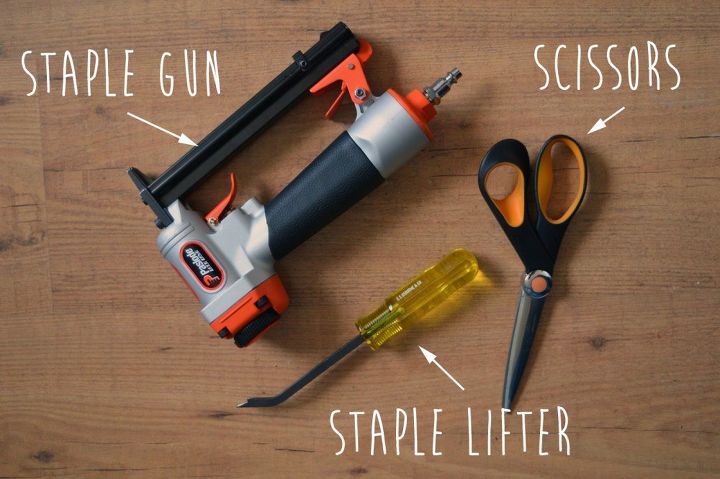
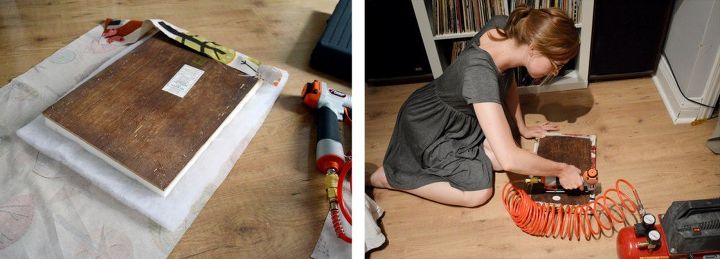
Step 1: remove the seat (some are screwed down, others will just pop out) and begin removing staples using your staple lifter. For particularly tough jobs, I like to wear a pair of simple gardening gloves to spare my nails/fingers.
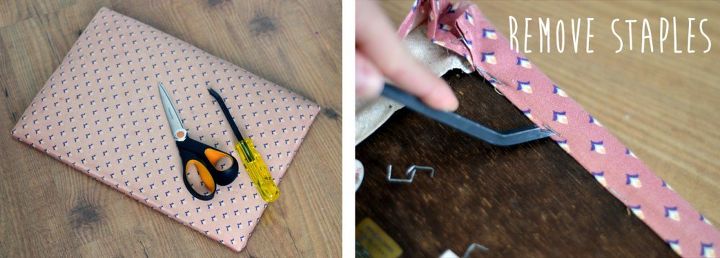
Step 2: when all the staples are removed, remove the fabric and check to see if the foam on the seat is usable; if so, leave it as-is. If not, pull the foam from the wood (it might be glued down.)
Step 3: if you need new foam, cut a piece of 1.5″ thick foam to fit the wood.
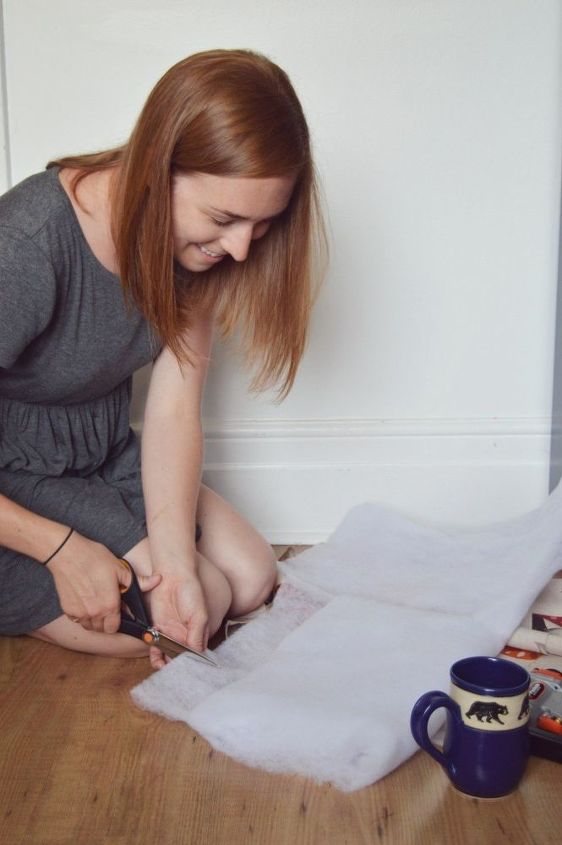
Step 4: lay out your fabric (right side down to the floor), a layer of polyester sheet batting, foam, and then the wood on top. Pull one edge of the fabric up around the wood, and begin by stapling in the middle along one side. Pull tightly as you make your way around the wood, stapling 1-2″ between each staple. Fold corners in like you fold sheet corners when making the bed. Voila! The seat is finished!
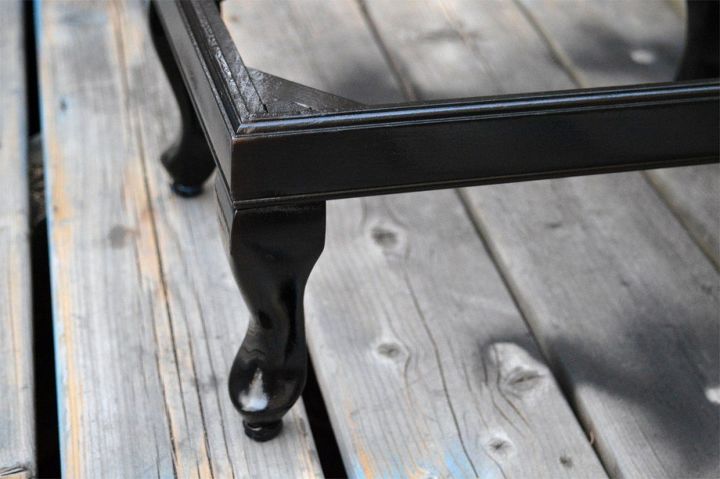
Step 5: lightly sand the wood; depending on what paint you’re using, you might need to prime the wood before painting. For this footstool, I used some two-in-one primer and paint (Rustoleum oil-based spray paint.)
Step 6: when the paint has dried, re-attach the seat. Sit, have a cup of tea and enjoy!
How cute is the finished product!? Michelle made it look so simple that I’m now hunting through the classifieds to find an old storage bench to reupholster myself! Good luck with your own projects and let me know how they turn out!


Frequently asked questions
Have a question about this project?