


Thrift Store Bench Makeover
There’s nothing more satisfying than doing a thrift store makeover from something you found at the local second hand shop. This is one fun example my daughter created for her edgy office.
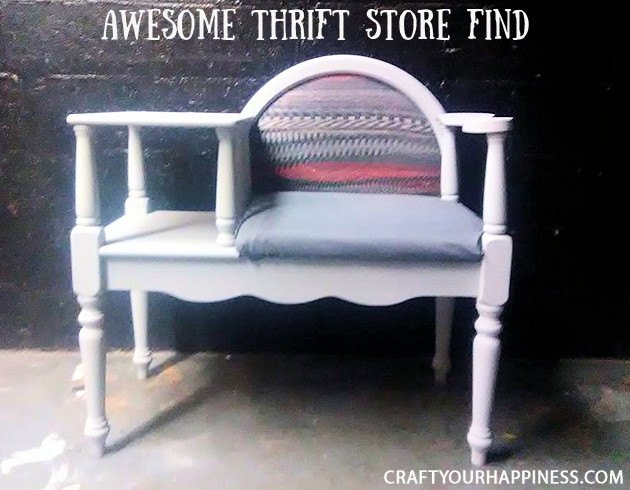
This was our fun thrift store find... an old telephone bench! SEE ALL PHOTOS/ MORE MAKEOVERS HERE!
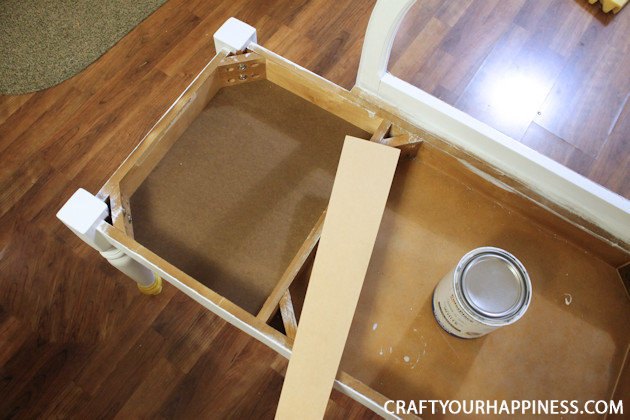
We started by removing the shelf from the top of the bench seat using a jigsaw. Then, we removed the bench top and the top of the arm rest by taking out the screws that were holing them in place. It was a pleasant surprise to find that the bench top was covering a couple compartments that we then decided to use as storage space. The padded back of the chair was also removed to make way for a new wood back. Once the bench was stripped down we were ready to paint! The board shown is a piece of MDF that we cut for the new arm rest.

This is the back piece of wood we cut. As I mentioned we had use of a CNC wood carving machine which we used for the text. Had I not had that I would have painted, stenciled or used vinyl to decorate the back, or simply recovered the existing padded back with new fabric.
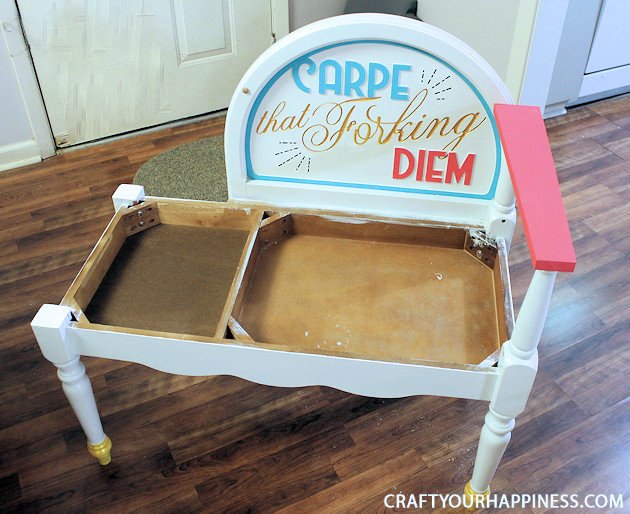
Once the new back was painted, we mounted it to the seat with screws and then attached the new arm rest.
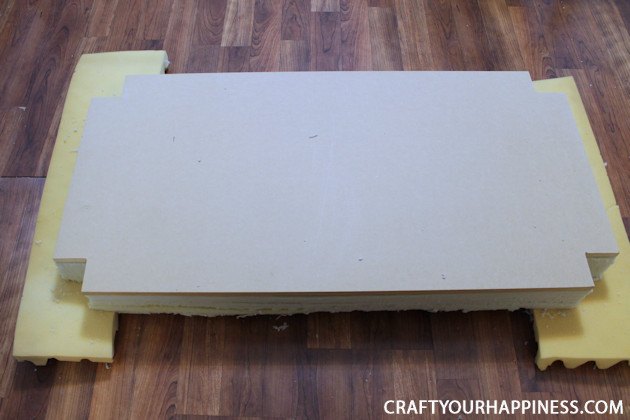
We then traced our new MDF bench seat onto a piece of 4 inch foam and cut the foam to match the seat. We adhered the foam to the board using a spray adhesive.
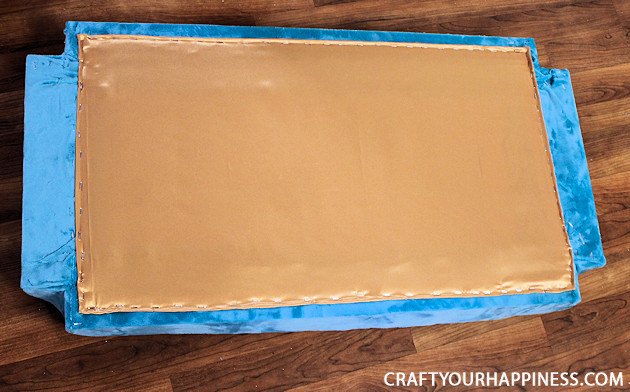
We then chose a bright teal/blue velvet material to cover the bench. After wrapping the bench seat in the fabric, we used a staple gun to attach it to the wood. Because this was going to be removable in order to access the storage space, we felt the bottom of the seat needed to look more finished. So we stapled some gold fabric onto the bottom to cover the rough edges of where the teal fabric was attached to the wood.
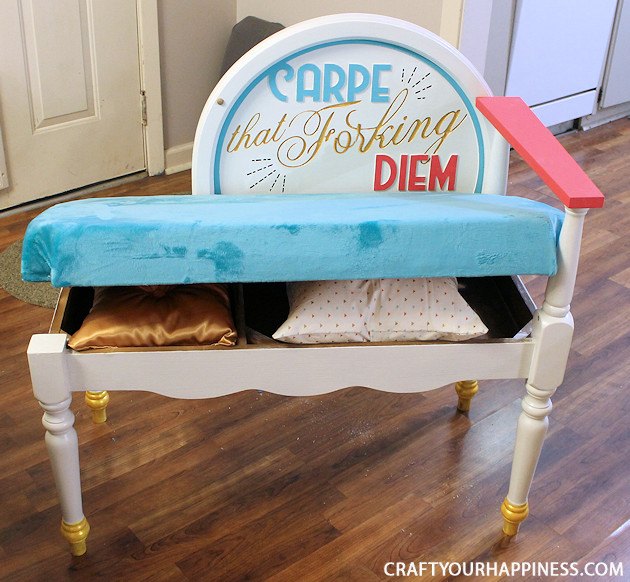
And here is the finished product! We stitched a couple throw pillows out of some accent fabrics and placed them in the storage space we had created.


Frequently asked questions
Have a question about this project?