


Vanity Bench

by
A
4 Materials
$40
6 Hours
Medium
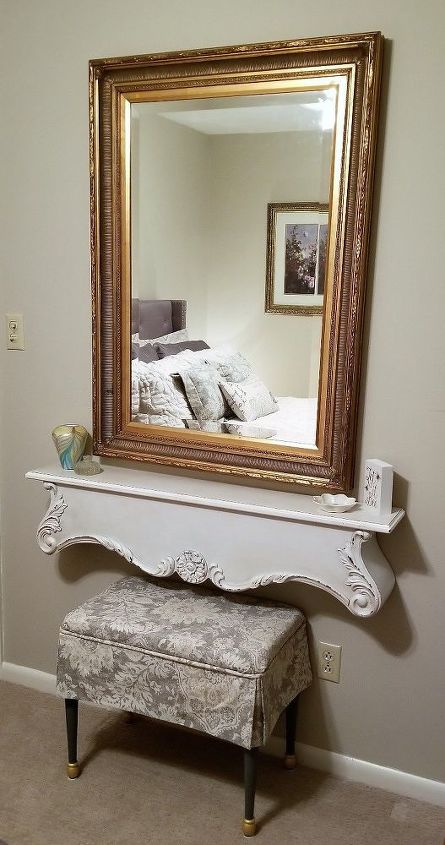
While shopping for my guest room nightstand, I stumbled upon this little bench at the thrift store. It looked unloved and malnourished, but I saw potential…so, home it went with me. The room I am working with is small so there isn’t much room for extra furniture. I had this huge old mirror that I had bought at the thrift store long before, and I had recently purchased an interesting shelf that I thought would look great under the mirror. Once I saw the bench, I knew this trio of pieces would become the perfect vanity – even if it was only a few inches of space to work with!
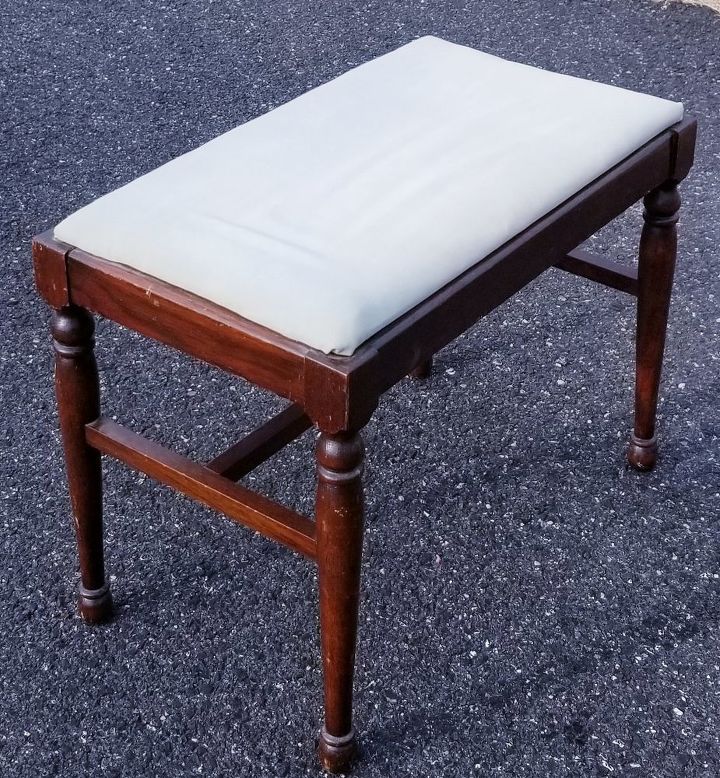
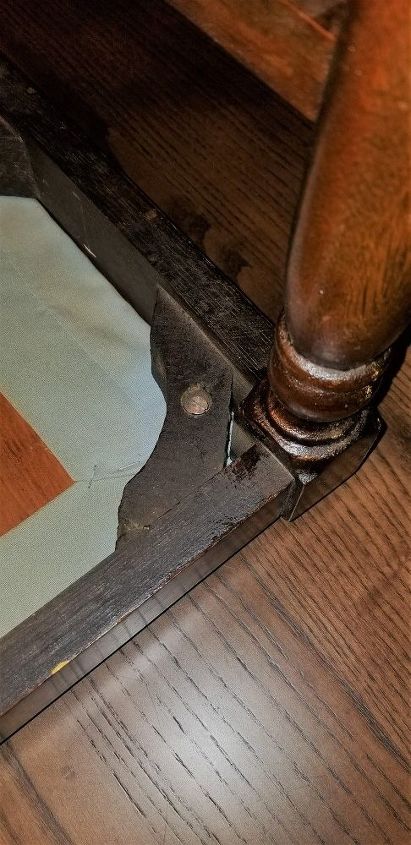
The first step was to remove the “cushion” top. I write this with a bit of sarcasm, because, well, that is who I am. Ask my kids. It was basically a board, some batting, and a sheet stapled over it. It was attached to the bench frame with 4 screws; one in each corner. I simply unscrewed the top with the bench upside down on a table. Very simple.
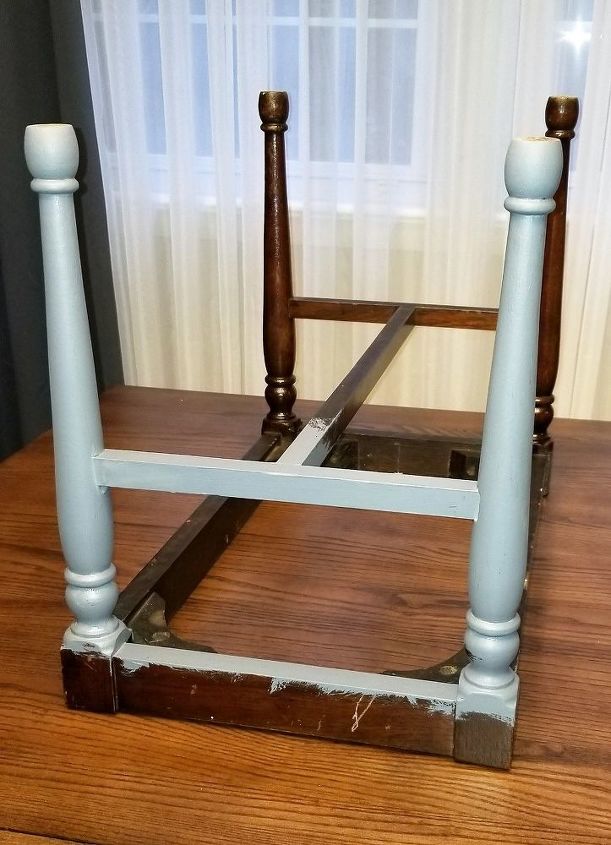
After wiping down the bench frame, I gave it several coats of Fusion Mineral paint in Soapstone. I wasn’t super fussy about getting everything perfect since the top of the bench would not be seen once I was done. (don't worry, I wasn't painting on my dining room table!)
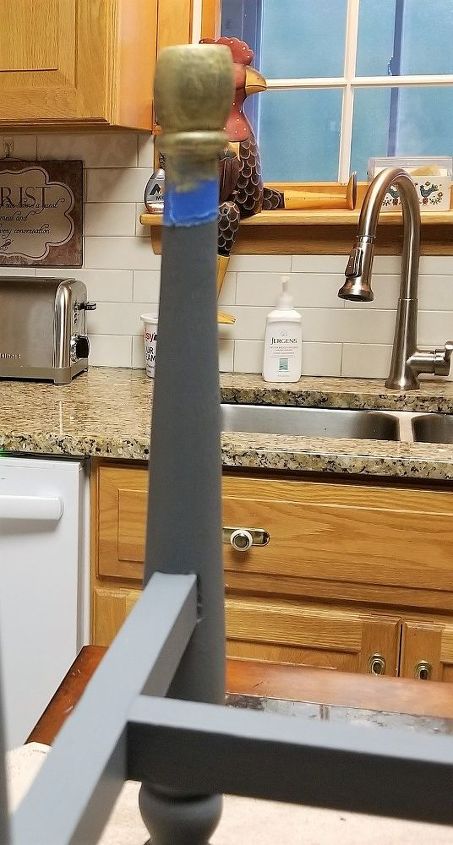
I then masked off the decorative bun feet and painted them metallic gold – just for kicks.
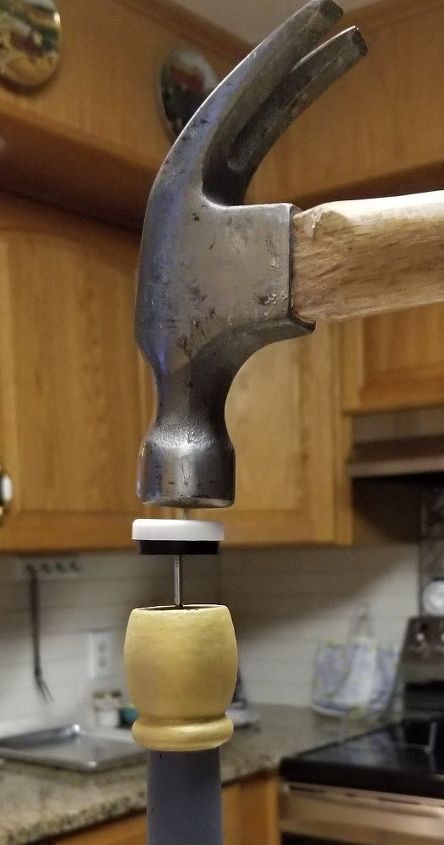
Once the paint was dry, I hammered in protectors made to slide over carpet (smooth plastic). This was trickier than I had anticipated. I had to finally drill into the legs with a very thin drill bit so the nails would be guided into the feet.
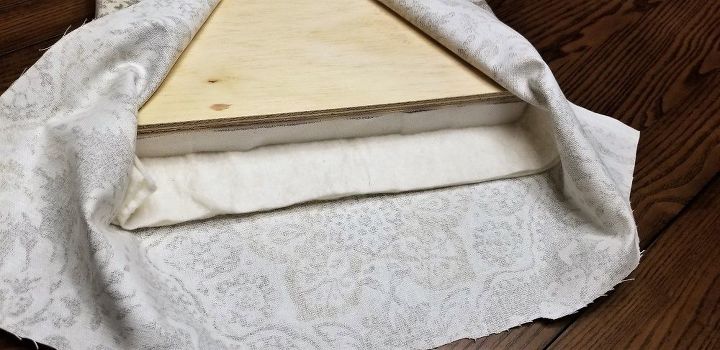
Now time for the cushion. I had a ½” board cut to the dimensions of the bench. The old board was cut smaller and did not work with my “vision”. I cut a piece of 1” dense foam the same size as the board. I then cut a layer of thick batting about 4” larger than the board all the way around. Last I cut the fabric about an inch larger than the batting. This was all layered so that the right side of the fabric would be turned out and when stapled to the bottom of the board, it would encase the layers inside.
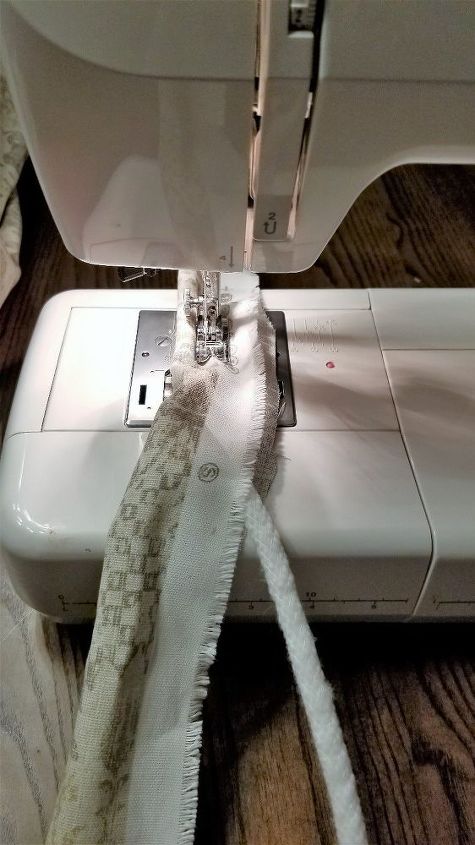
I purchased piping cord at the sewing store and made piping to go around the cushion.
I stapled it all the way around so that it would hide any gaps between the cushion and the bench frame when it was assembled. I put this aside to finish the rest of the bench.
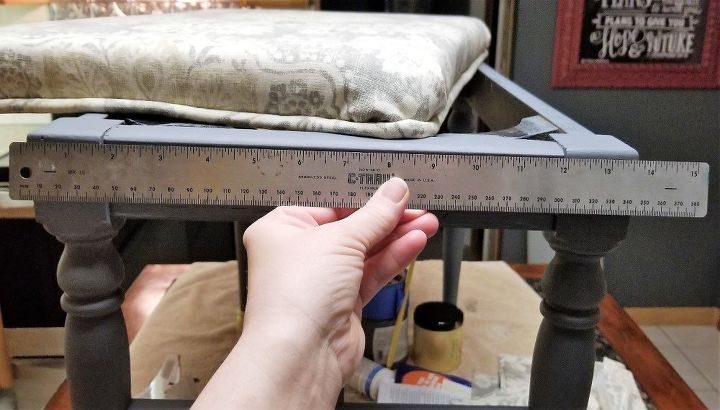
I measured the sides of the bench top so that my skirt panels would fit perfectly.
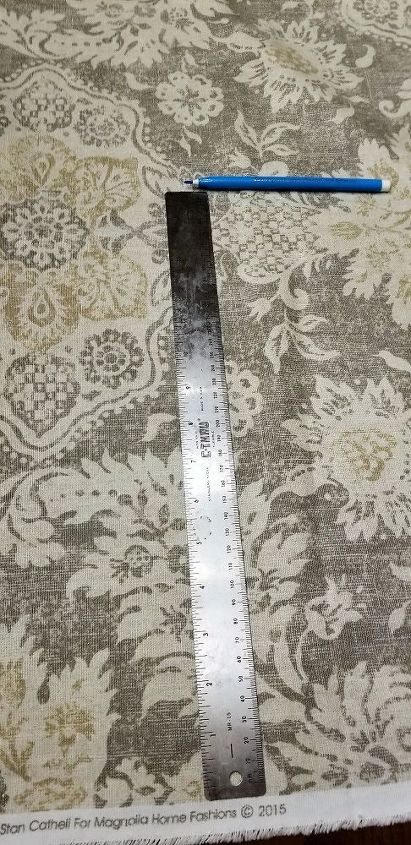
Next, I added 1” to that measurement to cut the fabric for the skirt. I wanted a 7” drop, so I measured the fabric to be 16” wide. I cut two long sides, two short sides, and 4 corner gussets (each 6” wide).

I folded the fabric in half and pressed a hard seam at the fold. Next, I folded down 1” from the top and pressed in another hard seam.
I re-folded the pieces, now with right sides together; matching the top folds. I sewed a ½” seam down both sides. I did this for each of the cut pieces.
When turning the pieces right sides out, be sure to get a sharp point at the corners for an optimum look.
Once turned out, press the pieces once more so that every side and seam is crisp.
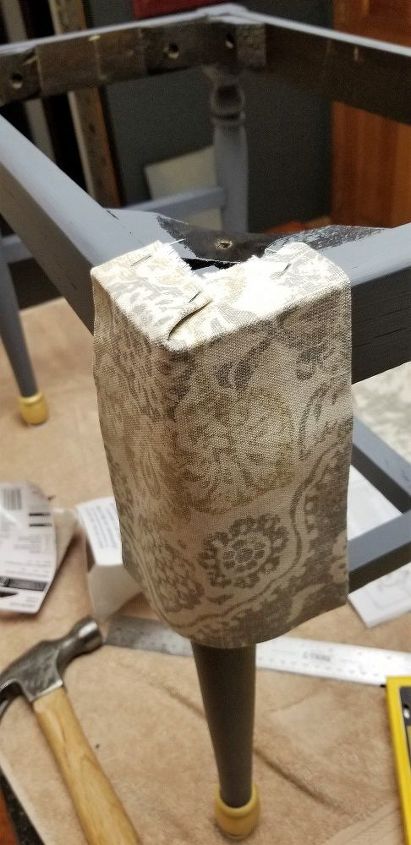
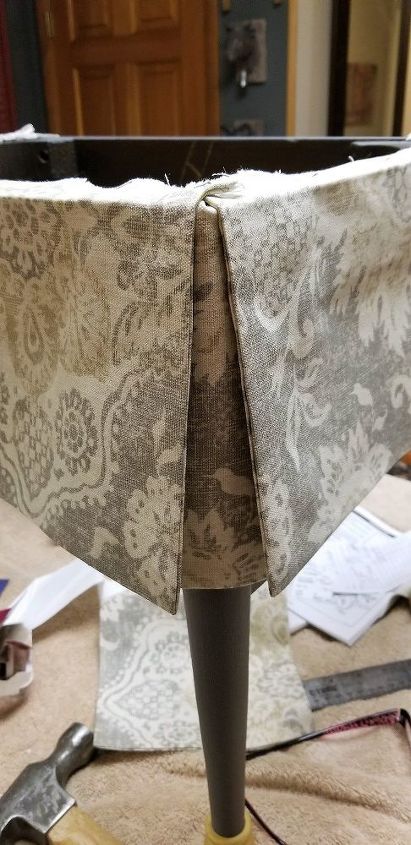
Starting with the corners, staple the gusset pieces on, using the top folded edges as your guide.
Next, staple on the sides.
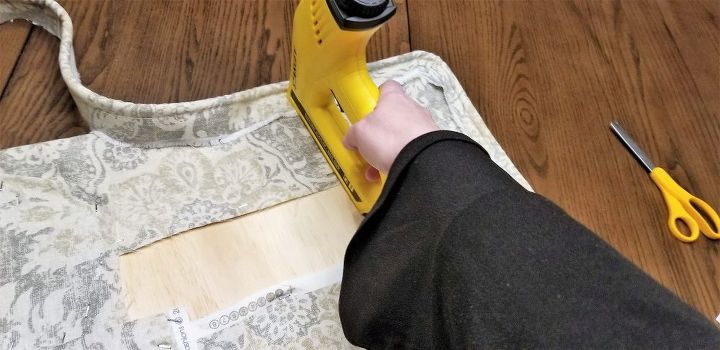
Lastly, the top cushion is attached. This was not thought out very well on my part. The fabric and batting was thicker and screwing through fabric layers is nearly impossible with the tools I had on hand. I finally relented and used 4 “L” brackets to hold the top piece in place.
Here is my “vanity”. I thought it was more show than useful, but I recently had guests, and she made use of every inch of space there was.
Comments
Join the conversation
2 of 12 comments
-
Absolutely elegant!
-
Nice job! Love this piece. It's difficult when you have small rooms. This is perfect.


Frequently asked questions
Have a question about this project?