


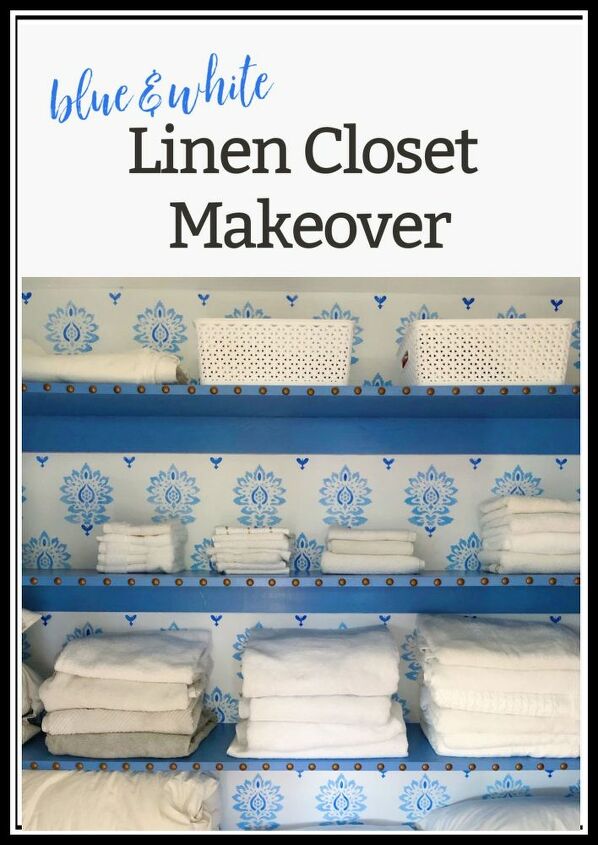
Blue and White LInen Closet Makeover

Hello friends. It's been a while, and so much is happening in the world right now that is serious and stressful, that I thought I would lighten your day with a pretty DIY project. I mean, who doesn't love a good Before and After picture right?
So here’s my latest DIY project.
Even though we've lived in our home for five years now, I had never done anything with our linen closet. Do you have one of those rooms in house, that you just ignore?
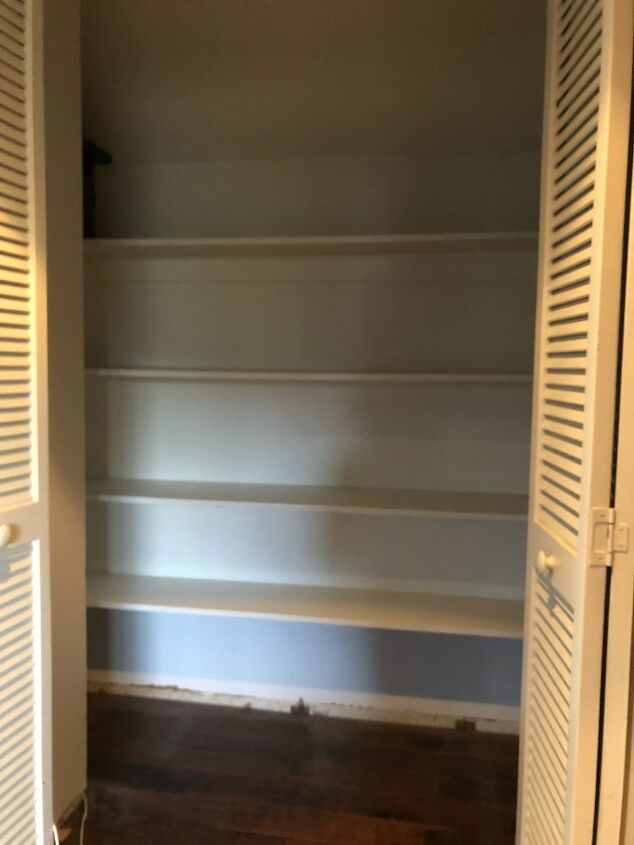
My son tells me I should show you the 'real' BEFORE picture when the floor was full of plastic bins and you could barely get inside (because maybe a certain hoarder of unmatched towels and old bed linens was in charge...)
Oh well. I forgot to grab my camera in the beginning stages, so here it is dark and empty.
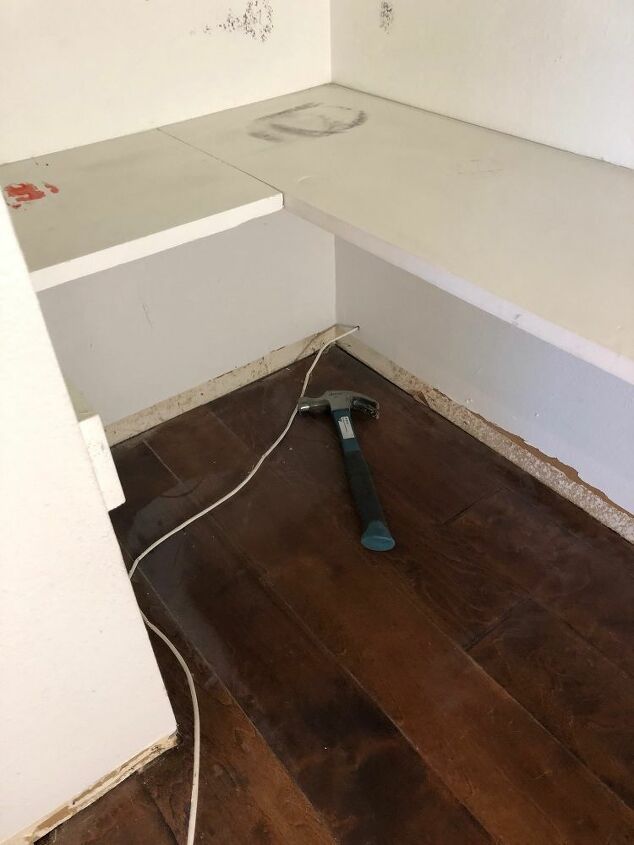
Odd wires coming from the wall. Scuffed paint. No baseboards, but we did have the wood flooring extended inside here when we moved in.
My first plan was to try a peel and stick wallpaper mostly because I wasn't in the mood to paint, but also because I was seeing so many great choices out there. In the end i was worried about the stucco finish on our walls being a problem.
But I decided that I didn't want to risk all that work and have the chance of sagging wallpaper.

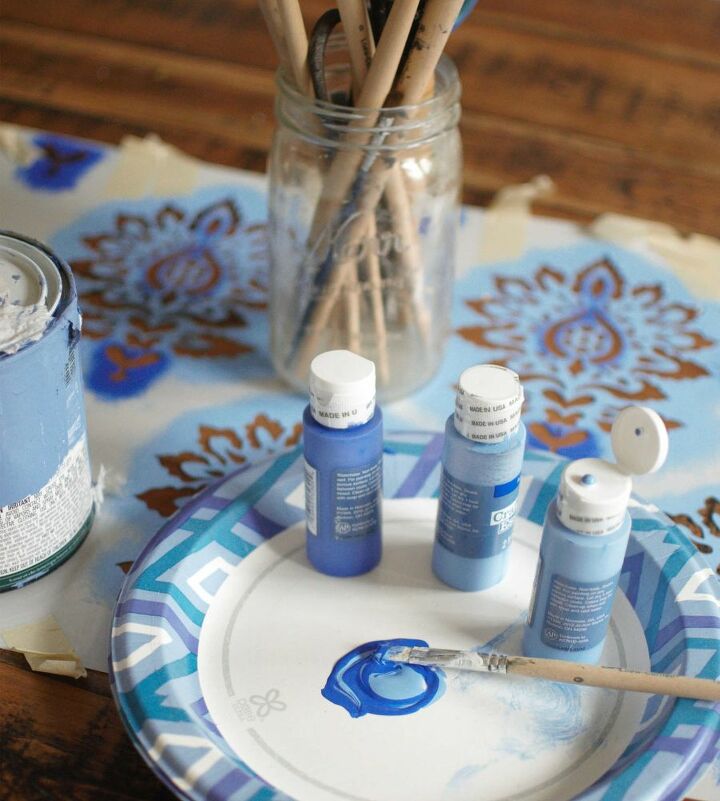
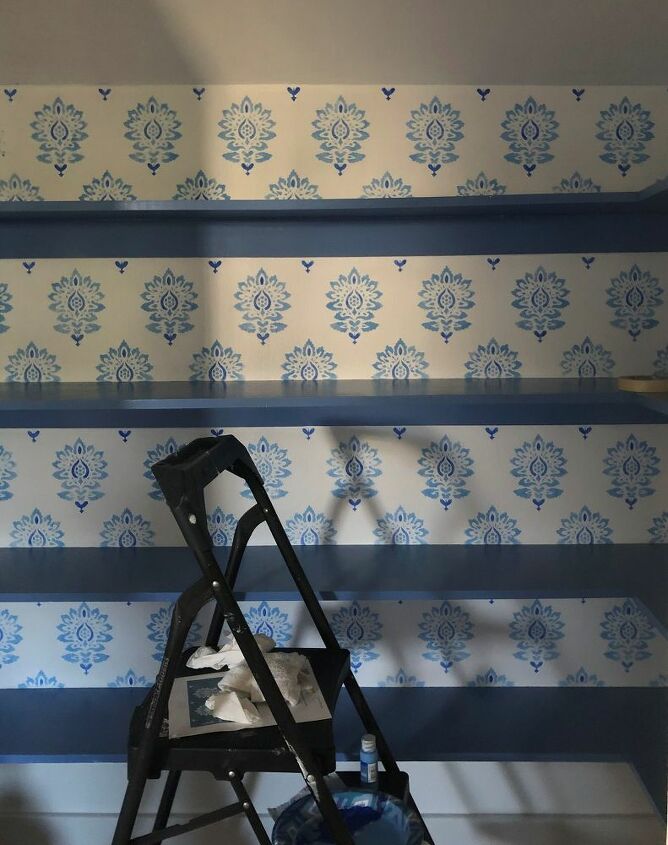
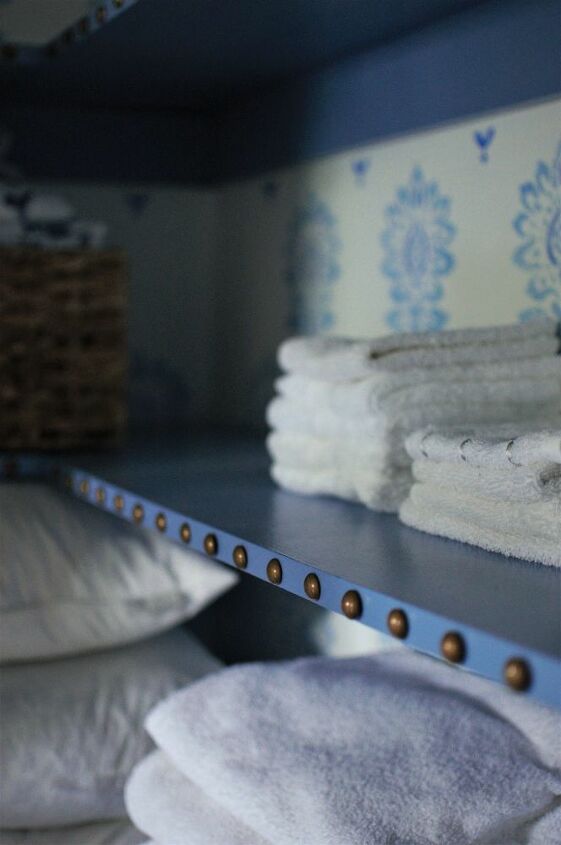
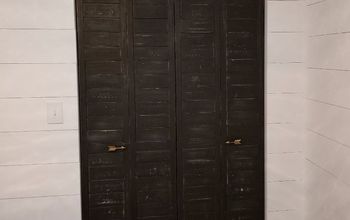
And I decided to use two shades of blue on the stencil pattern. And another shade of blue for the shelves that were already in the closet.
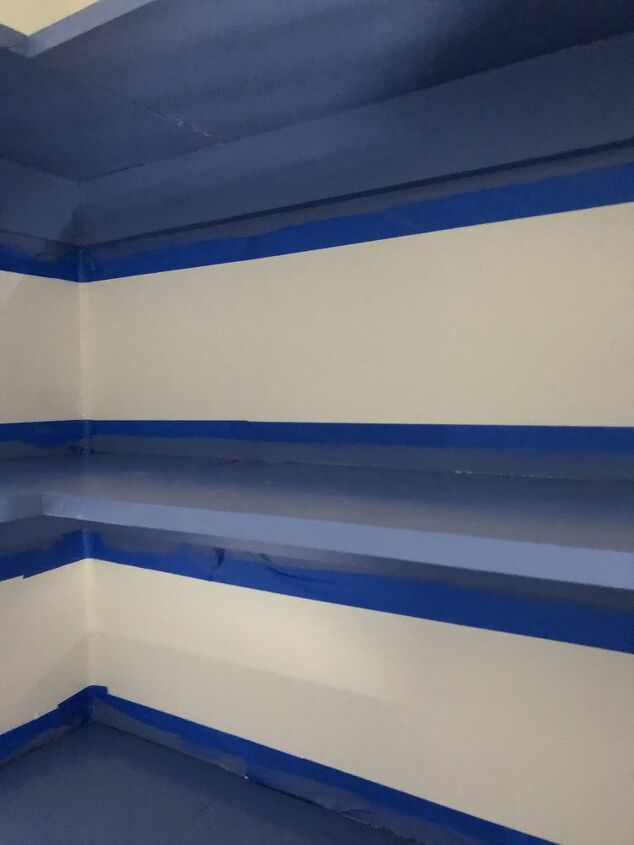
i repainted the whole space a bright white. Installed baseboards. And repainted all the shelves this sapphire blue color.
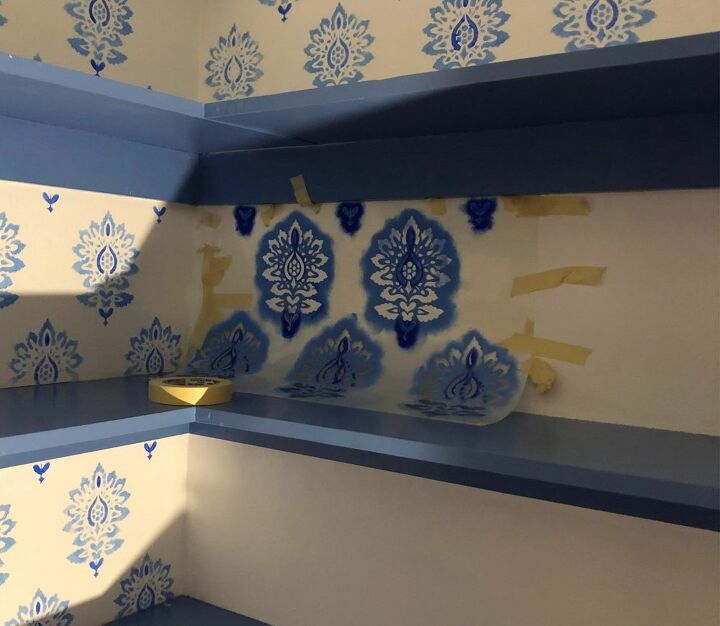
Once i got started i didn't want to stop to take pictures. But stenciling is pretty basic. Once you line the pattern up, taping it into place is the key. After that you just dab-dab-dab the paint on. I'd advise starting in a corner that isn't visible at first glance, until you get the hang of it.
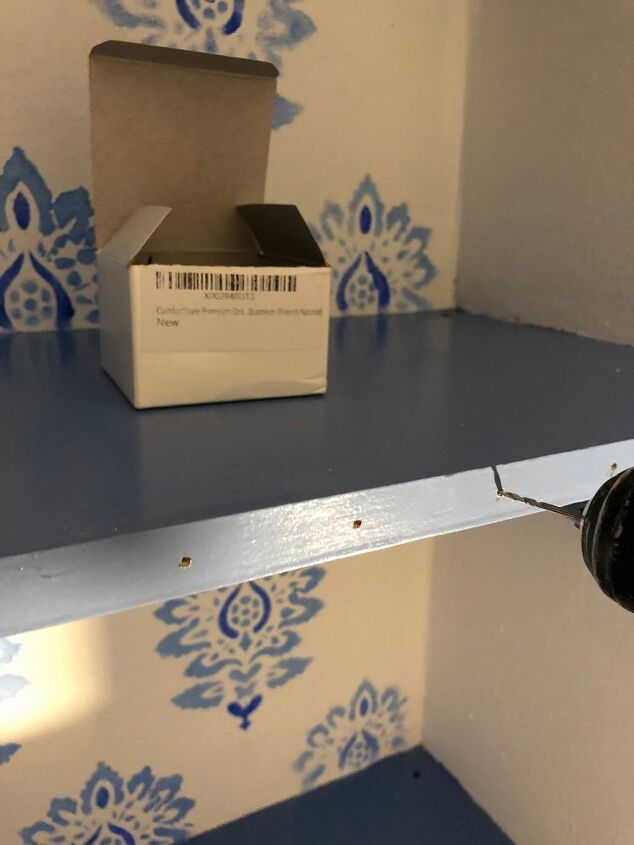
Once the stenciling was completed, I decided to add that extra touch. And ordered some gold French style upholstery nails from Amazon.
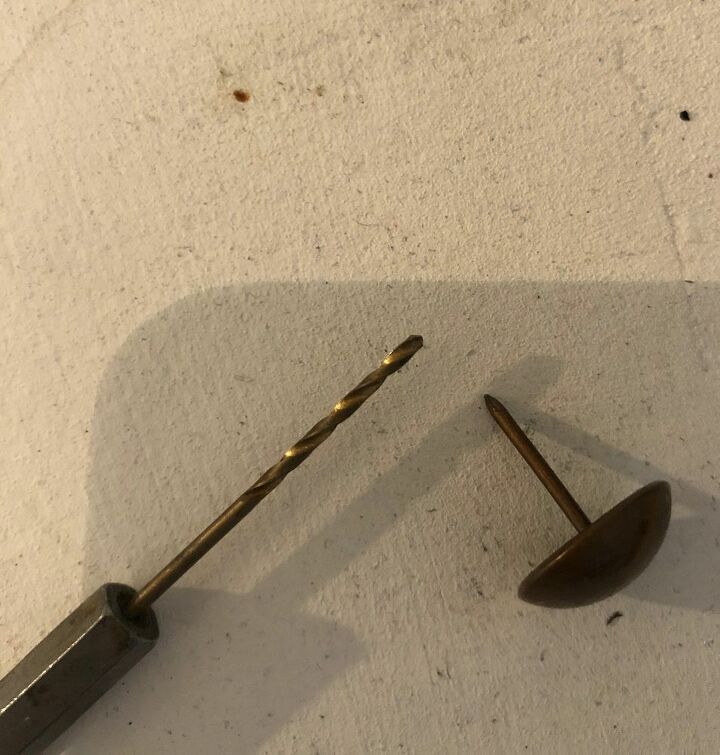
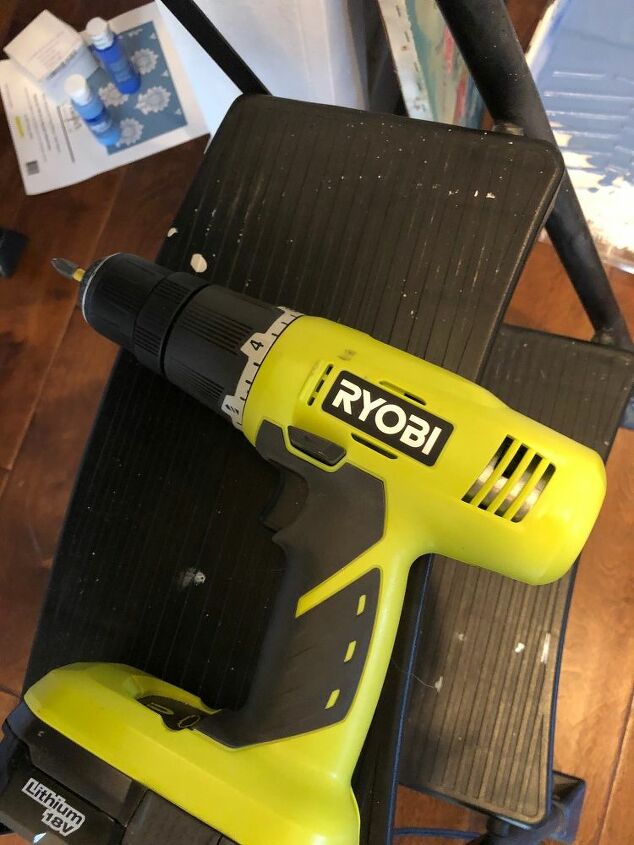
After two trips to Home Depot I finally found the right teeny-weeny drill bit that would work with the size upholstery nail.
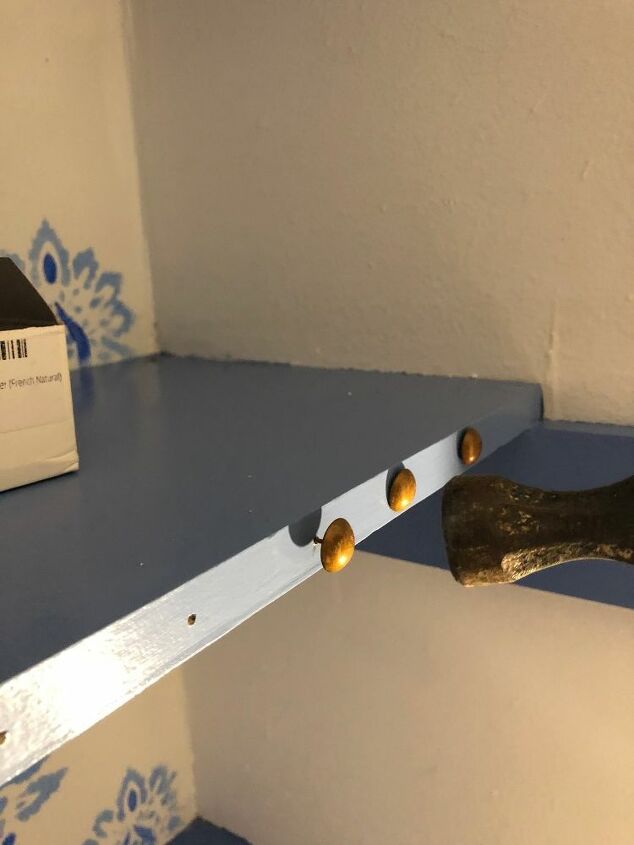
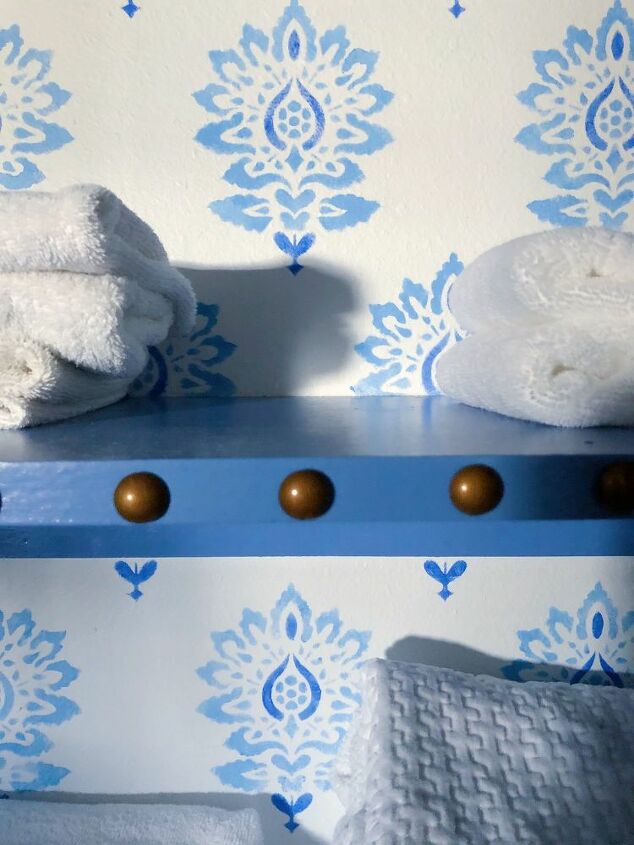
Here's a close-up of the upholstery nails on the shelf.
If you'd like to see more pictures, including the quilted floral ironing board that I ordered from Etsy--installed on the wall--please visit my blog link below. In the meantime i sure hope you enjoyed seeing some of my ideas here.
Resources for this project:
See all materials


Comments
Join the conversation
-
Just stunning
-
That seems like a lot of work for something only you and your family see, but I bet your heart sings every time you open the doors.


Frequently asked questions
Have a question about this project?
How long did it take you to do the stenciling? Looks labor intensive. I haven't done stenciling before.
That is absolutely stunning. I have closet envy !!!! 😍
Loved this! What color blues did you use?