


Entryway Makeover!

How do you enter someone's home?
Do you:
A. Crawl through a window?
B. Tunnel through the floor?
C. Cannonball yourself through the roof?
D. Hey Kool-aid through a wall?
E. Use the front door?
F. You've never been invited.
For me, the answer is (F).
People don't invite me over! Maybe it's because I enter the backdoor like Kramer, make a beeline to the kitchen and eat whatever cereal I find right out of the box. If you're wondering about the question I just asked, the answer is (E)!
Don't worry about me either, because I'm working on myself now and I started by making over my entryway.
You know....to practice.
Some folks like to call the entryway words like mudroom or foyer. These are fancy words for fancy people and I'm going to teach you what they mean.
A mudroom is a room used to store mud sculptures. Families that stay together, build mud sculptures together. I think I'm right! Yeah, and I think foyer is a French word for some kind of cheese. These families give you a block of cheese to eat while you take off your shoes. You're welcome!
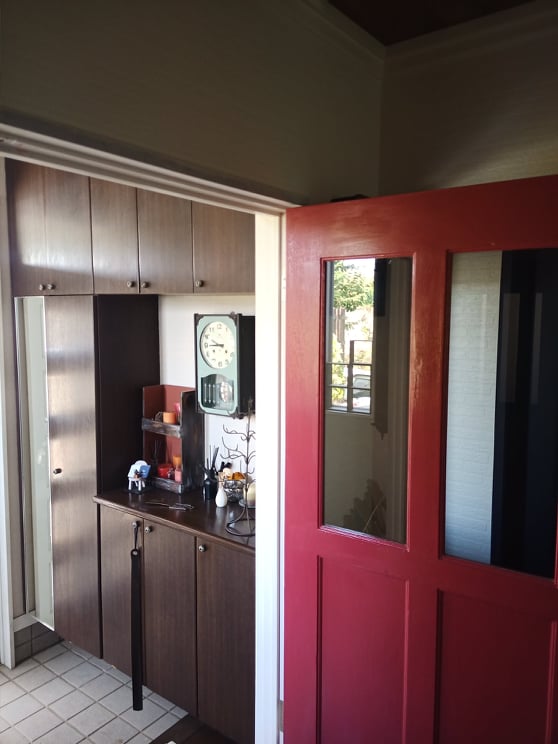
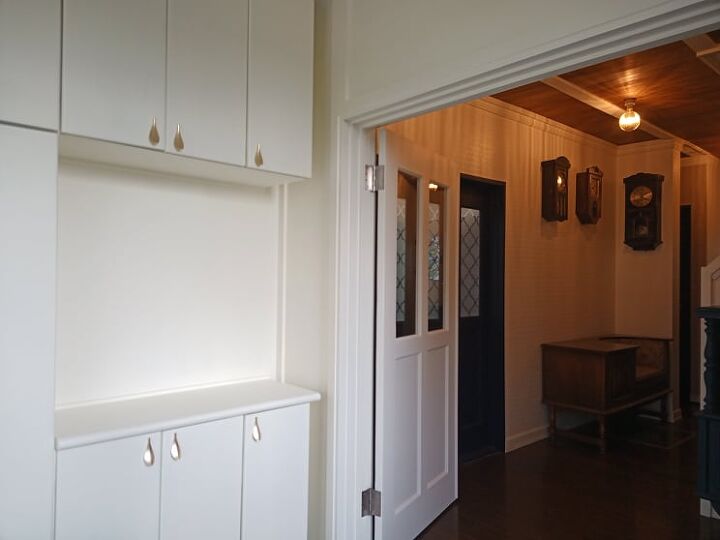
Anyway, before pictures:
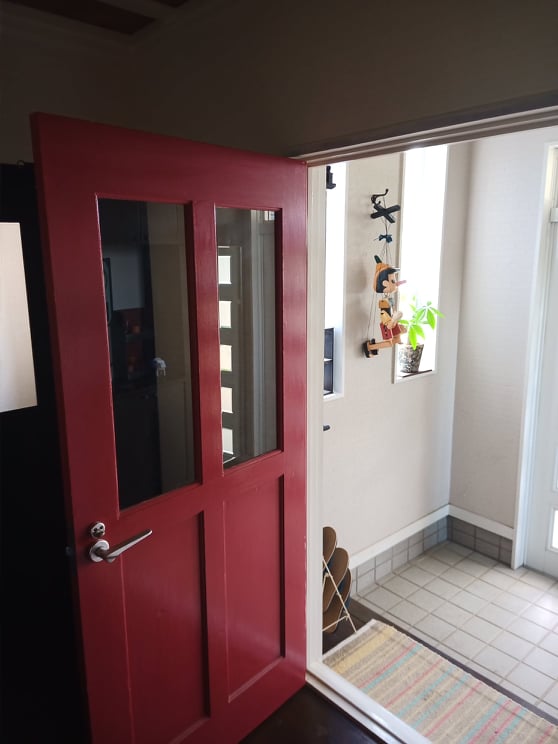
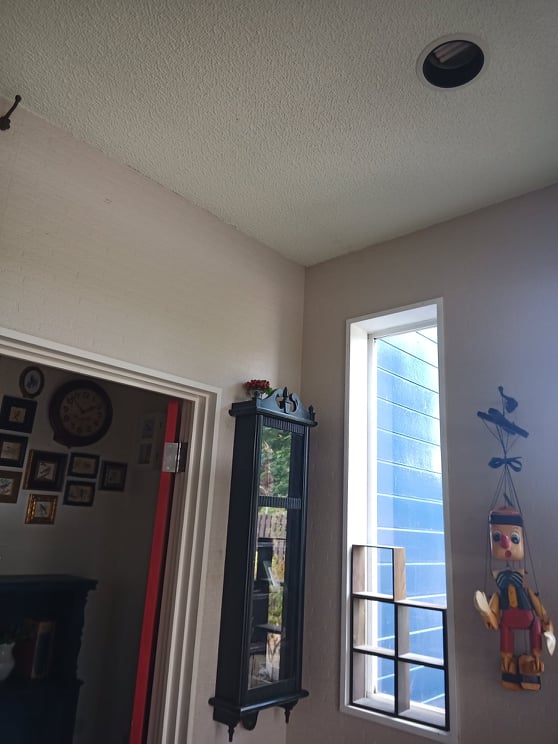
I have more words! This is a vestibule or arctic entry.
With my house, it's simply a small room designed to withhold the larger space view.
I can also use it to trap zombies in case of a zombie apocalypse,
Look at this liar!
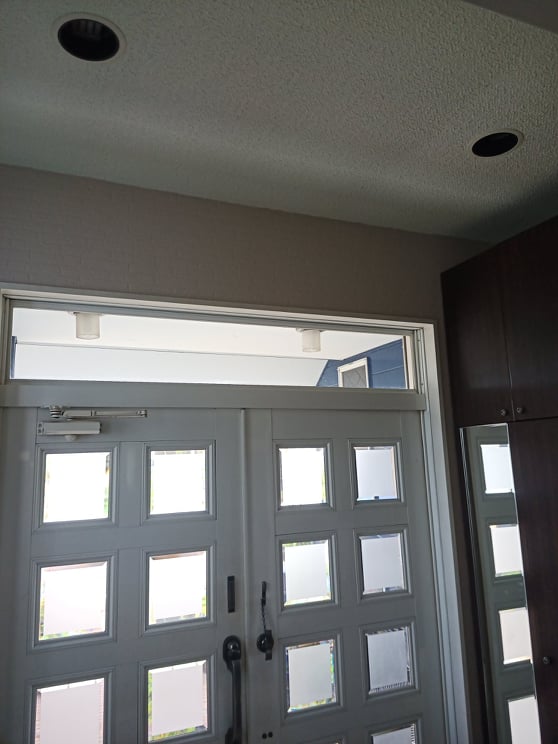
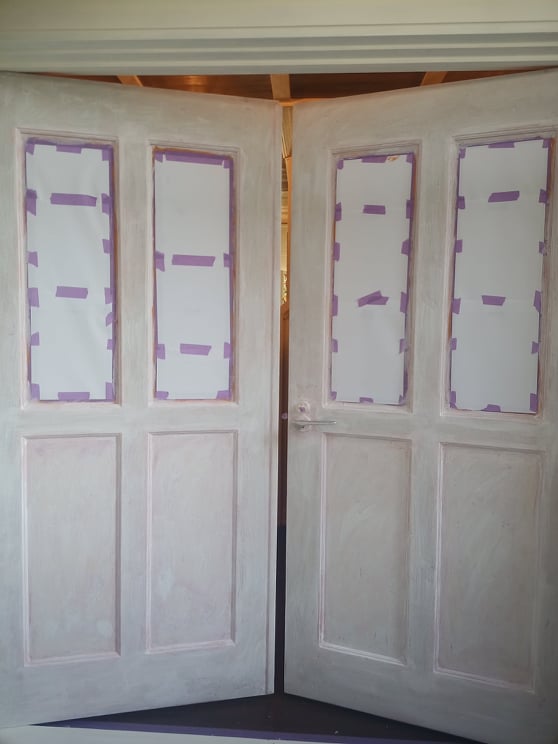
I love red doors! I painted these doors about ten years ago and changed my mind about the color after watching "The Haunting of Hill House" on Netflix. Yikes!
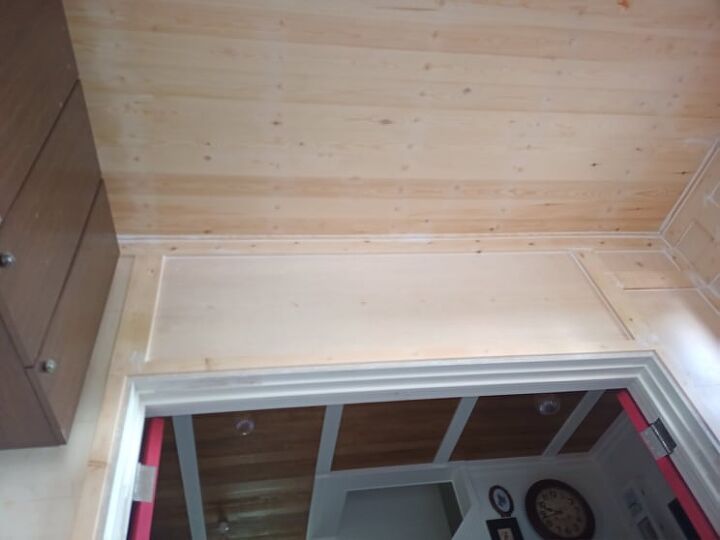
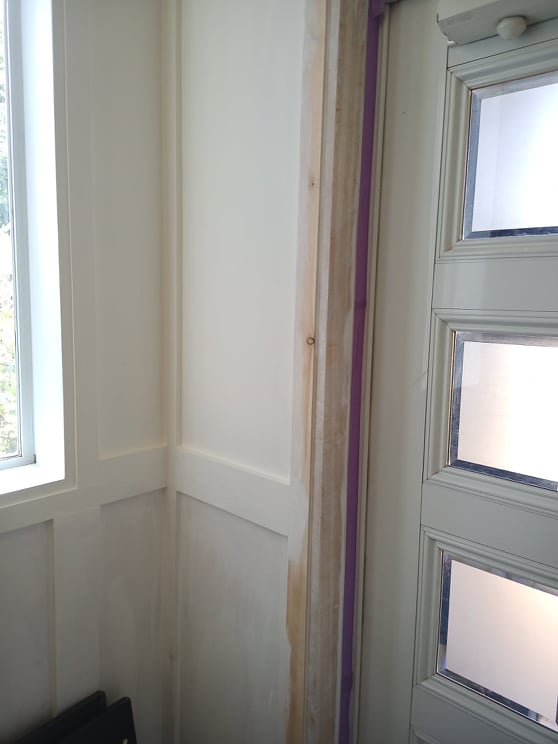
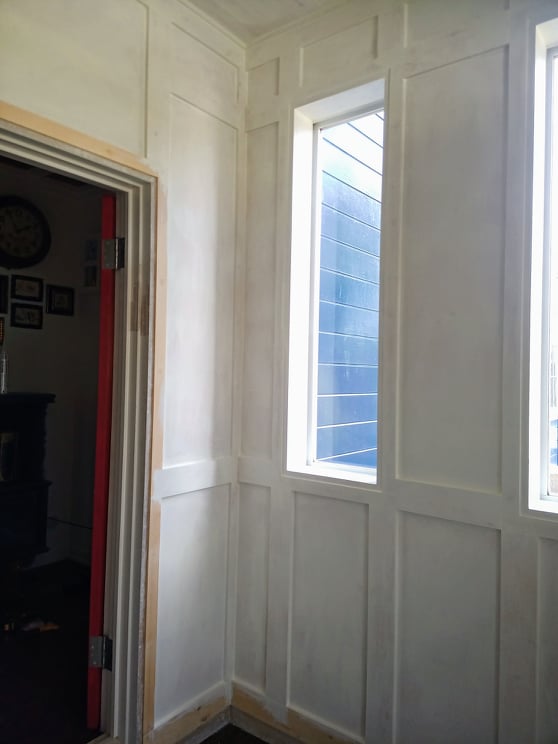
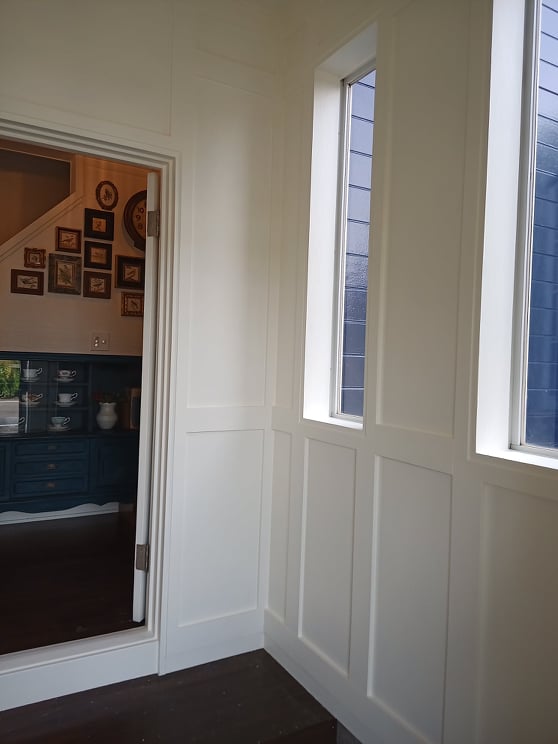
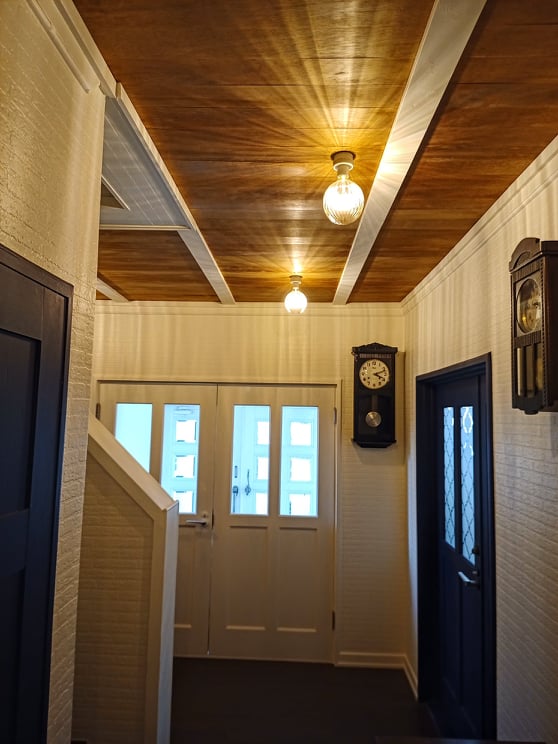
For this makeover, I installed board and batten.
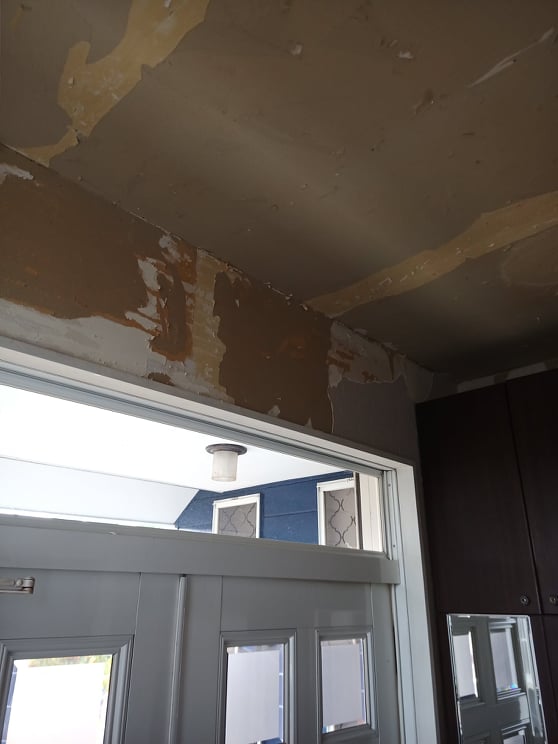
To prepare the entryway, I removed all of the wallpaper from the ceiling and walls. I did this for three reasons:
- It's all textured
- Removing the wallpaper will show me exactly where the studs are.
- I can paint on a waterproof sealer.
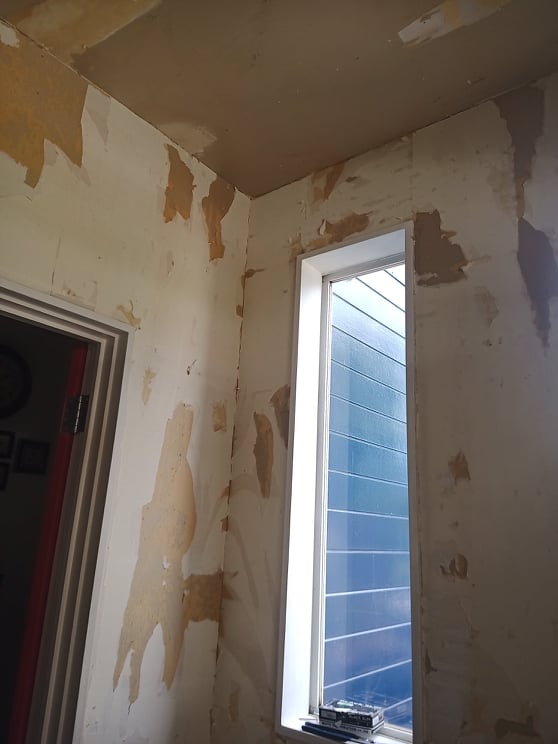
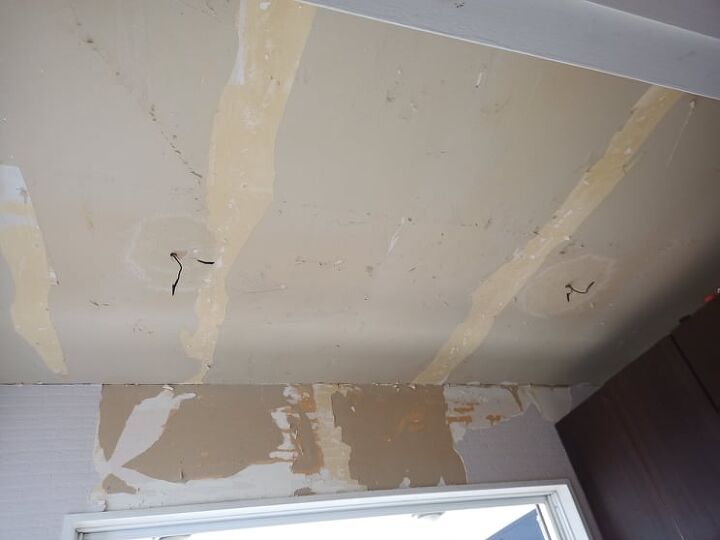
This is what happens when walls aren't primed before wallpaper!
Primer creates a barrier between the wall and the paper so that the adhesive doesn’t overly bond with the wall material. This wallpaper is about 40 years old, the walls weren't primed and now the wallpaper backing has fused with the wall. GRRRRRR!
When dealing with this, you'll find that the wallpaper peels away easily, leaving the backing stuck. The backing is like "Nope, I'm here forever, baby!"
I use a 50/50 water and vinegar mixture in a spray bottle to remove that junk.
It sucks, fam!! The easiest way to do this is to first, put down something to protect the floor and spray the wall, working in sections. Let the vinegar solution sit for a couple minutes and the backing will start to bubble in spots. What you're doing is reactivating the glue, making the backing easy to scrape off. You need to protect the floor, because the glue will bond to it. I know that there are probably a million products available to do this job, but I live in Japan. We have vinegar.
It goes without being said buuuuuut: If you worry about asbestos, get your house professionally checked.
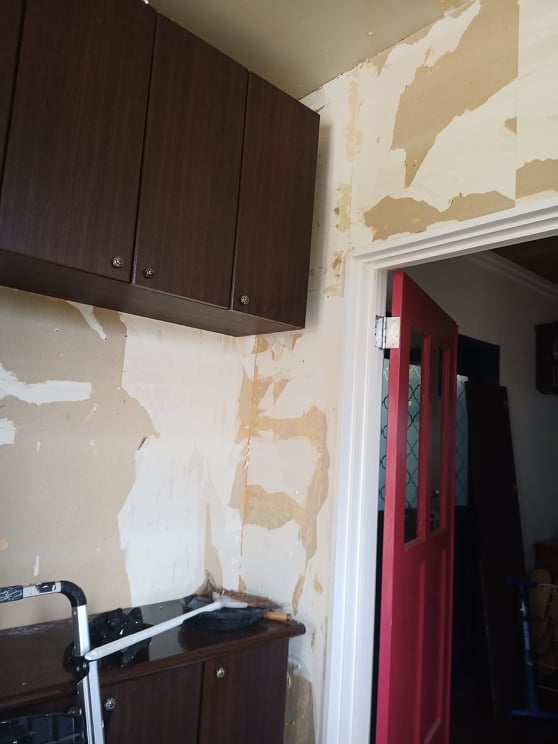
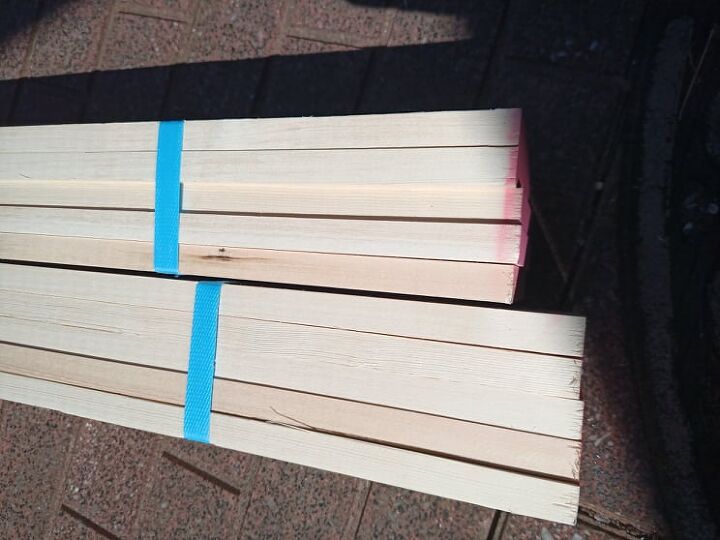
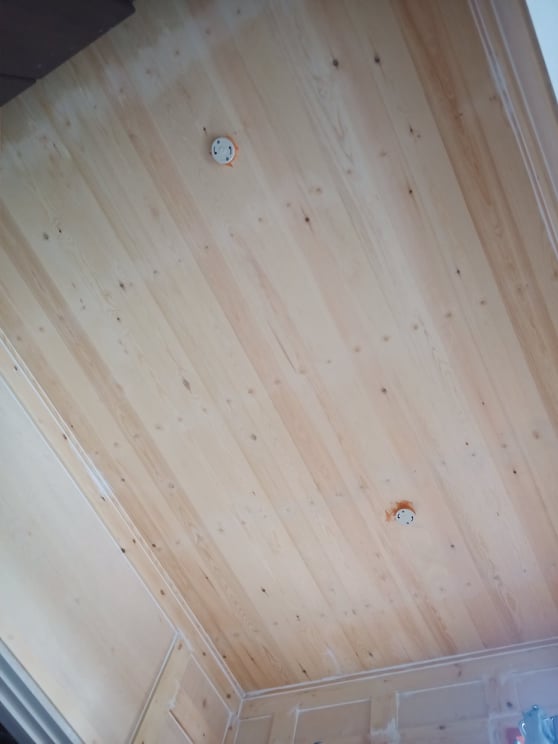
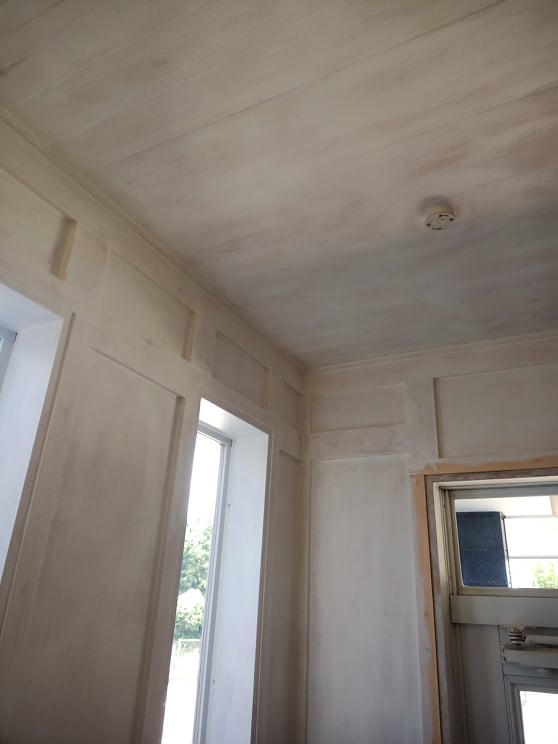
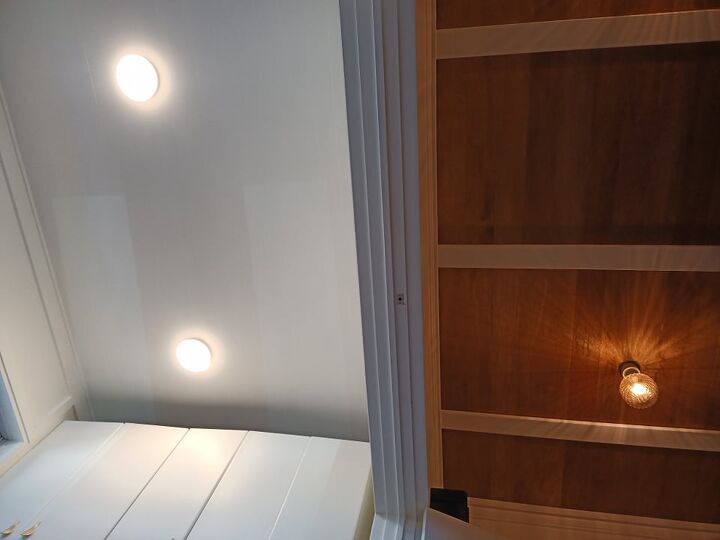
The ceiling lumber!
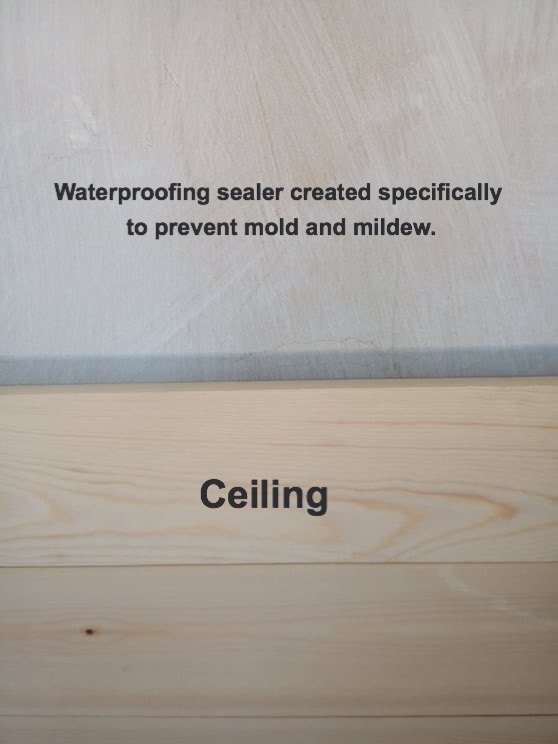
I painted the ceiling and walls with a waterproofing sealer. I wish I had action pictures of me painting on the sealer. Y'know, like the Instagrammers! Me giggling with a latte and paint brush...aviator sunglasses on..I let you guys down.
Anywho, The ceiling wood is attached to the wooden suspended ceiling frame.
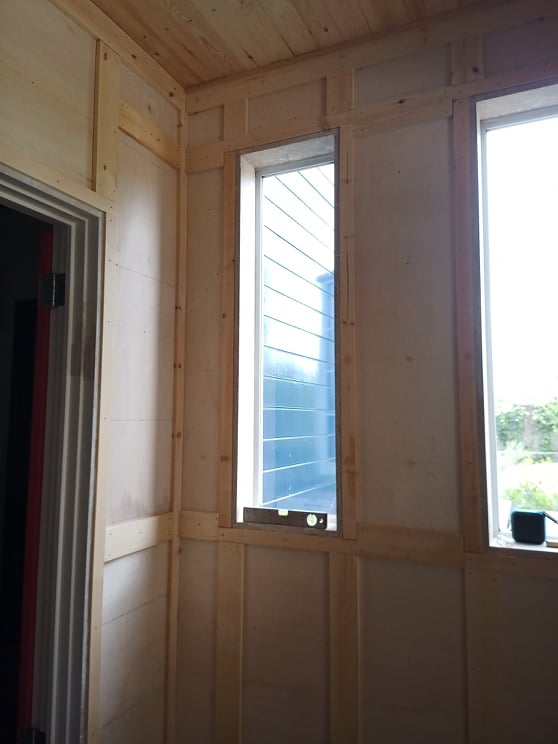
After sealing the walls, I attached the board and batten.
The board is 4mm plywood and I attached this to the studs first, followed by the battens which are just planks of wood, also attached to the studs.
That black box on the windowsill is a bluetooth speaker. I was listening to Justin Timberla.....I mean, heavy hardcore death metal volcano rock music.
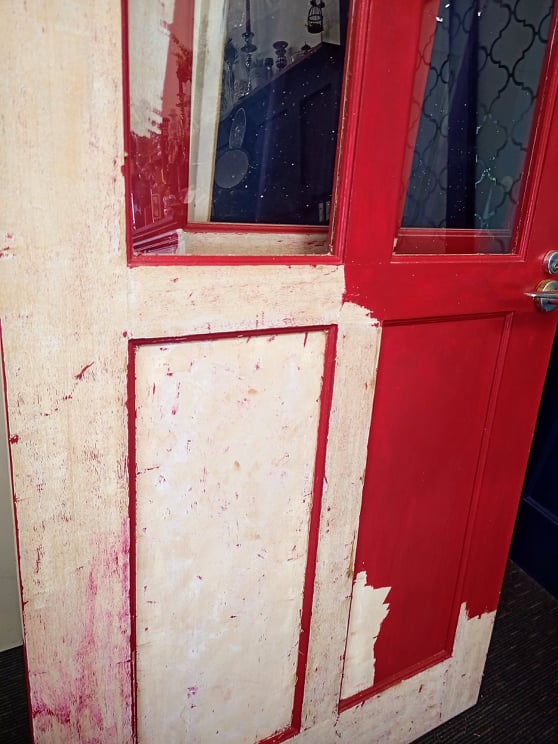
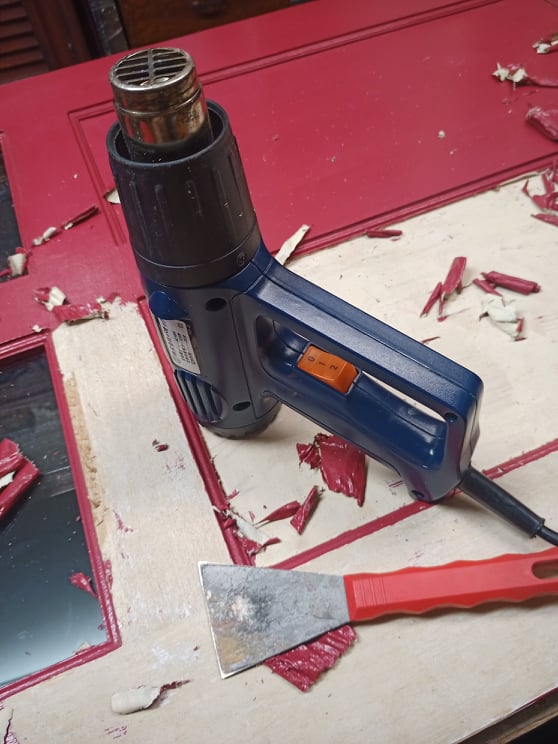
I said toodaloo to The Haunting of Hill House doors with a heat gun. I know that there are probably eight trillion products out there for removing paint, but not in Japan. We have one and it's as effective as just yelling at the paint until it leaves.
"Get off the door red paint!"
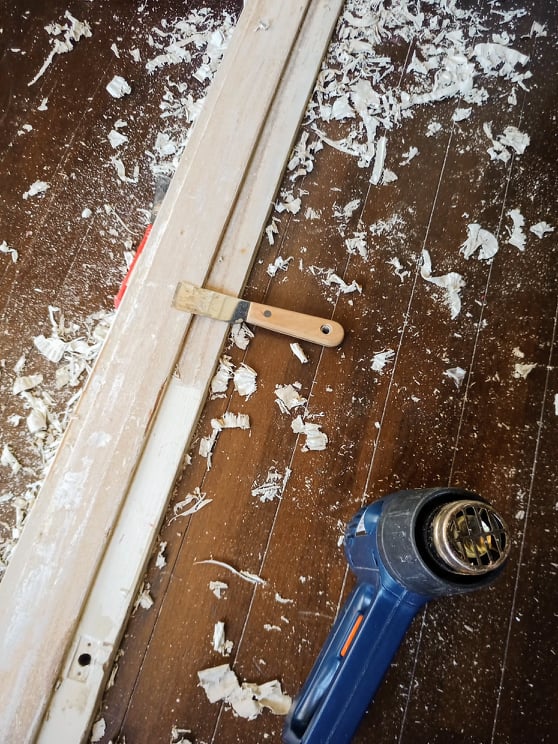
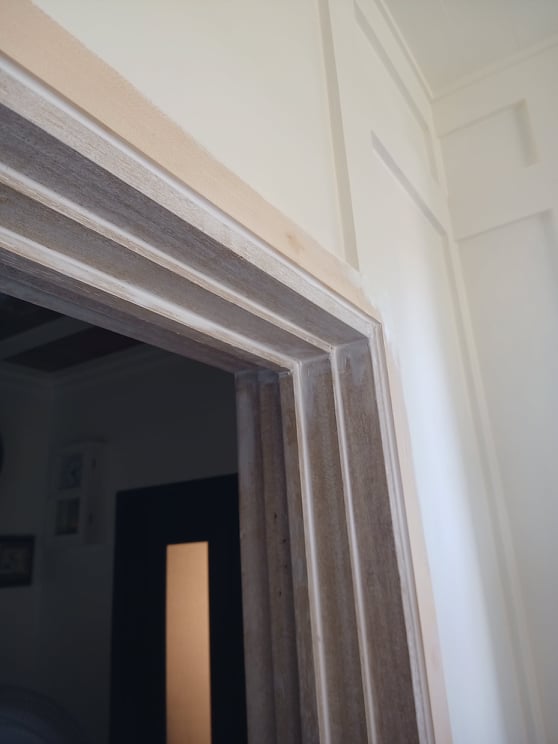
Door frame too!
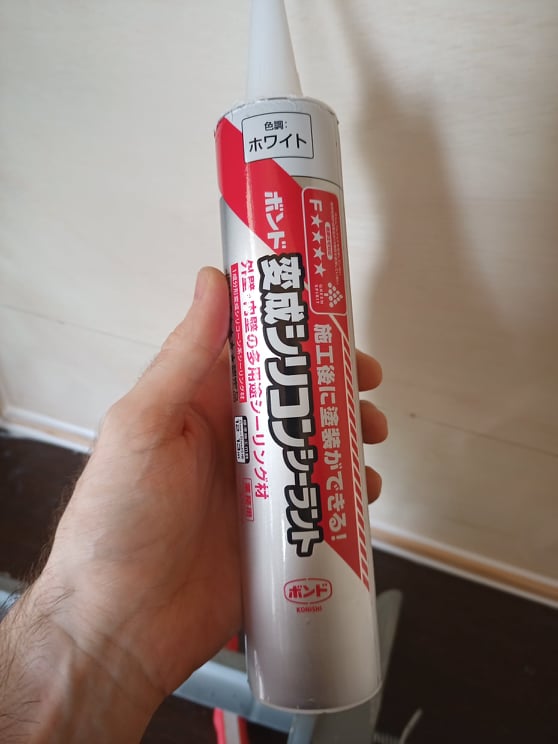
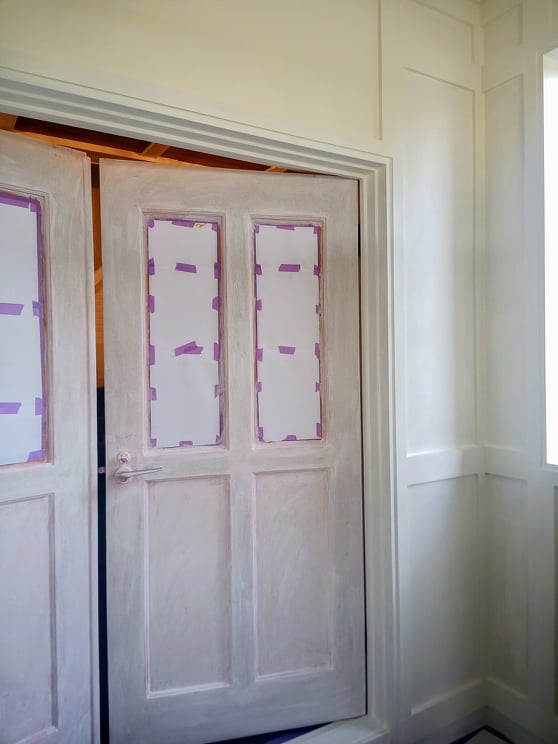
Before painting, I filled in the screw holes with wood filler, sanded and then caulked all of the joints with a paintable caulk.
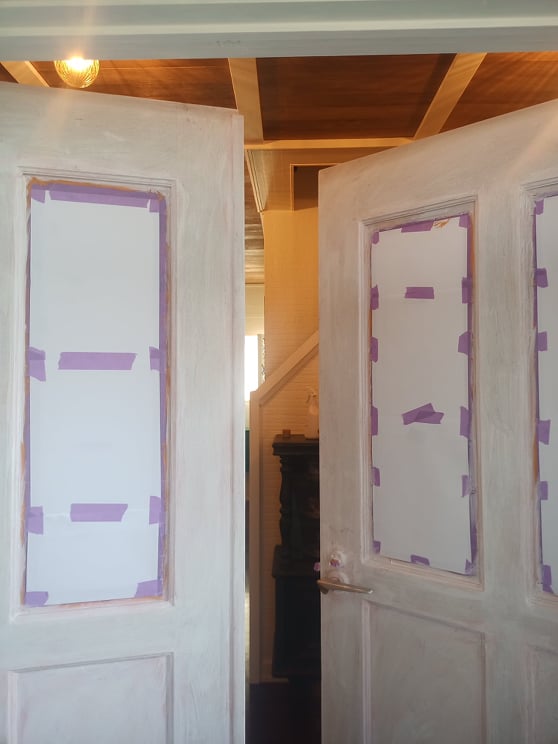
Now, for the the paint! I used an easy cleanable milky white color gloss paint. This paint supposedly eliminates odors and is formulated to be mold and mildew resistant. It's the same paint I used in my Shoe Cabinet Makeover post.
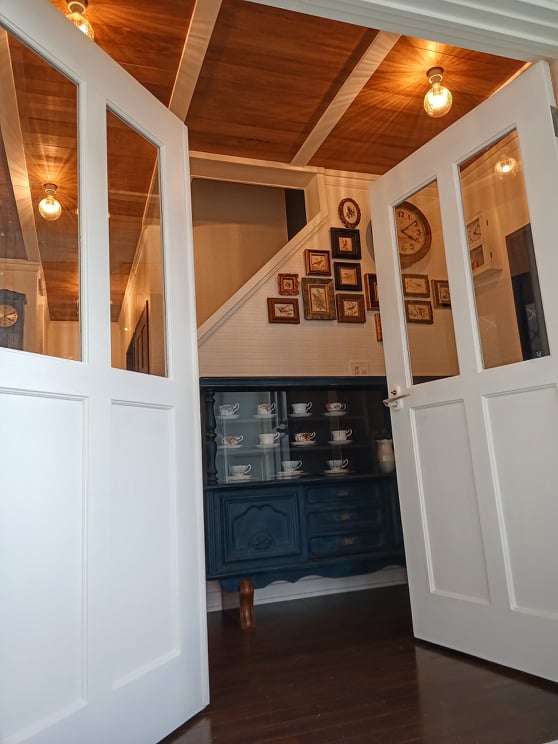
Picture time!


I'm on the Pinterest now. Have you heard about them? You can pin what interests you. Are you following? Pin+Interest=Pinterest. Not real pins though. You'll break your computer. Are you still reading this?


Comments
Join the conversation
-
Looks lovely. At true labor of thoughtful love. Congratulations on job well done
-
I’m truly loving it. I think it’s a big renovation project, but with great patience it got done right. It’s admirable to accomplish such gigantic task!


Frequently asked questions
Have a question about this project?