


Foyer/Mudroom Makeover

21 Materials
$60
1 Day
Easy
When my good friend, Jen, expressed her deep frustration with her foyer/mudroom I jumped at the opportunity to help her with her vision. She wanted a fresh look and a more organized space, so I was bound and determined to give her just that! That’s what friends are for, right?
We want to help you DIY, so some of the materials in this post are linked to sellers. Just so you know, Hometalk may collect a small share of sales from the links on this page.
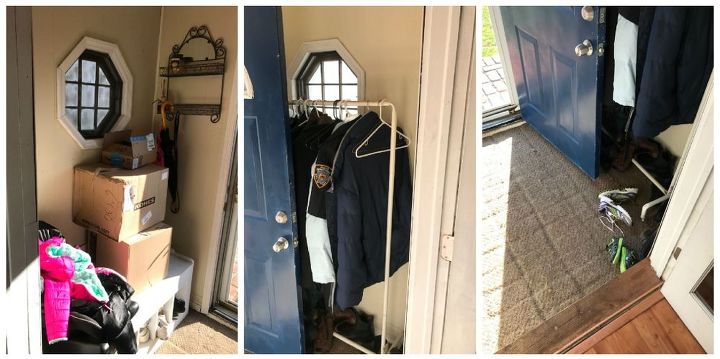
BEFORE:
Jen's foyer was, well, a HOT MESS (sorry girl, you know it's true!). She was in need of some storage and organization, and to just declutter the space.
SUPPLIES:
-wooden crates (I used 5)
-Benjamin Moore paint (Full Moon)
-Behr paint (Colors: Cherry Cola, French Colony, Cozy Cottage)
-Sikens stain & finish (Dark Walnut)
-paint brushes
-sponge brush
-paint roller
-painter's tape
-rag
-fine grit sandpaper
-Liberty 4.31" Satin Nicket flared tri-hooks
-scrapbooking paper
-Dewalt 12v drill/screw gun
NOT PICTURED:
-staple gun/staples
-1/2 yd. fabric
-cushion foam
-scrap wood
-L-brackets
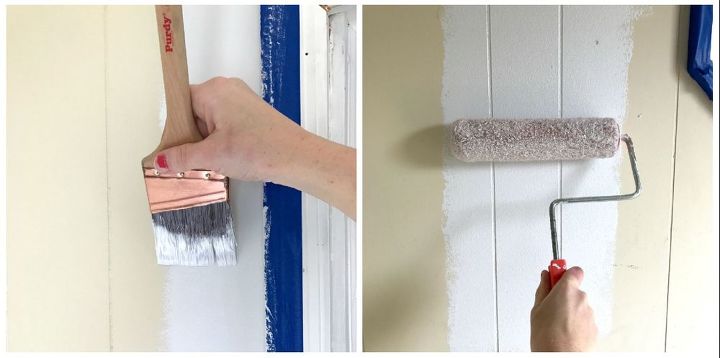
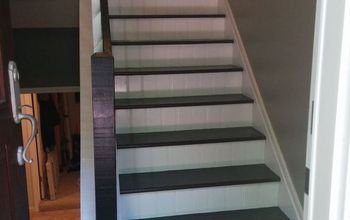
STEP 1: Paint walls
The first thing I did for this makeover was put a fresh coat of paint on the walls. Jen had a tan color painted on her paneled walls, so I felt the light grey would really brighten up the small space and give it a fresh, clean look. I cut in the trim with a paint brush, then used a roller to paint the rest of the walls.
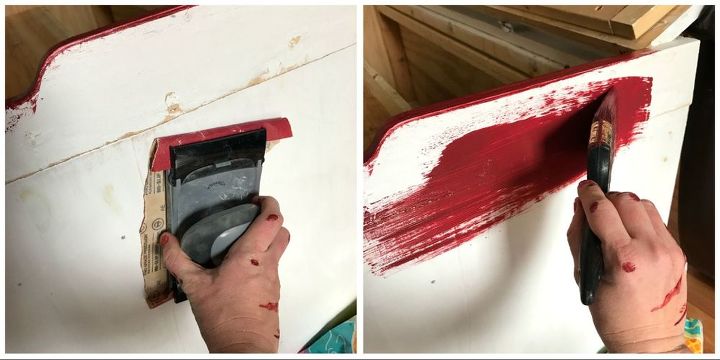
STEP 2: Paint furniture
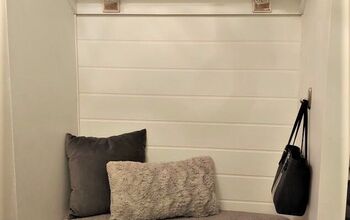
Jen had a storage bench that her brother made for her that she had in her foyer but it needed a face lift so I painted two coats of Cherry Cola red over all of the bench, except for the very top.
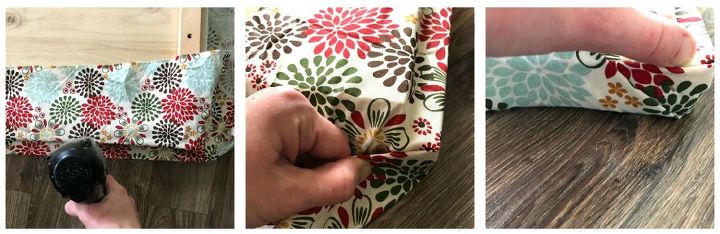
OPTIONAL: The top of Jen's storage bench needed a cushion for it, so I created one by having a piece of plywood cut to fit the top of the bench, then took cushion foam and wrapped about a yard and a half of fabric around the top of the foam and stapled it to the underside of the wood.
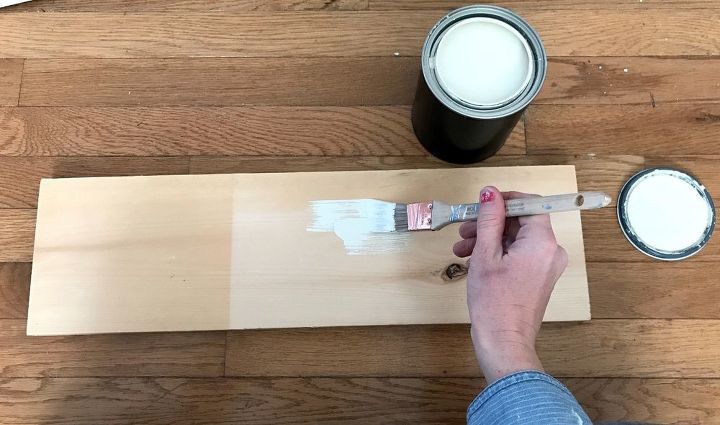
To add a little decor to her foyer, I had a scrap piece of 1x6 from a previous project so I painted it with two coats of the Cozy Cottage paint.
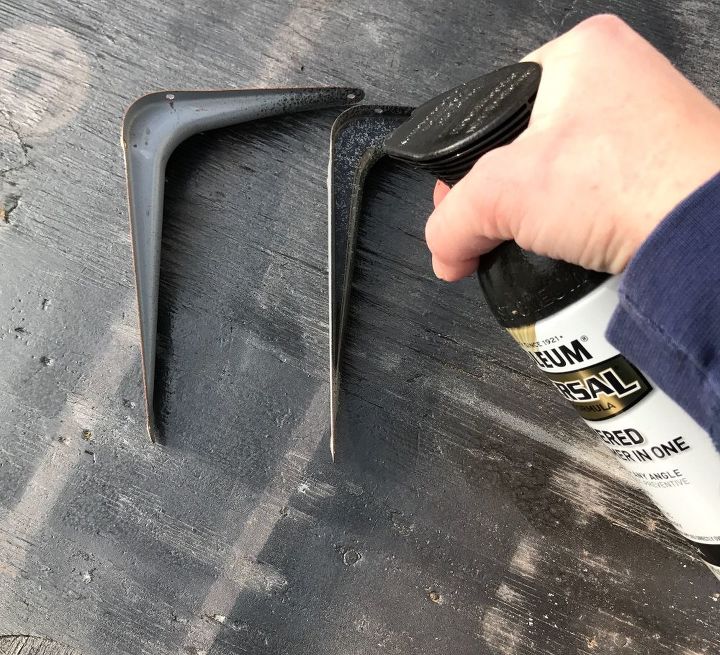
To hang the new little shelf, I had some L-brackets laying around our garage so I sprayed them with Rustoleum Metallic Hammered Black spray paint (which you can buy here on Amazon).
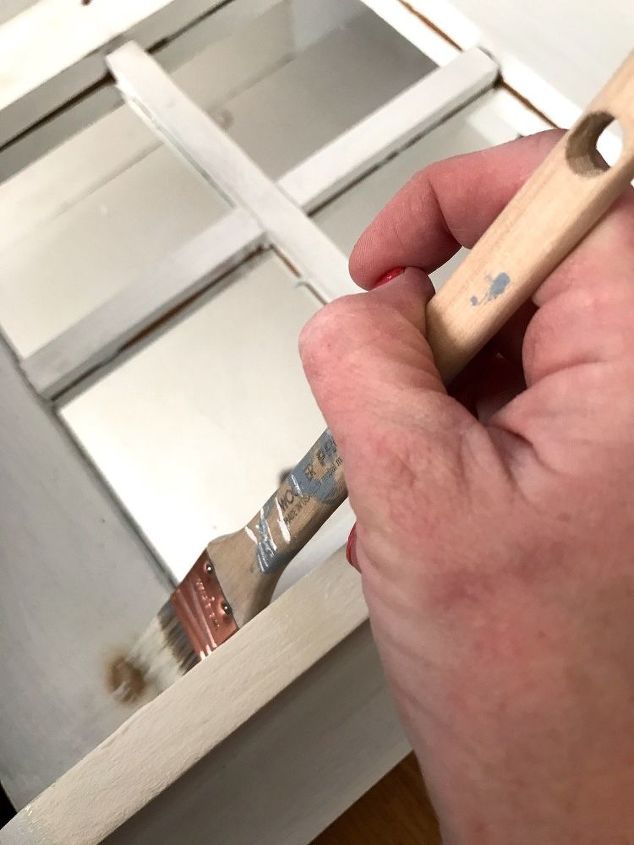
Jen had a cute little mirror shelf that she wanted to take down, but I convinced her to keep it and just let me put a fresh coat of paint on it. So I taped off the mirrors and painted it with a vintage white called Cozy Cottage.
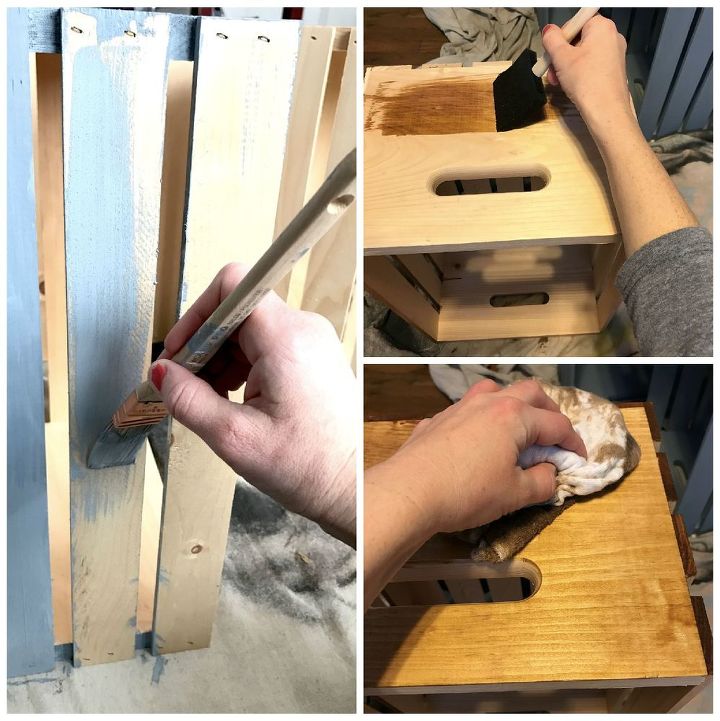
STEP 3: Paint crates
Next, I took five crates and painted two with French Colony paint. I decided at the last minute not to have all the crates the same color/finish so I stained the other three by applying the stain with a foam brush, then wiping off the excess with a rag.
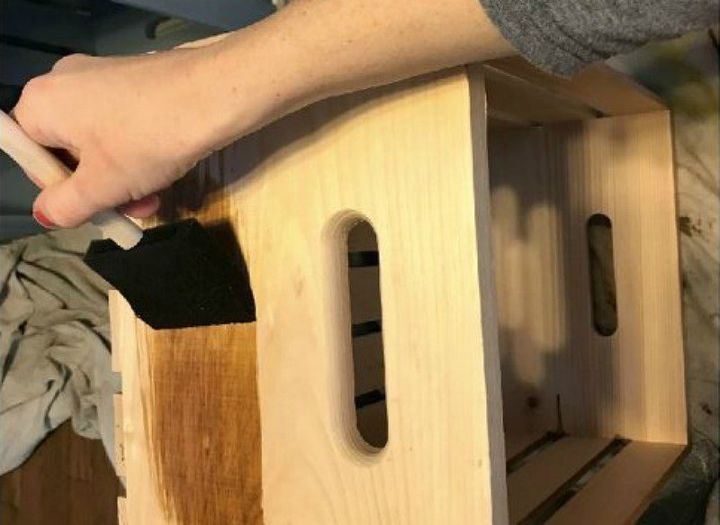
I thought having two different finishes would add some character to the space while providing functionality.the space while providing functionality.

STEP 4: Install coat hooks
Next, I installed a few coat hooks behind the door for anything Jen and her family needed to hang and keep off the floor. I made sure to use my stud finder to find studs in the wall.
STEP 6: Add scrapbooking paper to bins
Finally, I created some cute little bins to slide into the storage bench cubbies. I marked out the dimensions of the bins on the back of scrapbooking paper, then cut the paper with a paper cutter and applied Mod Podge to adhere the paper to the inside of the bins.

STEP 5: Add scrapbooking paper to bins
Finally, I created some cute little bins to slide into the storage bench cubbies. I marked out the dimensions of the bins on the back of scrapbooking paper, then cut the paper with a paper cutter and applied Mod Podge to adhere the paper to the inside of the bins.
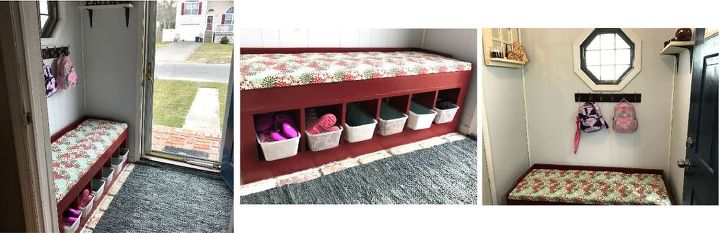
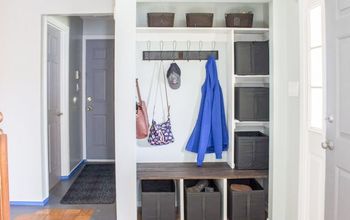
I'm super excited about Jen's new foyer! I love the colors and how everything flows. She picked out the perfect fabric for her storage bench that really brought all of the colors I used together. The bins underneath are perfect for storing her girls' winter gloves, hats, and other little things. She also took a dark grey/blue rug from another room and replaced the old one--I think it goes perfect with the whole look!
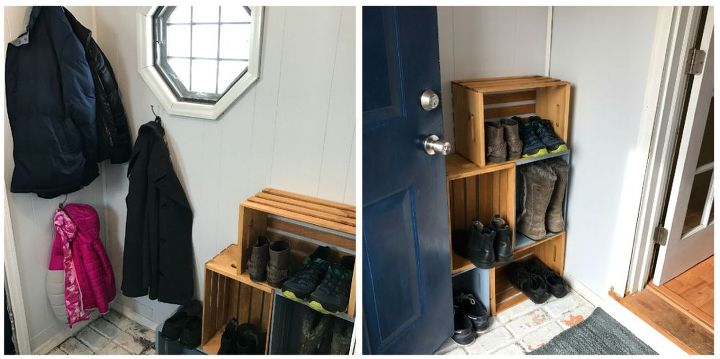
I arranged the crates once they were fully dry and placed boots and shoes in them. I didn’t glue or fasten the crates together just in case Jen wanted to use them for something else in the future. The whole area is so much more tidy and put together now but what’s more important than me loving the facelift in this little foyer is the fact that Jen was happy with it. I was so excited to be able to help her create a cleaner, more organized space for when she, her family and guests walk in to her home. First impressions are usually lasting ones!
Comments
Join the conversation
2 of 31 comments
-
Your project turned out GREAT! I have 5 wooden crates from Michael's and your creation is much better than what I had planned. Love the bench redo too! Thanks for the inspiration!


-
I would have built both sides in to right in under the octagon windows, making a cabinet (closet) With doors. with a rod for coats and All of the clutter would disappear. On top I'd put a beautiful floral arrangement . Great storage tho and plenty of it. Nice guy there Jen


Frequently asked questions
Have a question about this project?
why not go the extra mile and get rid of the newspaper, replacing it with a boot tray or 2?