


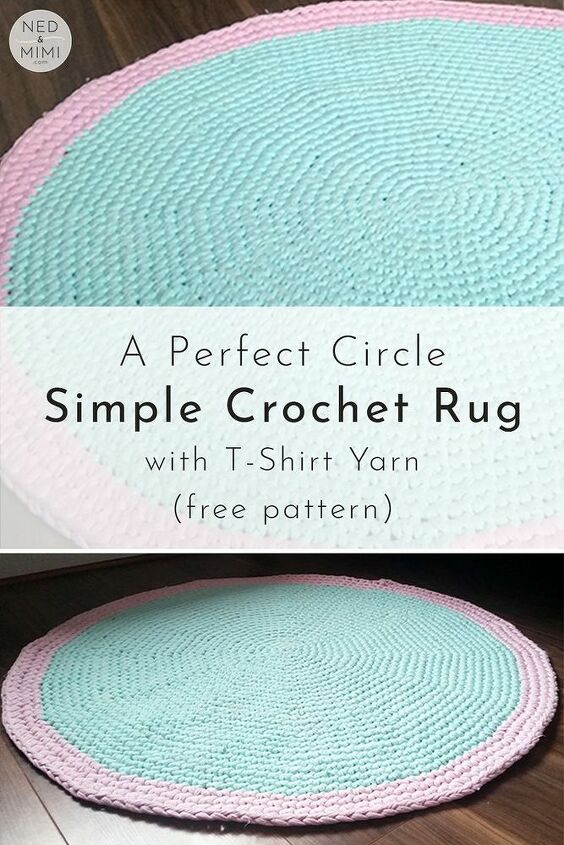
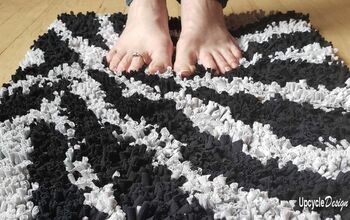
A Perfect Circle Crochet T-Shirt Yarn Rug

You would think that crocheting a perfect circle would be easy peasy! Not so as it turns out.
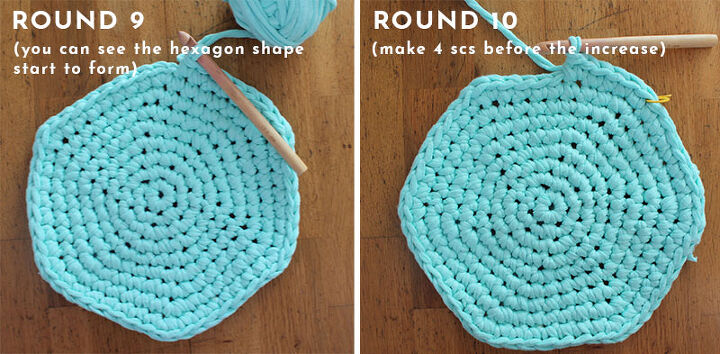
It took me quite a while to get the circular shape right – for some reason circular crochet turns into a hexagon after a certain number of rows! And the thickness of T-shirt yarn amplifies this problem a lot I finally found a good method of keeping my circle circular – just move the increase to a different position on alternating rows.
Once I had figured this out making this rug is simple - just work Single Crochet stitches in the round until your desired size is reached.
For full details, please check out this blog post: https://nedandmimi.com/crochet-t-shirt-yarn-rug-free-pattern/
Happy crocheting!
Sarah
NOTES
T-Shirt Yarn
- T-Shirt Yarn can vary a lot in thickness depending on the source fabric that was used to create it.
- If your yarn is very thick (like mine) you will probably need to use a 12mm hook. However, if it is a bit thinner, a 10mm hook might be necessary to achieve tight stitches and a firm rug.
Construction
- This rug is crocheted in the round. At the end of each round, do not join to the start of the round with a sl st, simply continue working the next round in a spiral.
- Use a stitch marker to mark the first stitch of each round.
- The stitch count for each round is given in [] at the end of the round
Increasing
- The rug increases by 6 sts every round. An increase is done by crocheting 2 scs in the same st, and we space these increases evenly over the round.
- After Round 9, we move the position of the increases to ensure we end up with a perfect circle shape (and not a hexagon!). This is all fully outlined in the pattern below.
Colors
- This rug is so easily customised – feel free to use combination of colors and stripes that you like.
- When changing color, make the change on the last yarn over of the last st of the round, ready to start your next round with the new color.
STEPS
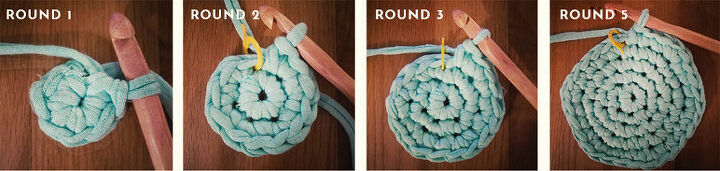
Step 1
Begin by crocheting a magic circle and working 6 sc into the circle. You then increase by 6 sts each round. An increase is done by crocheting 2 scs in the same st, and we space these increases evenly over the round.
Step 2
After Round 9, we move the position of the increases to ensure we end up with a perfect circle shape (and not a hexagon!). The method for doing this is fully outlined in the pattern
Step 3
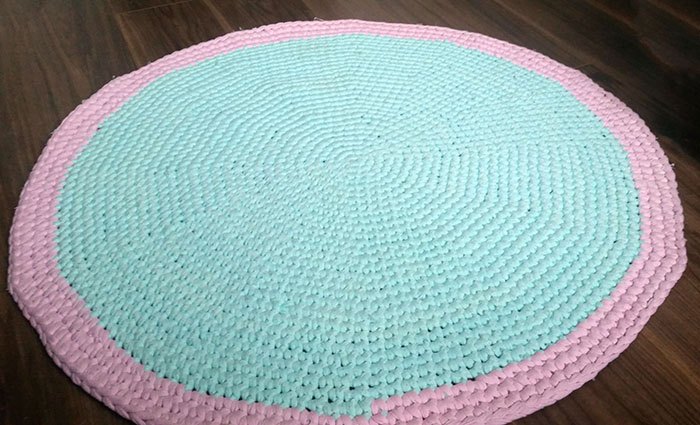
Continue increasing on each round until you reach your desired size.
Then cut yarn, fasten off and weave in any ends.
All done!
Resources for this project:


Frequently asked questions
Have a question about this project?