


Ceiling Flip (Upstairs Hallway Remodel 2)

Everybody loves a good ceiling flip! Here's the story, I had a leaky roof window removed last year when the house got painted. The roof window was unfixable and un-replaceable. For a new window, the roofers would've needed to make the hole bigger and when they gave me the estimate on paper, my eyeballs popped out of my head like Roger Rabbit. Too much moolah for me, so I had to pass. Without that window, the hallway is dark all day long. It's a constant game of "try and not step on a cat." The area didn't need much lighting before, so It didn't have it. I didn't realize how much sunlight and moonlight came through that thing.
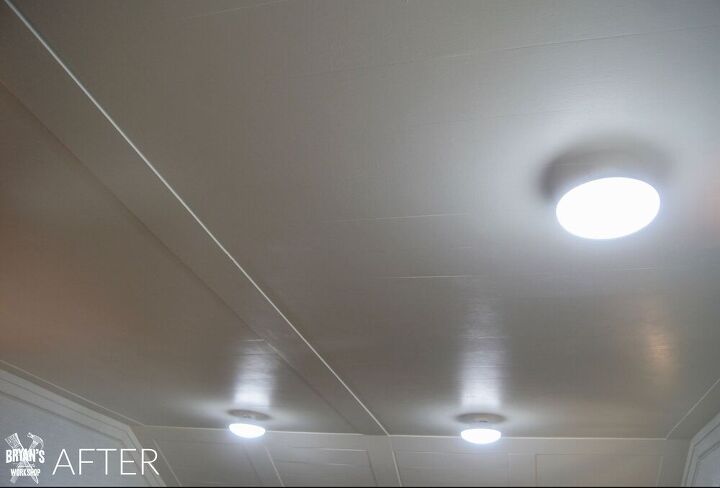
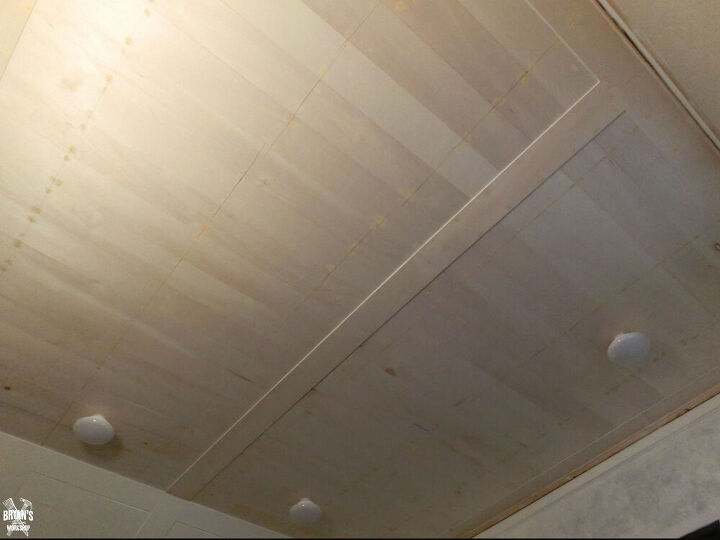
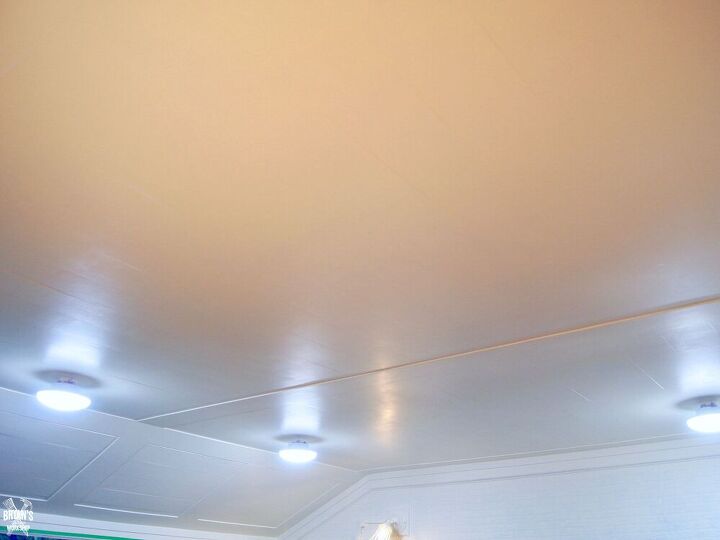
This is the finished ceiling!
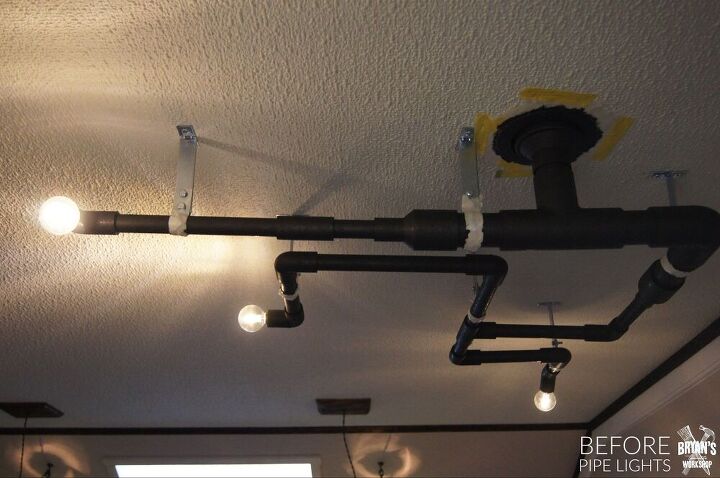
I'm not proud of this, but I went through a pipe light phase. Pipe lights all over the house! Are you clinching your pearls in terror?

Next was the stained glass phase. This light is awesome, but not bright enough for this hallway. I'm relocating it to a different room.
This is how I made it:
https://www.hometalk.com/diy/decorate/rooms/how-to-make-a-mosaic-glass-light-29126435
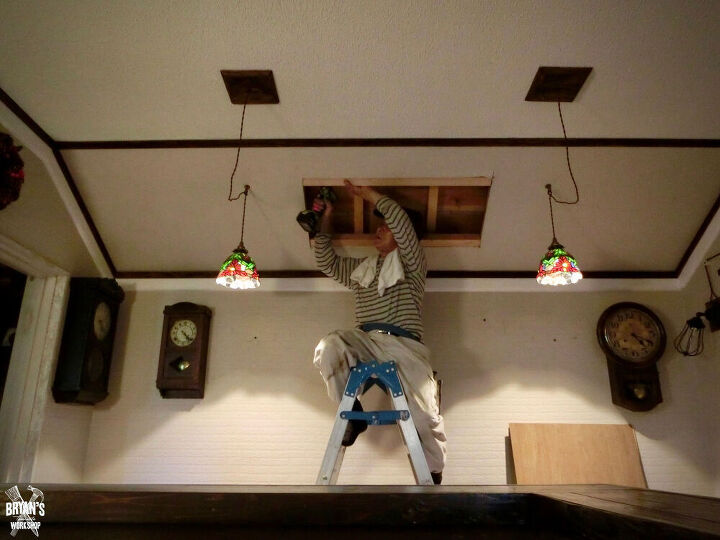
That's a roofer finishing up with the roof window removal.
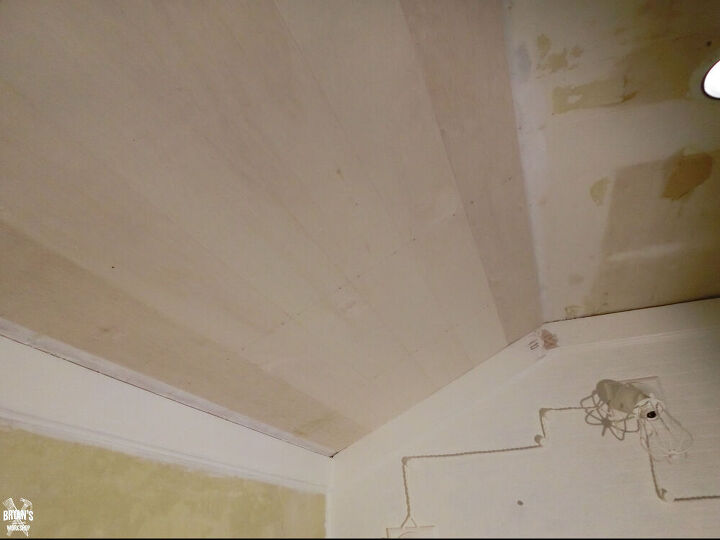
The ceiling was covered with a textured wallpaper that I removed. Wallpapered ceilings are the norm in Japan. You can easily panel over wallpaper if you don't want to mess with wallpaper.
If you need help with removing wallpaper, I have a post for that:
https://www.hometalk.com/diy/decorate/walls/preparing-a-wall-for-wallpaper-44312874
After removing all of the wallpaper, I sealed the ceiling with Nippon Paint Wall Sealer. It's a good sealer with anti-fungus and algae resistance properties.I used 4 millimeter thick plywood. I went thin, because this ceiling is low. I cut out 13cm wide boards and just lined them up in two rows. The ceiling is about 300cm wide, so I went with two rows of 150cm boards. I didn't use any adhesives and attached the boards directly into the ceiling joists with tiny 32mm long self countersinking screws. The thin plywood is extremely light, so there's not much of a load. When picking screws, keep in mind the thickness of the ceiling and joists.I went up into my ceiling to mark the joists, but If you can't, they are usually 16in (40.5cm) off of center.
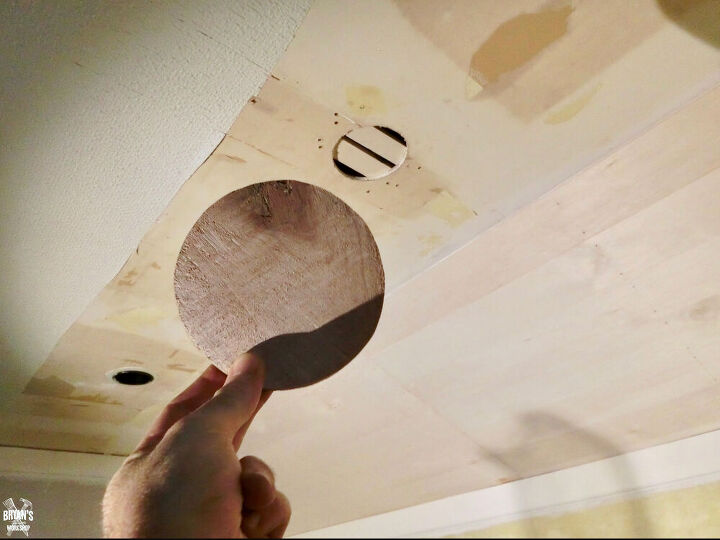
These are the holes left from the old recessed lights. I liked the old recessed lights, but they were way too deep and barely gave any light.I installed twist lock sockets and they are standard in Japan. I installed supports in the ceiling and cut out bases for the sockets.
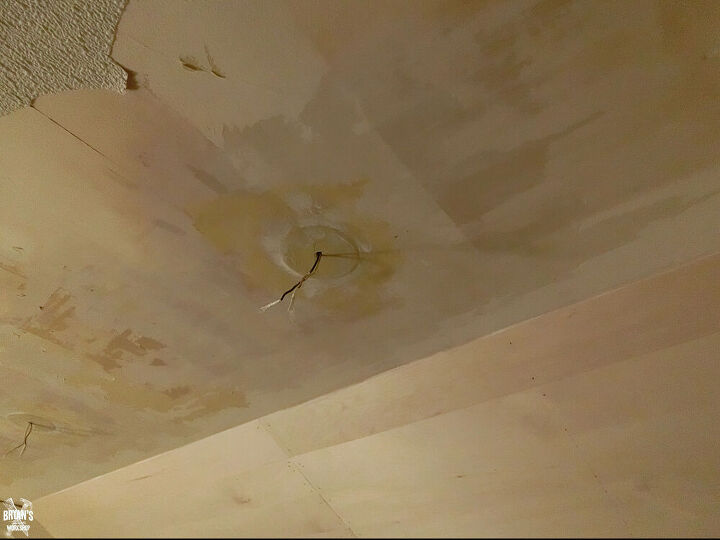
Use extreme caution with electricity! I turned off the area at the breaker and installed the twist lock sockets.The ceiling is drywall, so I went over the area with joint compound and sanded.
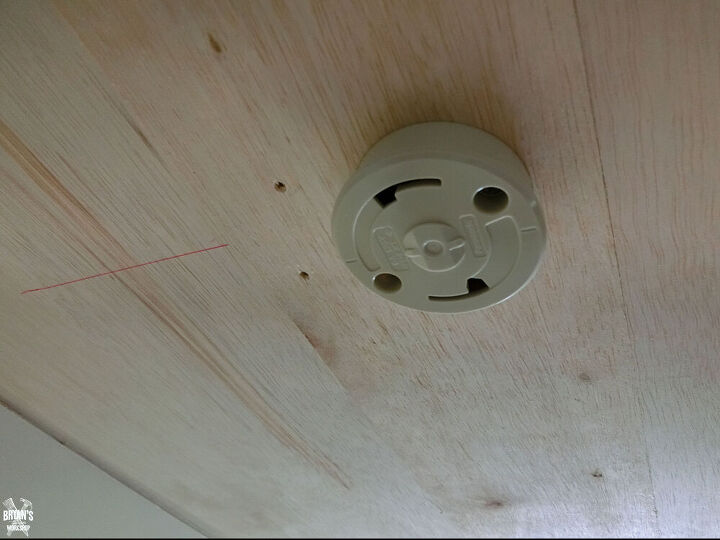
These twist lock sockets have push in connections. The wires lock in and can be released by pressing a release button with a flat head screw driver.
Keep paneling away!
Fill all screw holes with wood putty and sand. If you're staining the wood, use a stainable wood putty.I'm not going to lie, this part is grueling! You're working over your head, it feels like there's eight trillion holes and it takes forever.
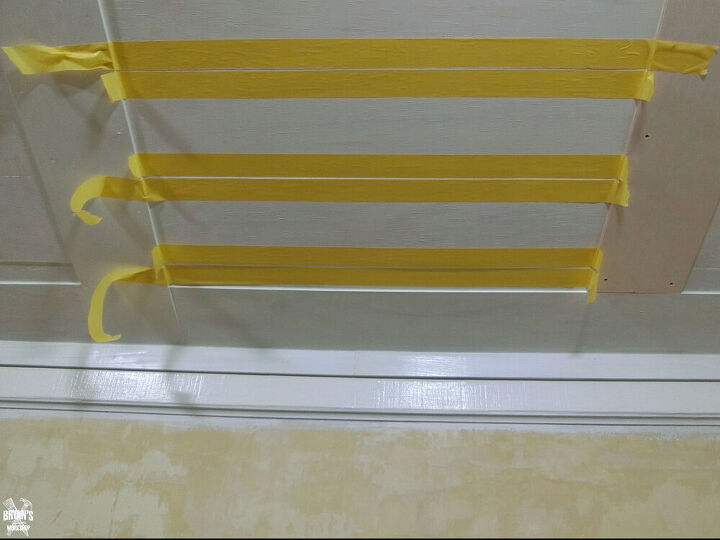
You'll need a paintable caulk. If you're staining, use a stainable caulk. You won't need to caulk everything! I didn't need to caulk most of the boards going horizontal on the ceiling. I did need to caulk all of the overlaying vertical boards and molding.If you're careful and good at caulking, you can skip the tape. With caulk, more is not better. You want to apply just enough to fill the void and smooth it down with your finger. Remove the tape before the caulk sets. Sloppy caulk jobs are noticeable especially under paint.The caulk will give it a clean and professional finish!
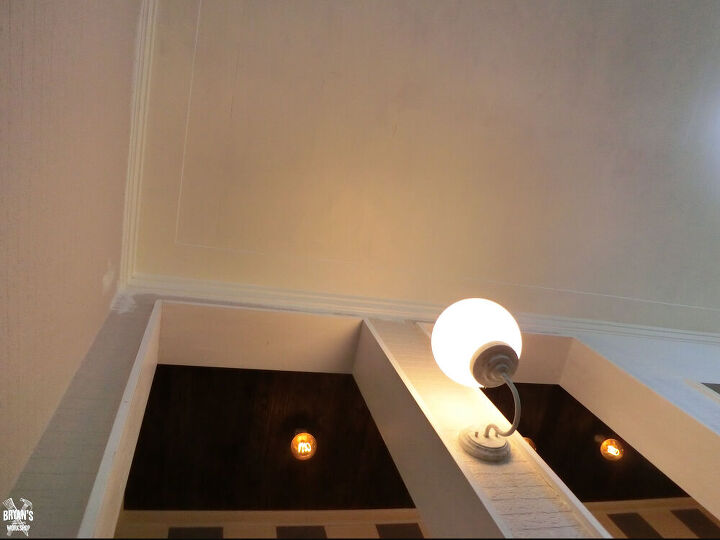
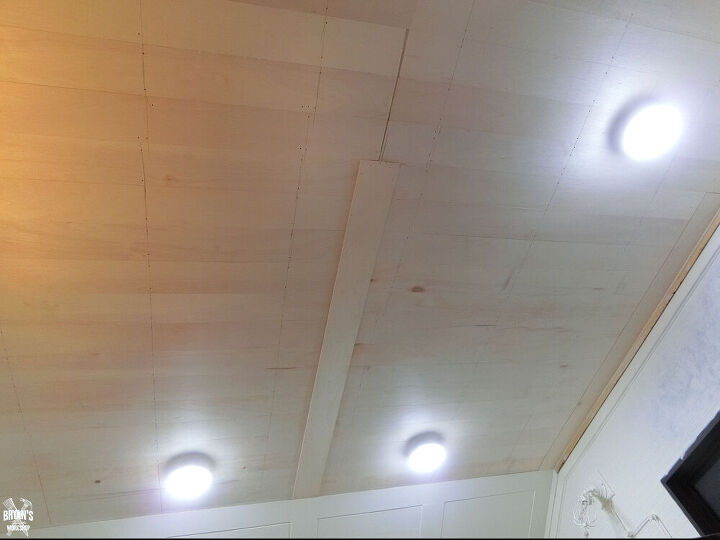
The first coat of paint!
Shout out to that pallet ceiling!
https://www.hometalk.com/diy/paint/walls/hallway-makeover-pallet-ceiling-lights-and-stripes-37454097
I know...stripes! That was my stripe phase. I'll be painting those walls next.
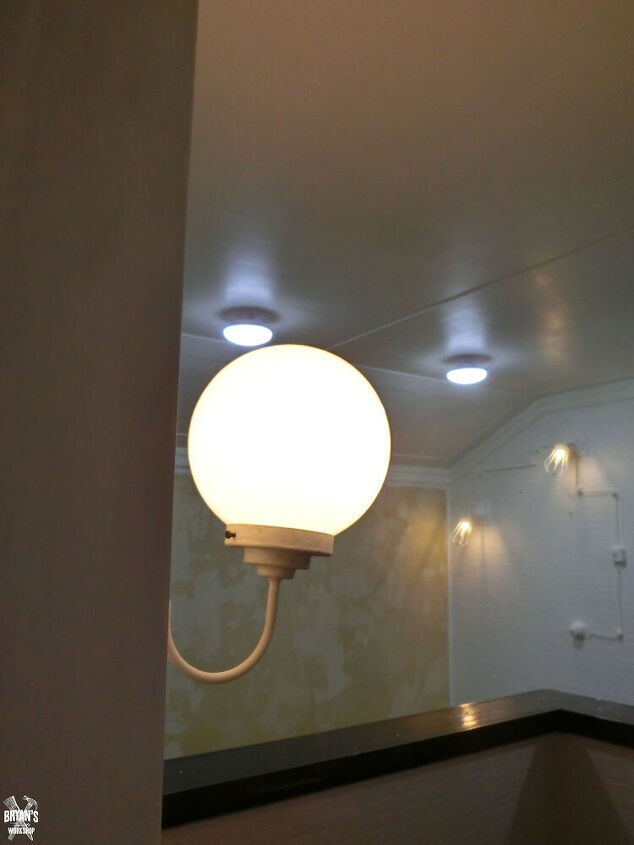
The second coat of paint!
This took four coats of paint!


Frequently asked questions
Have a question about this project?