


Entryway DIY Stenciled Floor
This project is one I've had on my mind for a few years now, but it wasn't until recently that I finally got the courage to accomplish it.
I had been on the fence for so long and I don't even know why, maybe I was a little scared of what could go wrong but that soon went away once I started priming the floor.
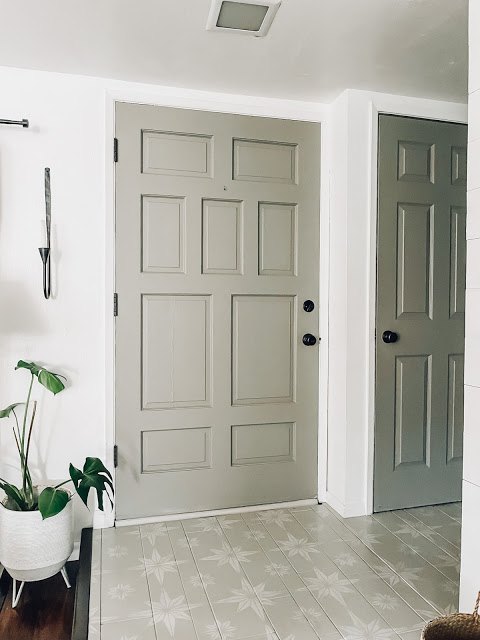
If you caught my stories, which is saved in my DIY highlights then you know that I mixed the colors that we used on our doors with some white paint to get a lighter grayish color. I didn't want to have to go out and spend any more money if I didn't have to. Once I applied that first coat of primer, I knew it was the right choice.
The best part about paint is if you change your mind and you can easily paint over it if you want to change it!I love that my husband is trusting me more and more with projects like this around our home. Which gives me the motivation to move forward on them rather than sit on the thought for so long. I still have that little voice of fear in the back of my head of 'what if' but I'm trying to not let it discourage me.
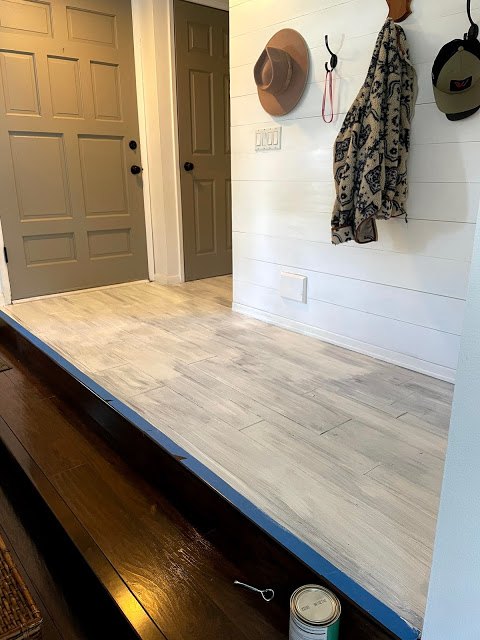
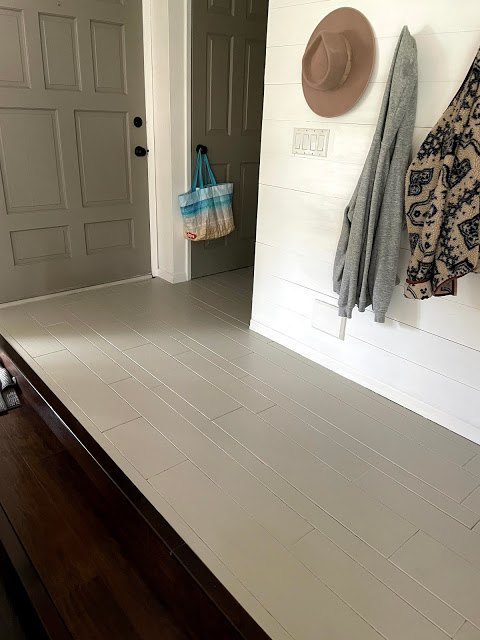
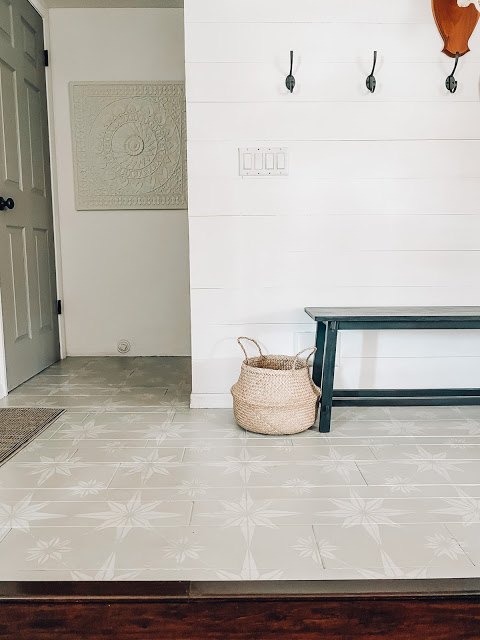
The wood floor in our entryway was old and worn and not easy to clean and definitely not easy on the eyes. Or at least not pleasing to look at in my opinion. When we changed our downstairs flooring, this entryway floor stayed original to the house and we did our best to match our new floors to the original. Except we've lived here for 6 years now and it's definitely only gotten worst, therefore instead of gutting the floors a quick fix was to paint.
I'll share a before picture to refresh your memory, not the best before shot but you get the idea.
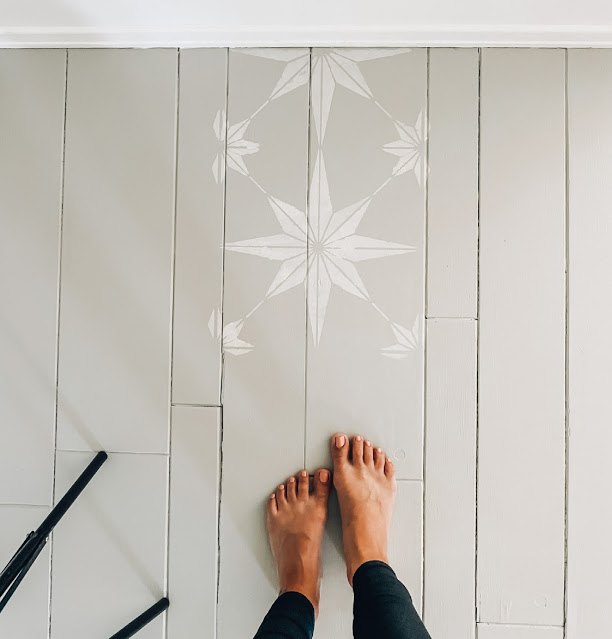
When I bought this Star Tile Stencil, it was originally meant for our backyard concrete flooring but soon I realized it wasn't going to happen so instead of letting this stencil sit around and go to waste, I figured placing this particular design here could work.
I did buy some stick on tiles from Amazon back a couple of months ago thinking that was the route I wanted to go in the entry way but they did not turn out to be the quality I had hoped for.
So in the end, the stencil was just going to have to work here.
Because of the wood floor and how old it is I wanted to make sure I chose a primer that was going to work in a heavy duty area like this including a great stain blocker and let me tell you, I think this Kilz primer is my new best friend!
After a couple of priming coats and letting that fully dry overnight I was finally able to apply the paint. Luckily I was able to work on this project Memorial Day weekend when both my daughter and husband were out of town and my son was out working most of the time therefore, less foot traffic and more time to paint.
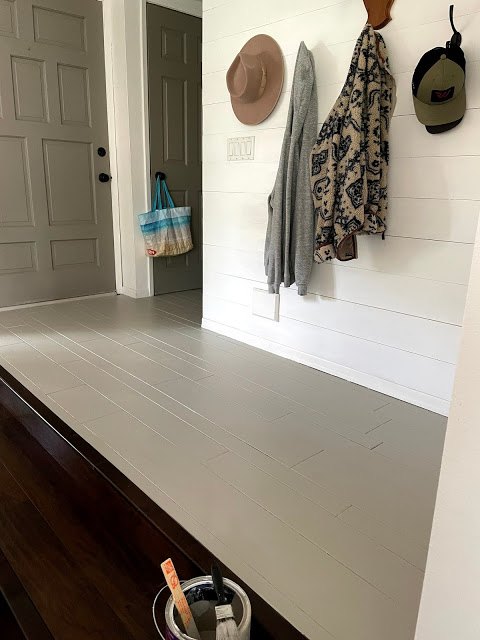
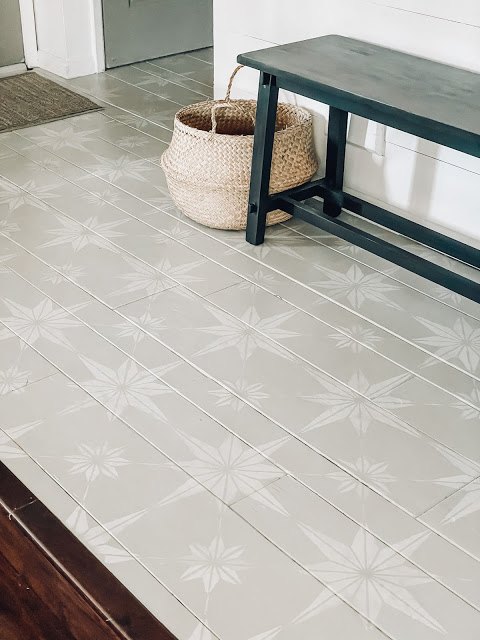
I gave the floor two coats of paint, let it fully dry and cure again overnight. The following day I got to stenciling. The stencil paint color was a white paint that I mixed with a creamy chalk paint color I had on hand so that it wouldn't be too stark white against the floor paint.
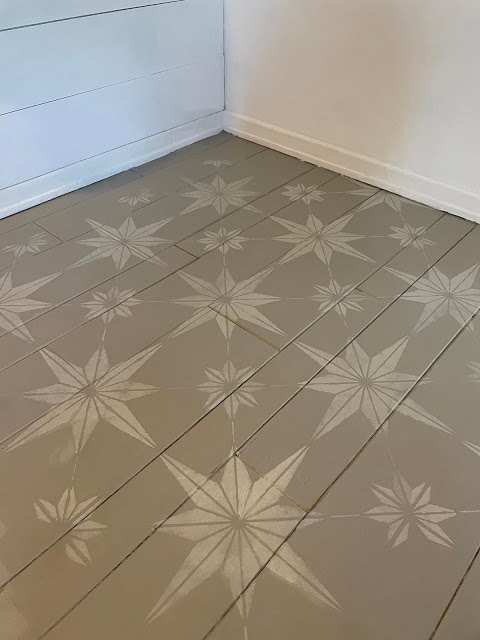
I made sure to take my time with the stencil and to clean off the stencil after a couple of uses so that it wouldn't bleed through onto the next. When working with stencils you have to have quite a bit of patience, not going to lie. But in the end the result is worth it.
Pro tip: make sure to play around with the placement of your stencil ahead of time because I learned from my rookie mistake and had to paint over my first few stencils and start over.
After I finished the stencils, I went ahead and sealed the floor with this Behr clear water based indoor/outdoor urethane sealer I had on hand and that I've been really loving as of lately because it literally dries within an hour.
SHOP THIS POST
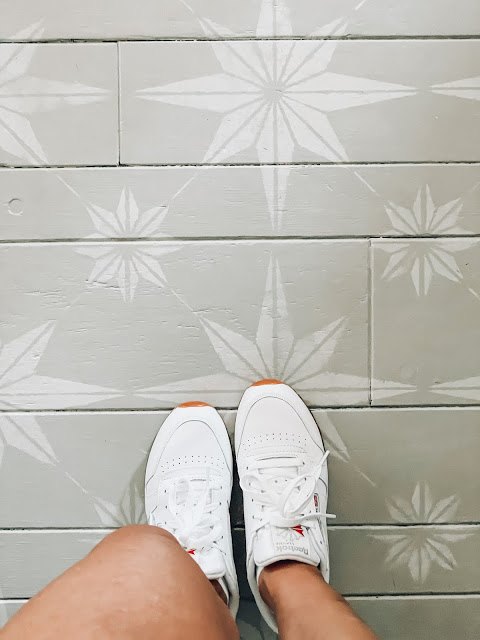
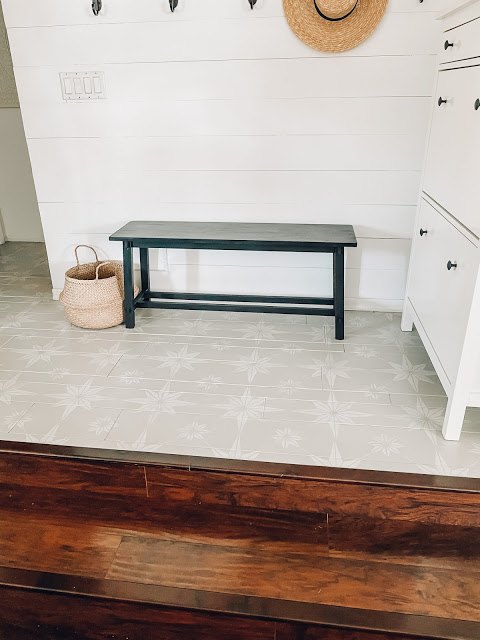

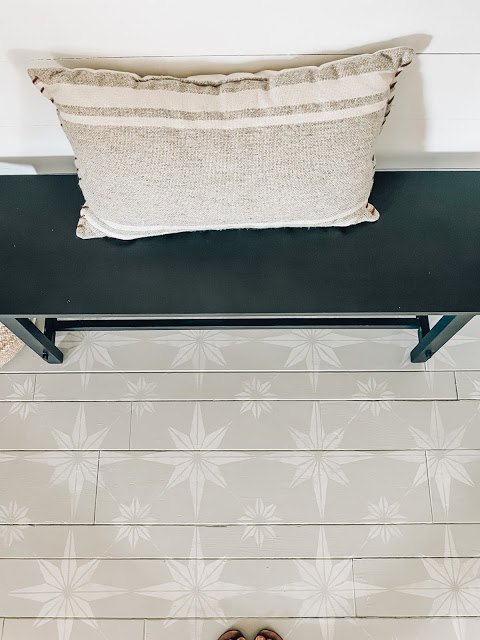
It has been a full month since I finished this project and I am happy to say that it looks like it did the day I finished it. The paint and sealer is holding up well, the satin sheen isn't very noticeable and makes it so much easier to clean this high traffic zone.
I liked the solid paint color and almost didn't do the stencil and some may have chosen to do the same but I feel like this stencil design gives this entryway a sort of whimsy feel and it literally makes me happy every time we come home or walk through this space!
Would love to hear your thoughts, let me know in the comments section below :)
If you liked this post today please feel free to give it a Share or a Pin so that others can see it too. As always, you can find me on Facebook, Instagram and Pinterest as well.It always makes me happy that you're here and hope that these ideas inspire you.
Thank you for stopping by!
Stay tuned for more coming soon.
Full Disclosure: This post may contain affiliate links and I may receive a small commission for any sales made through them, at no cost to you, of course. This little bit goes to help support the costs of running my blog and every little bit helps support my family. Thank you so much in advance friends!


Comments
Join the conversation
-
It's so beautiful, I just love it.
-
Great look. Colors are great too. It’s there, but not. Design and colors allow floor to be discovered not just in your face. Lovely interest factor


Frequently asked questions
Have a question about this project?
Absolutely love this. I want to paint our 69 year-old home's original wood floor in our breezeway so badly.
So how did you manage to get your husband to let you be free with design?
It's so fun and bright.
What was the floor base color
Will it work on laminate?