


Faux Bricks on Concrete Floors

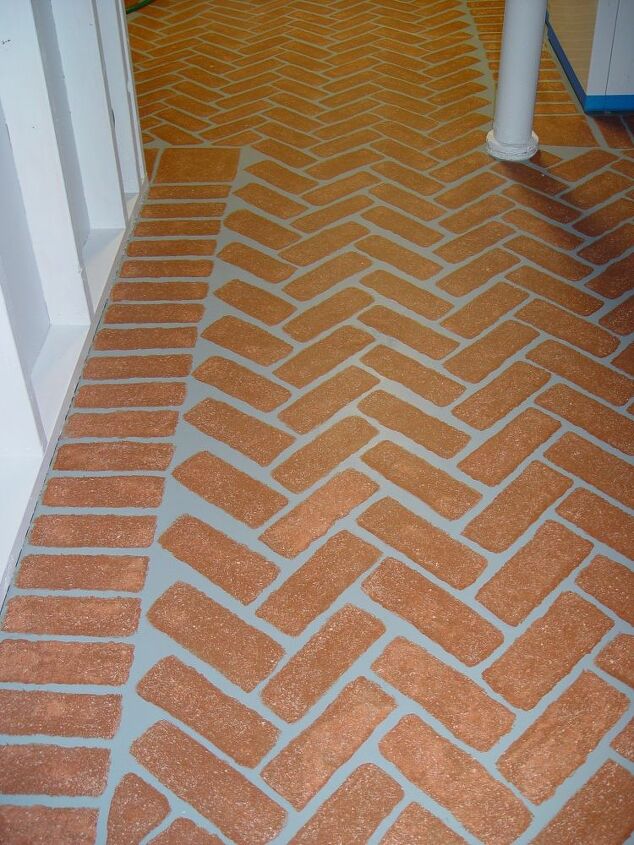
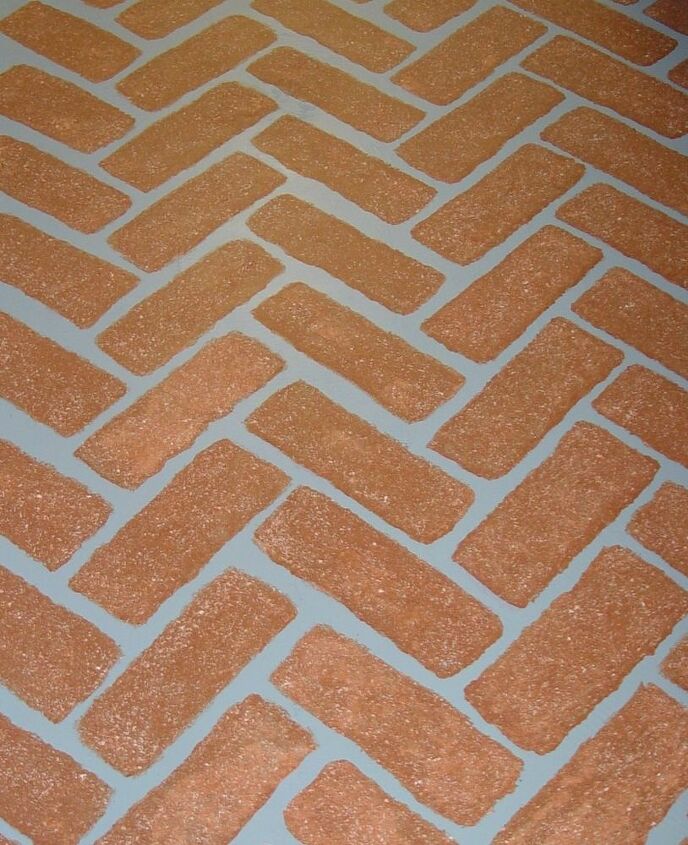
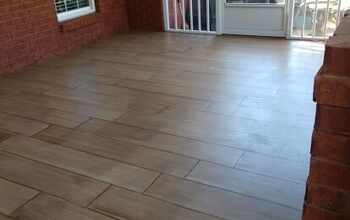
Concrete basement floors are just blah blah blahhhhhhhhhh, especially in utility rooms. My laundry room was no exception. But I didn't want to put down any type of flooring as I'd had a few past issues with the washer and the floor drain and I just didn't want to tempt fate (minor but still...). Instead of just dealing with the boring floors, I gave them a herringbone brick look.
Affiliate links below (if they make it through the copy/paste). Proceeds are donated to no-kill animal shelters and rescue organizations)
You'll need:
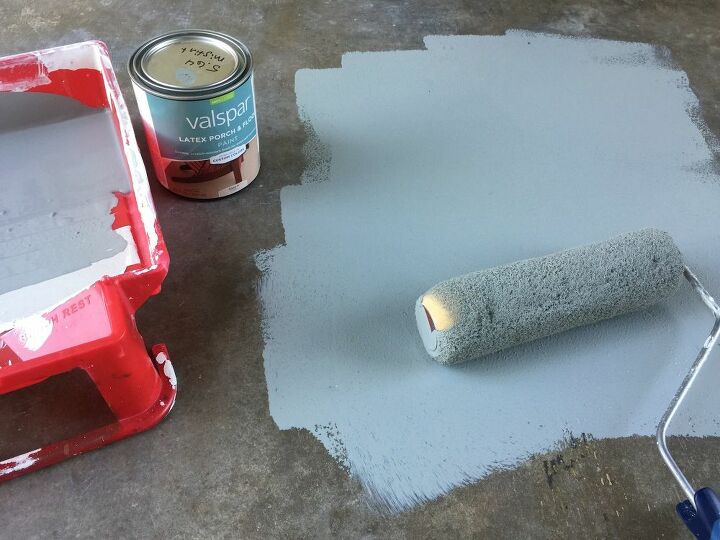
* ' Porch, Floor, and Patio' paint - this is meant for concrete applications
* Latex paint - I'm using Valspar Tuscan Accents as it's a multi-dimensional thick paint with texture and different suspended colorants all in one can.
* Paint rollers and trays
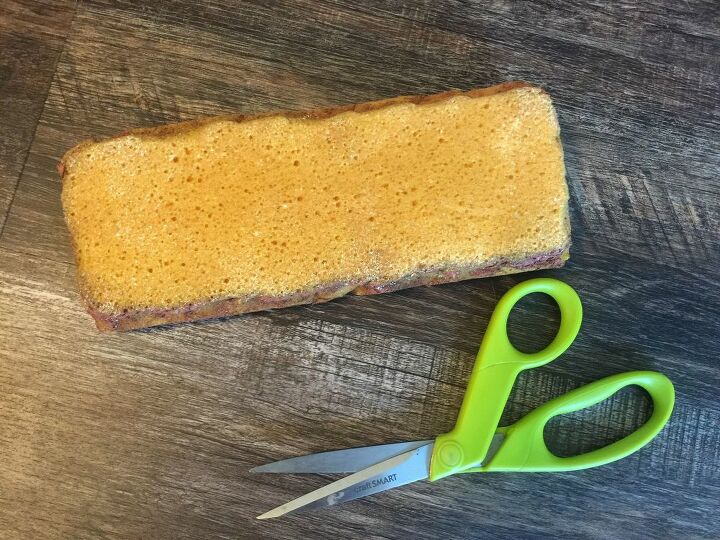
* Scissors
* Clear floor epoxy (this is near those garage floor kits)
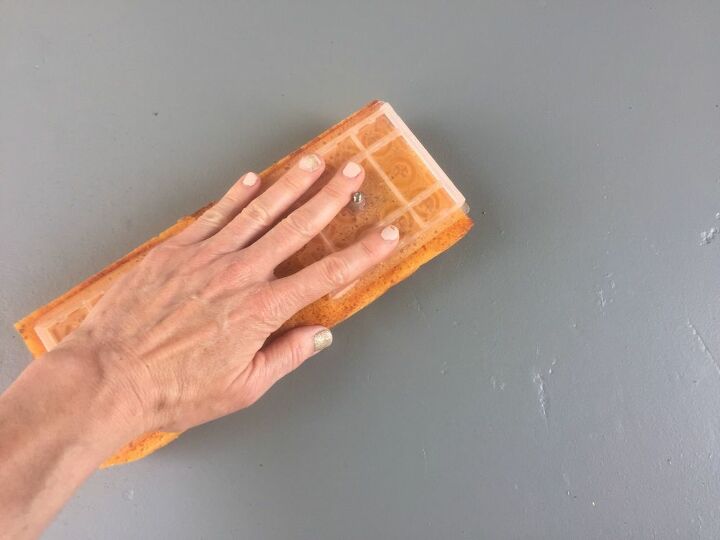
Make cuts on the outer edges of your sponge mop to make it imperfect. Bricks don't have perfect edges so this will give your faux bricks a more realistic look.
Clean the floor so it's free of any dirt, dust, and residue. Once it's dry, use the floor paint to roll on two coats. I'm using gray to simulate mortar lines between bricks.
Pour the latex paint in a tray and dip the sponge mop in so the surface is just covered.
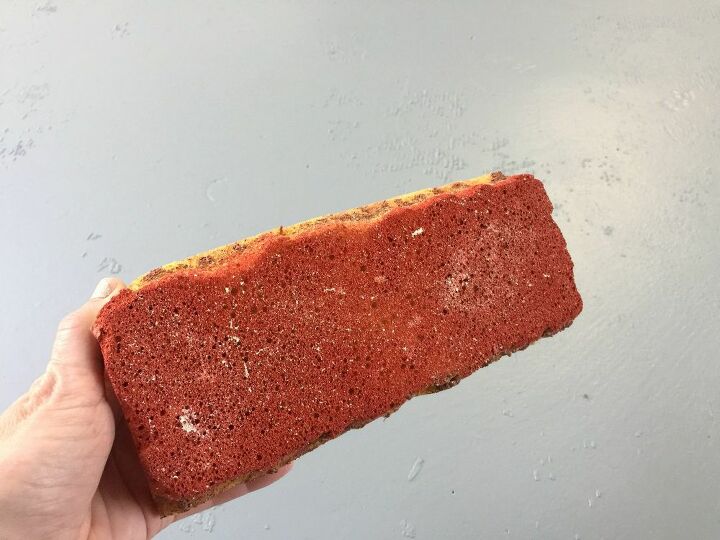
Position the sponge and press straight down onto the floor so you leave a brick stamp.
Reload with paint and continue the pattern for the length of the room. Before I started a new row, I went back and used either the corner of the sponge mop or a smaller sponge to fill in paint as necessary.
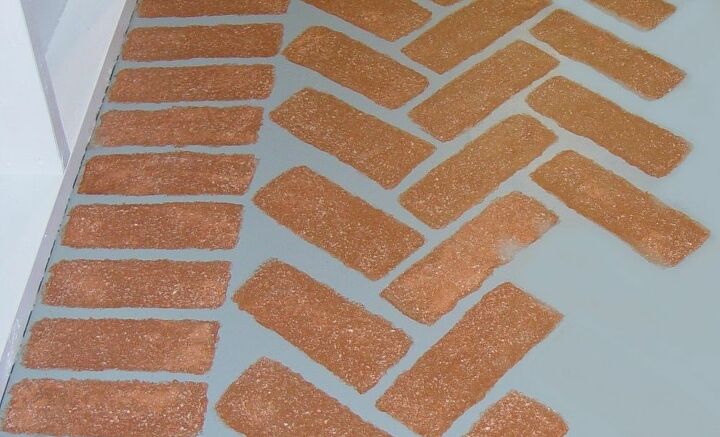
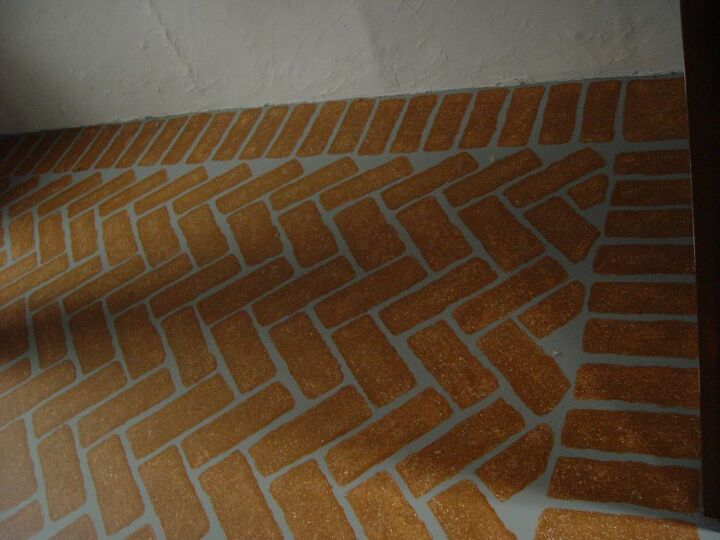
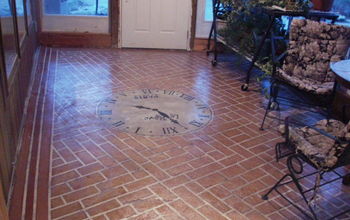
Keep creating brick stamps and filling in, if needed, until your area is filled. I made borders around the outside of the room and where my washer and dryer would sit. I also created larger brick blocks at the room corners.
Remember not to paint yourself in a corner, lol. (I only say that because I've done that...more than once...)
Allow the brick paint to fully dry for 24 hours.
Note: the epoxy step requires adequate ventilation. I opened basement windows and placed fans in them so I could pull in fresh air as well as push out the strong fumes.
Pour the epoxy into a paint tray and use the roller to apply evenly over the entire floor. Recoat again according to the manufacturer's directions. Allow to fully dry (typically for 24 hours).
The floor has had seven years of laundry loads and it's still holding up beautifully!
Resources for this project:
See all materials


Comments
Join the conversation
-
I want to do this. Also extend it onto my driveway. How long did it take to do your floor? I just love the design. You did a fantastic job. Really looks like real brick. Della from Kentucky.


![Faking It [brick Paver Edition]](https://cdn-fastly.hometalk.com/media/2017/04/05/3806609/faking-it-brick-paver-edition-animals-appliance-repair-appliances.jpg?size=350x220)


Frequently asked questions
Have a question about this project?