


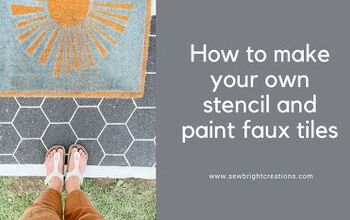
From Disgraceful To Wonderful In A Few Happy Steps
by
Rini
8 Materials
$35
1 Week
Easy
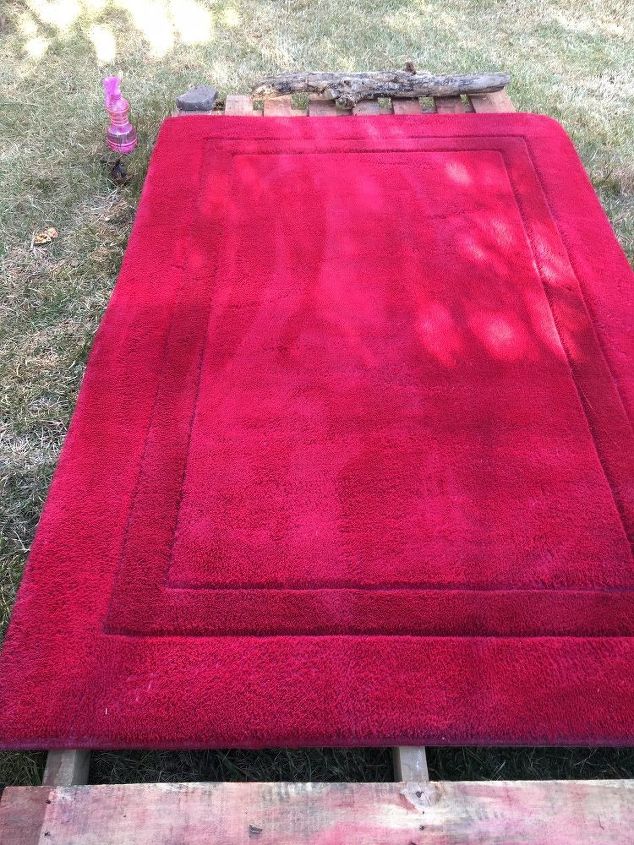
I had a great quality rug with an awful appearance. It was either make-up or die! The cleaners charged more than $300 dollars and didn't guarantee that the stains would come out so, I had nothing to lose.
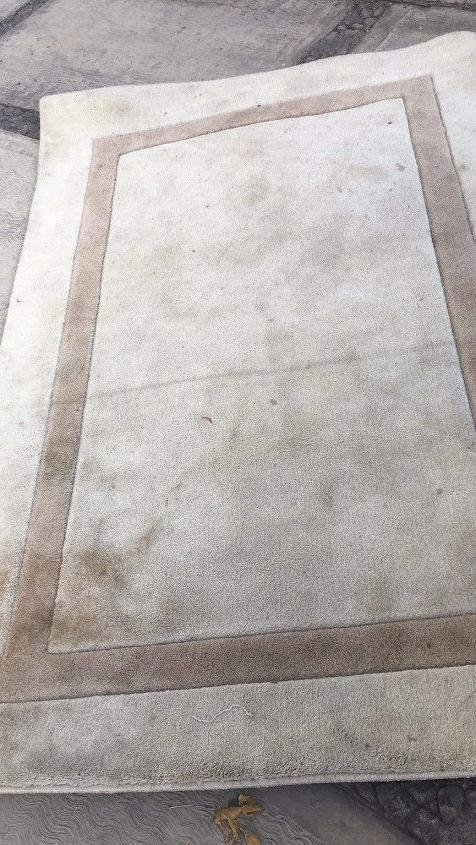
Great quality rug with an awful appearance
I had a super good quality area rug with an awful appearance and great damage that came as a result of lousy storage in a humid and dirty place. It was either make it up or die! The cleaners charged more than $300 dollars and didn't guarantee that the stains would come out so, I had nothing to lose.
First I washed it as thoroughly as possible which, made things worse because the lining (or however the bottom part is called) started to bleed through.
It was time for a radical change!
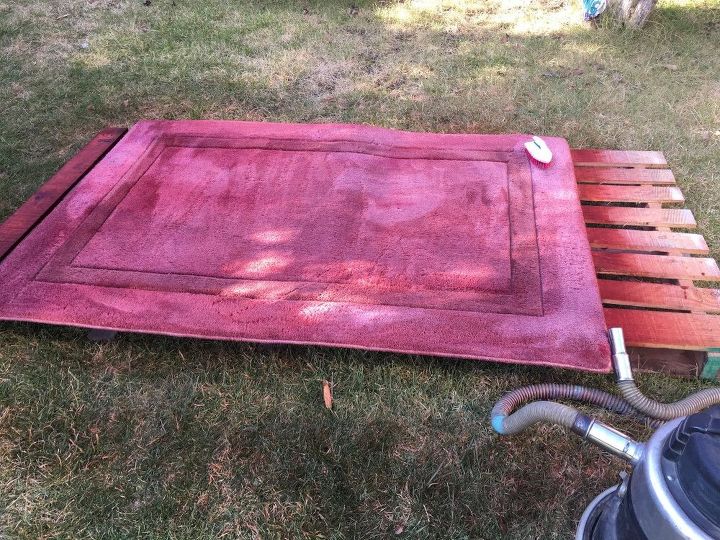
I placed it on a couple of pallets to keep the air circulating underneath it. Then I started by dying it with upholstery dye, but it didn't really take. Still, it created a good color base that was useful for the future steps. After the rug dried completely, I applied the first of 4 coats of paint.
I used acrylic paint for artists - not the kind you use to paint a house- enriched with acrylic inks to deepen the colour, and mixed with fabric medium in a ratio of approximately 2 parts of medium to 3 parts of paint, and 1/5 of a part of water, and started brushing it into the rug with a 3 inches wide painter's brush of natural bristles.
It did look quite ugly in the beginning
Use the bristles brush in a stippling motion
It was like a dance with the following steps, spray water, apply paint, brush in, repeat. And I worked in small areas at a time, overlapping strokes to get better coverage.
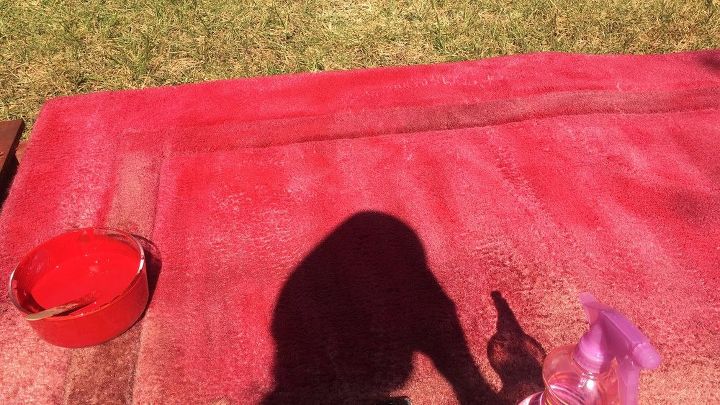
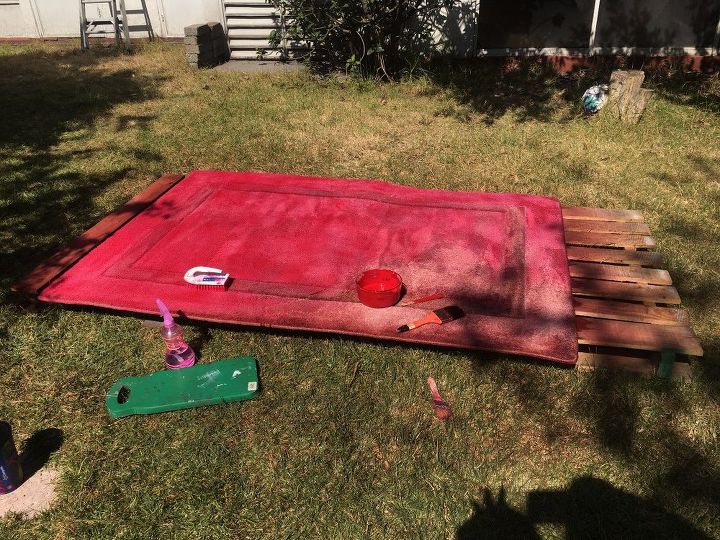
Have enough paint and a spray bottle ready
I mixed sufficient paint to cover the whole rug every time, so as to avoid different color densities, and I worked in the garden. Luckily, even though it is almost winter, these were rather warm days.
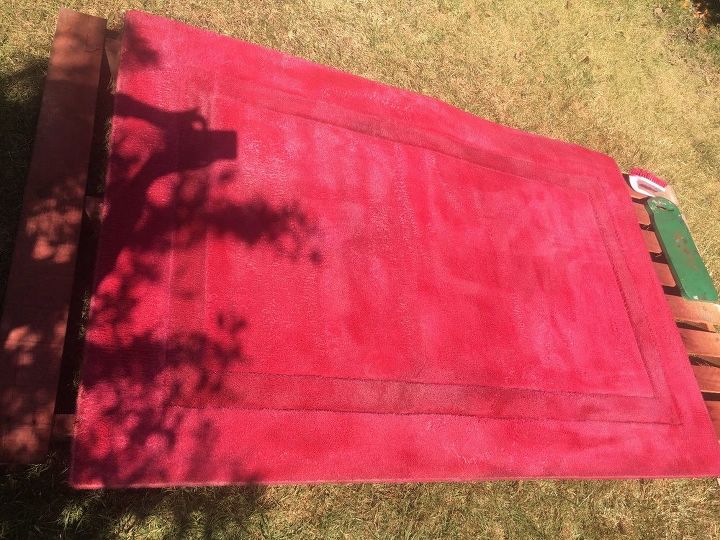
See how the bottom right side looks lighter?
After the third coat, it was still kind of patchy and I wanted a deeper color.
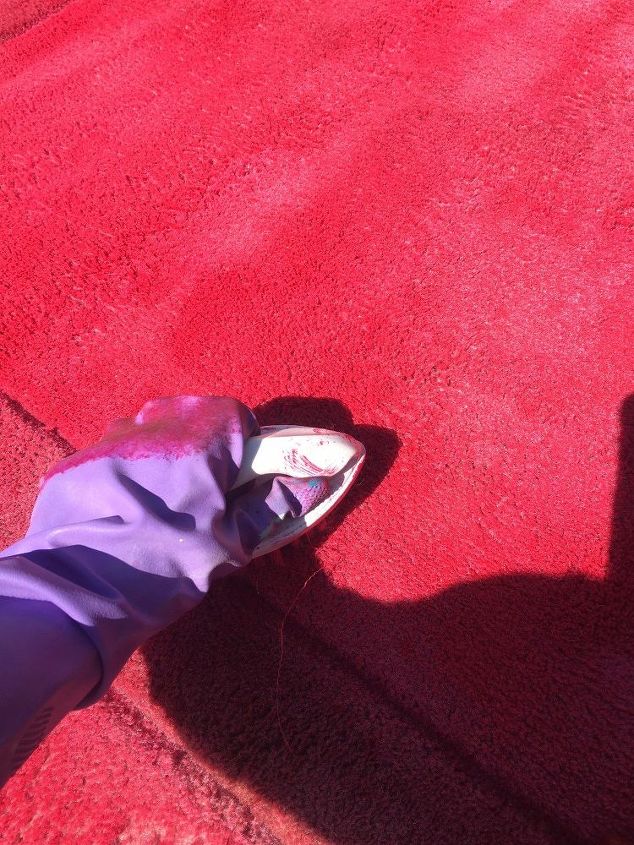
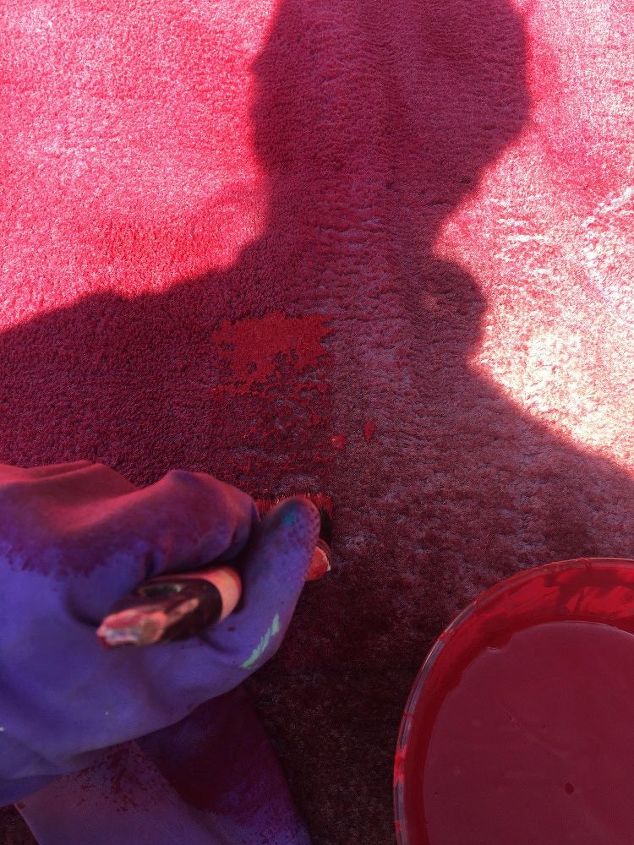
Scrub it, scrub it good!
A fourth application, spray, paint, scrub it in.
Scrubbing in is very important because it is in this step that you distribute the paint into the fibers and make it go in, as opposed to staying on top.
Given that you must wait for each coat to dry completely before applying the next one, this project took a whole week.
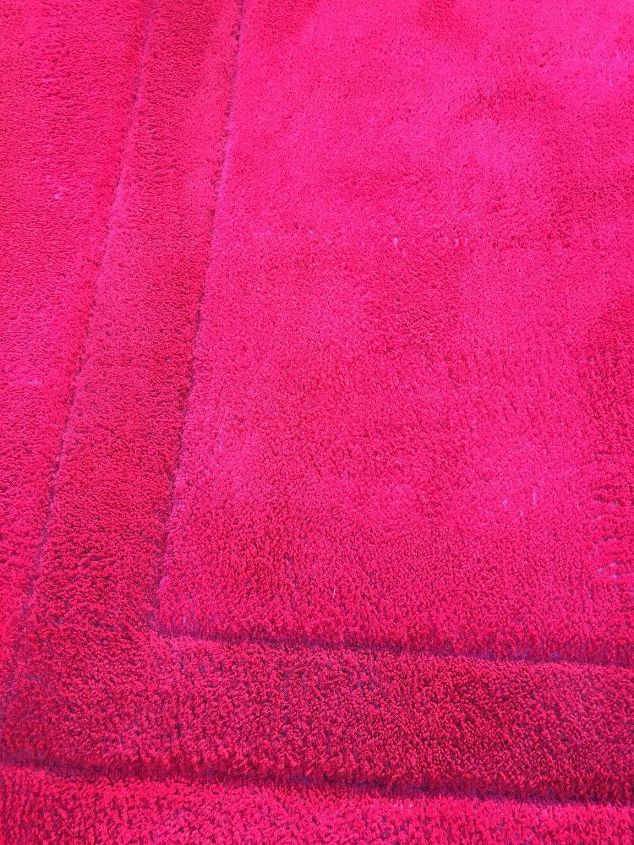
I love the fuchsia/raspberry/beet juice color
But it was well worth the wait and the effort. Look at that lovely color!
By adding the fabric medium to the paint, you make it easier to be absorbed by the fibers, plus, the brushing action helps keep the rug soft.
After 1 wash, 4 coats and 7 days
This is the end result. Sorry about the light and dark areas, which ARE NOT stains or spots, it is the reflection of the sun rays filtered through the branches of a tree under which, I was working.
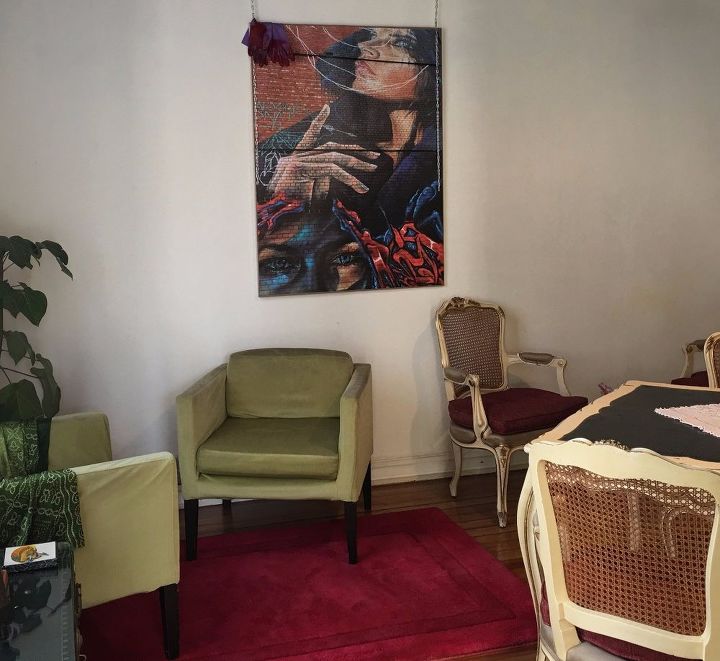
I love how it ties with my photo on the wall
See how pretty it looks!!
I also love that it looks either dark red or deep fuchsia depending on the light! Yeiii!!! I have two rugs in one!
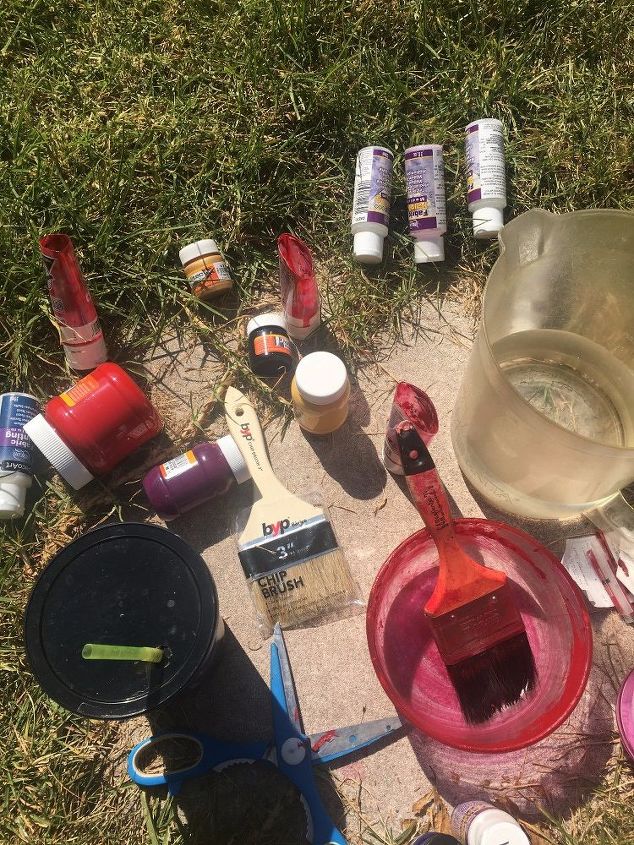
Some of the stuff I used.
I hope this inspires you to try this at home. Happy painting!
Resources for this project:
See all materials


Any price and availability information displayed on [relevant Amazon Site(s), as applicable] at the time of purchase will apply to the purchase of this product.
Hometalk may collect a small share of sales from the links on this page.More info
Comments
Join the conversation
4 of 48 comments
-
Very very nice. 1965 I dyed a wool carpet by hand with rit dye. 9x12. You’re right!nothing to lose!
-
What a beautiful color. A lot of work and a fabulous outcome. Congratulations. thanks for sharing.


Frequently asked questions
Have a question about this project?
I have an old area rug that has been hanging outside on the side of my flatbed trailer for a couple of years.....and I am going to try this....but I was wondering, when you say SPRAY (water?), or water, paint, and medium mixture? And what exactly did you use to scrub? I am sort of confused with the exact steps. And, I love the color!!! One of my favorites.....
Thanks for sharing this wonderful idea.... I actually have two rugs at present rolled to throw out because of ugly stains but with this idea at hand...I am willing to give them a chance of a new life... but first... could I try this on rugs that are to be dry cleaned only?
Can this be done on an outdoor rug?