


How to DIY Your Own Custom Doormat in Under 30 Minutes!
Every spring, I love to take stock outdoors to see how I can freshen up the curb appeal to my home. And one of my first stops is the front door.
Front door mats get tired quickly. So a fresh new one was well overdue!
However my own preference is to create a custom doormat. But don't worry, hand lettering or intricate math is not needed!
All this takes is paint and a stencil of choice...
Check out how adorable this turned out in under 30 minutes!
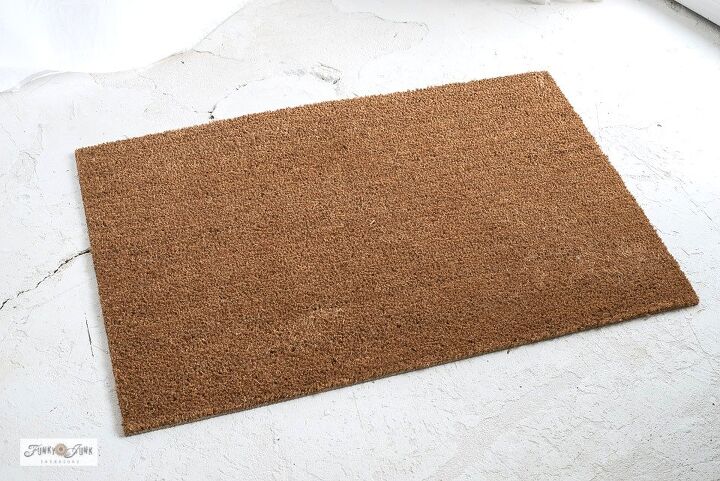
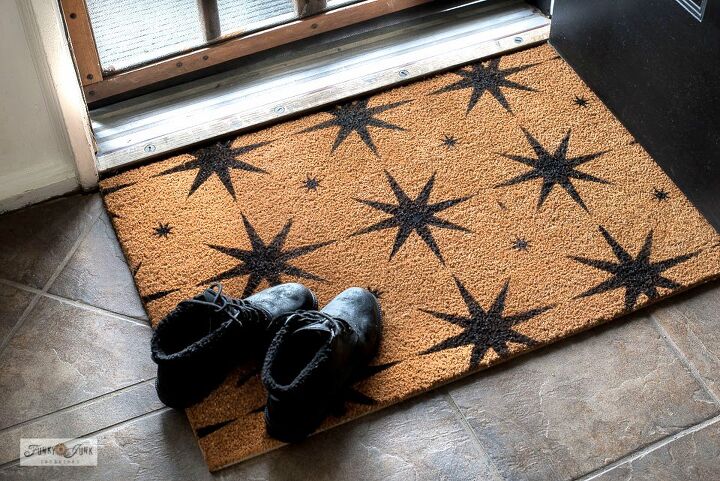
Start with a cocoa mat. I like to use 24" x 36" myself.
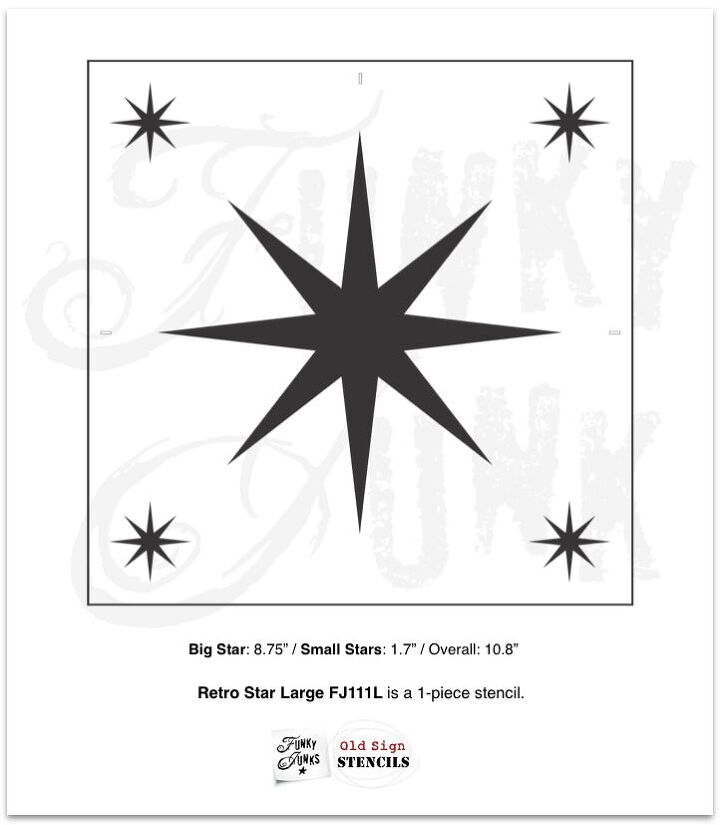
View Retro Star Large and other pattern stencils HERE
Then grab a stencil of choice! I personally love the striking look of repeating patterns, so I chose this Retro Star stencil to get a modern retro vibe.
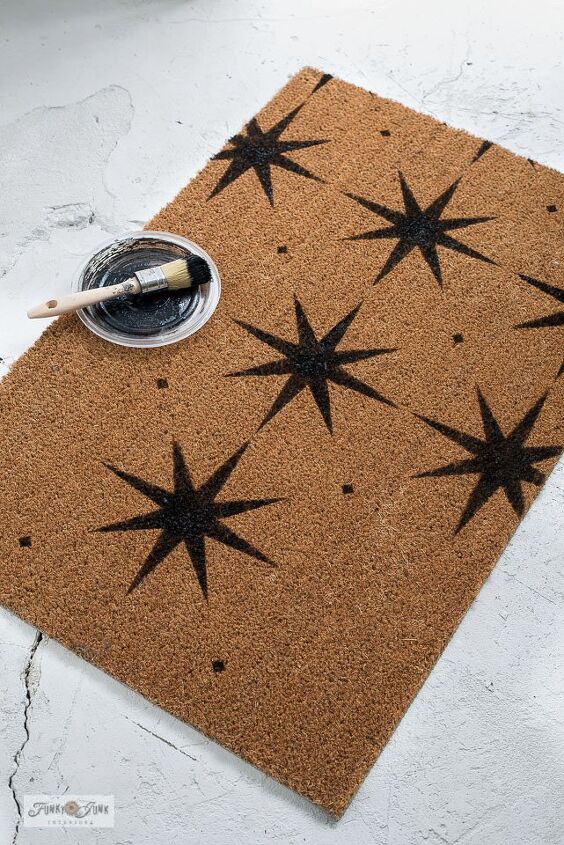
Stenciling a pattern is very easy!
- Center the stencil in the middle of the doormat.
- Attach with masking tape and further secure with sewing pins.
- Dab the stencil brush into paint.
- Tap through the stencil.
- To continue pattern, reposition stencil by overlapping like-minded pattern along the edges, then continue until surface is complete.
Since doormats take more paint due to how they absorb, paint bleed is rarely an issue.
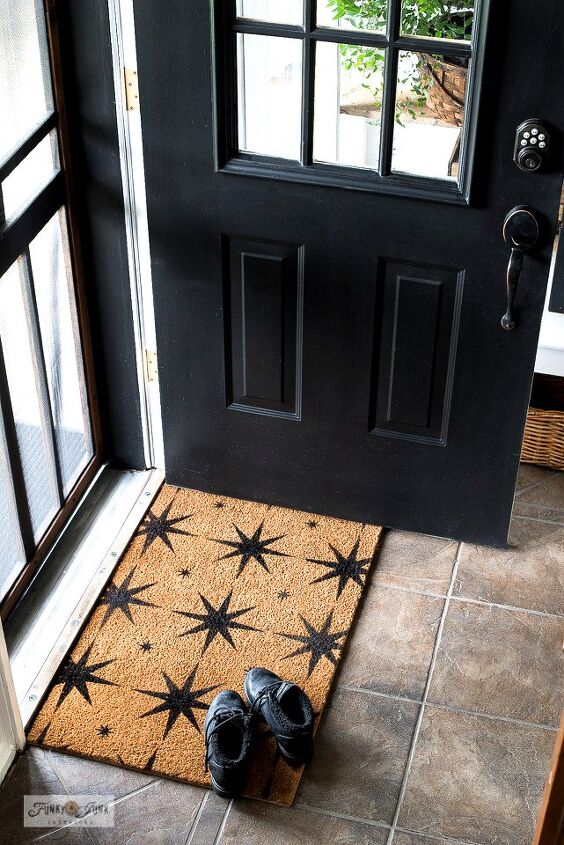
And here's the super fun results! Isn't this starburst pattern so striking? Especially the black against the darn front door!

And that's the beauty of a custom doormat. You can design it any way you wish in any color desired.
Now that's a fresh spring start!
Have you ever designed your own custom doormat? What would you put on yours?
View THIS AND MORE DOORMAT DESIGNS HERE
See other fun STENCIL PATTERN PROJECTS HERE
Resources for this project:
See all materials


Comments
Join the conversation
-
This is beautiful! I love the atomic star look!
-
So darn cute! You did a great job


Frequently asked questions
Have a question about this project?