


How to Stencil Your Concrete Floors!

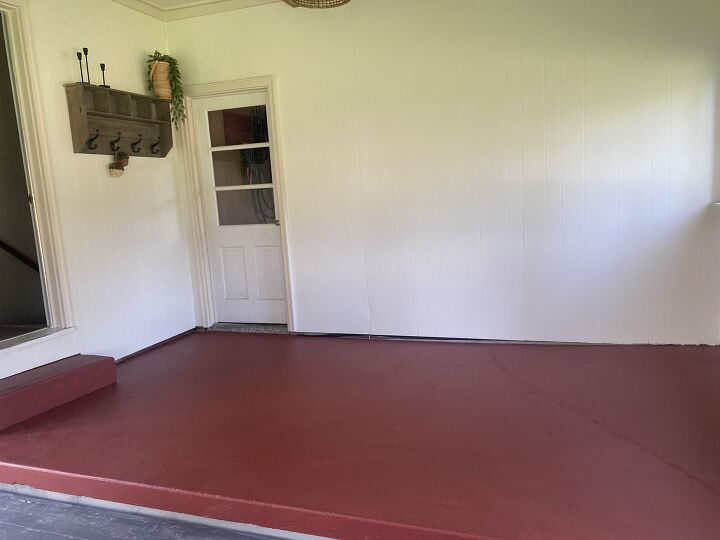
I just recently updated the upper portion of my back porch/sunroom. For over two years I was saving up money to renovate this space. Here is a before...
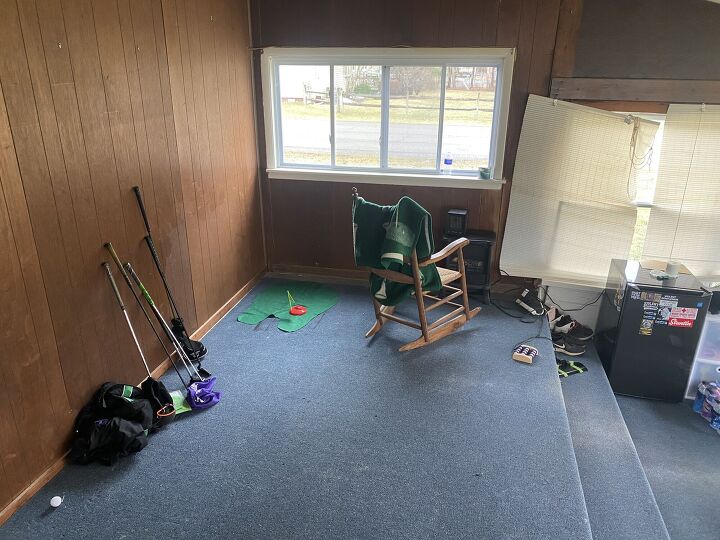
The blue carpet was the first thing to go. I then gave the room a deep clean, painted, updated the trim and light fixture, added a planked ceiling and ceiling beams! But even after all of those updates, the concrete floors were driving me nuts.
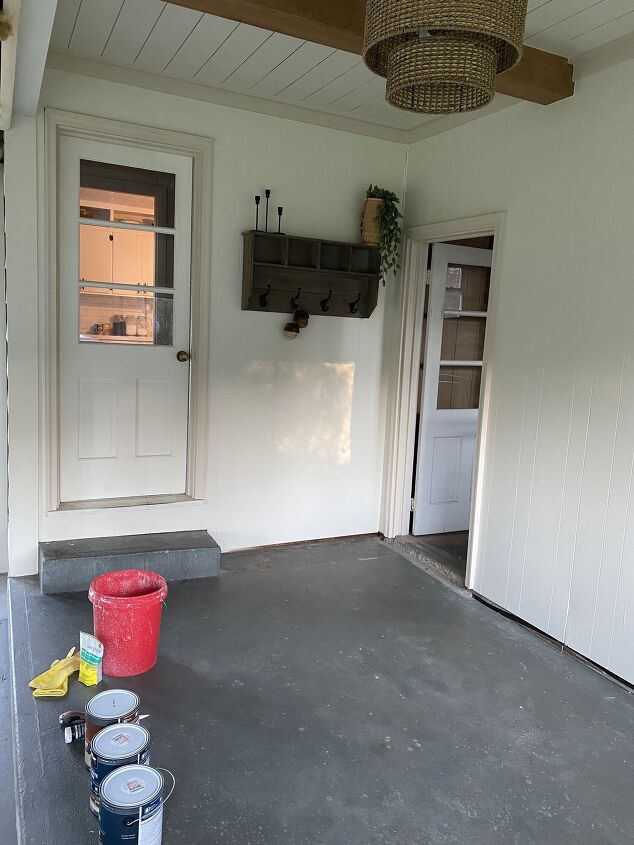
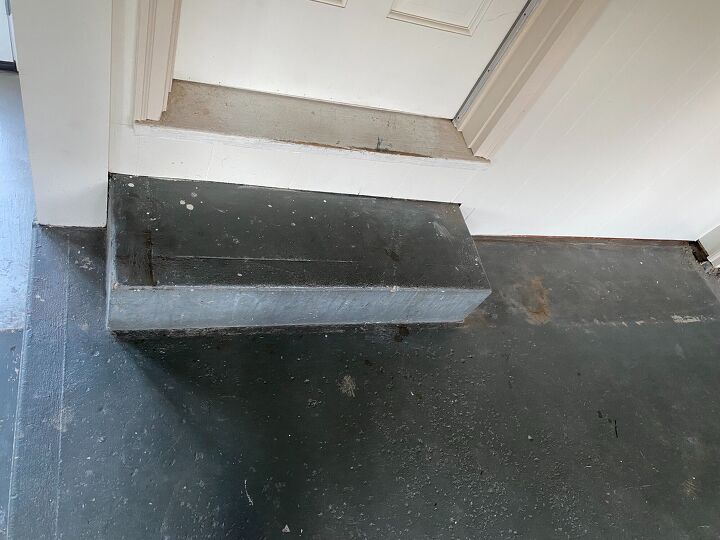
The concrete is old and needed an update! Here is a closer look...
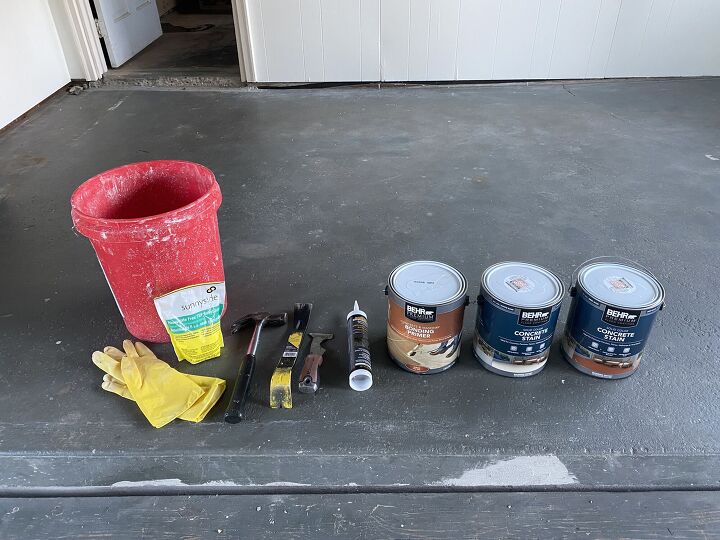
Pouring new concrete was definitely not in the budget so I started to brainstorm ideas! I had thought about just putting an area rug out there to cover it up, but didn't want to just hide the concrete, I wanted to accentuate it! I thought it would be so fun to do a stencil out here! I usually stick to neutral colors, so originally I really wanted to change it up and add a pop of color! I had a stenciled terra cotta look in mind, but that ended up all changing. Here is my stenciling journey story. First, I headed to Home Depot and grabbed my supplies...
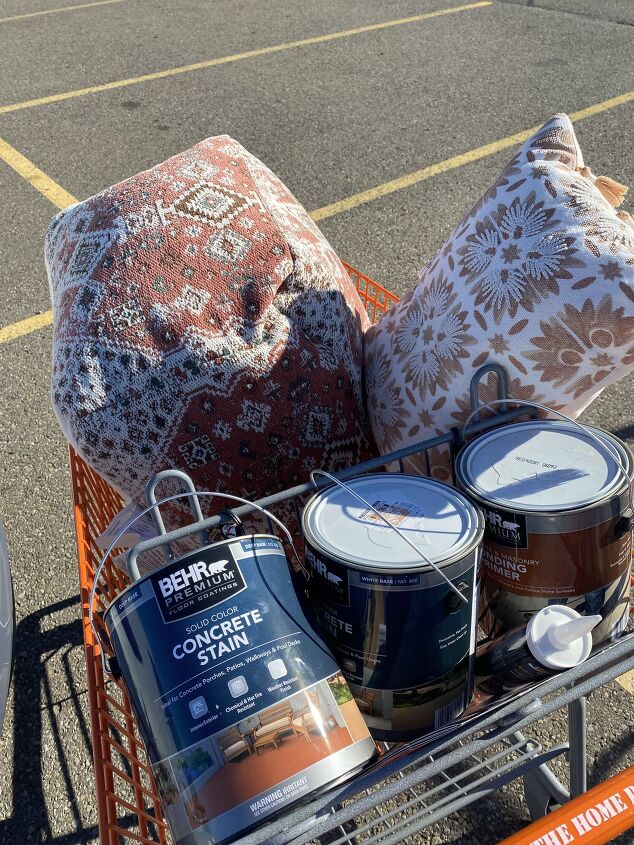
I brought a poof and pillow to the store with me to coordinate with some colors I had in mind. I ended up purchasing Behr concrete bonding primer and 2 concrete stains in the colors "Terra Brick" and "Simply White." I then gathered up all of my supplies at home...
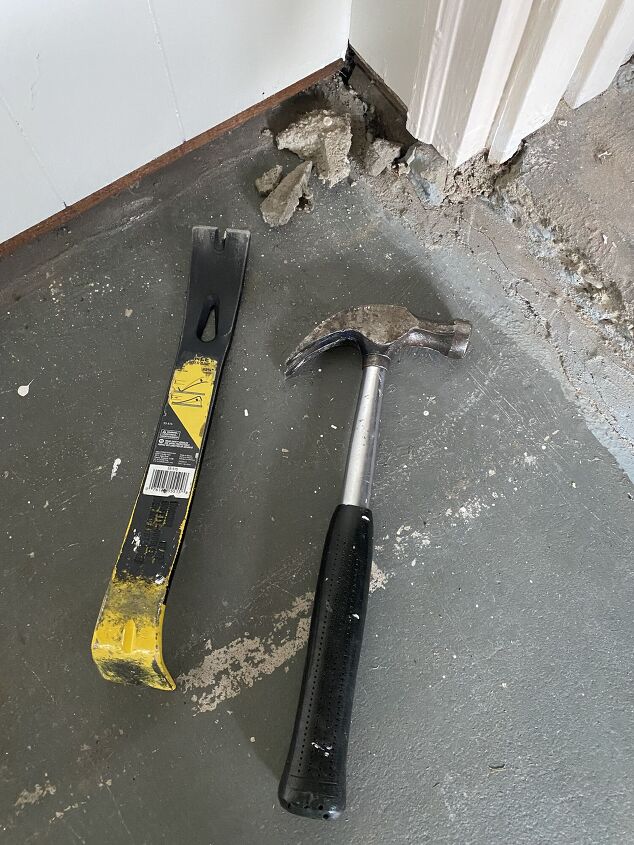
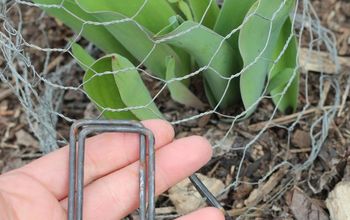
I started by inspecting my concrete. I found a corner of clumped concrete that wasn't level. I used my prybar and hammer to break that concrete up and level the area out. This was very simple to do, but an important step before starting to paint so that everything is nice and level and won't turn out looking like a janky stencil in the end!
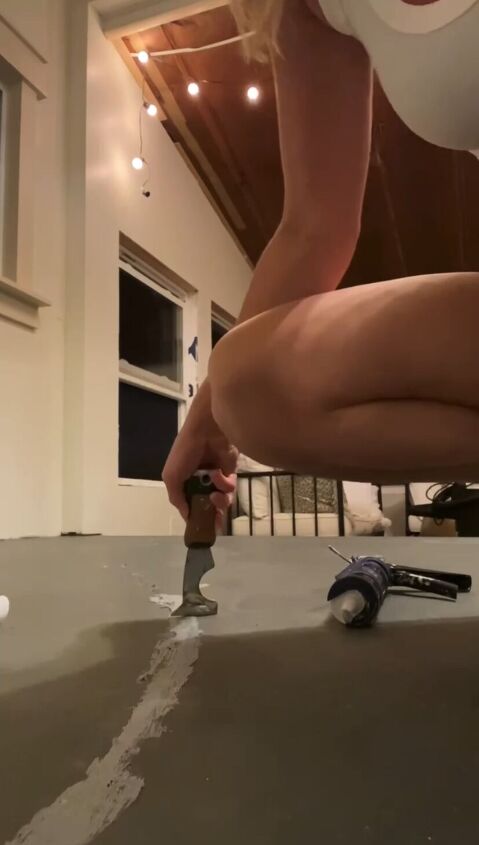
Next I very thoroughly cleaned the entire floor. First vacuumed, then I used TSP cleaner and a rag to scrub it clean. Then, I had a big ole crack in my concrete that I simply used concrete crack sealant with my caulk gun to fill. I then used my putty knife to spread it out just like shown below.
After that dried, I used my nap roller to apply the Behr concrete bonding primer. The primer dries clear and simply preps the concrete stain to adhere to the concrete. After the primer dried, I was ready to get to paintin'. I simply used my paint brush to apply the stain to the edges then rolled out the remaining stain on the floor. I applied 2 coats. Like I said before, I was stepping out of my comfort zone using color and was going for a terra cotta color. This color was too pinky/peach for my liking and I kept trying to convince myself I liked it, but deep down I just knew I didn't.
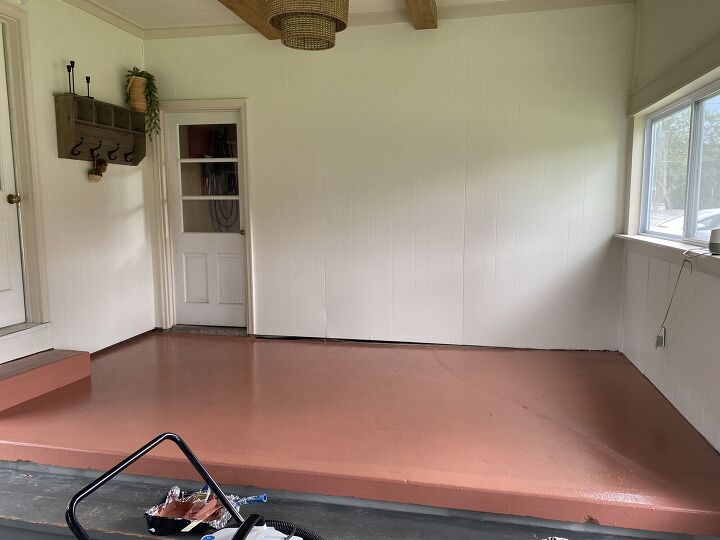
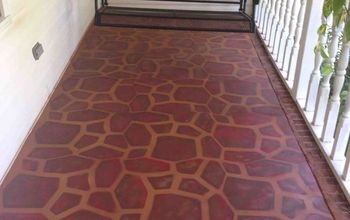
So, I re-thought my whole color scheme, headed back to Home Depot and picked up some more concrete stain in the color "red brick". I used the same technique to apply the stain as I did above. Here is how the red brick turned out...
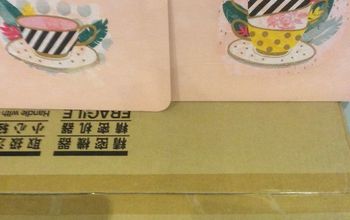
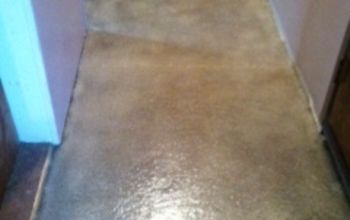
I still didn't love it. I kept this color out here and pondered on it for a couple of days. I even tested out this color on some paper with a white stencil to try to test it out. But it just wasn't me. I felt like I was forcing myself to do color, while deep down I knew I wanted black and white. So, for the third time, I painted my floors using Behr concrete stain in the color "bright white".
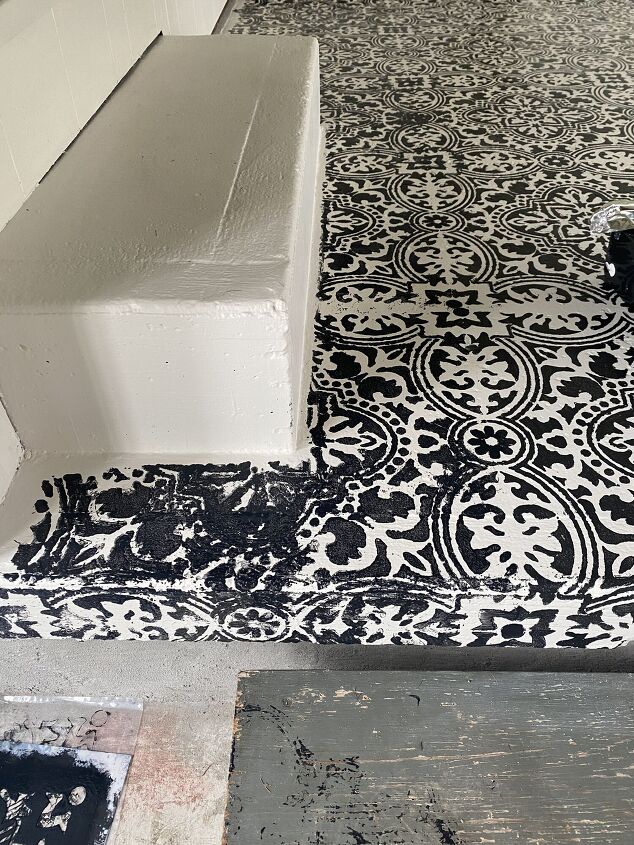
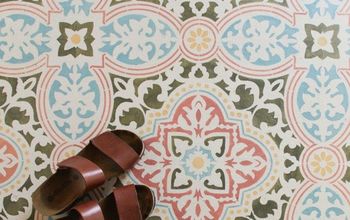
The white was so much more me. This required three coats. After it was dry I was ready to stencil! The plan was to use the same Behr concrete stain to stencil with in black. But, after spending so much money on the colored stains I didn't care for, I decided to use some leftover black tile paint I had used previously used on my fireplace tiles in hopes to save a little bit of money. This was risky because I didn't know if it would adhere, but it did so I got lucky. I started in the corner of the room. I laid my stencil and used my stencil brush to dap the black paint into the stencil. This took a solid 40 mins to paint this one stencil...

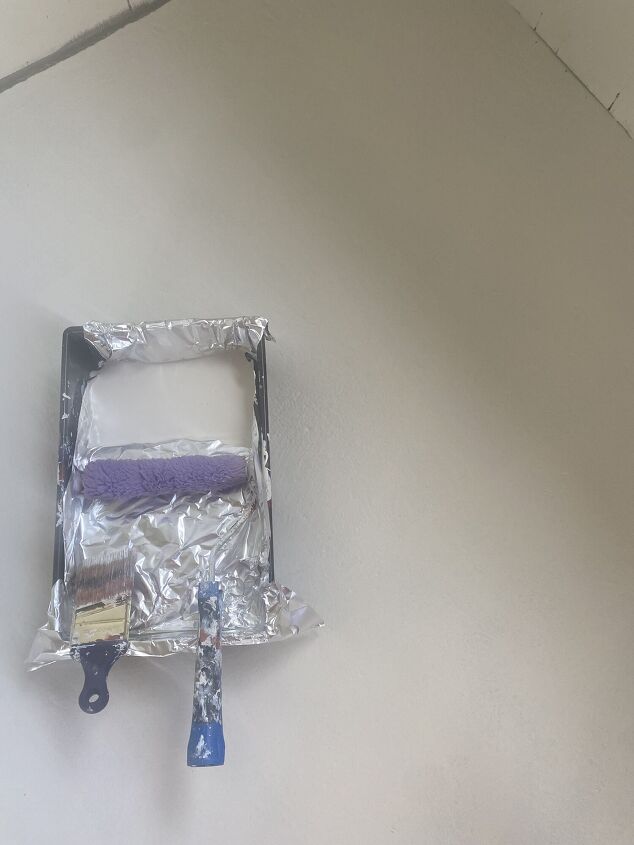
There was some bleed through (which is what I didn't want) and after it taking so long I decided to try to use my roller on the second stencil to save some time and to compare the bleed throughs of each of the two. I applied a very little amount of black paint to the roller and removed as much of the excess as I could onto my pan.
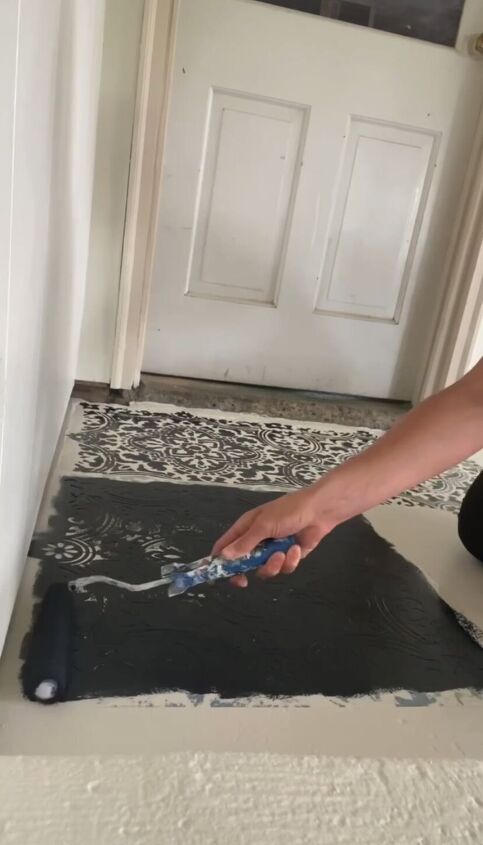
I originally did not use my roller because everywhere else on the intranet says that the roller brush causes a lot of bleed through. Well, I beg to differ. In my case the rolling was 100% better than the stencil brush. It was way quicker and came out looking way better as well. So from here on out I just continued to line up my stencil and continued the pattern on the rest of the floor. Below you can see the difference between using the stencil brush in the upper right hand corner vs the roller in the rest of the squares.

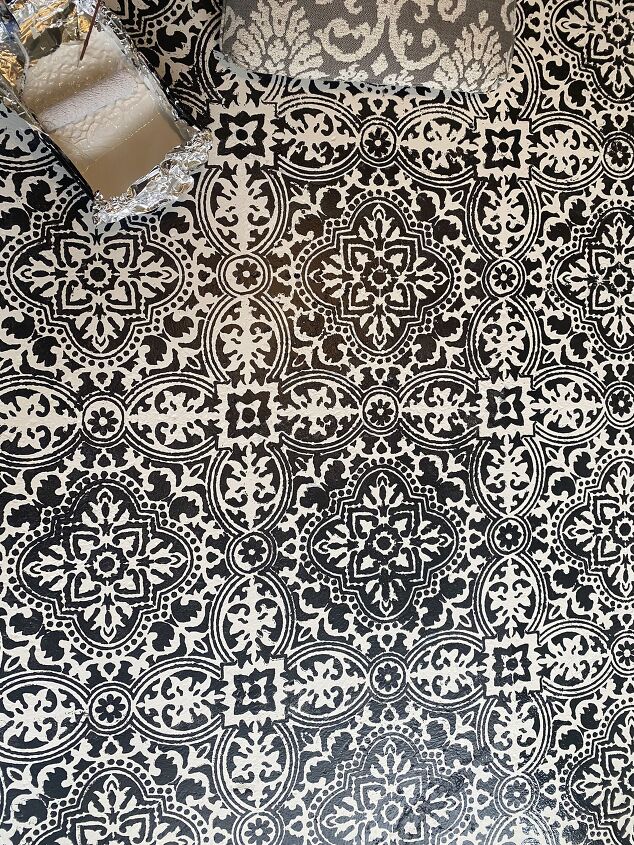
As I continued stenciling I just tried to keep the line down my floor as straight as possible when lining the stencil up. Here is how far I got after one day...

On day two I woke up eager to get to stenciling. As I got going, I noticed there was some bleed through on two of the stencils that I just did. I then realized my roller brush was still quite a bit damp from the day before. So just keep this in mind, make sure your brush is fully dry if you are using your same roller as yesterday, otherwise this may cause bleed through.
Another tip is to take very good care of your stencil itself. I placed mine to dry on the plastic sheet it came in. Well, the next day I had to peel it off. The plastic had adhered in many places to the stencil, which was a pain in the butt. So looking back I wish I would have hung mine on a clothes pin to dry so that nothing would have stuck to it.

When I got to stenciling around my step I used all of my limbs to pry and hold the stencil in place. I could have also used tape, but this worked just as well.

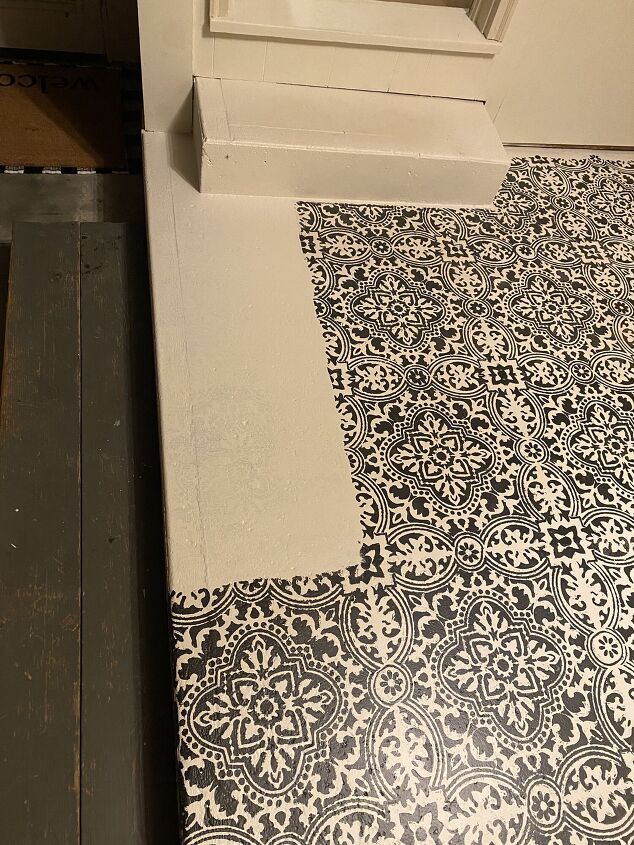
As I stenciled around my step it overall went pretty seamlessly, but don't be fooled I definitely messed up big time here...
I was getting lazy and tired and the stencil was slipping and I didn't line the stencil up right at all!! You can see the big gap between the stencils and then obviously the big mess as well. This mess up was so bad that I just re-painted over the stencil in white like shown below... and gave myself a re-do!
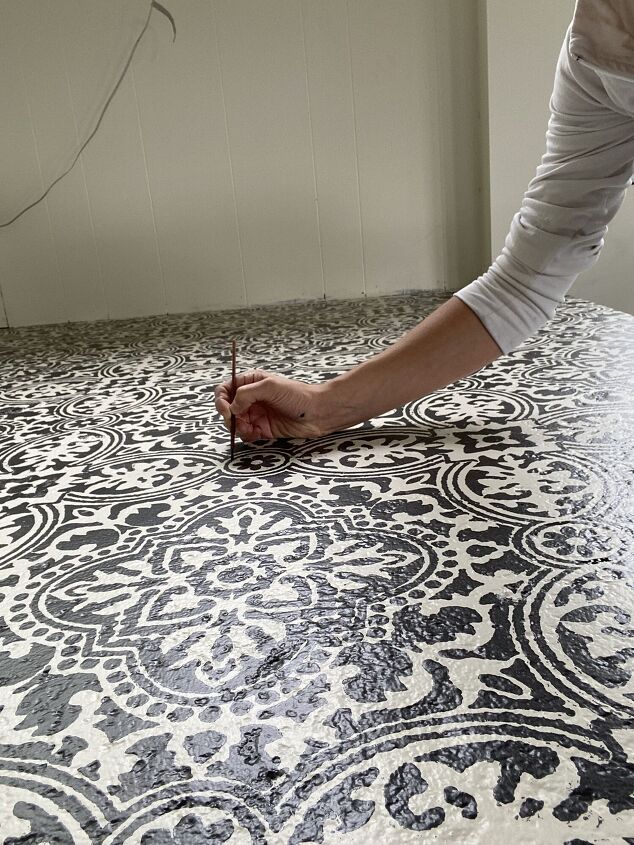
After this last section was stenciled I was done with the stenciling! But, I did have some bleed through in certain areas from some stencils. So, I went back through the floor with a small paint brush with both my white and black paint to clean all the lines up.
Since I used the tile paint I did have to put a sealer that came with the Rustoleum tile paint on but, you shouldn't have to put any sealer on if you just stick with the Behr Concrete Stain.

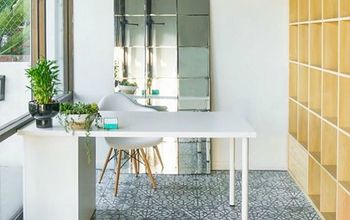
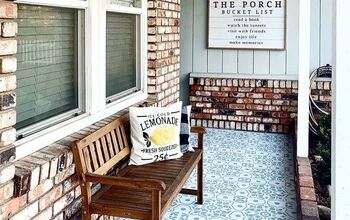
After a few days of leaving the paint to dry/cure I then brought back out my furniture!

After about a month, the paint is holding up great. No chipping. I just love how this whole space turned out and how far it has come in these past few months! I still need to complete the look with baseboards but I am really enjoying this room even more now with my new stenciled floors. I hope this post was helpful and encourages you that you can also accomplish this look! If you have any questions please feel free to reach out! And if you try stenciling your concrete floors be sure to tag me on Instagram @abbbclark_homeee. I would love to see!
Resources for this project:


Comments
Join the conversation
-
I actually prefer the red brick color. 🤷🏼♀️
-
You did a great job. I love it the pattern is beautiful. Which stencil did you use and where from,please. ❤️


Frequently asked questions
Have a question about this project?
Beautiful, could I do my outside porches with this or another product?
I know that the stain and paint werent cheap, and also seemed to be more time consuming than tiling would have been. Did you keep track of the cost both time and materials?
I love all your Instagram posts on the transformation of your home! You are sooo talented! I have one question: How do you find the energy and time?