


Refinishing Hardwood Floors: Drum Sander Edition
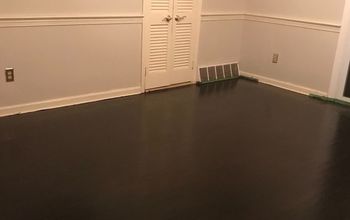
Reclaiming our hardwood floors in the 1930's farmhouse we bought was a big priority. There's just something about the history in those beautiful, original boards that can't really be replicated.
Of course, it was also... well... a heck of a lot of work.
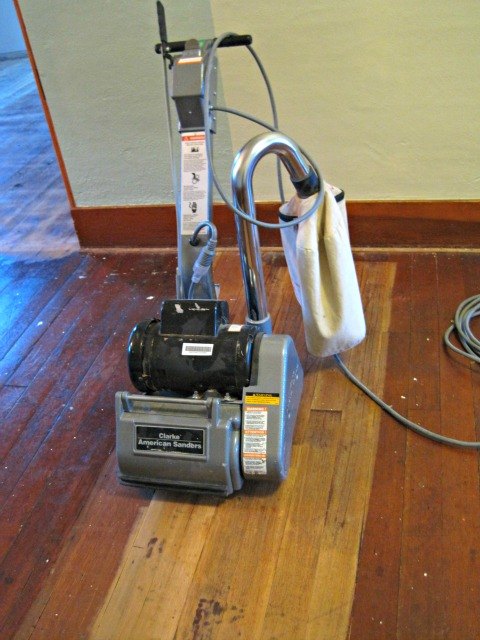
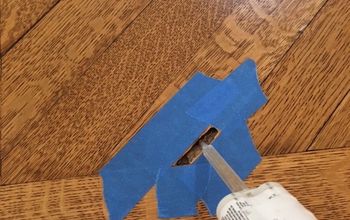
We began by renting a drum sander from a nearby hardware store.
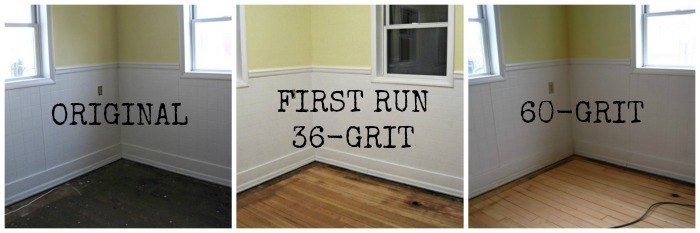
The first step was doing the "heavy duty" sanding- removing the (still remaining) glue, and getting down through the varnish and stain- using 36-grit sandpaper.
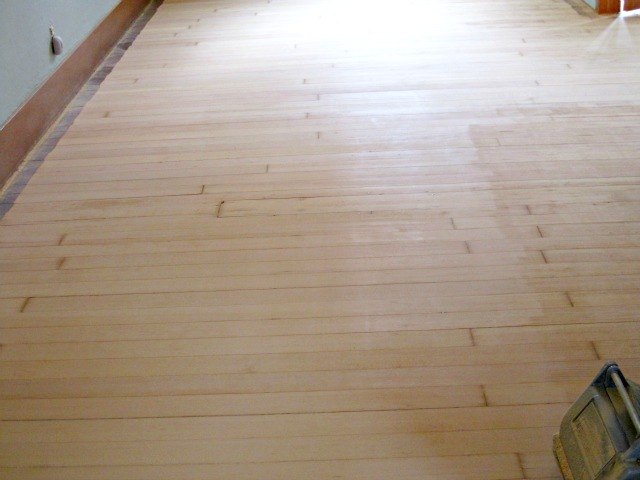
For drum sanding tips, tricks, and more pictures-- check out the blog post below!

Want more details about this and other DIY projects? Check out my blog post!


Frequently asked questions
Have a question about this project?