


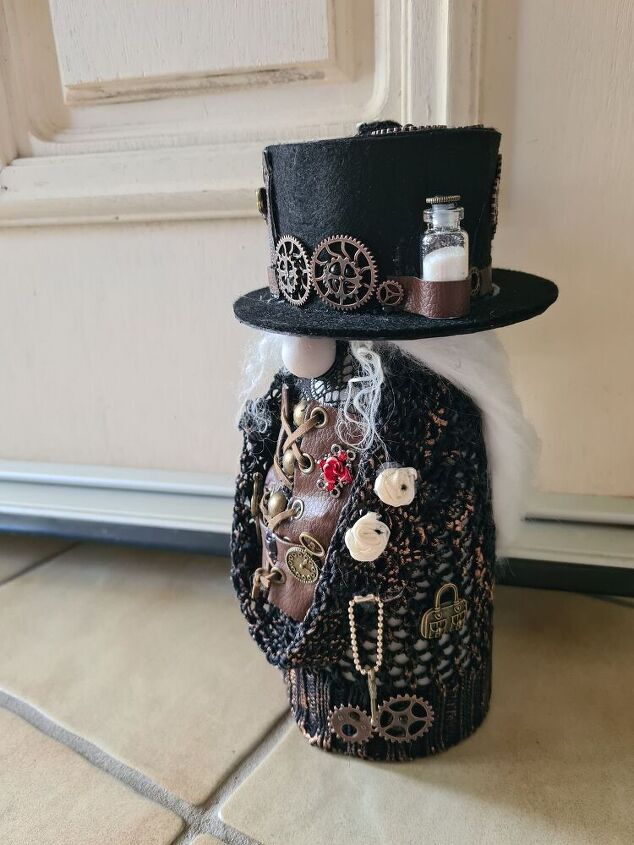
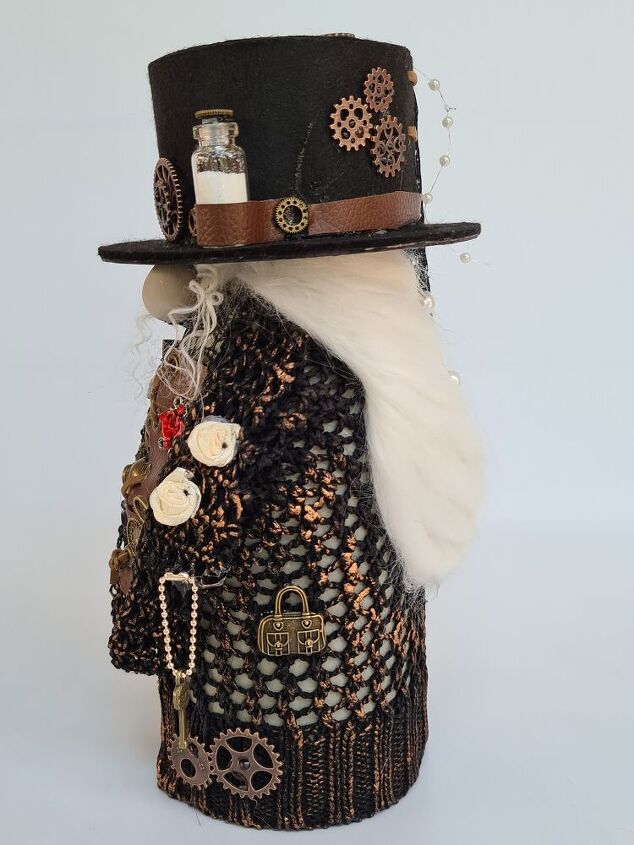
Steampunk Doorstop
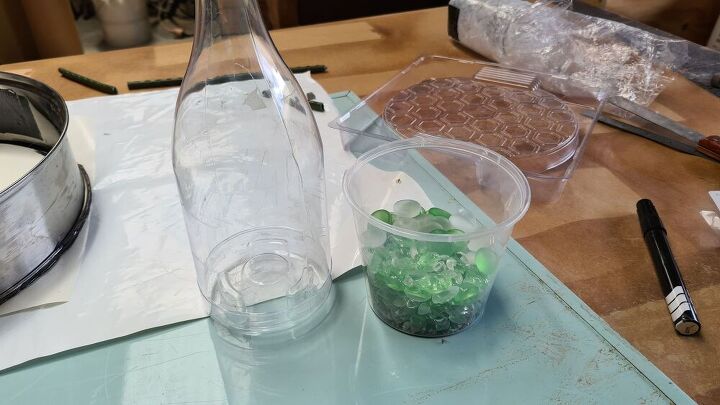
The idea for this project came about from two failed projects. A blogging group I belong to recently had a challenge using concrete and one of my attempts was this cement bottle, but it broke when I was removing the mould. So it got chucked in the “failed” area of my shed. Another failed project was one of my sock gnomes. She was supposed to be a female but I could not get her hair right so “she” became a “he” in a pretty hat.
My idea was to try and create a female steampunk doorstop using the cement bottle and the sock gnome design.
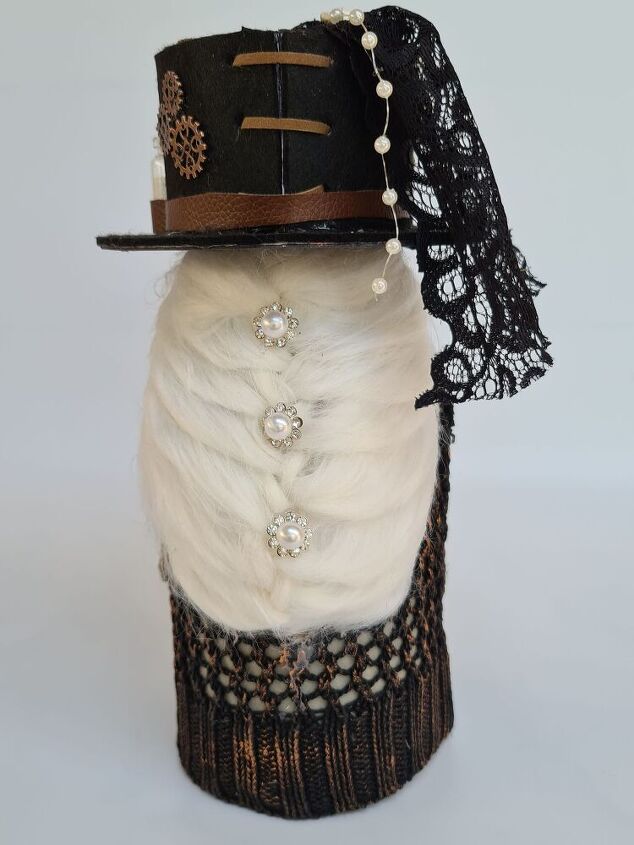
And yes you are not imagining it, I french braided the doorstops hair. 
Make the base
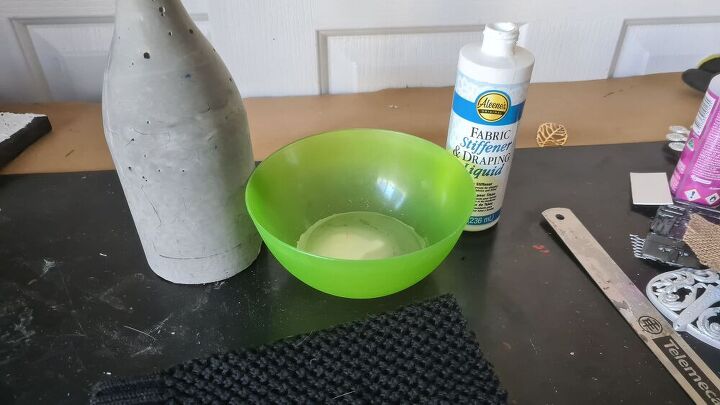
To make the base, I used a recycled plastic bottle. You can use any plastic bottle because most of it will be covered. Ignore the other items in the image below, they were for the other project that failed.
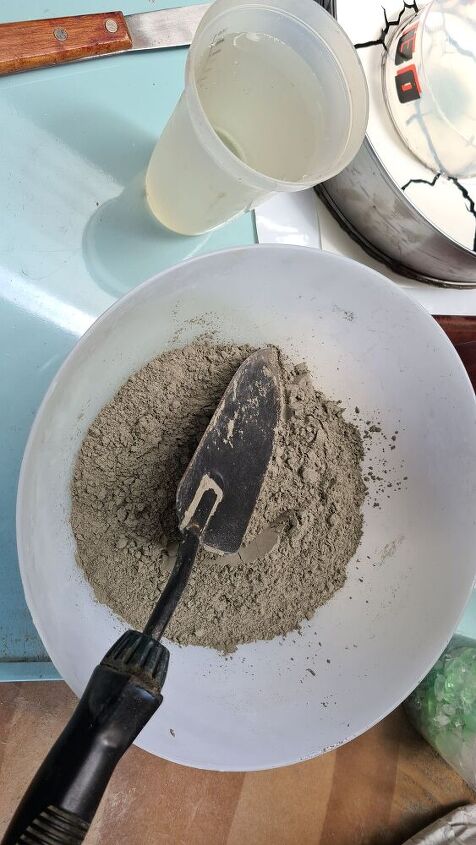
Mix some cement in a bowl and add water until you start getting a firmer consistency. The mixture must still be runny enough to pour into the bottle.
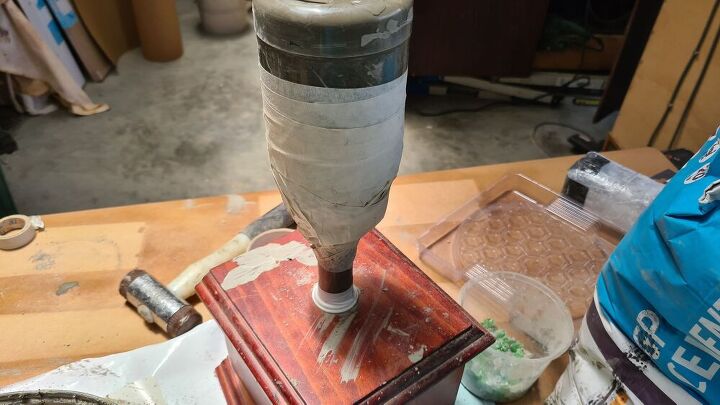
Because of the shape on the bottom, I felt it would be too hard to get the plastic off without causing damage. So I had to stand mine upside down to dry. The bottle also had a crack that I did not notice, so I had to tape the bottle up quickly.
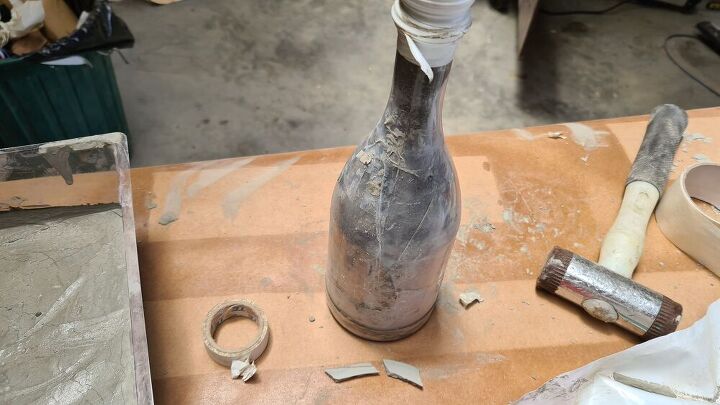
I left the cement to dry overnight before removing the plastic bottle. Ignore the hammer, I did not remove the plastic with that, even though the top broke off.
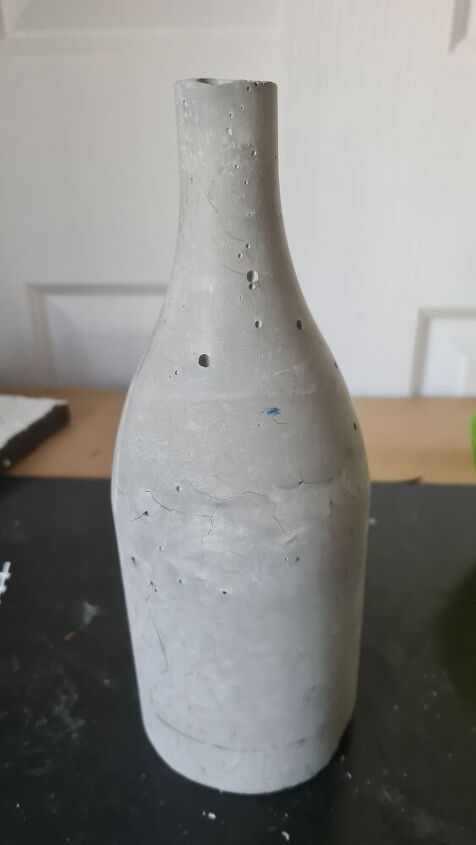
You can see lots of cracks in the cement, that is not damaged it is the stones you saw in the first image just under the surface. My idea was to have a bottle with part of the side missing with all the glass stones embedded in the gaps. I left it as it was for this project because you would not see it anyway.
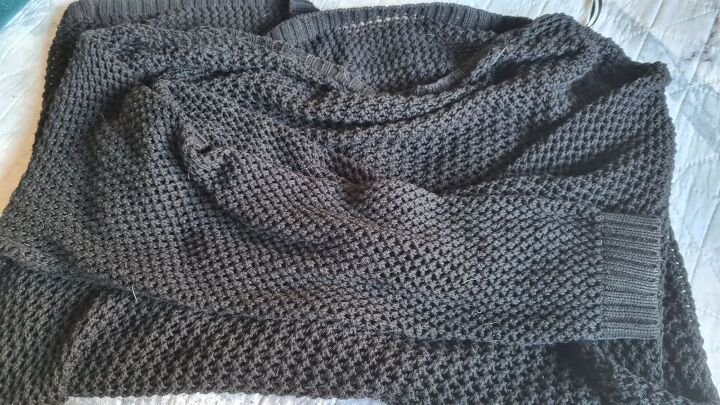
To create the outfit I used the sleeve from an old sweater. I wanted to create a dress and a shawl using just the sleeve. To do this I used some fabric stiffener on the sweater so I could create the shape I wanted.
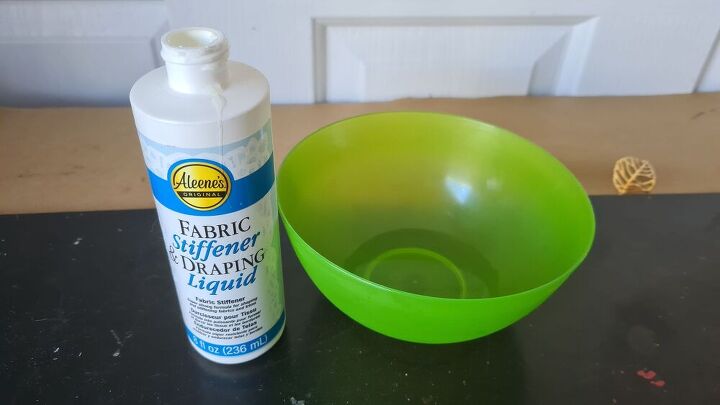
From past experience, I have found this product works better if you wet the fabric first and squeeze out the excess water.
I added some fabric stiffener to a bowl and then added my fabric. Another way to do this step is to use a seal lock bag and add the fabric and the stiffener mix it all around in the bag.

You should wear gloves for this step so you can massage the stiffener into the sweater.
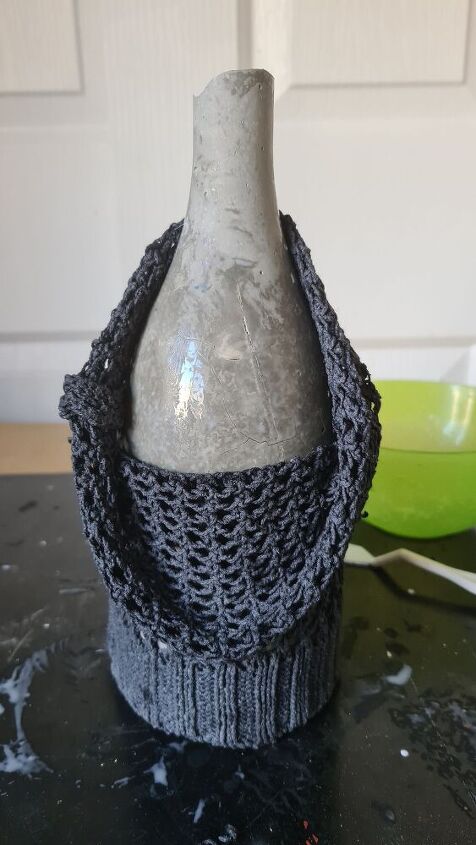
Next, put the sweater over the bottle and shape it how you want it. I left mine on the windowsill in the sun to dry. If you are not getting the shape you want, you may need to wait until the fabric starts to stiffen. Then go back and add your shape.
Decorate the body
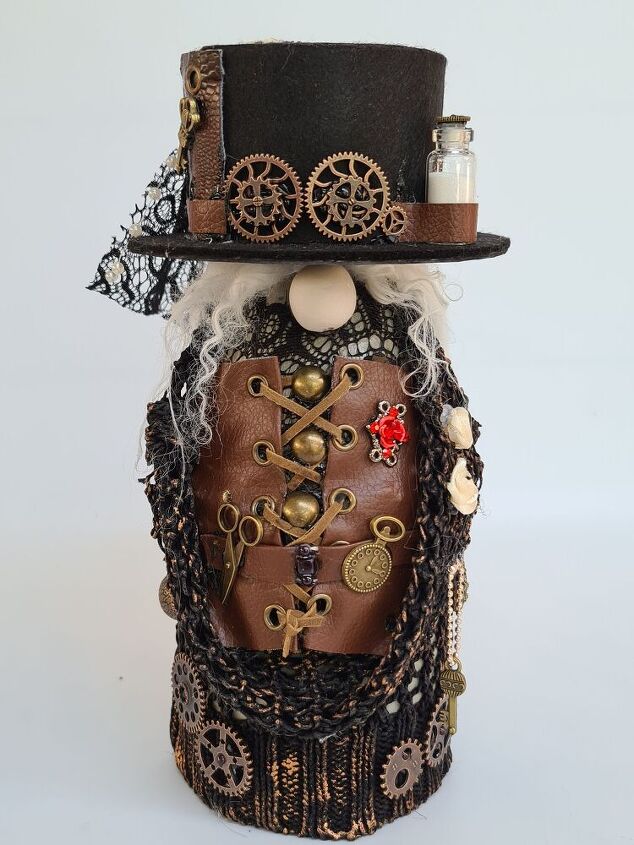
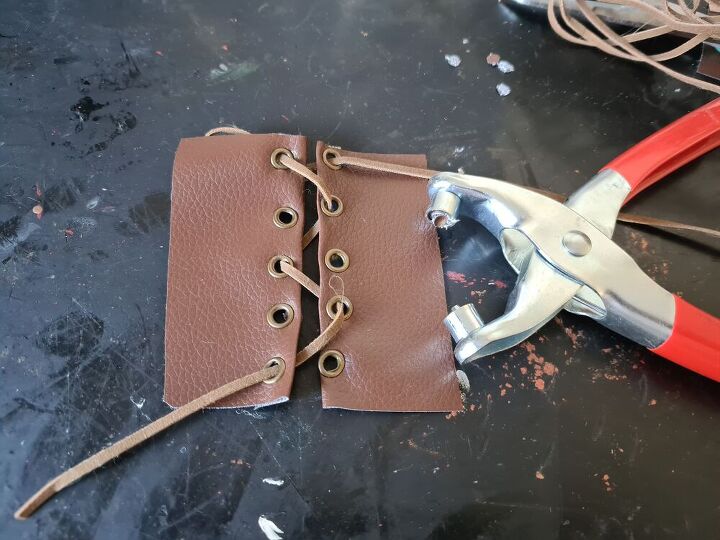
I went for a steampunk theme for this project because I am still not over my phase yet. Surprise surprise. I glued a scrap of lace over the exposed cement bottle and make her a leather corset similar to the one on my steampunk mannequin. And glued it inside the shawl.
Adding the hair
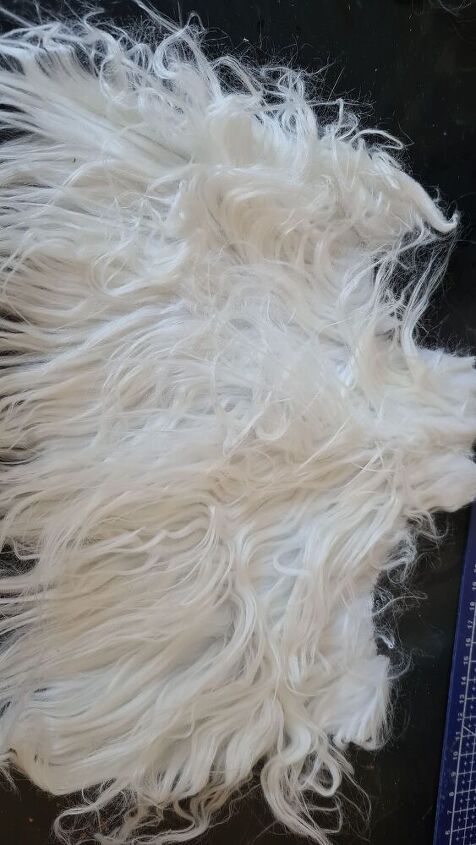
To make her hair I used some white Mongolian fur. I like using this fur as opposed to regular craft fur because it is of far better quality and you get better results.
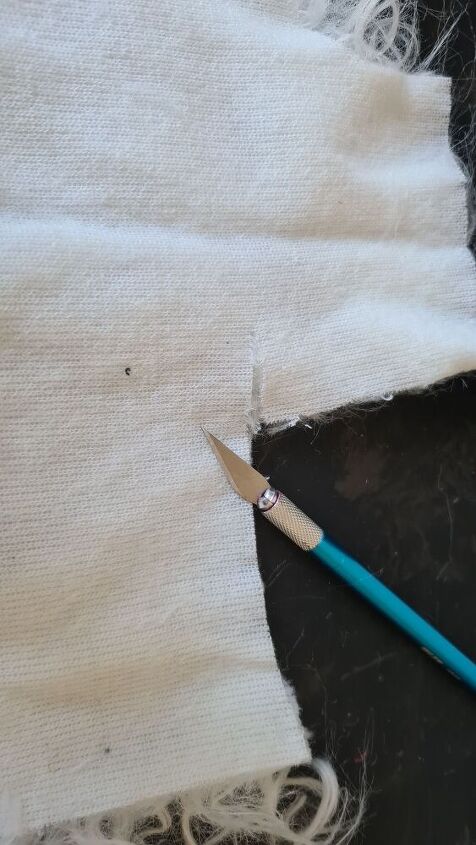
To cut the fur without damaging the fur, it is best to use a sharp craft knife and just cut the back lining. That way you will not see a straight cut in the fur.

When I was making the lady sock gnome, I tried so many hairstyles and they all looked naff. Given her pigtails or two braids were all I could come up with, until now. Yes, you are seeing this correctly, I gave my doorstop a French braid. Ha ha This was easy to do when the lining is glued to the bottle. I added some pearl beads to highlight the braid.
Highlight her dress
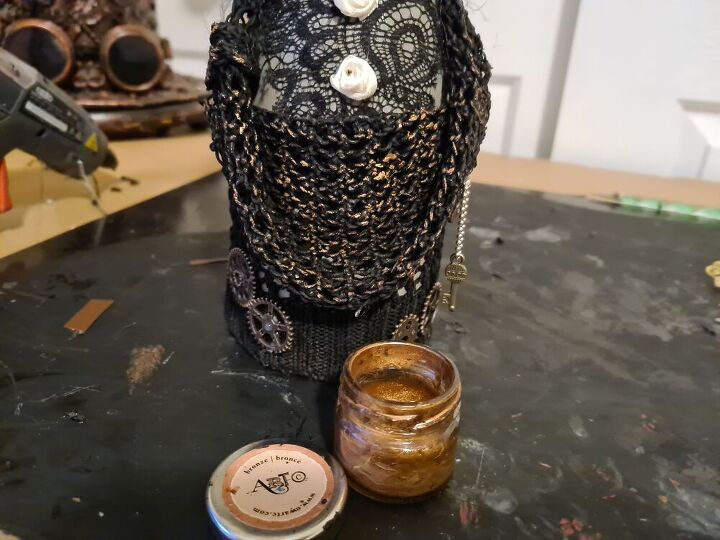
To add some colour to the dress I used some bronze wax paste and randomly rubbed it over the surface. I also glued some steampunk charms to her outfit and gave her a clay nose.
Steampunk Hat
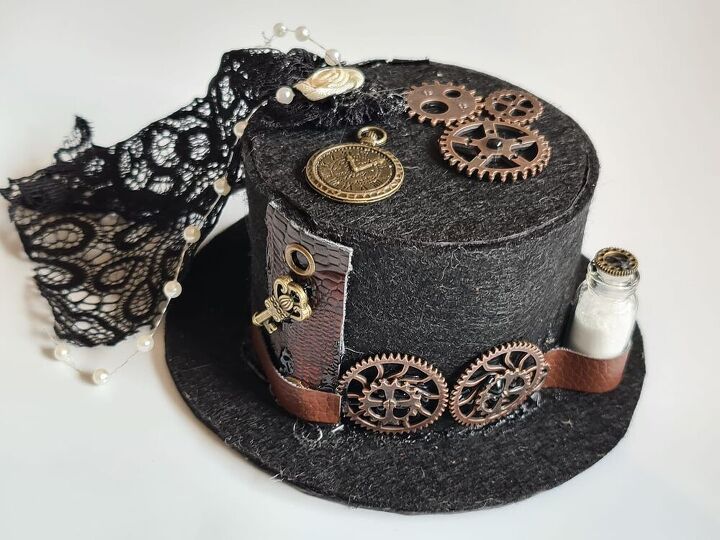
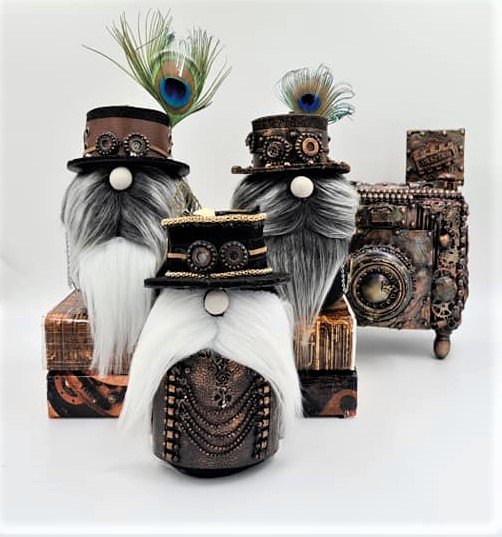
To make her felt hat I used the same method as I did for the steampunk gnomes. Once completed the hat was glued to the bottle using hot glue.
Steampunk Hat
To make her felt hat I used the same method as I did for the steampunk gnomes. Once completed the hat was glued to the bottle using hot glue.
The cost of your project will depend on the products you have at home. project time does not include trying times.
Resin projects are so popular at the moment. This tutorial will show you how to shape your resin without a mould.
Resources for this project:
See all materials


Comments
Join the conversation
-
I just love your Steam Punk Gnomes! You are very talented and have quite the eye! LOVE EM!!! Keep up the great work!!
-
Great eye and imagination


Frequently asked questions
Have a question about this project?