


Updating a Kitchen With Vinyl Engineered Plank Flooring - CuterTudor

We recently updated our kitchen floors with vinyl engineered plank flooring. We love that the flooring is durable, affordable, easy to install and looks beautiful in our home.
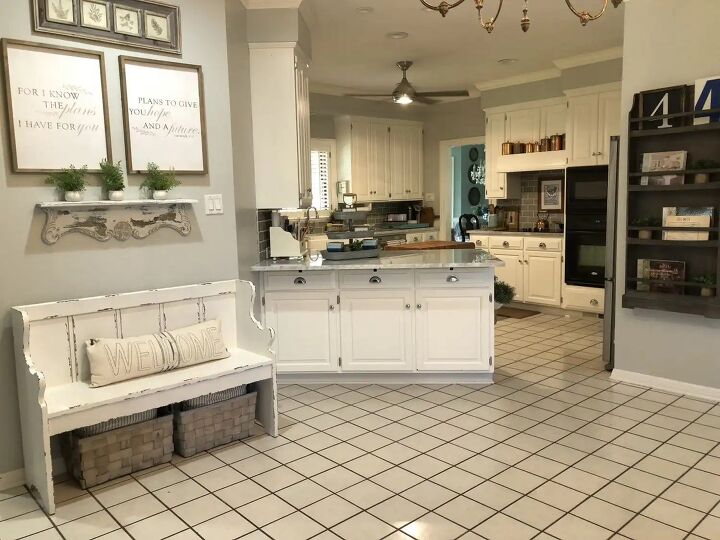
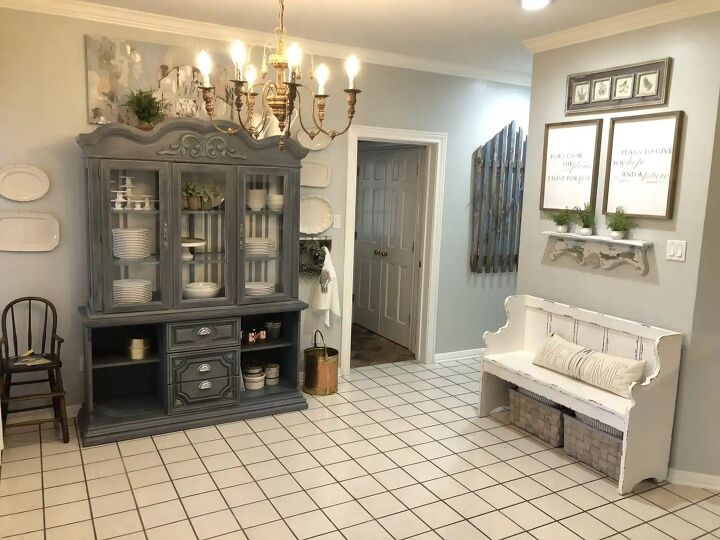
Here are the before pictures of our kitchen and breakfast area floors. Kind of outdated, huh? I believe these floors are original to our 1986 Tudor style home. A few years ago, I had the kitchen cabinets painted white and the dark wallpapered walls textured and painted a light grey. My plan was to update the floors immediately, but other projects took precedence. It was a lot of white, but not in a good way.
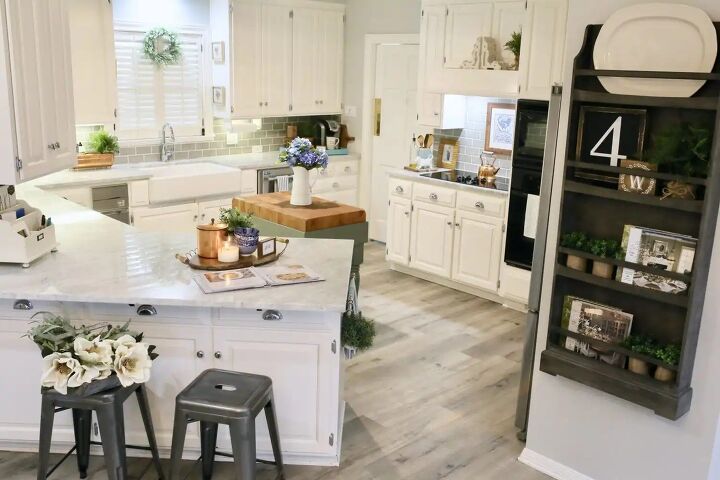
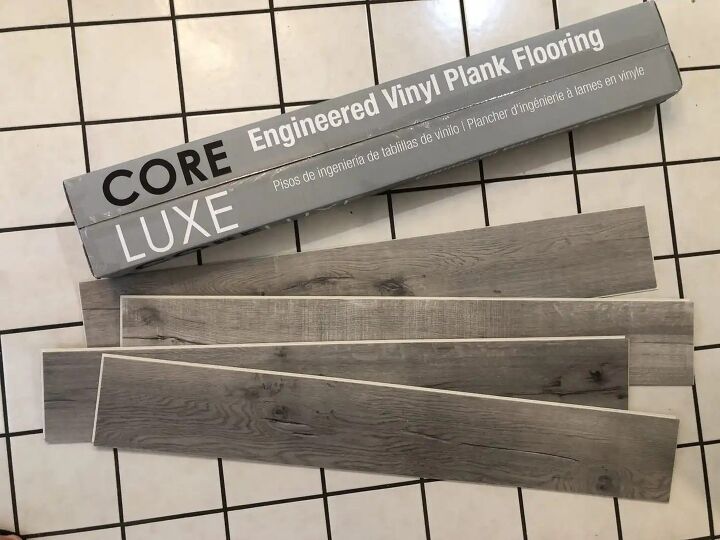
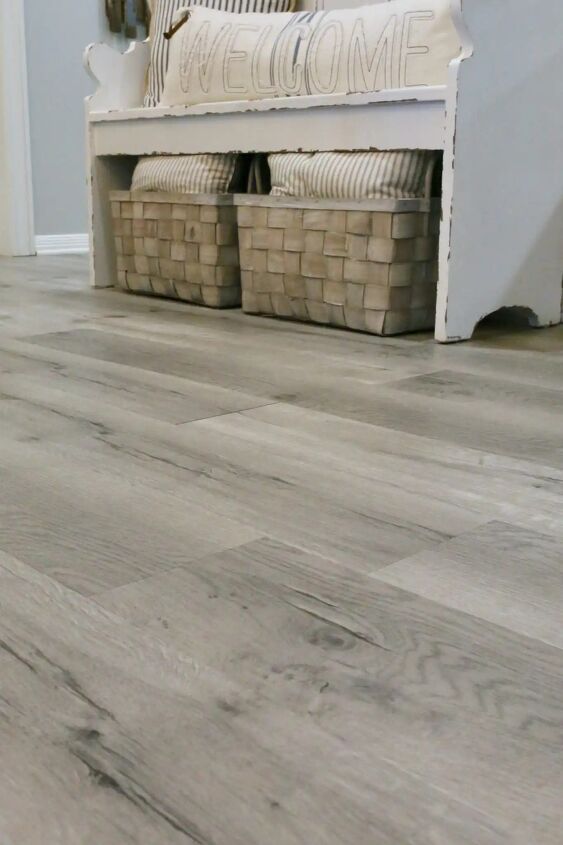
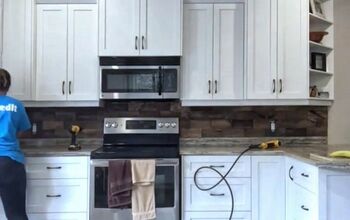
I have finally been able to update our kitchen floors due to a collaboration with Lumber Liquidators. The flooring in our downstairs living areas, guest room and master suite are engineered laminate flooring from Lumber Liquidators. We are very happy with the product and knew that this was a company that we wanted to work with again. We needed a floor that was durable and water resistant for our kitchen area, so we choose the Core Luxe vinyl engineered plank floors. It is a fairly new product and proved that vinyl has come along way and this new flooring has the look of real wood floors. I thought the room needed warmth and character, so we chose the driftwood hickory style. It is a warm grey that blended beautifully with the light grey walls, but added the warmth needed to this space.
Tips to Installing Engineered Floors
Floor Trim
Remove the quarter round floor trim. If you are careful, you can reuse the trim. I labeled the back of the trim in the order that I removed it and put a short description. This made it easy to replace in its original position. I used wire cutters to cut off the nails before tacking back down. Paint touchups will need to be made, of course.
Remove the floor trim
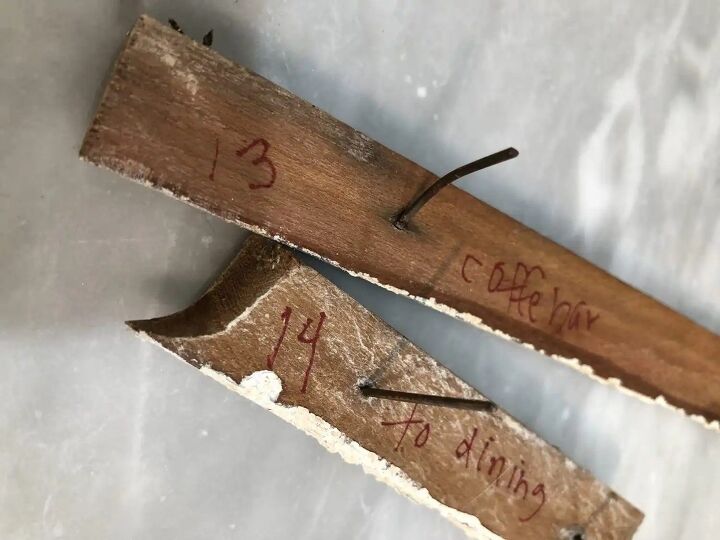
Label the trim.
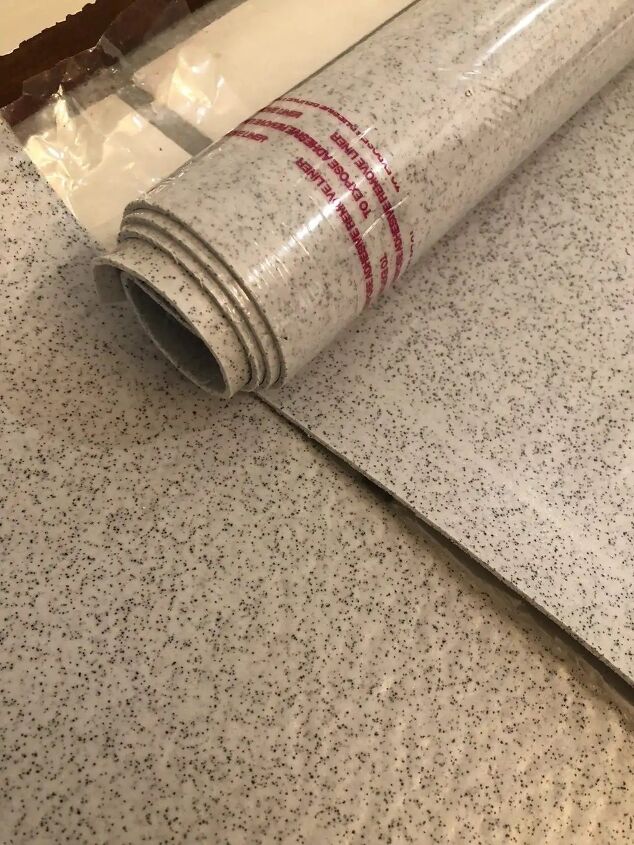
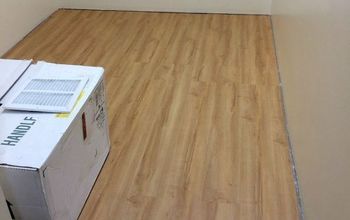
Underlayment
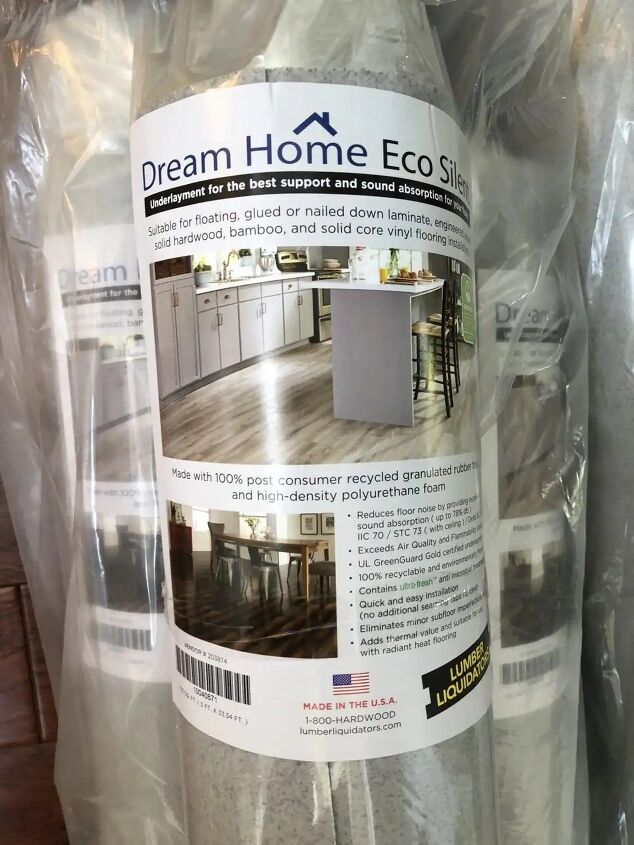
Use underlayment to reduce floor noise and add support. It also evens out any minor flaws that may be in the subfloor. We went right over our pre-existing tile. Since a few tiles were slightly cracked, this eliminated any potential problems. If you have ever torn up ceramic tile, then you know how labor intensive, time consuming and dirty the job can be. Choosing a product like engineered floors, hardwood or vinyl that can be laid over the pre-existing flooring is a time saver. We chose this underlayment from Lumber Liquidators.
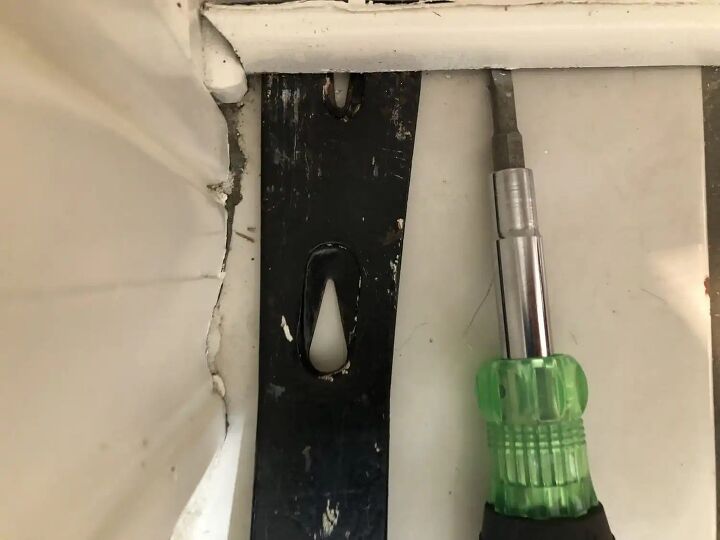
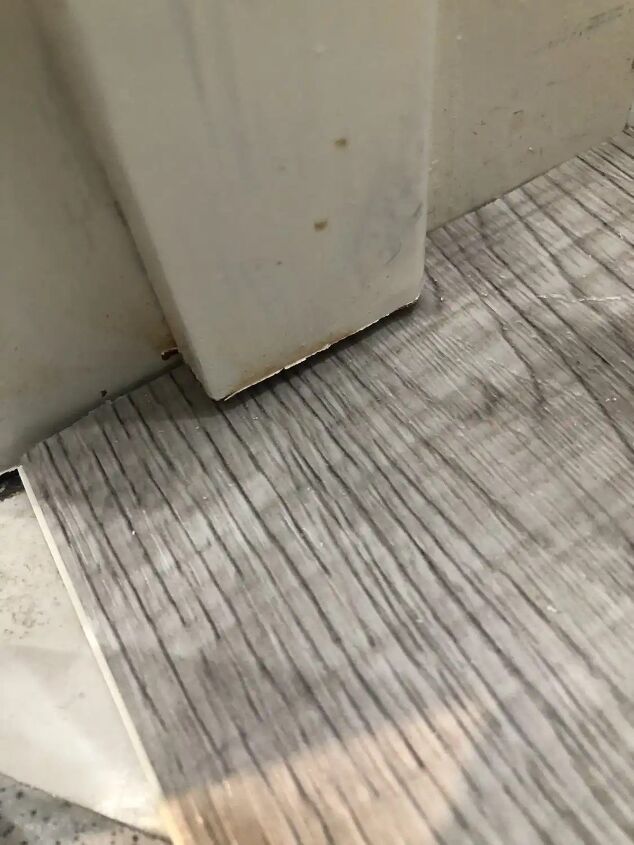
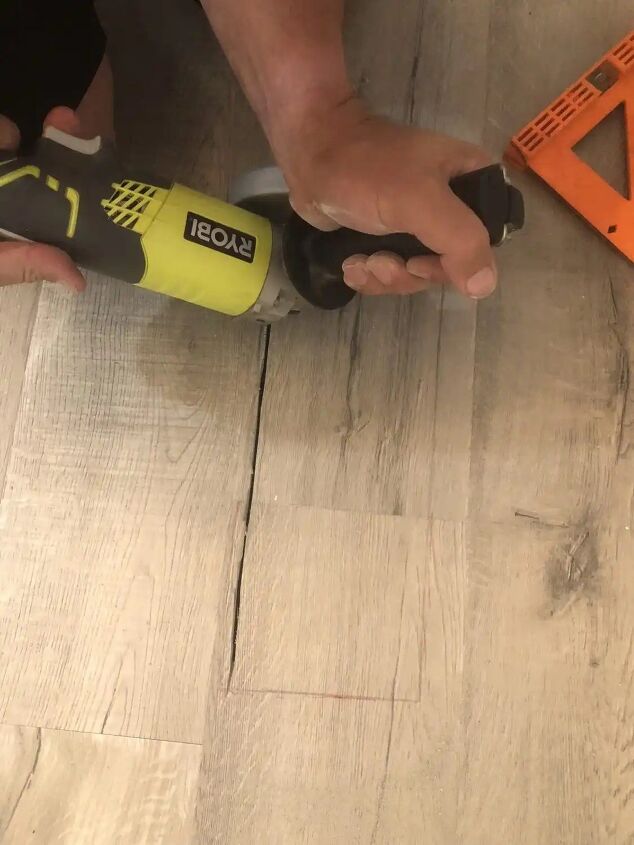
Door Trim
Cut the bottom of the door frames to fit the floor underneath, if necessary. Slide the plank next to the door trim and mark where you need to cut to allow the planks to slide underneath. Use an oscillating tool to cut the door trim. This will eliminate you from having to cut the plank to fit around the floor trim and create a cleaner look.
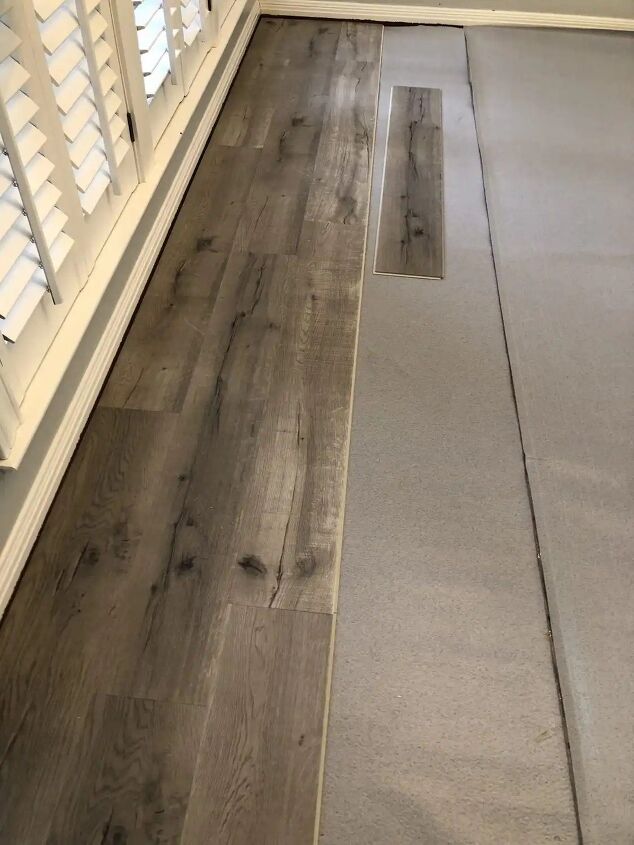
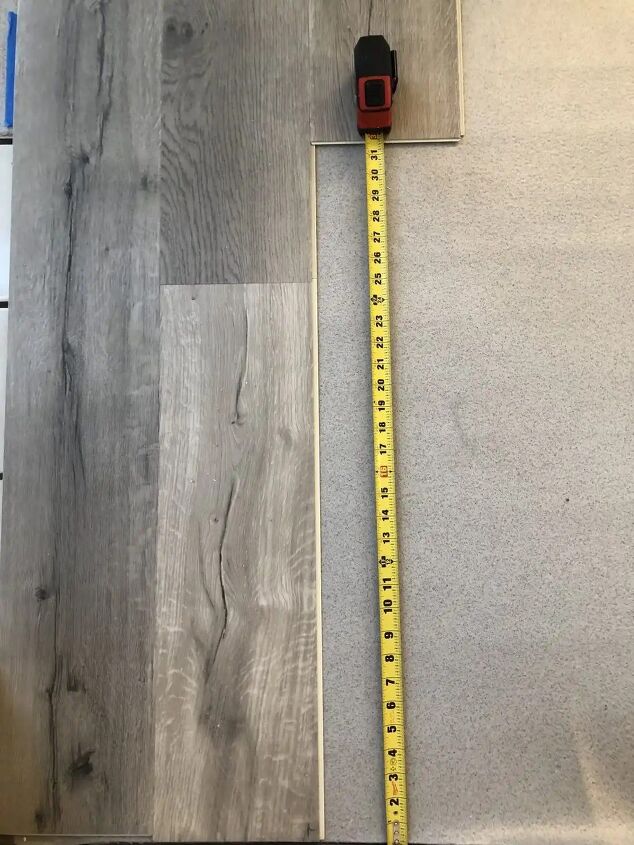
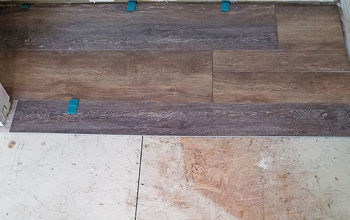
Layout
When laying down the floor, always stagger the ends of the board so they don’t meet up when you look across the room. When you can’t fit a full board in the row, measure from the wall to the next board, to get the length of the cut. You can use the remainder of this board to start the next row. A straight pattern like this one will use less material waste and is easy to do.
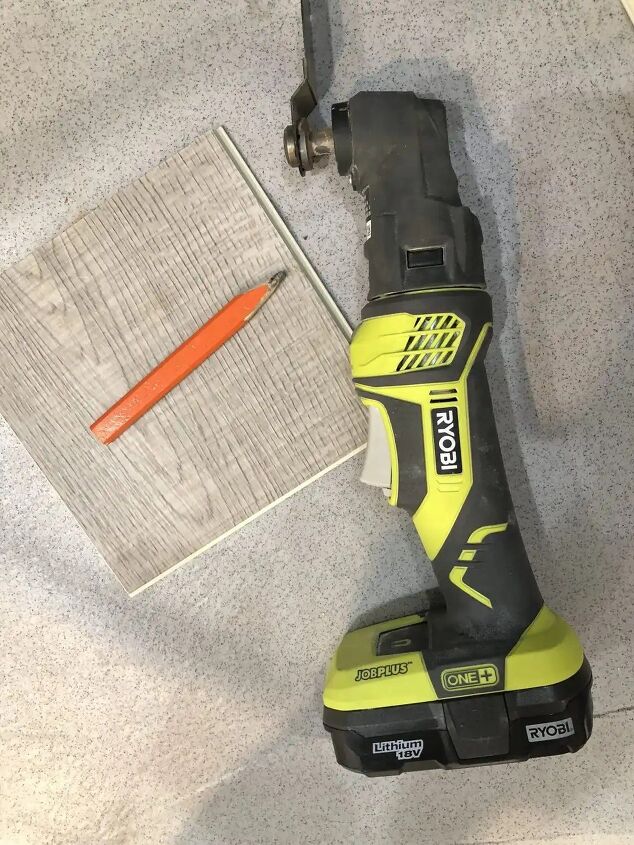
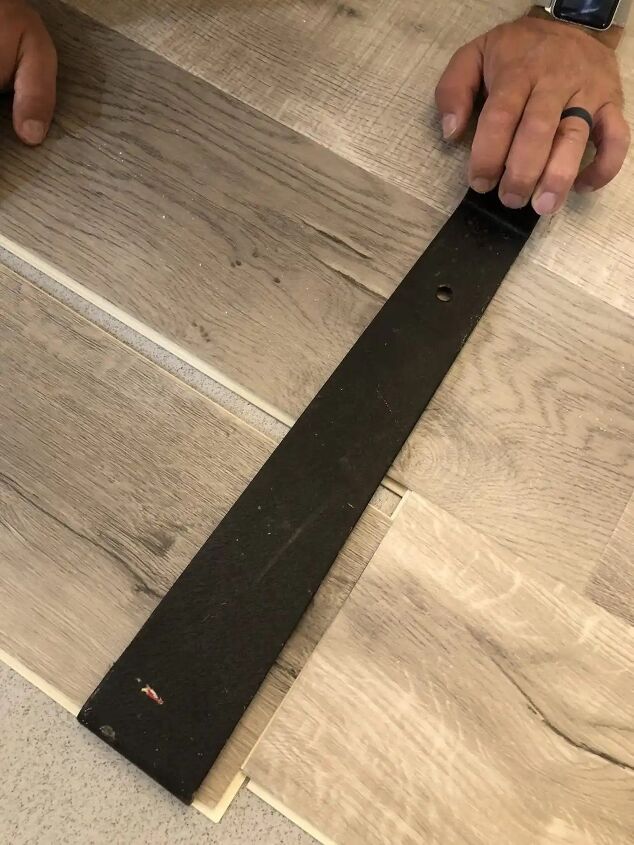
Tools
Get the right tools! A ‘pull bar’ comes in handy. A pull bar helps bring the planks easily together and clicks the boards in place with the tap of a hammer or mallet. This will ensure the floor does not have any gaps. For floor vents, a miter saw can easily cut the holes necessary. Just use a fine blade to ensure clean cuts of the vinyl planks. For doors, a circular saw works best to cut angles. All other major cuts were done with a table saw but I found this floor cutter, that cuts without causing dust that a table saw does.
I hope those tips help and encourage you to take on your next flooring project. If you are not a DIYer but love the look of these floors, you can contact your local Lumber Liquidators store for professional installation and product availability. Here is the website.
Characteristics of Vinyl Plank Flooring
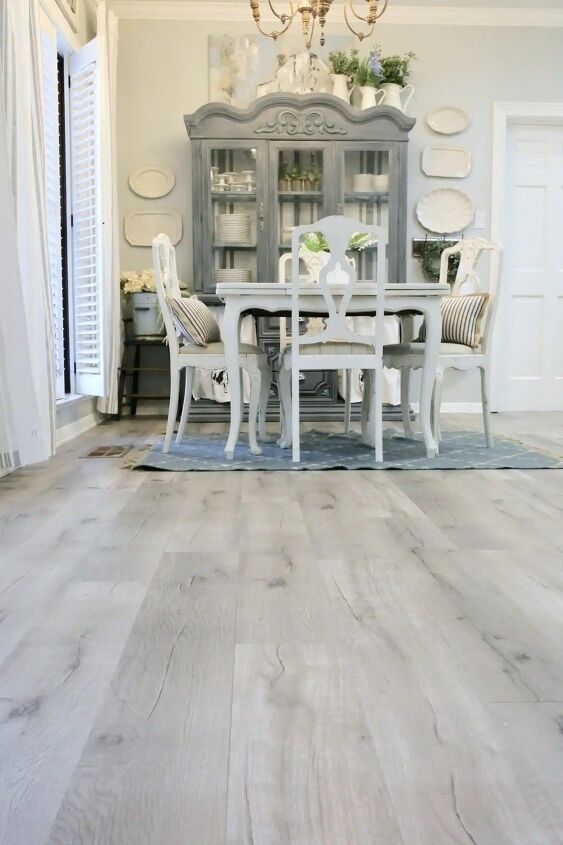
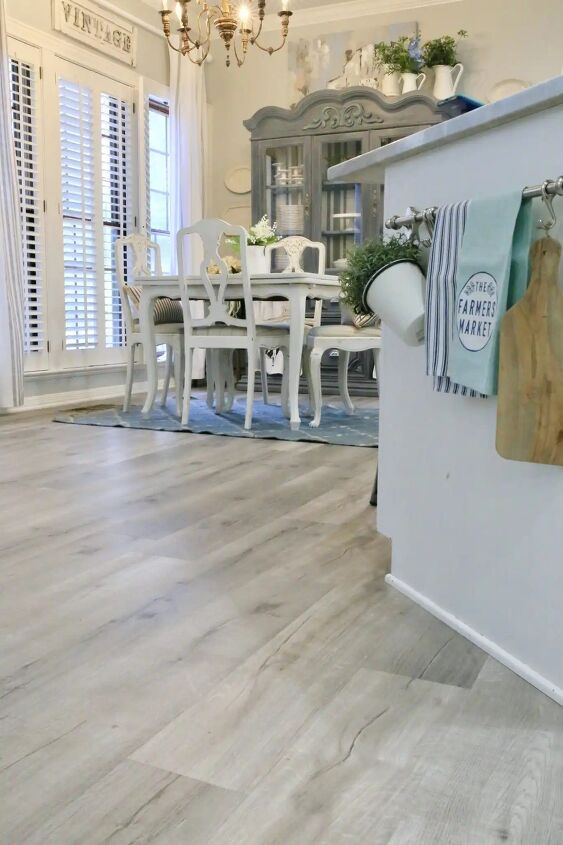
Here are few more views of our kitchen area. I think the floor adds lots of character, warmth and a different texture to this room. The floor has a realistic wood look and feel which really transformed this space by making the other kitchen updates appear more cohesive.
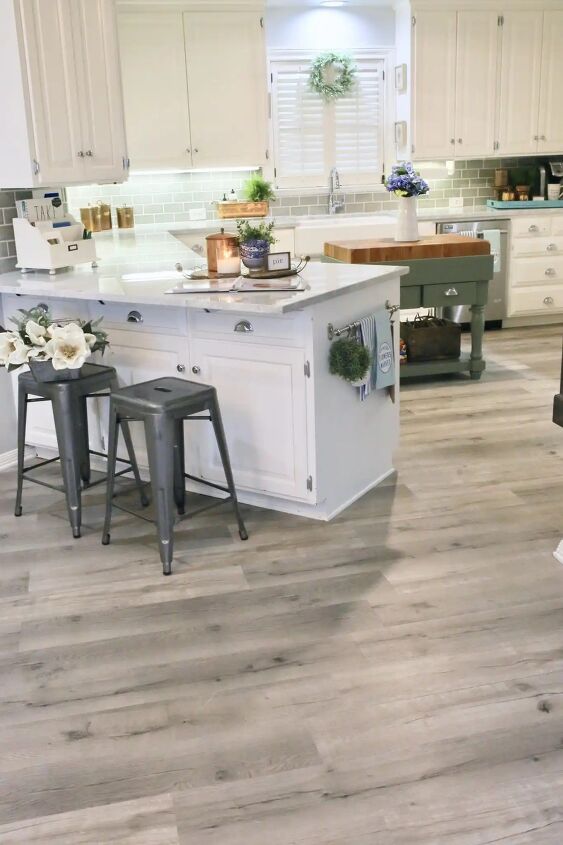

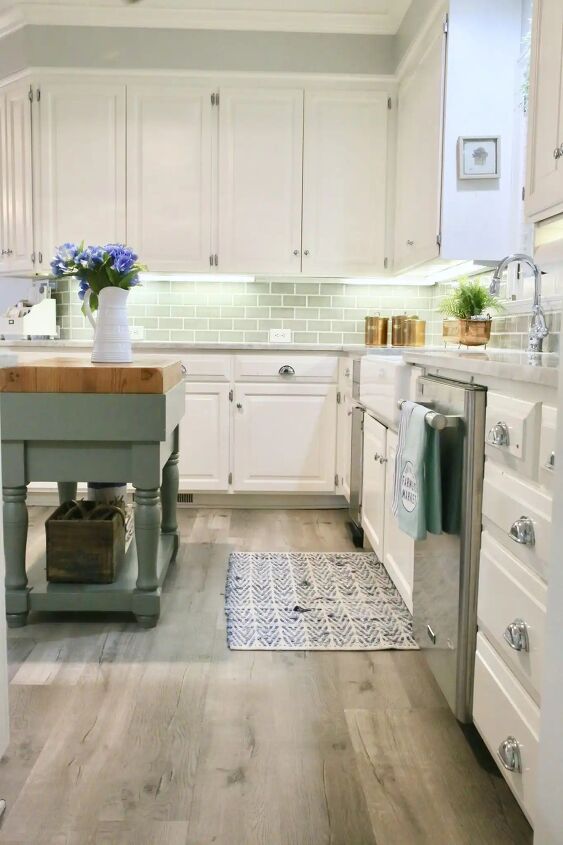
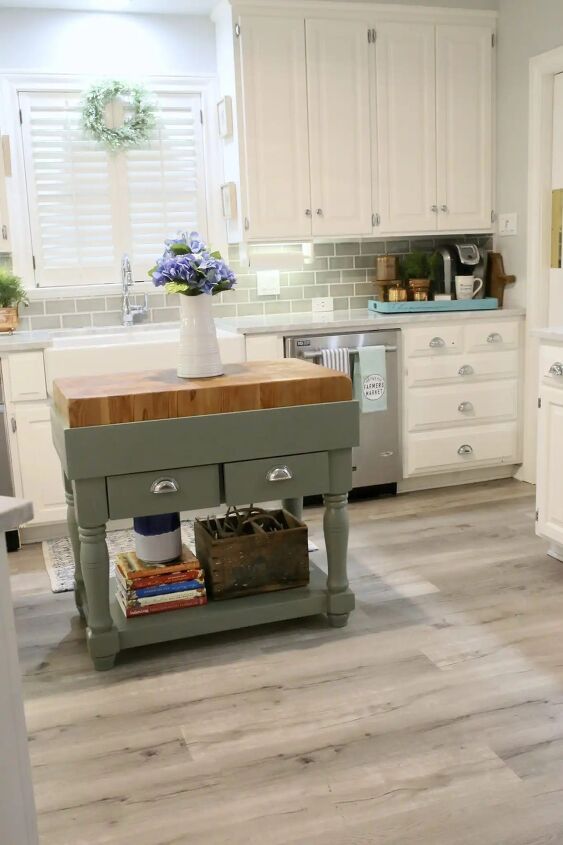
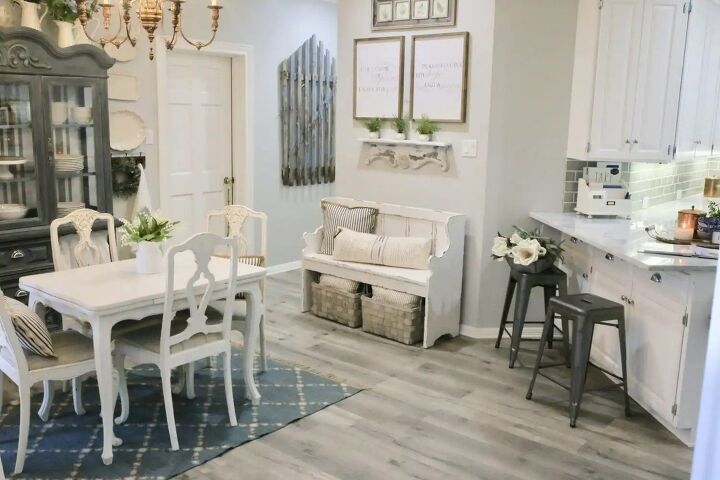
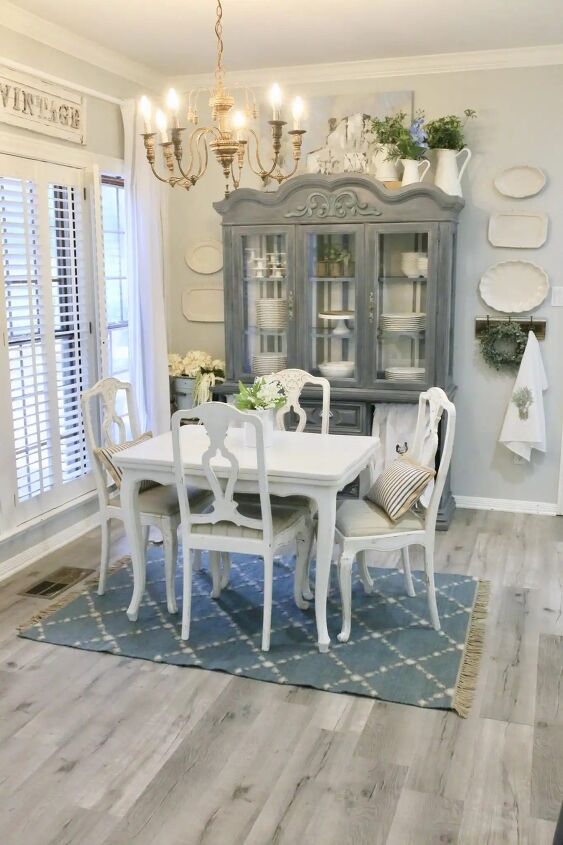
Since our kitchen opens up to our breakfast room, we continued the flooring into this space. I think the floor works well with the whites, blues and grays, but it would also work with brown or darker gray walls too. Around the corner is a small guest bathroom, where we continued to install the floors. The great thing about these floor is that they are water proof.
From the few short weeks that the floors have been installed, we noticed how easy spills are to wipe up. Either way, the product is waterproof and the extra addition of underlayment, it is not an issue that we have to worry about in the kitchen or bath. We haven’t had any scratches or cuts into the wood from moving furniture, so it is very scuff resistant. My husband and I feel that this product is a great value.
We love the look and feel of the vinyl engineered plank floors. These work great in kitchens, bathrooms, and other high traffic areas. We love these floors, so much that we decided to use this product to update the flooring in our upstairs which includes our kids bedrooms, game room and computer room. We think it will be very durable for those areas in our home where family and friends often hang out.
I highly recommend Lumber Liquidators for flooring options from engineered hardwood to vinyl plank floors. Please share this on Pinterest or follow me on Instagram for more DIY ideas and home decor inspiration.
floorhome diylumber liquidatorsremodelvinyl
Resources for this project:


Comments
Join the conversation
-
Your kitchen was beautiful before and is stunning after. Thanks for the detailed post; much appreciated.
-
Thanks for this. I will be moving to a townhome in the near future and may need to do some work on it. Your floors look like the engineered hardwood I put in my present home. A big mistake putting it in the kitchen tho. IT chips and has suffered some water damage from drips.


Frequently asked questions
Have a question about this project?
hi did you put the new floor down over tile or was it vinyl flooring
did you have trouble with the height of the dishwasher after the new floor was installed?