


What It's Really Like to Stencil a Floor

Stenciling a Floor sounds like a great idea, right? It's easy, super affordable compared to new flooring and relatively durable (if you do it right). What could possibly go wrong?
Our house was built in 1997 and as such the tile flooring screams 90's! After scrolling Pinterest (where else are great ideas born?) I decided to take the plunge and paint the bathroom floors. But I wanted to do it the right way, so I purchased the rustoleum kit and supplies. After a week of procrastinating I got my painting clothes on, played Netflix on my phone and went to work.
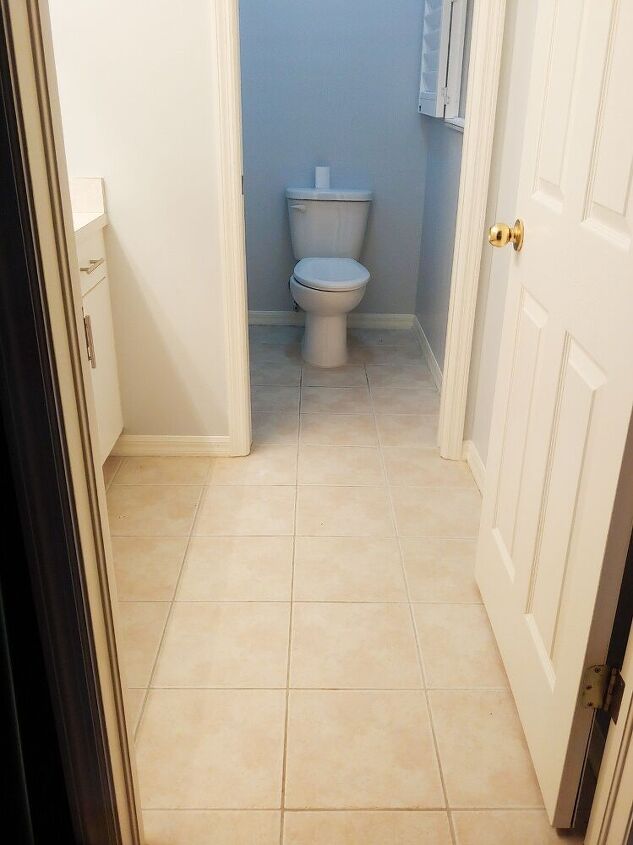
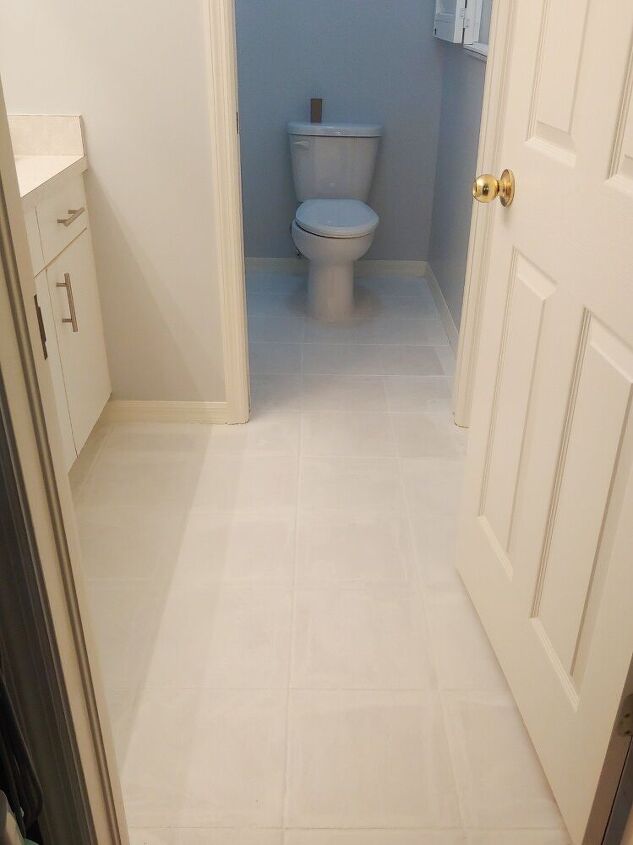
B E F O R E
Yep. Super 90's. A great era of Bugles, Sunny D and Nickelodeon worth actually watching. Good times. Floor tiles? Not so fond of.
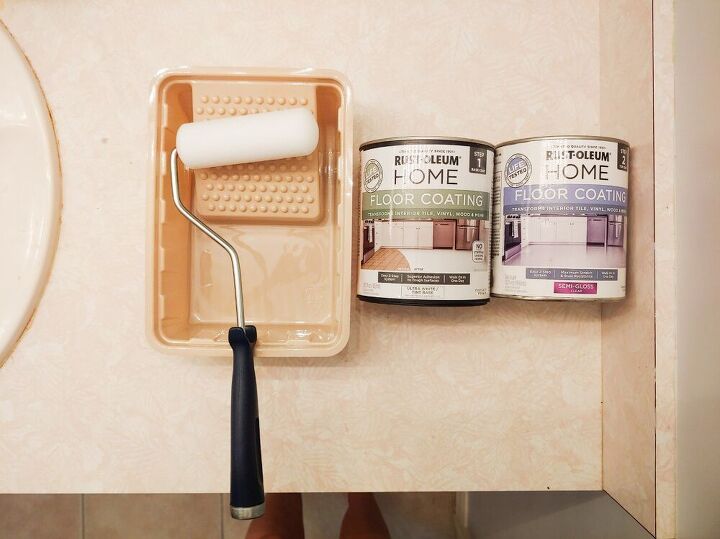
S U P P L I E S
·Rustoleum Kit steps 1 & 2
· High gloss indoor/ exterior Behr black (not pictured)
· Mini roller and pan (the cutest)
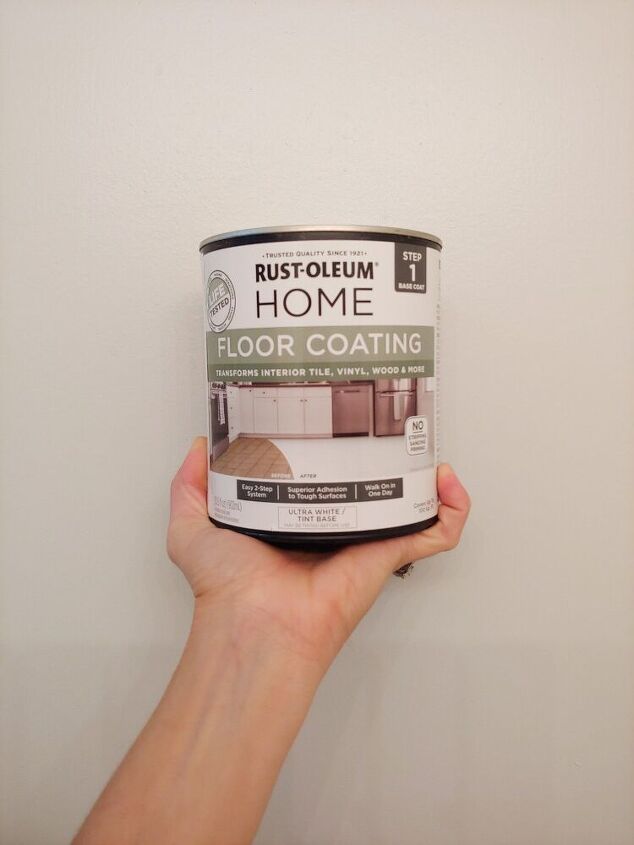
After sweeping, vacuuming and mopping the original floors it was time to begin! Step 1 was... well step 1, 'floor coating'. I chose white but they have a plethora of options. They also have this available on Amazon but in a larger size only.
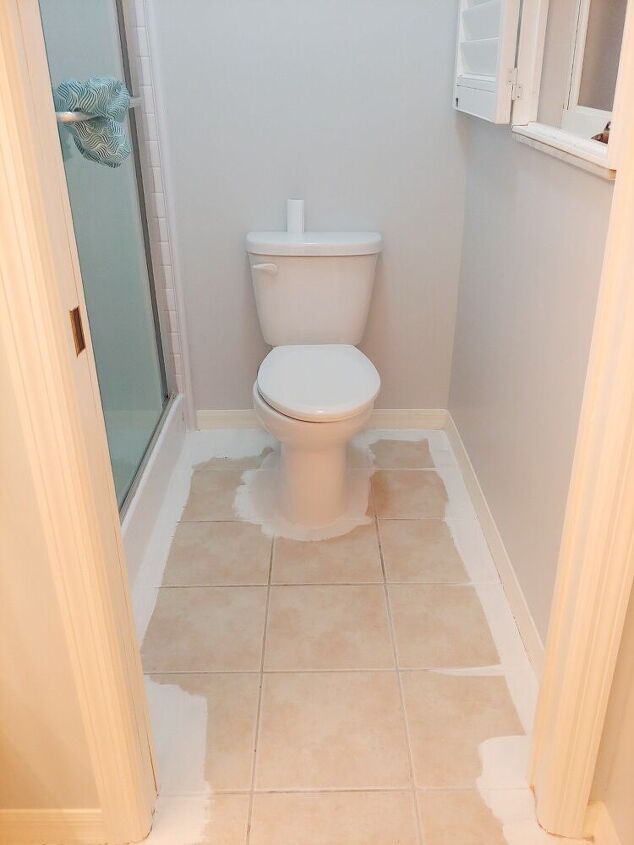
I started around the edges of my floors and around the toilet. I'm not sure this was 100% the best idea and would definitely NOT recommend this unless you're stenciling. I'll explain below...
After 1 coat of paint the white paint was uneven where I had painted around the edges. After a second coat it was better but still slightly visible. Frankly, I knew it was going to be stenciled so it wasn't a huge issue for me. The stencil would camouflage the uneven parts😅
The white paint needed to dry for 24 hours before adding the pattern.
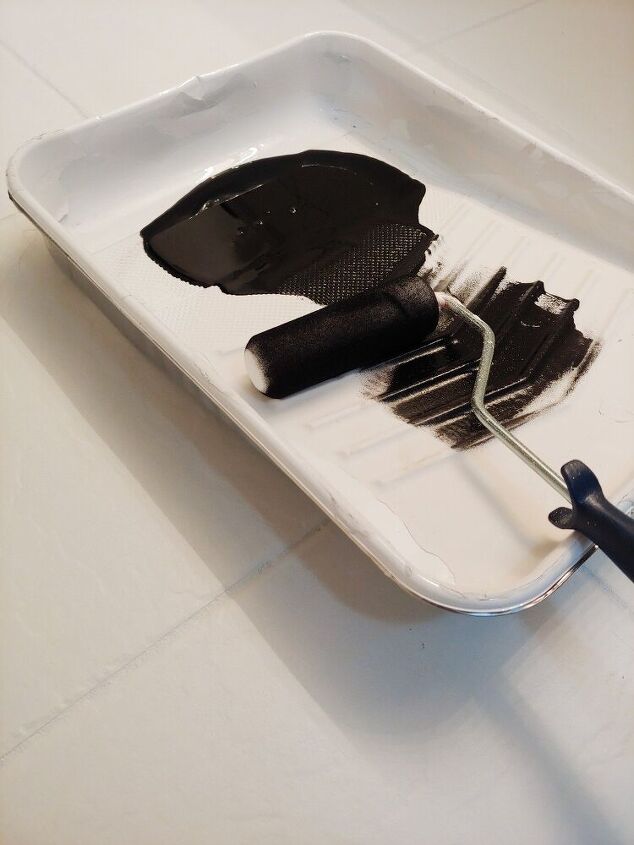
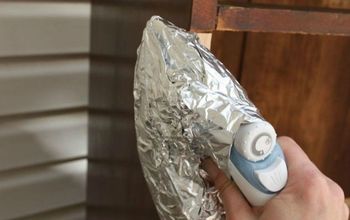
The next night came stencil time! Using a new paint pan I poured a small amount of my Behr black paint and attempting the "dry" method of stenciling. The idea behind this is putting on the least amount of paint as necessary on your brush or roller to avoid paint bleeds.
This method is also great for creating an aged and worn appearance.
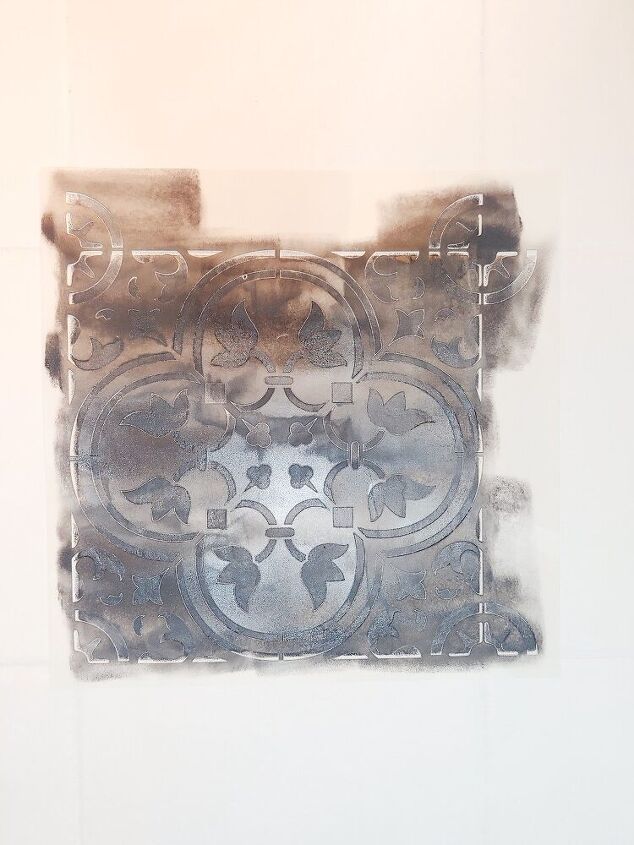
My stencil was easy to position since it matched the size of my tiles. I placed it on the tile and rolled the paint on. I would HIGHLY recommend using a roller instead of paintbrush.
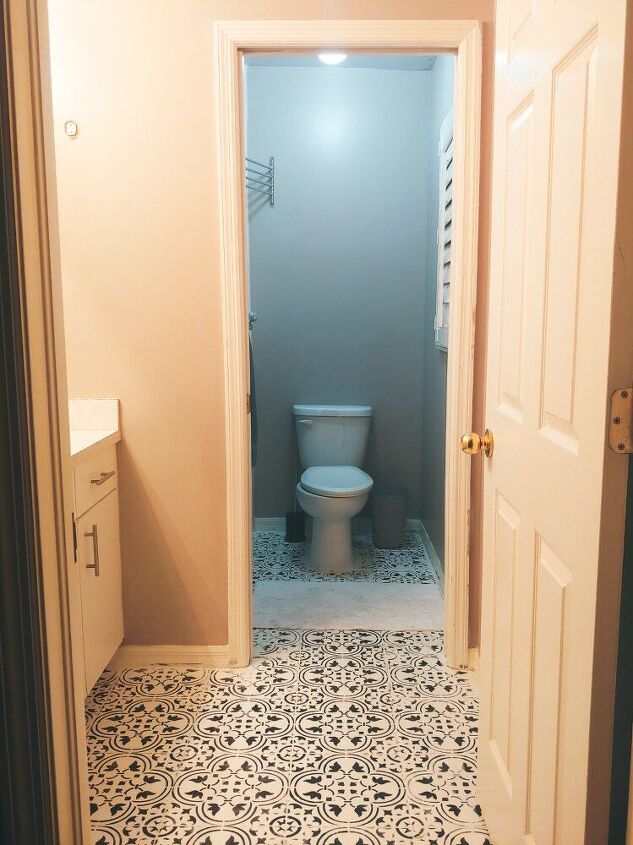
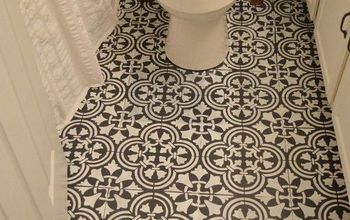
After an hour or 2, the stenciling was complete! I did have to trim my stencil to fit edges or odd spots like around the pocket door and toilet, so my suggestion would be to buy 2 stencils. You also need to clean the stencil every few applications as the paint gets caked and the stencil becomes more splotchy.
Overall a success! I love the result but would probably not do a space larger than this. It took a good deal of time between painting, drying, stenciling, applying the top coat and allowing that to dry as well. A big factor when considering which space you're planning to paint!
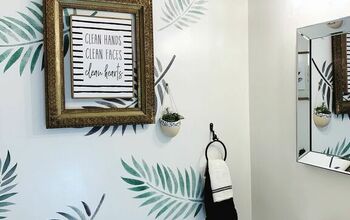
After 2 coats I had a small amount of step 1 leftover and was able to use that in another bathroom (tiled walls, WHYYYY?)
Between all the steps the entire process takes a couple days. Here is the breakdown...
Step 1 dries for 24 hours
Stencil paint dries for 6 hours
Step 2 the top coat dries for 24 hours for light foot traffic, 3 days for furniture to be placed on it and 7 days until it is totally cured.
So wherever you paint and/or stencil be mindful that you won't be able to utilize that space for a short period of time.
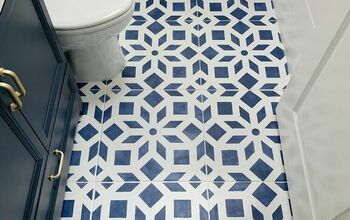
Overall, I give stenciling my floors a 4 star experience!
⭐⭐⭐⭐
Resources for this project:
See all materials


Comments
Join the conversation
-
I think it looks wonderful. Great job.
-
Such a huge improvement! Like a new bathroom!


Frequently asked questions
Have a question about this project?
Does it work on linoleum tile?