


DIY Rain Barrel: How to Easily Conserve Water

In today's environmentally conscious world, conserving water is more crucial than ever. One effective way to do so is by creating your own DIY rain barrel.
In today's step-by-step guide, I'll show you how to craft a rain barrel using readily available materials from Walmart and a few simple tools.
This post was transcribed by a member of the Hometalk editorial team from the original HometalkTV episode.
Best storage container!
With this DIY rain barrel, you can collect rainwater and put it to good use, contributing to water conservation efforts in your area.
Tools and Materials
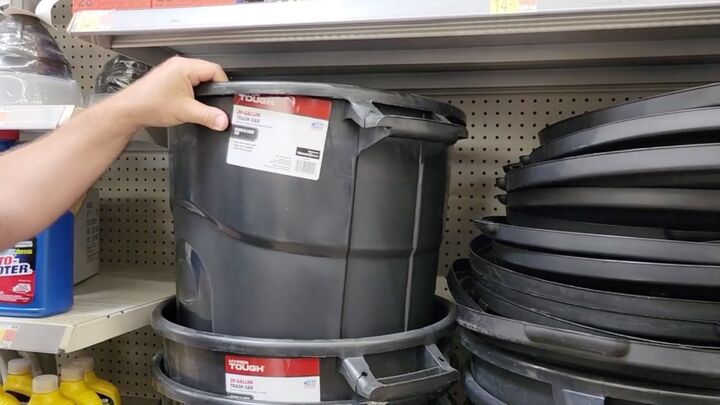
To start this project, I headed to my local Walmart to grab a small waste container that came with a lid.
You will also need the following:
- Electric Drill
- One-Inch Drill Bit
- Small Knife
- Hot Glue Gun and Glue Sticks
- Disposable Paint Stick
- Plumbers Tape
- Zip Ties
- Measuring Tape
- Marker or Pencil
- Safety Glasses and Gloves
- Metal Mesh
- Faucet with Threaded Connection: Select a spigot that allows easy water flow.
- Clear Silicone (Optional)
- Rain Barrel Stand (Optional): To elevate the barrel for efficient rainwater collection.
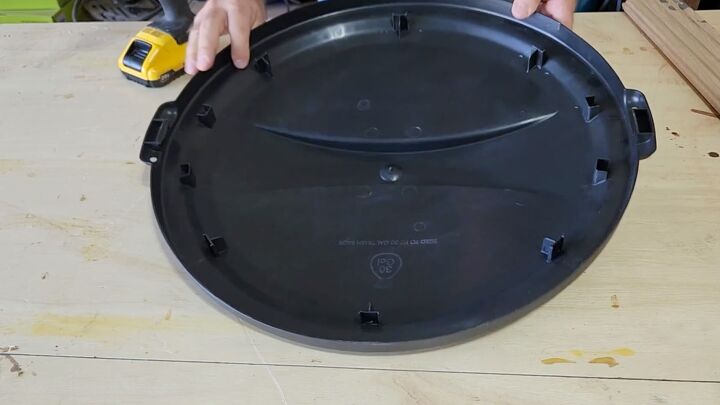
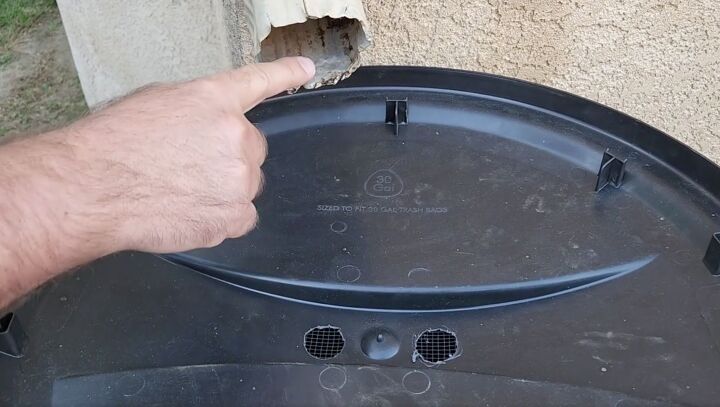
1. Prepare the Lid
You will want a lid with a nice concave curve which will be best for collecting the rainwater.
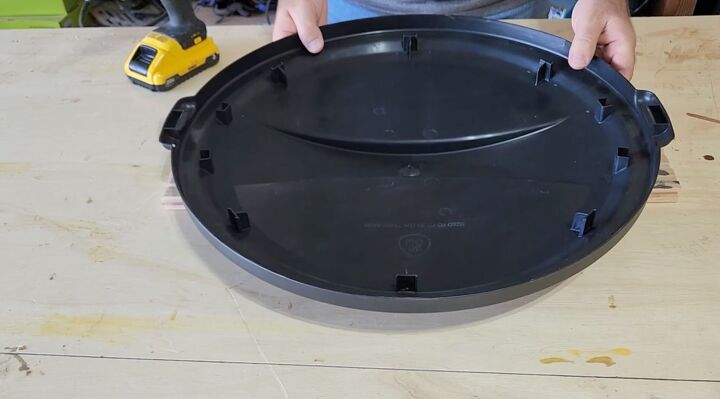
Turn the lid upside down and place a piece of scrap wood under the middle area.
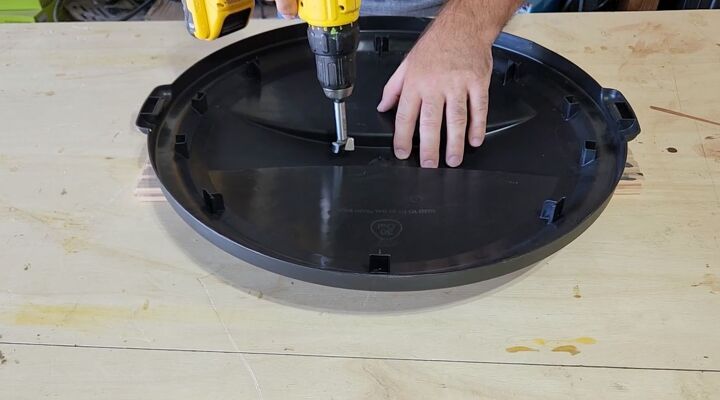
Drill two holes into the lid. You will want to use a minimum size of one inch for the drill bit so that the water will quickly enter the can.
Drill at least two spots as close to the lowest part so there will not be any standing water.
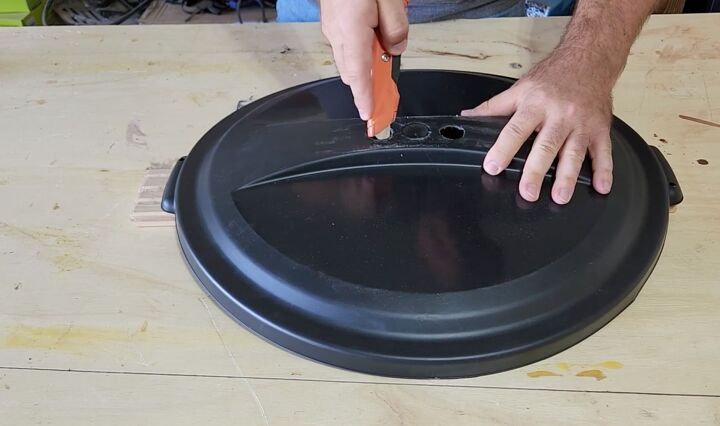
Once you have drilled through the lid, turn the lid over and use a small knife to cut away any burrs or plastic. This will keep any debris from getting caught which will clog up the holes.
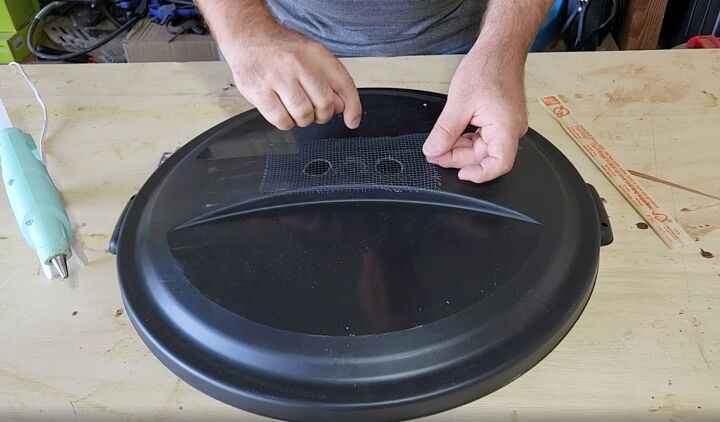
2. Add a Mesh Filter
Next, use a small piece of mesh as a filter to keep any leaves from getting into the lid. I used a four-inch piece of metal mesh that I glued down to the lid.
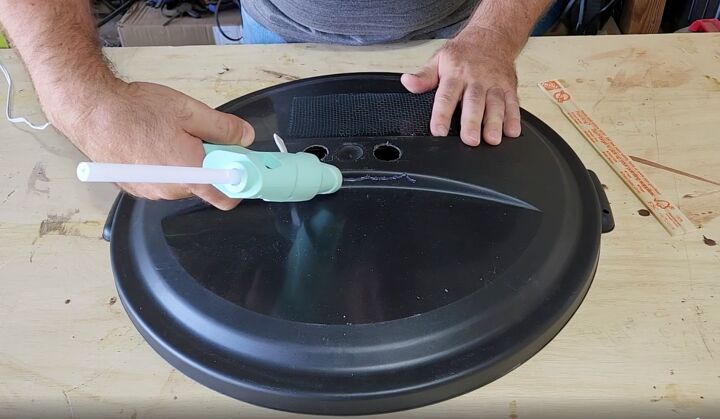
Lay a bead of hot glue across one side of the area where you drilled the holes.
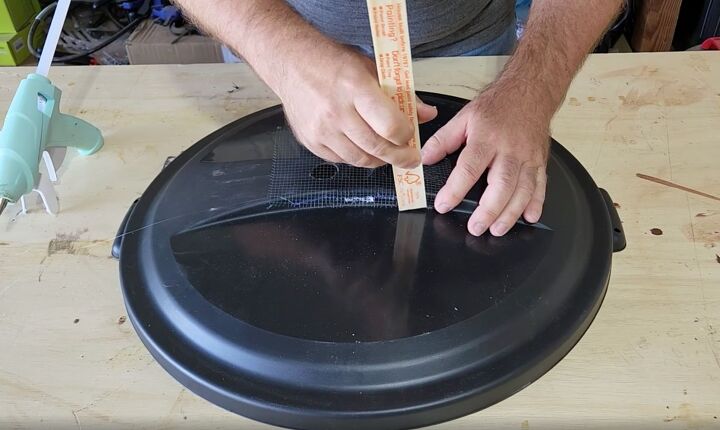
Use a disposable paint stick to help lay out the screen so you don’t get burned by the hot glue before it cools. Using the stick, I press the mesh all across the lid to get good adhesion.
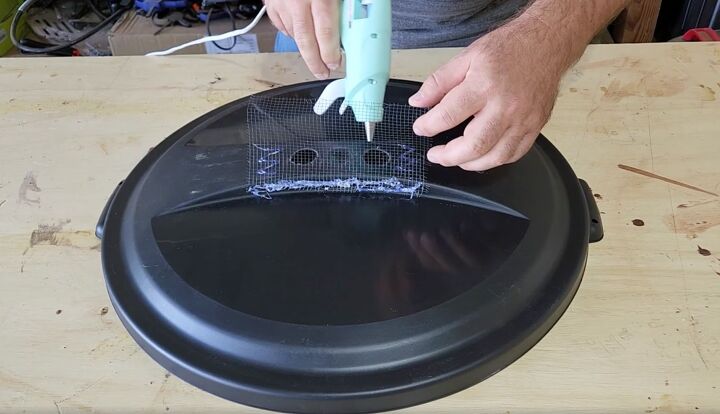
Next, add some zigzags of hot glue along the sides and the back and press the mesh down. This will give it a nice adhesion to the lid.
Don’t worry too much about how it looks since this will be on the bottom of the lid once it is placed on the can.
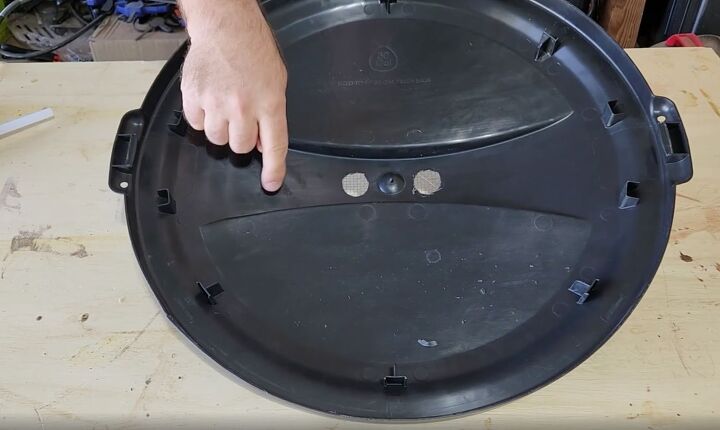
Once it is flipped back over, you can see the nice clean look of the lid and how the mesh will make an excellent filter.
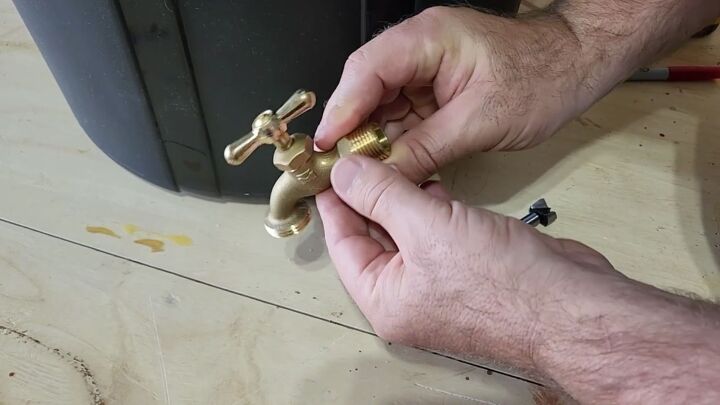
3. Installing a Faucet
Now it is time to pick out a faucet so you can retrieve the water. Look for a spigot that allows the water to flow out with ease.
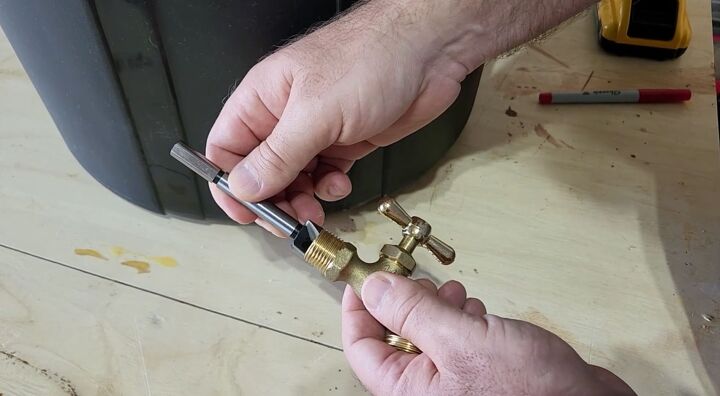
Choose a drill bit that is just about the same size as a threaded connection on the back to drill a hole for the faucet.
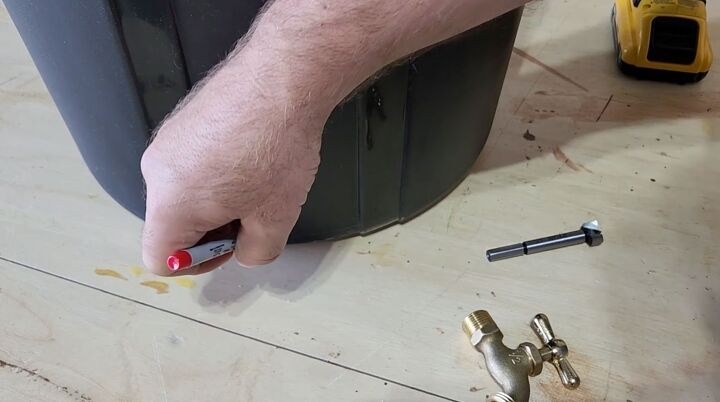
When selecting the area on the bucket to drill, never drill right at the bottom but mark a spot just an inch or two higher. This allows any small dirt or debris to rest on the bottom so that it won’t clog up the spigot when using it for the water.
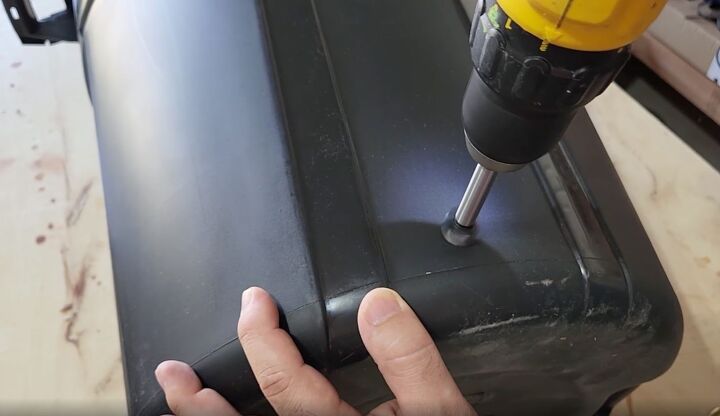
Drill into the marked area on your bucket. Be careful not to press too hard, the drill bit will eventually pop through the plastic.
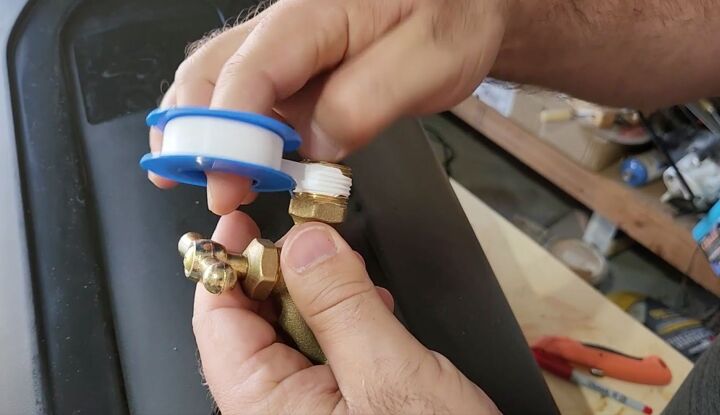
Next, use some plumbers tape to wrap the threads of the spigot. Typically you wouldn't wrap as much as this on a normal plumbing job, but you will want to give it a good six to eight wraps for this project.
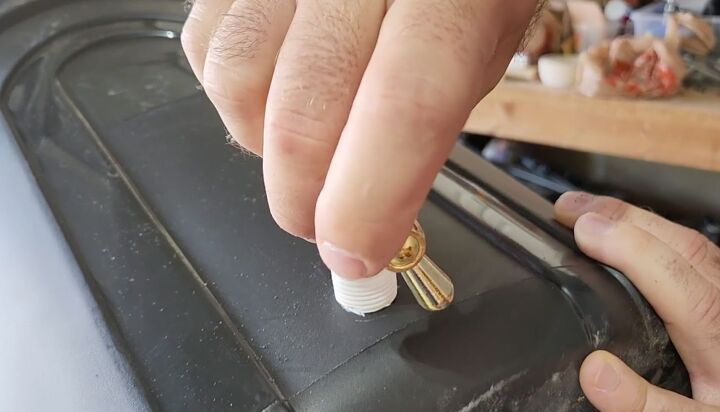
Once the tape is on the threads, place it in the hole of the bucket, and with a gentle push, start turning it clockwise. Eventually, the threads will grip the sides of the bucket and start to tighten.
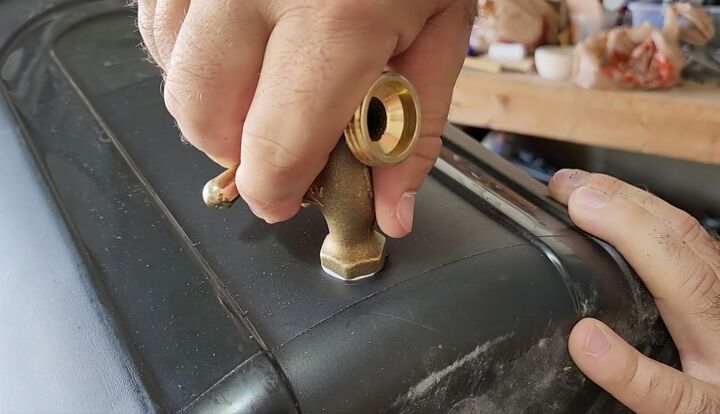
Keep twisting until the spigot is tight against the walls of the bucket. Do not over-tighten. Make sure you stop as soon as it is snug.
You can apply some clear silicone on the inside of the bucket to aid in the waterproofing if you desire.
4. Mounting the Rain Barrel
The next step is to place the bucket and the lid on a stand that I put outside next to a downspout in my house.
I cut the downspout so that any rain that falls on my roof will gather in the gutters and flow into the rain barrel.
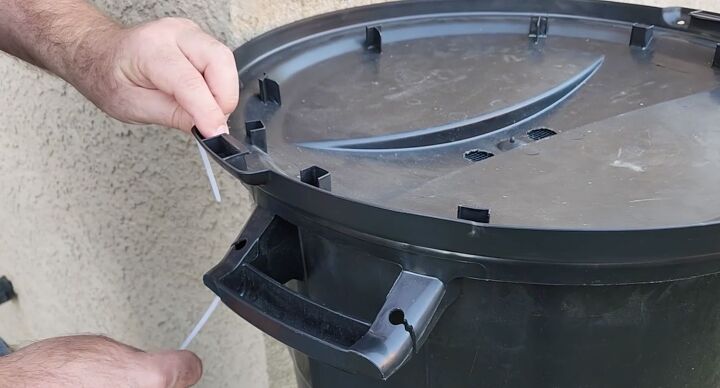
I zip-tied the lid down so that it doesn't blow off with the wind.
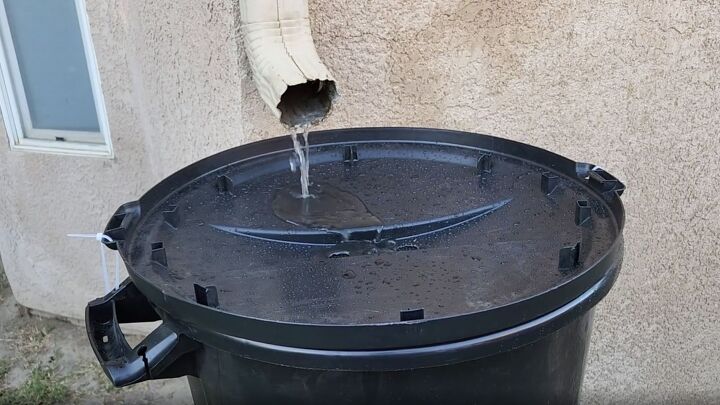
I finished just in time for a rare spring storm that moved into the area that afternoon. As the rain started to fall, the lid gathered the rain that fell. The gutters did their job and the water started to flow nicely.
Even a 10th of an inch of rain in an 800-square-foot section will gather enough rain to fill a 50-gallon bucket. This small passing storm gave me at least 40 gallons of fresh rainwater.
More DIY Rain Barrels
Save Water with a DIY Rain Barrel: Step-by-Step Guide
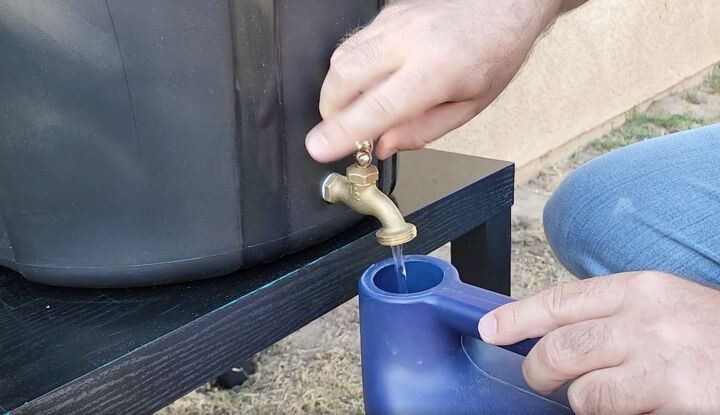
Once I had water in my barrel, I was able to fill my watering can and use it to water the plants around the exterior of the house. It might not seem like a lot, but it is a great way to practice water conservation in many parts of the world.
I encourage you to share your eco-friendly water conservation ideas in the comments below!


Comments
Join the conversation
-
This is a great DIY with the cost of rain barrels, but you do need an overflow plan. My trash containers fill up within the first 10 minutes of a hard storm. Ideally you’d want it to go into a roof runoff drain (my drains are underground and flow into a storm water drainage ditch 30 feet away) but I haven’t figured out how to make that happen yet!
-
Hot glue won't work for long outside in Florida 🌞


Frequently asked questions
Have a question about this project?
I would be concerned with the pressure of the volume of the water on a flexible piece of plastic . . . .
I like the idea, however where is the overflow ???
Cool idea. We only get occasional rain from June to September so this idea would suit me, also our downspout is near the garden awesome.