


DIY Simple & Affordable Compost Bin
3 Materials
20 Minutes
Easy
I hate buying things....Having cool things is great, but I hate spending the money to have said things. My solution--> I make everything that I can out of things that I already own or that I can find for free!
Today we made a backyard compost bin that is the perfect size for my little raised bed garden. You are obviously dying to play with your scraps and trash just like I was so I will let you in on the steps I took to make it happen ;)
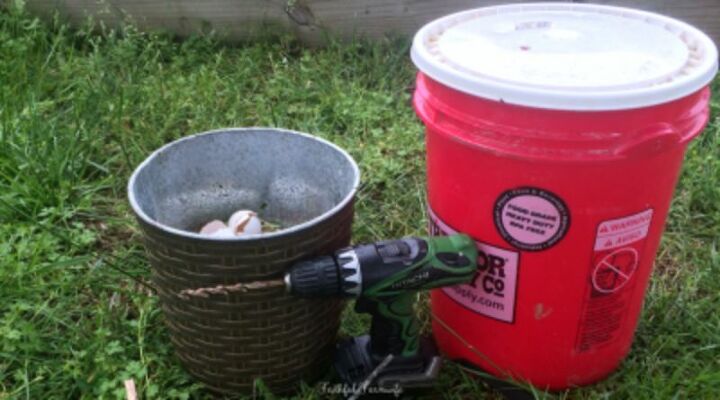
Gather Materials:
- One 5 Gallon Bucket with a tightly fitting lid (You can purchase these at your local farm store.)
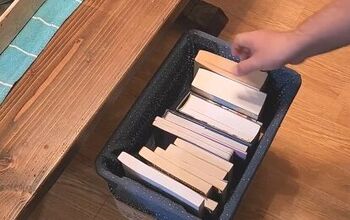
- Small sticks
- A Drill and a medium to large sized bit (or hammer and nail)
- Green Materials (Fruit & Veggie scraps, coffee grounds, egg shells, grass clippings, etc)
- Brown Materials (Shredded paper, cardboards, dead leaves, cow or horse manure, straw, mulch, etc)
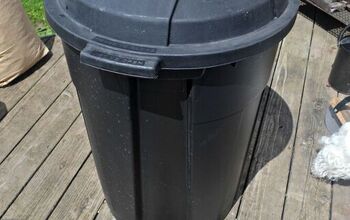
- A trash can or a Stainless Steel Compost Bin
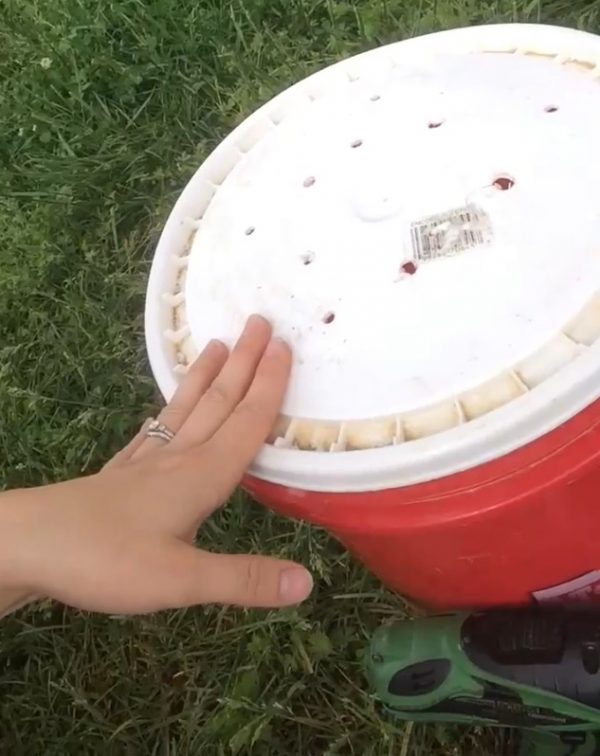
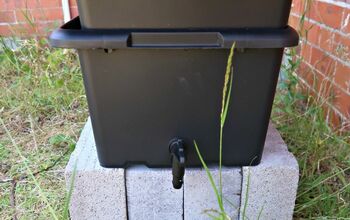
- You will want to start by drilling holes in the bucket to allow the moisture to drain. I decided to drill 10 holes in the lid, 10 holes in the bottom, and 5 holes on each side. You can also make your holes with a hammer & nail if you prefer.
- Place sticks in the bottom of the bucket to help ensure that the bottom drainage holes don't get clogged with your compost materials. If you have extra brown materials you can add this on top of the sticks.
- Now you can dump your scraps, papers, or whatever materials that you have saved into the bucket. Make sure that you don't fill the bucket too tightly. The compost needs room to move around and breathe a little.
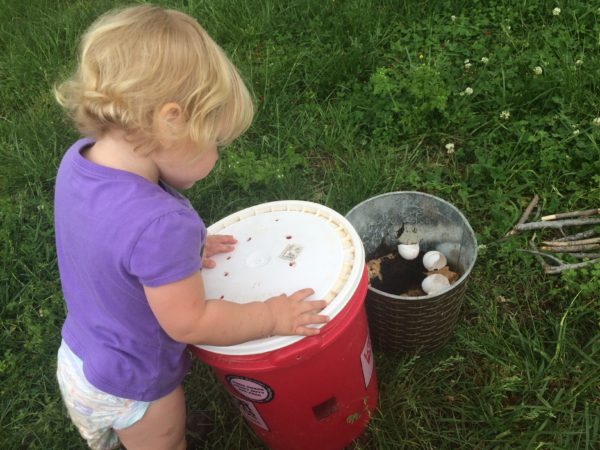
- Press the lid on tightly and roll the bucket on the ground. You can enlist little hands for this job. :)
- Roll or shake the bucket again each time you add to your pile. This will help to evenly distribute the moisture, organic matter, and heat throughout the bucket to hasten the composting process.
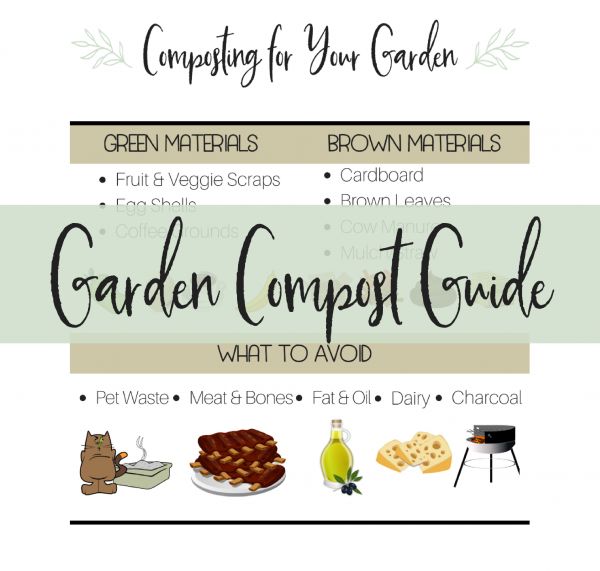
AVOID COMPOSTING THESE ITEMS:
- Pet waste (especially meat eating pets like dogs & cats)
- Charcoal
- Fats & oils
- Meat
- Bones
- Dairy
Green Materials are generally higher in nitrogen content than brown. You want a Carbon:Nitrogen ratio of about 30:1. Since each ingredient will have different carbon & nitrogen levels, it is helpful to refer to a chart before adding to your compost pile.
You can download my free Garden Compost Guide for a quick reference if what materials you should & should not compost.
{
"id": "4713643",
"alt": "",
"title": "",
"video_link": "https://www.youtube.com/embed/cTw1NcvDY0I",
"youtube_video_id": "cTw1NcvDY0I"
}
{
"width": 634,
"height": 357,
"showRelated": true
}
Ta Da!
You now have your very own 5 gallon bucket compost bin! After about six weeks the compost should shrink to about half the volume that it is now. You can then collect the liquid (compost tea) from the compost to pour around plants or you can just mix all of the solid & liquid contents into the soil.
Here's a Tip...
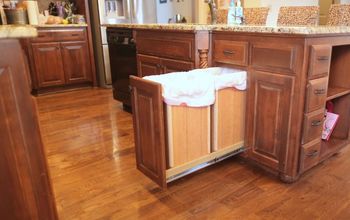
I try not to open the compost bucket often so I keep my scraps under the kitchen sink until I have a good amount saved up. You can just keep scraps in a trash bin, but if you want to avoid smelling your rotting kitchen scraps, then I suggest using a stainless steel compost bin or something similar.
 or something similar.
Happy Composting, y'all!
Resources for this project:


Sticks and other natural materials
Any price and availability information displayed on [relevant Amazon Site(s), as applicable] at the time of purchase will apply to the purchase of this product.
Hometalk may collect a small share of sales from the links on this page.More info

Want more details about this and other DIY projects? Check out my blog post!
Comments
Join the conversation
1 comment
-
Please do not ever put "brown" materials into your compost. Chemically treated items will contaminate your soil, plants and ultimately your bodies.


Frequently asked questions
Have a question about this project?