


Repotting Orchids and Orchid Keikis

Orchids are by far my favorite house plant. My obsession with them came after my Grandma passed away and my best friend gave me a beautiful white phalaenopsish Orchid, she was stunning and the blooms stayed vibrant for months! She was and is just stunning, and when she blooms it’s almost like my Grandma is staying hello, it’s just a sweet reminder. Since acquiring that orchid I have “rescued” half dozen or so from different stores on clearance because the blooms were spent, it’s so fun getting them back to a healthy state and watching them bloom! I’ve had quite a few questions on how I care for my orchids and get them to rebloom multiple times a year, so I am going to share how I care for my orchids, and also something newer to me, repot orchid keikis! A keiki is an exact clone of the mother orchid and can grow directly off the root base of the mother plant or off a bloom stalk. Keiki literally means child and is of Hawaiian origin! How fun! I have both varieties present on my mature orchids so I will show you exactly what to look for! Keep in mind I have never transplanted a keiki and I’m going off advice I found on google as well as YouTube. But hopefully this baby is happy and with thrive like it’s mother plant! This will contain a lot of photos! I’m going to apologize for the lengthy post now, I’m just very interested and passionate about my orchids, they bring me so much joy! So with that being said, Let’s jump into it!
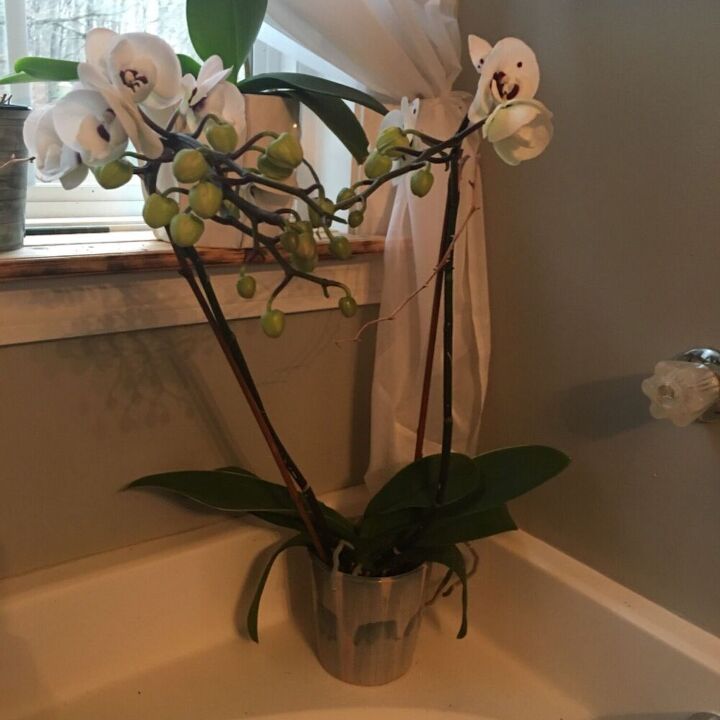
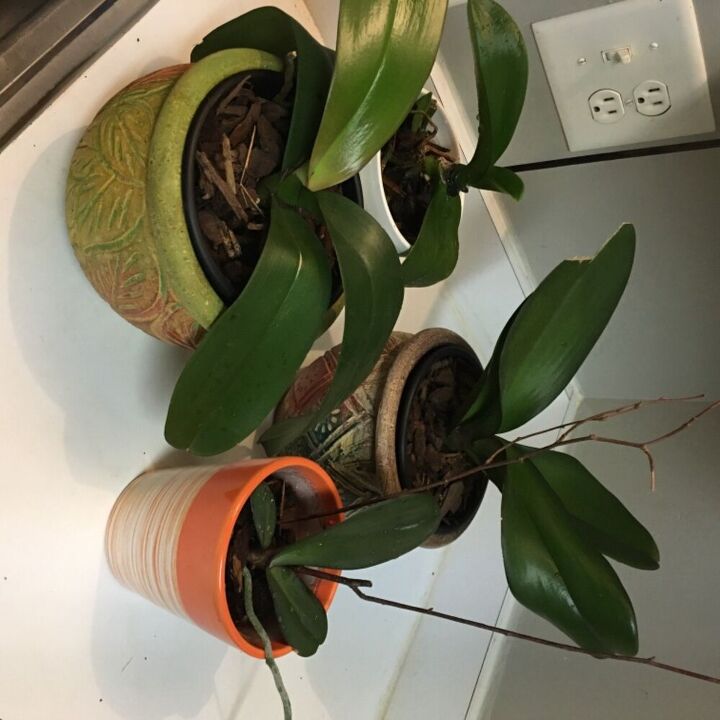
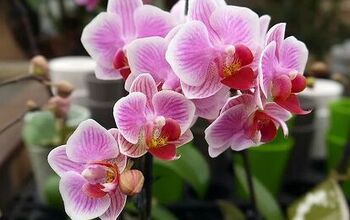
First I have to brag on a couple of my beauties. This lovely. I call her Sosie which loosely translates to twin in French, due to the double flower spikes, and the fact that she had a secondary flower spike grow off each of the original spikes.I acquired her from my neighbor, she told me her office threw her away when she started dropping blooms! What a shame! She has been of of my showiest orchids! I love her!
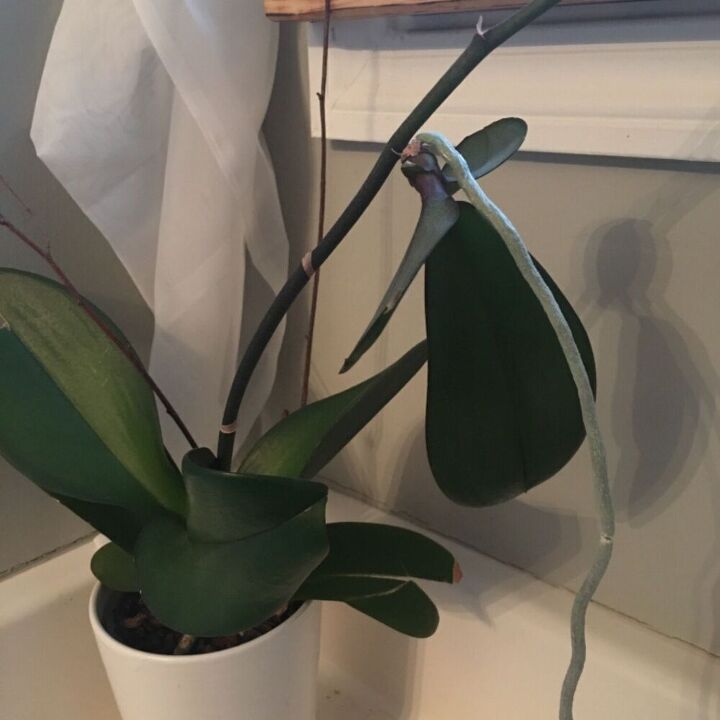
This is the orchid that started it all, Madeline... anyone else name there plants? I honestly think it’s why they thrive, I handle them when I water them weekly, clean there leaves weekly, and repot once a year while in dormancy. She bloomed last May-August, and is forming another bloom spike! All the roots hanging out of the pot are a sign that she is happy and thriving, they are called aerial roots. In nature you would find phalaenopsis orchids growing off a tree, they are an epiphyte, they do not use the nutrients from the tree, they use it only for growing medium.
This is an example of a keiki growing off the root base of a mature orchid, this particular keiki is attached to an orchid still in bloom, and does not have any mature roots of her own, so we will be leaving this orchid and her keiki alone for now, I just wanted to show you what this type of keiki looked like. This is Violet by the way!
Here is Violet in her glory. This is also her second flower spike for the year, she bloomed last June-September!
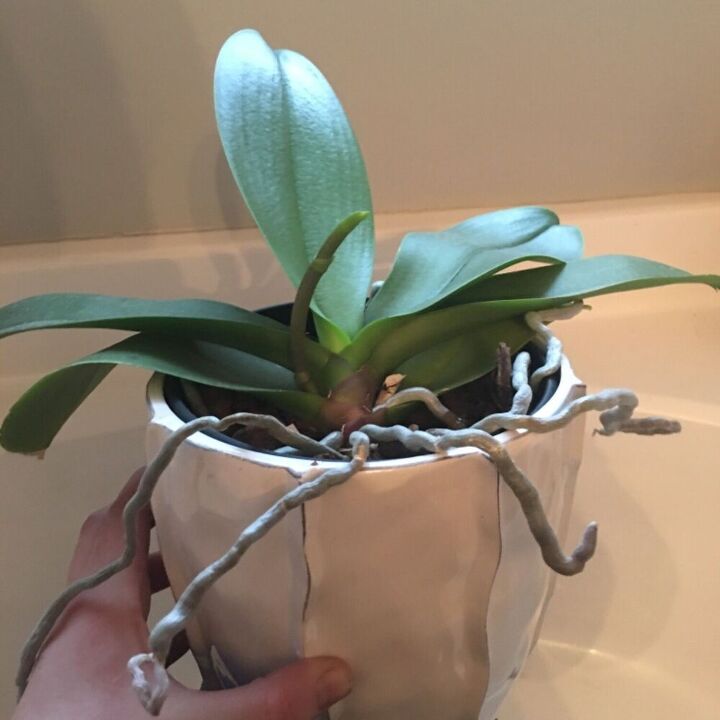
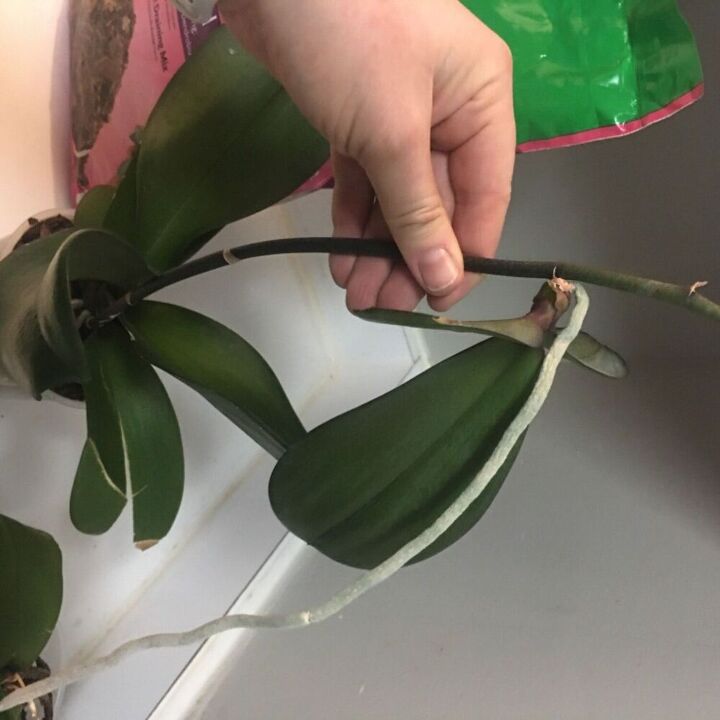
Here is an example of a flower spike keiki, it is growing off the flower spike, all the flowers have fallen but the flower spike remains firm and green. The keiki now has an aerial root of her own and 3 very hardy leaves, so we will be reporting her today in her own medium, clipping back the remaking flower spike and also be repotting the mother plant a well! I call this one my Unicorn, she came from the dentist I work for, I had never seen a flower spike keiki in person until she came home with me! She had no blooms when I acquired her so hopefully her new pot makes her happy and I will know what color flowers she will produce this summer! I’ll share her progress on my Instagram! (Link below!)
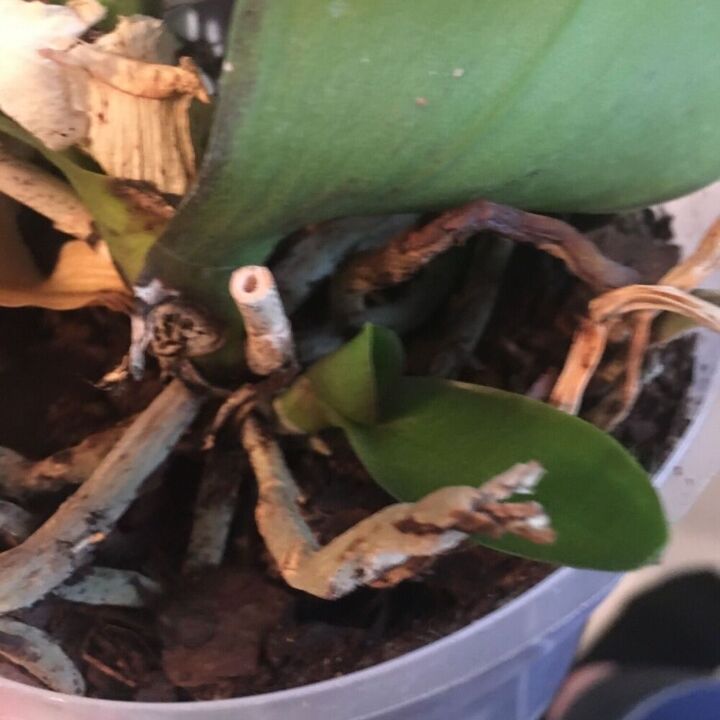
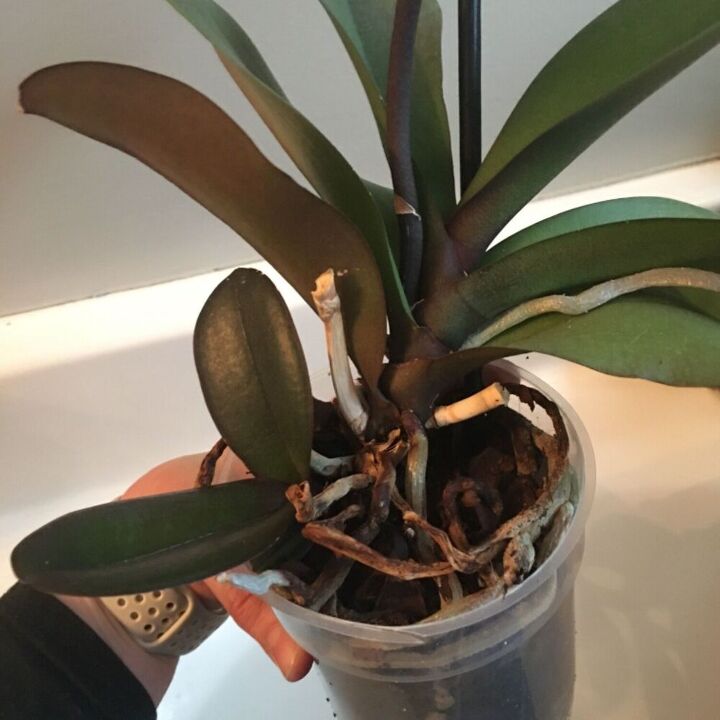
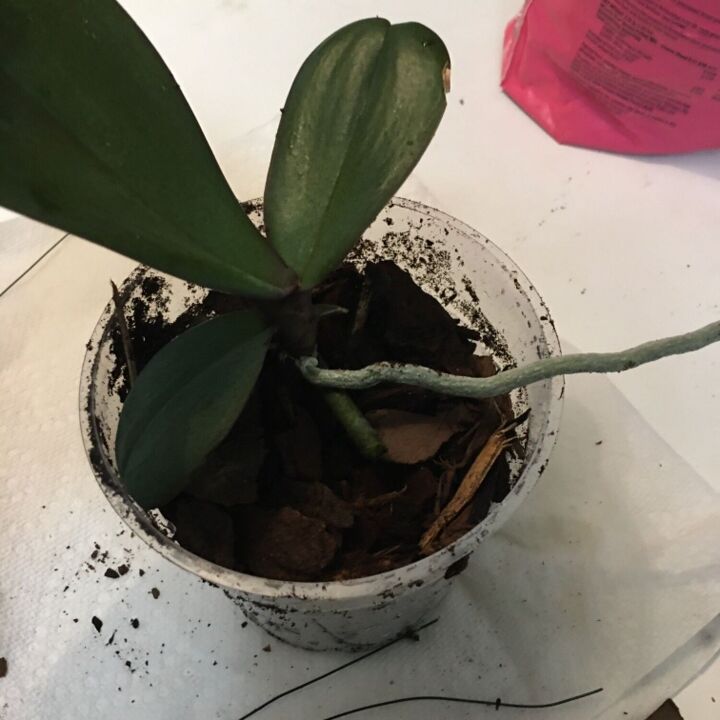
Here is another keiki at the base of a mature orchid. This is another orchid I rescued from the grocery store, he was in really rough shape, badly dehydrated as you will see later, he has lost multiple leaves, he is proof that keikis don’t always mean the plant is happy and thriving, they can also form when the plant is feeling threatened in attempt to continue to live. This keiki also does not possess any roots of her own, but the plant is not currently blooming, so we will be repotting him with his keiki today!
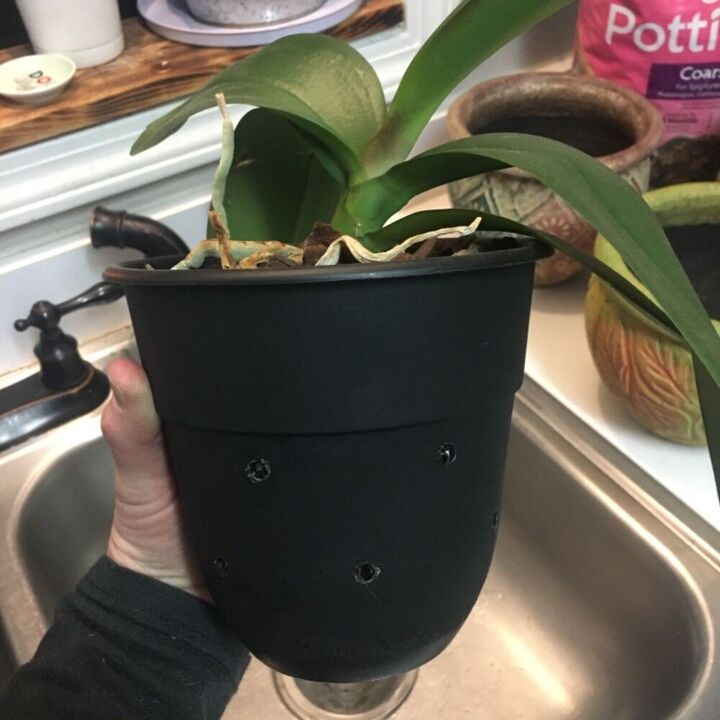
Most orchids come in clear greenhouse pots with lots of holes, these pots are hard to find in your standard garden center, so I will buy these pots from Walmart, they are $0.94 and drill holes in them, I made like 6 of them when I repotted this little guy in the late summer so unfortunately I don’t have photos of that process but it’s simple, just use a medium to large drill bit and drill 6-10 holes around the pot. This may not even be necessary as long as your pot has adequate drainage but I’m placing these pretty’s in containers that do not have drainage holes. I’ll typically water them, let them sit over night, then drain any excess water that may collect in the decorative outer pot the next morning.
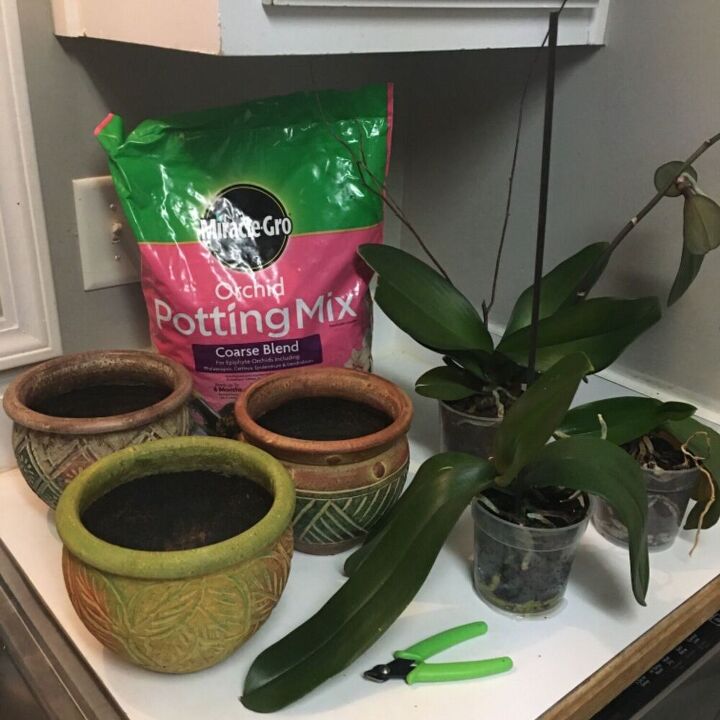
Gather supplies:
- orchid potting medium, I like espoma better but my store only had miracle grow, it worked fine, but had a lot of smaller bark pieces and I find it breaks down a lot faster than the espoma which has more large bark chunks. You want the medium to be large and chunky so the roots can get adequate air and drainage, orchids roots do not like to be saturated for long periods of time, remember, in nature they grow on the sides of trees!
- sterilized pruners
- pots of choice, you don’t need an inner pot of your pot has drainage, but I like to have extra drainage, and also the option to change the decorative container if I feel the need :)
- hydrogen peroxide
- distilled water
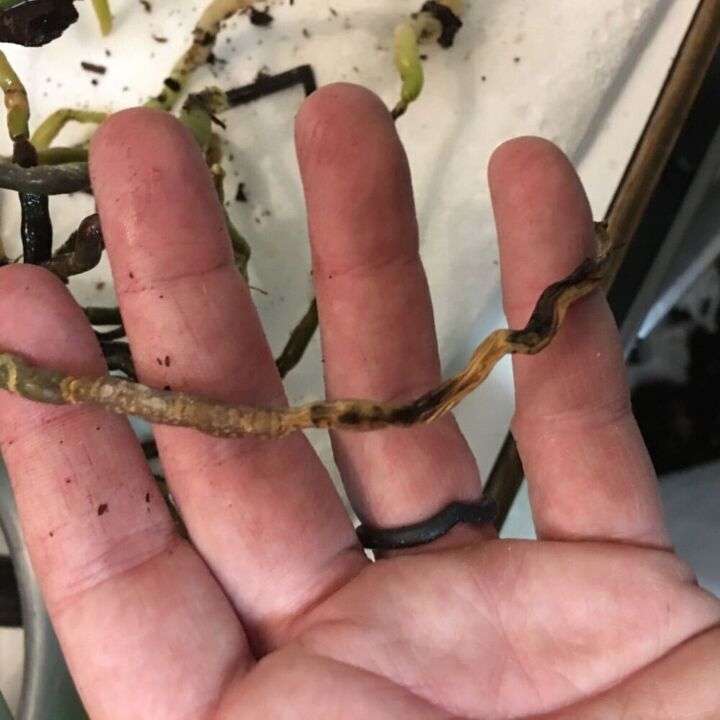
Let’s start by clipping off this keiki! From my research you want to leave part of the flower spike in either side of the keiki, I left about an inch on either side.
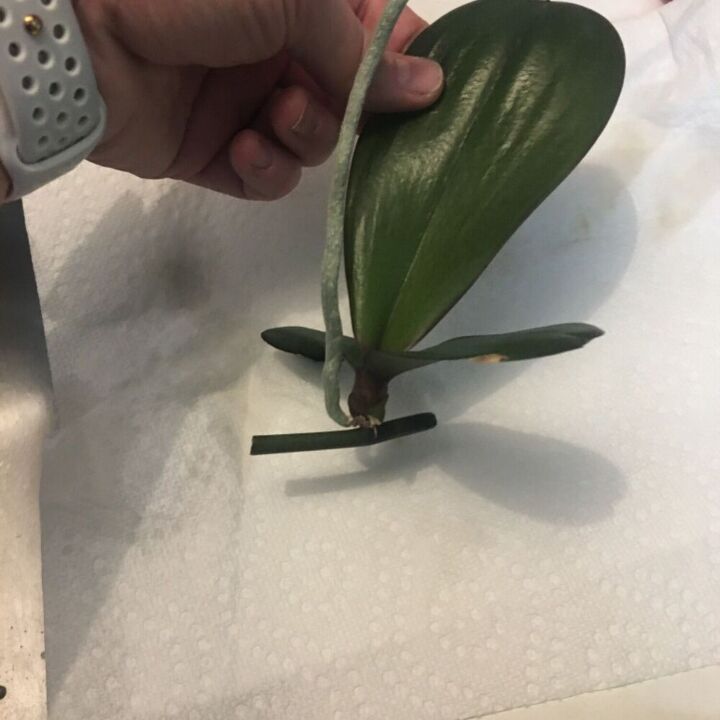
Her she is! Little baby orchid on her own!
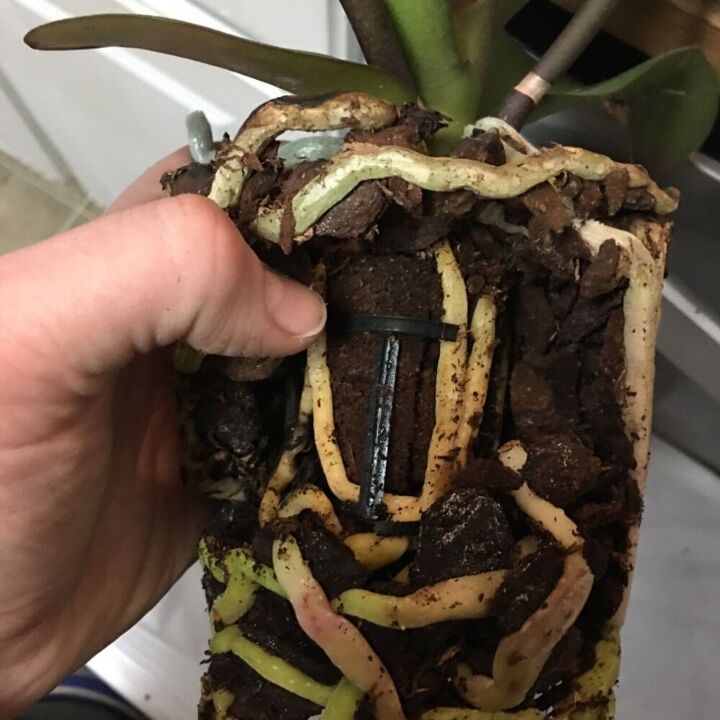
Now to clean off the old medium! You can see it’s original little grow out pot here! Which is full of soil at this point! Got to go! It holds way too much water against the base of the plant and we do not want rot!
Here’s an example of a dying root, I clip these back when I repot so the plant does not waste energy on them. I clip them back about a half inch past the dying root tissue
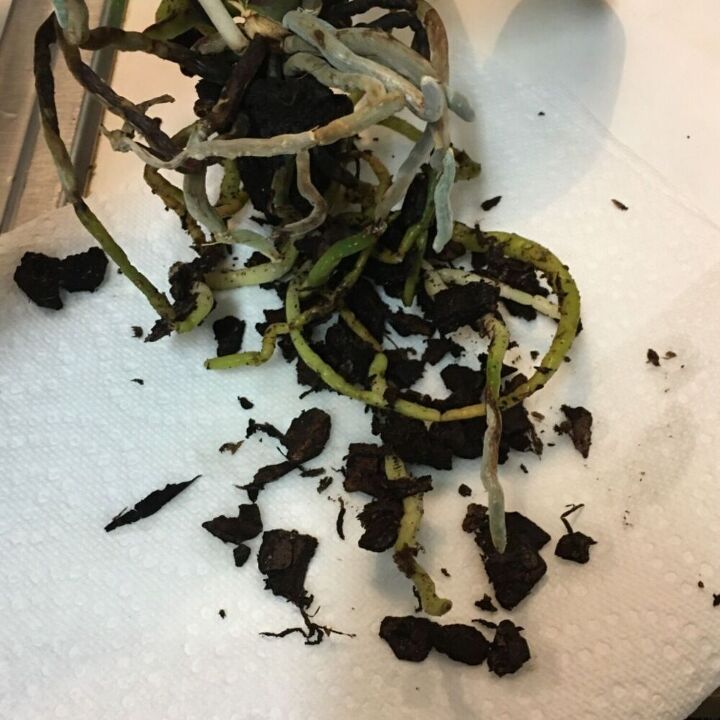
After removing majority of the medium and trimming back any damaged or dying roots, I like to give her a good soak, in room temperature, distilled water with a few capfuls of hydrogen peroxide, like 3 caps per half gallon or so, the be never really used a special measuring system.... this will kill off any bacteria present on the roots from the old medium and also from the cut edges, even though I do sterilize my pruners with rubbing alcohol before and after each use, they are very prone to disease.
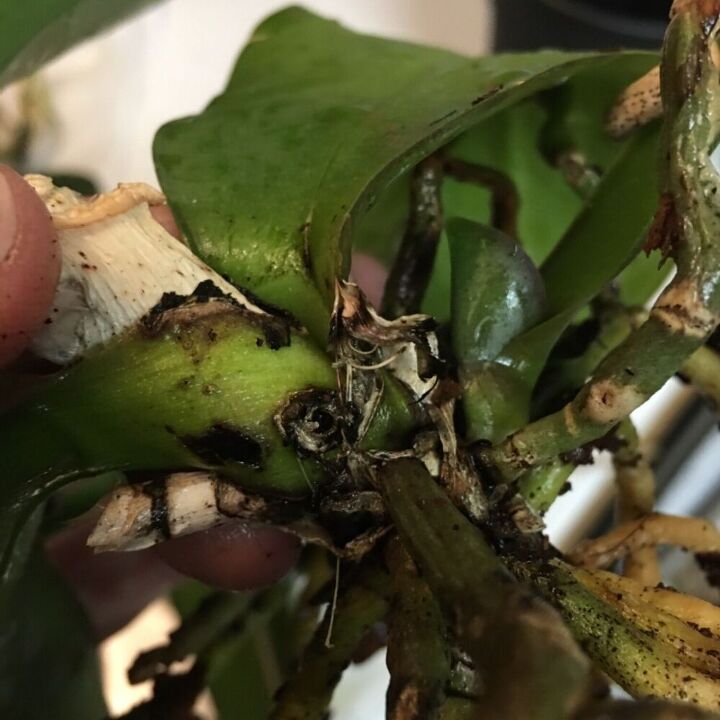
Exhibit A! An angry boy. Shew... I knew he was risky when I bought him, he had no signs of insects but was extremely dehydrated and sunburnt, he was sitting out on a rack with full sun outdoor plants with his little clearance tag outside of Kroger, almost like someone thought about buying him and then decided against it...orchids prefer indirect bright light, not FULL SUN! Poor thing had to come home! I can’t say he’s thriving yet! But he hasn’t died, has formed a keiki and also 2 new healthy leaves.
His new leaves. I call him Phil, since he is a Phalaenopsis orchid.

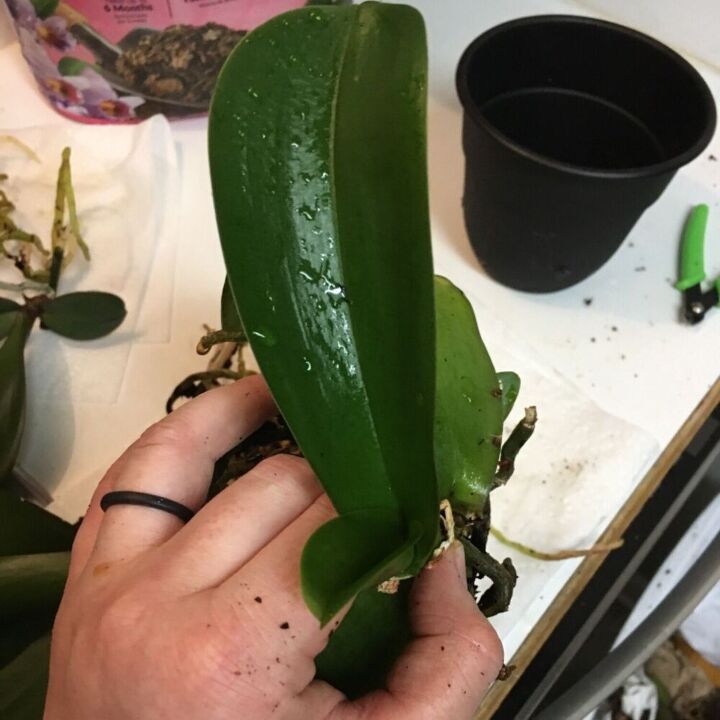
After thE orchid has soaked for about 5 minutes it’s time to pot them! Start with a little bit of your orchid mix in the bottom of the pot
Place your orchid in, if it had aerial roots prior to repotting try to keep those above the medium, they are used to absorbing moisture form the air, and will be happier let that way! This particular one did not have aerial roots prior so we’ll be potting them all under the orchid bark.
Now for the keiki! Since this little one had no option but to have an aerial root we will be maintaining that same situation. I placed the cutting on top of some medium and used some thin floral wire to create some support of base of the plant into the medium, I just formed it into a little u shape and stuck it down over the remaining flower spike into the medium.
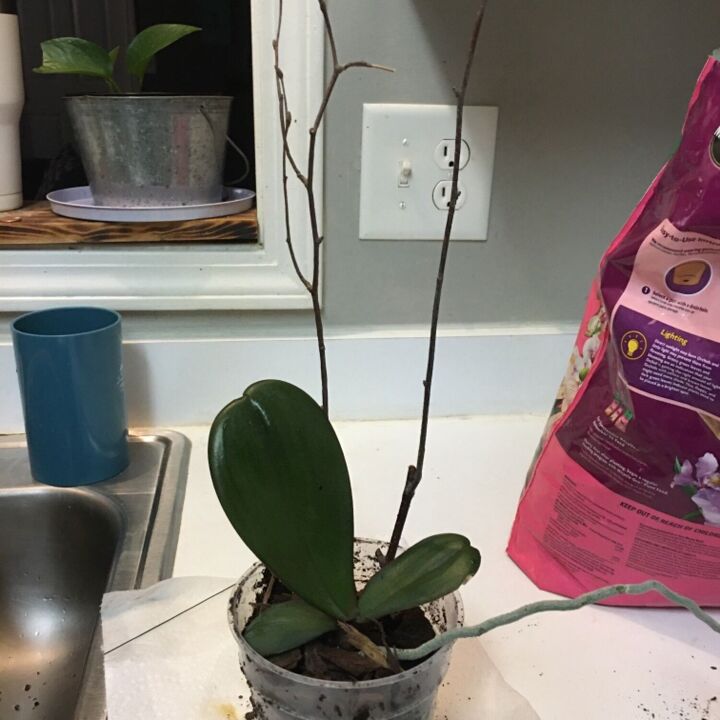
Added in some willow stems to encourage it to grown straight! And that’s it!
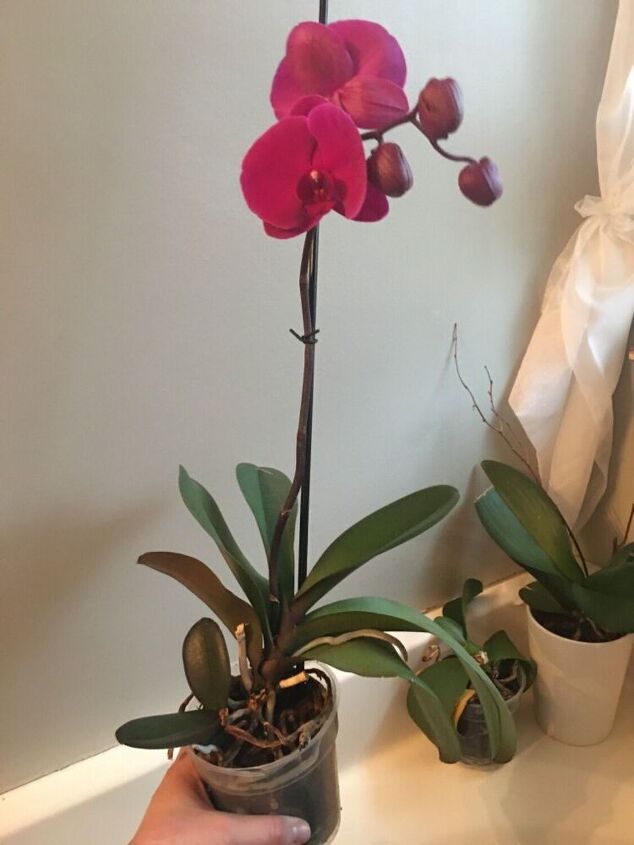
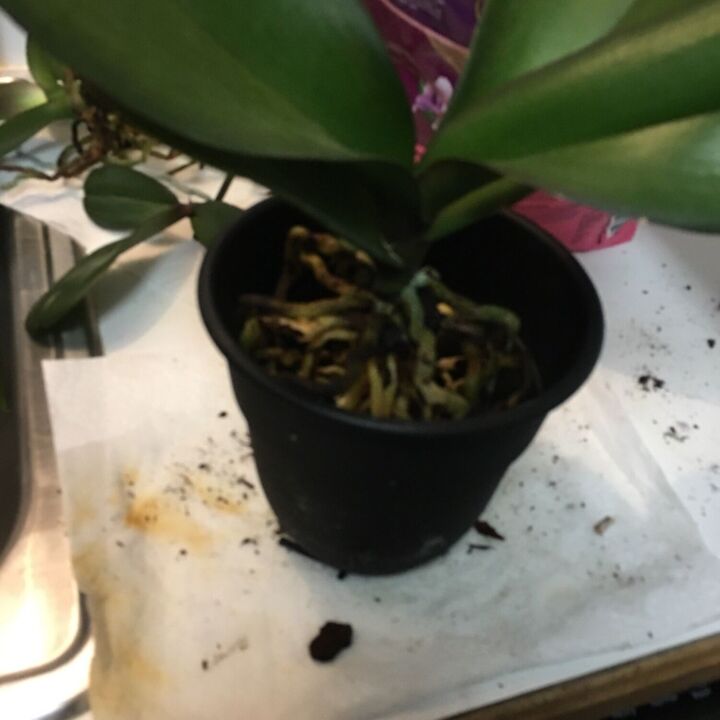
Once they are all potted give them a good drink, a little orchid fertilizer, I like the miracle grow one that comes ready to use in spray form, and place them back into a bright widows!
I hope you have all learned something from this tutorial, if you know something that I didn’t cover here please share! I love gaining new knowledge from you all! This is such a great learning community! Thanks for stopping by!
Comments
Join the conversation
-
Thanks for sharing this. I learned a lot especially about the sterilization part of the repotting process. I didn’t know about the abuse either. We have several orchids that for the most part are doing well. I lost one when I repotted it.


Frequently asked questions
Have a question about this project?
My orchid leaves have wilted , what have I done wrong ?
I have the same question as Kathy above! I’m also an orchid lover and have about 8. I do most all of what you do as well but did learn a few things !! The above question is what I’d like to know too !! As the orchids go “ naked” I take them out of the pot and put them in a wire hanging basket and that works, I’ve got 5 in one and 3 are starting to bloom again 🙏🏼 Hubby liked buying me the hanging ones from Lowe’s. Any advice on those.