


Simple Camelia Decor
While winter may seem dreary, some plants produce beautiful blooms in these colder months. Take advantage of lovely camellia blooms and bring them indoors!
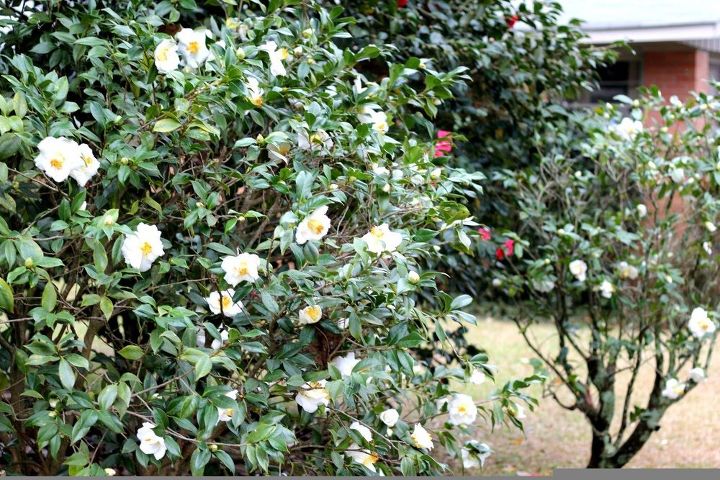
Camellias are fairly low maintenance; they’d have to be to survive our three-kid and two-dog lifestyle. How do you bring them indoors? I simply find a bloom that’s not fully open (when the petals are starting to bend backwards), and cut 4 to 5 inches of stem below the flower with a good set of pruning shears (or kitchen shears if you’re desperate).
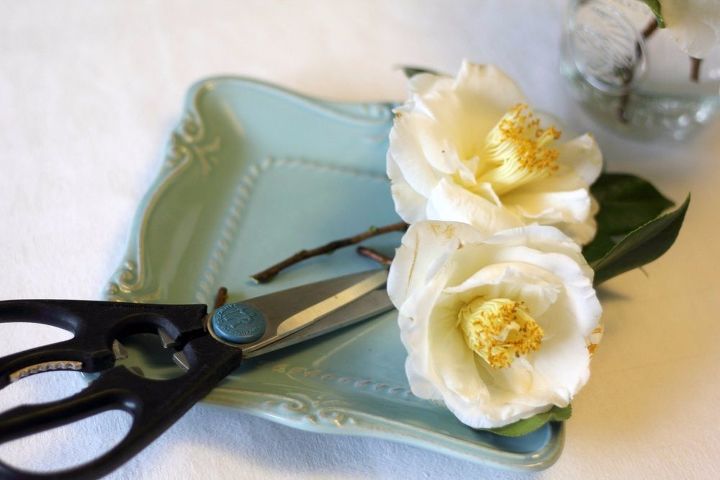
While I’m outside, I go ahead and take off most of the leaves, leaving just a few around the flower. These leaves around the flower help them to prop against the jar or dish you place them in, and it gives a beautiful pop of green to your small arrangement.
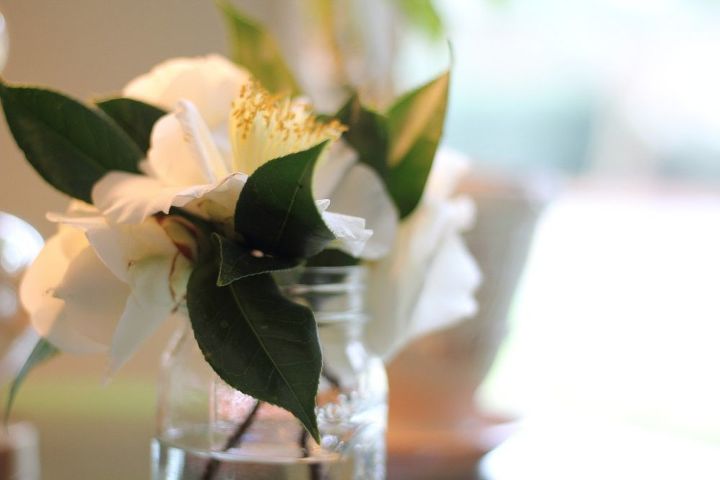
The next steps are the hardest… just kidding. Simply fill a clear glass jar, or low bowl, part of the way with water and begin adding the blooms. If you realize your stems aren’t touching the water, just add more. There’s really no trick to arranging. I’ve found that four or five blooms perfectly fills the space in a pint mason jar.
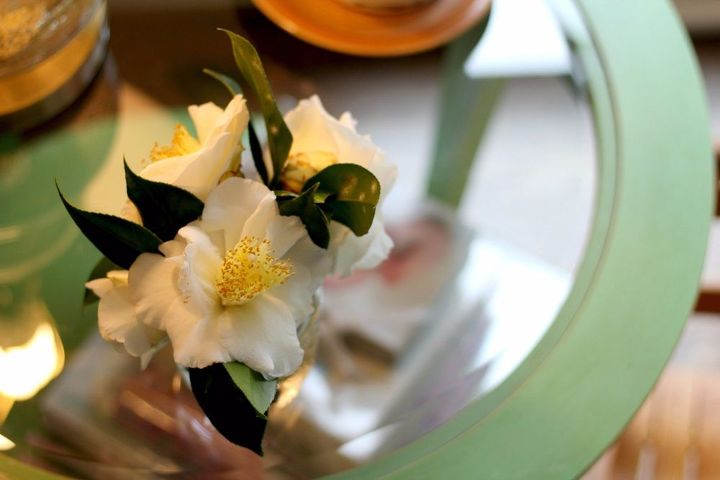
This is a perfect touch of beauty for your end tables, dining tables, or a sweet gift for a neighbor. If your camellias (or your neighbors!) are blooming, bring some in and enjoy them. They should last for at least a week inside. You could even fancy up your jar by wrapping it in season ribbon or a wide wrap of burlap. The options are endless! Enjoy!

Want more details about this and other DIY projects? Check out my blog post!
Comments
Join the conversation
4 comments
-
Howdy from a neighbor in New Bern :-) you've inspired me to go pick some camellias and bring indoors.
-
They're so beautiful!!


Frequently asked questions
Have a question about this project?