My Draped Hypertufa Planters, Draping Fabric With a Cement Mixture

by
Kim Smith
(IC: blogger)
Were you looking for the Draped Hypertufa How-To? I have seen searches for cement draped planters, rags dipped in cement, and so on, but I have some directions here on how to make them. I've also included some videos to watch which will help you make your own!
I am revising a post I did in early April since there have been so many questions, and the videos to help.
I am revising a post I did in early April since there have been so many questions, and the videos to help.
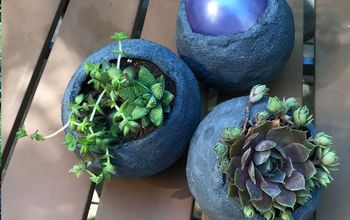
How about a whole new look for a hypertufa planter? It is heavier on the Portland cement, and incredibly messy to make, but I am already planning to make more. I have seen some photos on the internet, but nothing with complete directions on how to do it. So I winged it, and these are some of my creations!
You can use any fabric you have lying around. It can be an old towel, a blanket, leftover drapery material, an old padded quilt* (No, an old quilt is too heavy to handle and I learned the hard way.)
{
"id": "2007",
"alt": "",
"title": "",
"video_link": "https://www.youtube.com/embed/h9Em0DcGBGc",
"youtube_video_id": "h9Em0DcGBGc"
}
{
"width": 634,
"height": 357,
"showRelated": true
}
This is Part One of Three. And yes, fast forward through my intro. I am learning as I go. But this gives you an idea of how to make them.
{
"id": "2008",
"alt": "",
"title": "",
"video_link": "https://www.youtube.com/embed/kOTOeEsmLTs",
"youtube_video_id": "kOTOeEsmLTs"
}
{
"width": 634,
"height": 357,
"showRelated": true
}
This video is just a quick one to show you how easy they come off the "tower" I have made to hang the fabric from.
{
"id": "2009",
"alt": "",
"title": "",
"video_link": "https://www.youtube.com/embed/XbTWqUjTu-0",
"youtube_video_id": "XbTWqUjTu-0"
}
{
"width": 634,
"height": 357,
"showRelated": true
}
This video shows an assortment of vases/containers/pots. I drill holes in them with a drill. It is as easy as drilling through a slender piece of wood. I use these as a holder to place a pot inside, or I have planted directly inside them. As long as there is drainage, I have had no problem.
My recipe that I had used for this project is heavy on the cement. And by that I mean that I use a lot more cement than I would in a regular hypertufa trough recipe.
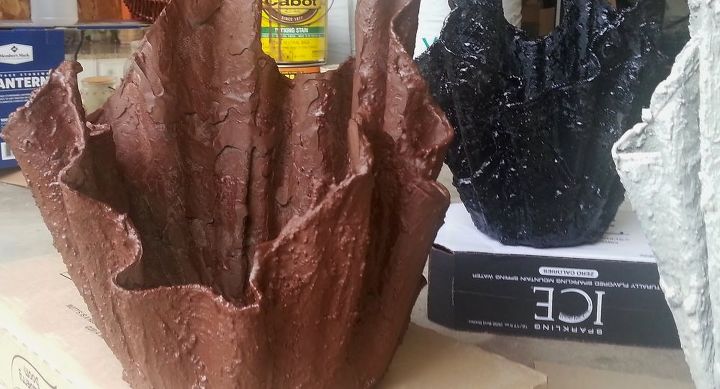
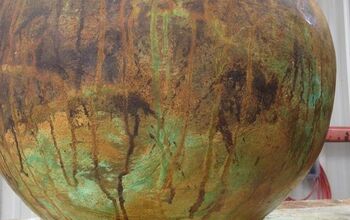
These are Painted containers. I wanted to see how they would do and how they looked. I really thought it was striking!
These are all made with old table napkins (large ones). I have been asked about their hemmed look. Yes, they were hemmed and if I remember, were damask weave. I am not a fabric person, so not sure if that is how you speak of that fabric.
Enjoyed the project?

Want more details about this and other DIY projects? Check out my blog post!
Published July 28th, 2014 7:53 PM
Comments
Join the conversation
2 of 124 comments
-
 Necee Marie
on Apr 30, 2018
Love this! Can’t wait to try it
-
-
 Celeste
on Jul 19, 2018
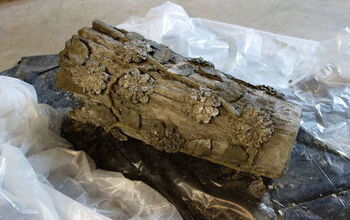
So sorry, I posted my comment in your question area. Let me try this again. Thank you SO much for your simple, easy tutorials! You inspired me to try my first draped hypertufa and I'm pretty pleased with the results. I wanted an old hollow log look draped with vines and flowers. I used rope for the vine and dollar store flowers and leaves all dipped in the slurry. This will be used as a spillway into my pool. Thanks again!
-











Frequently asked questions
Have a question about this project?
What do you do with left over mixture? How do you dispose of it. I live in a small town so I am not sure what to do with left over mixture?
Just finished my first planters. Love them. I'm sure this was answered earlier but how well do they hold up? Can you leave them out for the winter or should they come in?
What kind of outdoor paint do you use? I’ve made beautiful planters with spray paint, but not sure how it will hold up .. any suggestions?