


How to Renovate an Existing Miniature Garden
$0.00
15 Minutes
Easy
Tips and techniques from the author of the bestselling Gardening in Miniature Book on how to renovate an existing miniature garden.
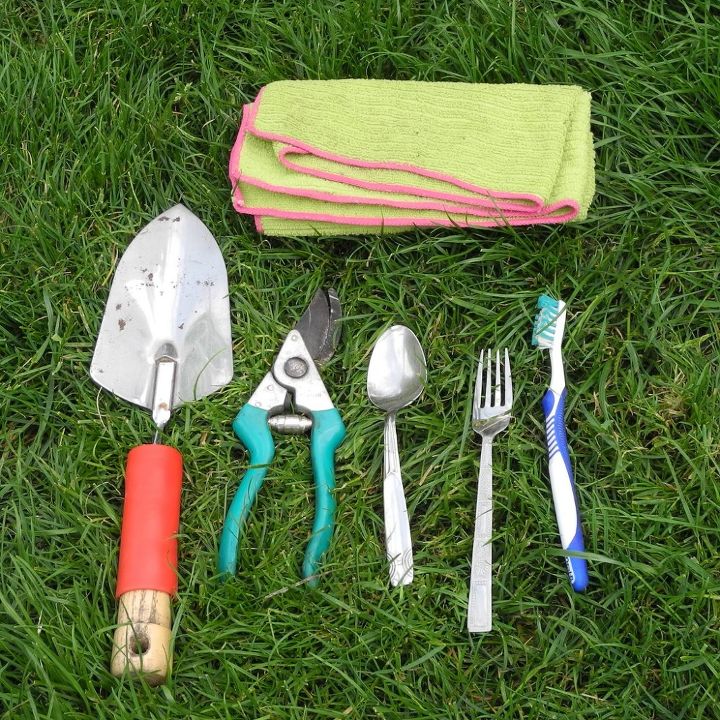
Tools for the task can be found easily. Next time you're at thrift store, get a spoon, fork and a sharp knife for your miniature garden toolbox. Oh, and don't use your partner's toothbrush, save your old one - it's much easier.
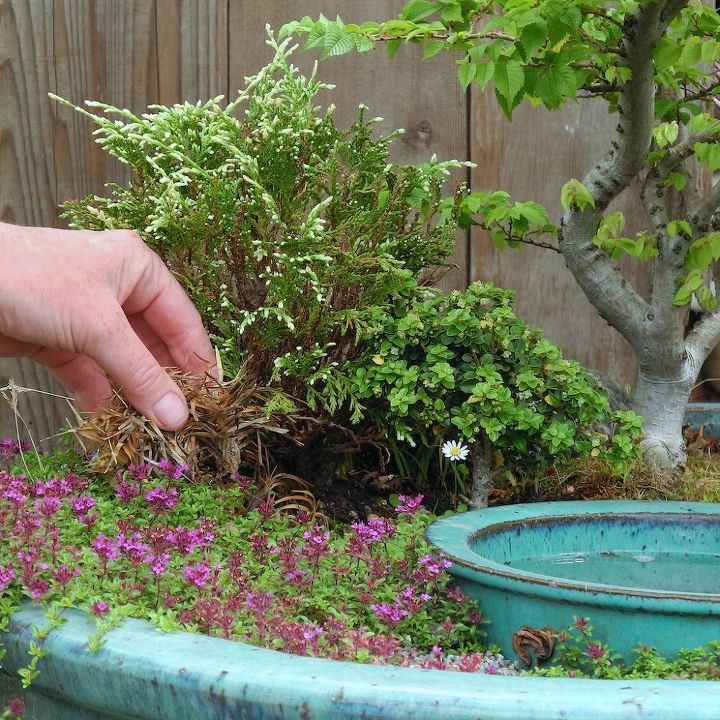
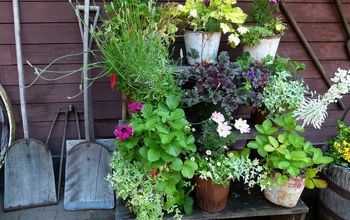
Begin by pulling out all the dead plants. The Dwarf Mondo Grass in all our gardens didn’t make it through last winter for some reason. (It’s hardy to 0F and our coldest temperature was 18F) Next winter, I’ll make sure I shear that White Pygmy Cypress (behind my hand,) to prevent it from getting leggy and to keep those wonderful creamy tips. This will help separate it from the Dwarf Pagoda Japanese Holly on the right.
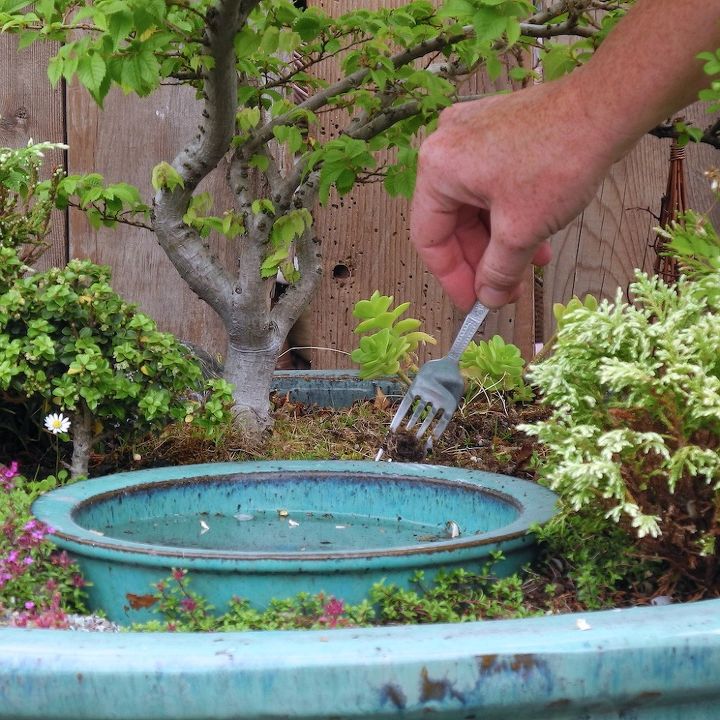
Churn-up the top layer of soil with your garden fork. Throughout the year, all container gardens develop this crusty layer and redirect the water to the outside of the pot, away from the plant’s roots. By breaking up this layer, the water will go where it is needed. Churn up the soil gently around each plant.
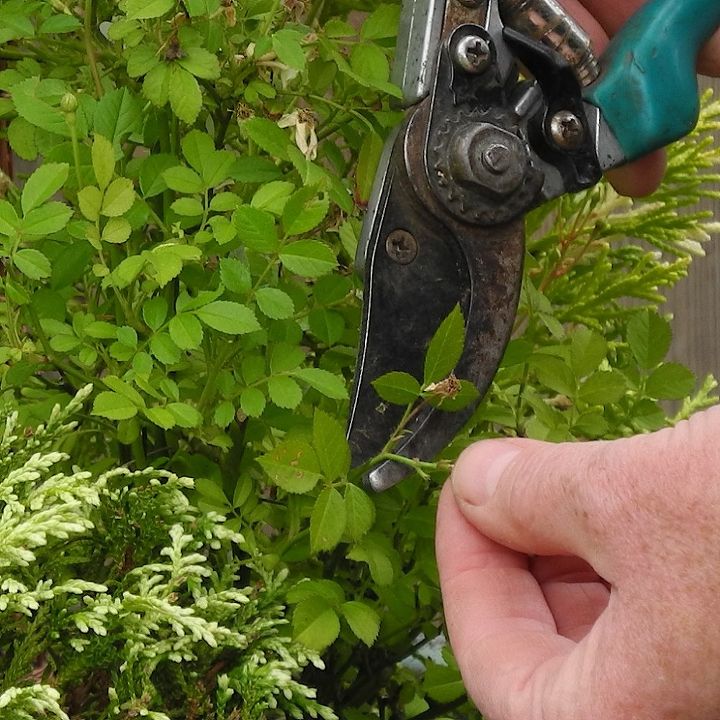
Trim back all the dead branches and foliage. Miniature roses follow the same rules as full-size roses, deadhead the spent blooms just above a 5-leaf branch. For other shrubs, trim back any dead branches, and branches that are criss-crossed in the middle of the plant and any branch that is growing downward.
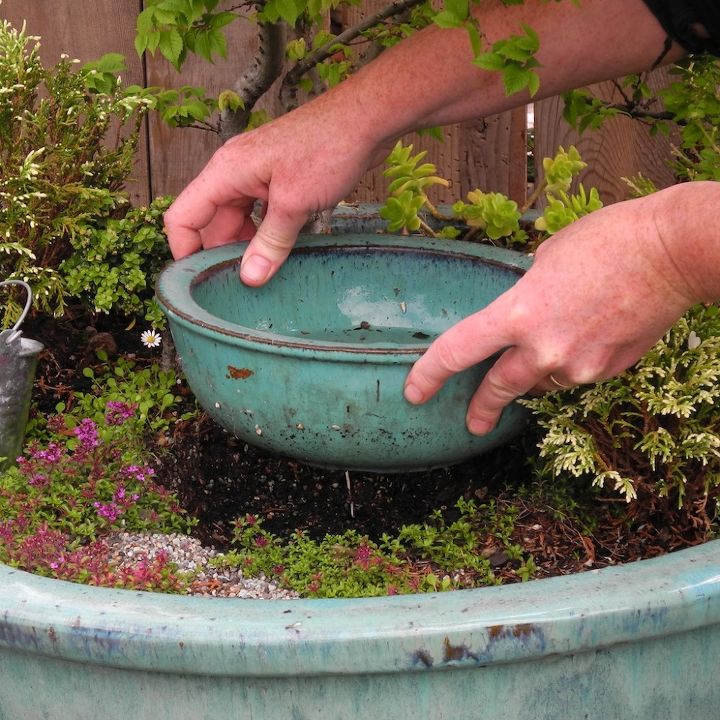
If the miniature garden is grown-in, you may be able to lift the pond-pot out gently, clean it up and replace it.

Want more details about this and other DIY projects? Check out my blog post!
Comments
Join the conversation
1 comment
-
Great tips! Prefect timing as the weather warms up :)


Frequently asked questions
Have a question about this project?