


How to Start Composting
2 Materials
$100
1 Week
Easy
Put your kitchen scraps and yard waste to use by composting them into "gold" that your garden and flower beds will love!

Maybe your interest in composting is less than zero; well, I challenge you to simply pay attention for one day to how many fruit and vegetable items you put into your trash can. Include coffee grounds, egg shells, tea bags, and newspaper into your observations since these are compostable items, too. At the end of the day, consider how you could have kept all of this from going into a plastic bag and into a landfill where it could take years and years (and years) to actually break down.
Now, that you're ready, here's how you begin composting:
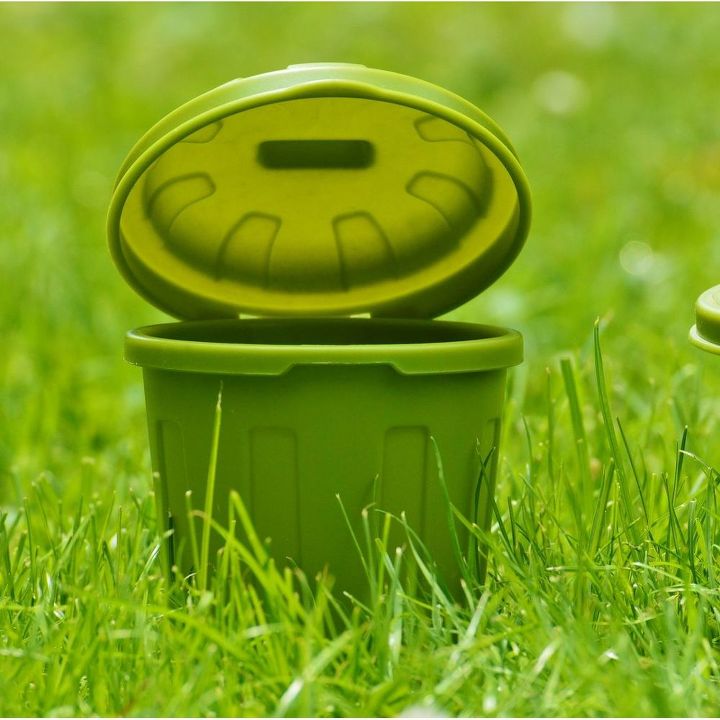
1. Get a container. My Granny would cut the top off of a milk jug, leaving the handle so it was easier to carry. You can buy a compost pail, but it’s not absolutely necessary. A lid is optional, but I personally don’t like to see the compost sitting there on the counter, so I go for a lid. Here’s a simple pail that includes a charcoal filter, which helps to keep any smells inside the bucket.
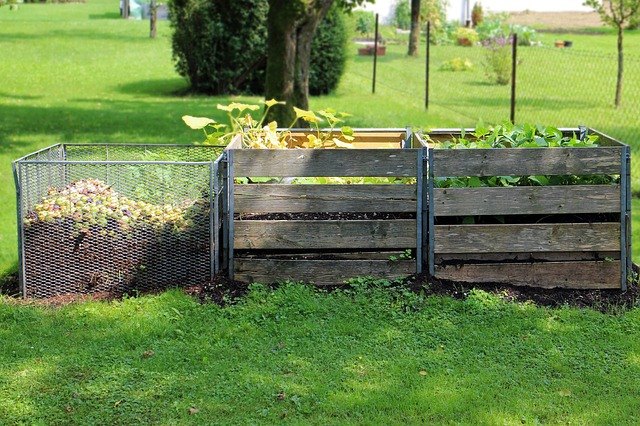
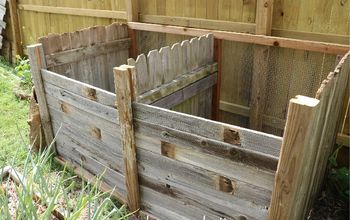
2. Designate a spot in the backyard for your compost. If you’re just starting out, you can pick a spot that’s out of the way that gets some sun (not necessarily full sun). There are several ways to begin your pile:
a. Buy a composter: We’ve used several, but I find I like the style that rotates; this makes turning the pile a no-brainer. Here’s one on Amazon: Yimby Tumbler Composter, Color Black
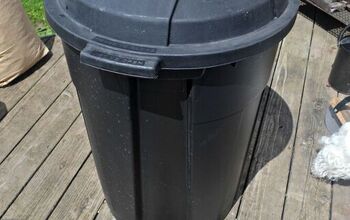
b. Build a composter or set up a system (as seen above): There are several tutorials online for building your own composter. See my full post for links.
c. Direct Compost: this means digging a hole in a garden or bed and directly putting compostable materials in it. Very simple.
3. Turn it… turn it good. Compost doesn’t like to sit still. Your compost needs to be turned every week or so to get air flowing and encourage the break down of all that goodness. If you don’t turn it for a while, no big deal, just turn when you remember to. By turning, I mean to literally turn if you have a composter on a stand, or to use a shovel to take what’s in the bottom and move it to the top. Mix it up!
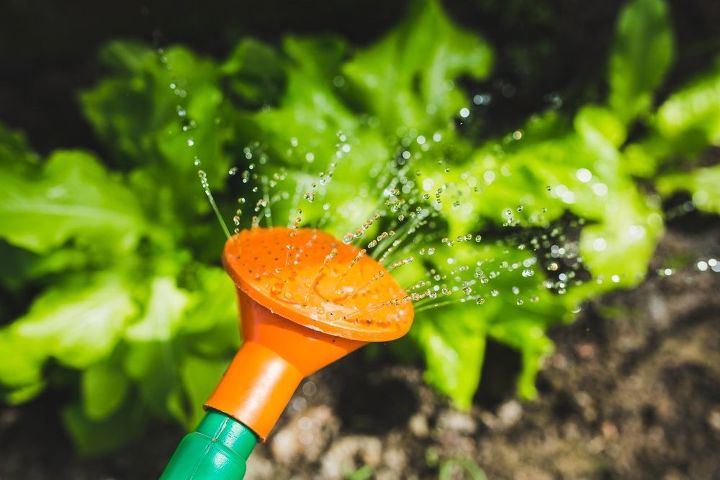
4. Keep it moist. You never want you compost to be dry, so if you go a while without any rain, then just spray some water on it enough to moisten. This helps the composting process.
5.) Use it! Come spring, or whenever you decide to plant something, get to the bottom of your pile (some stationary compost bins actually have a little door at the bottom) and scoop out the black gold. You’ll know it’s ready when you can see the kitchen scraps, leaves, etc. They’ve broken down enough at this point to be unrecognizable.
Your garden and plants will thank you!


Any price and availability information displayed on [relevant Amazon Site(s), as applicable] at the time of purchase will apply to the purchase of this product.
Hometalk may collect a small share of sales from the links on this page.More info

Want more details about this and other DIY projects? Check out my blog post!
Comments
Join the conversation
2 comments
-
I have started to become more interested in learning about green living. I like the idea of having my own composting system. Bonus points for my garden!!


Frequently asked questions
Have a question about this project?